
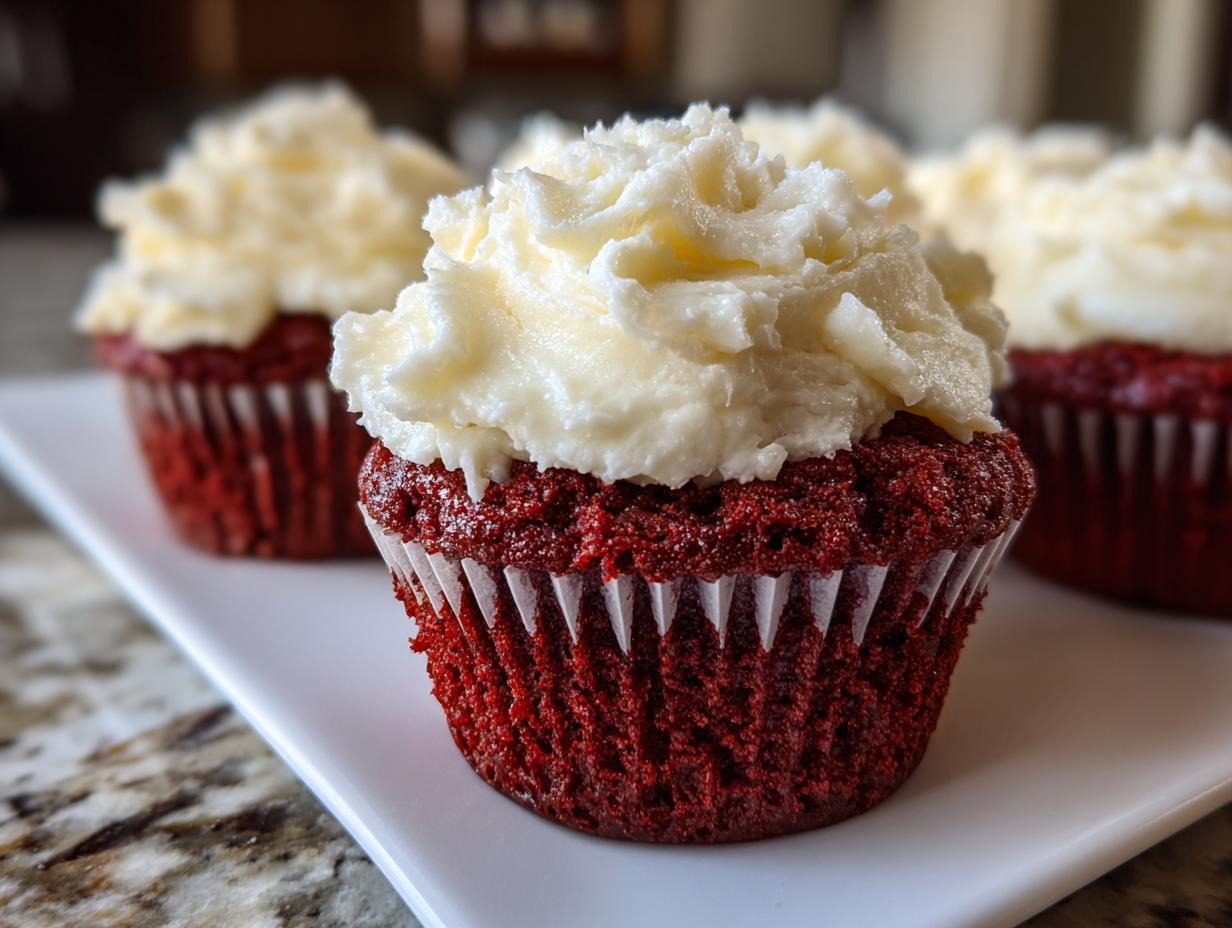
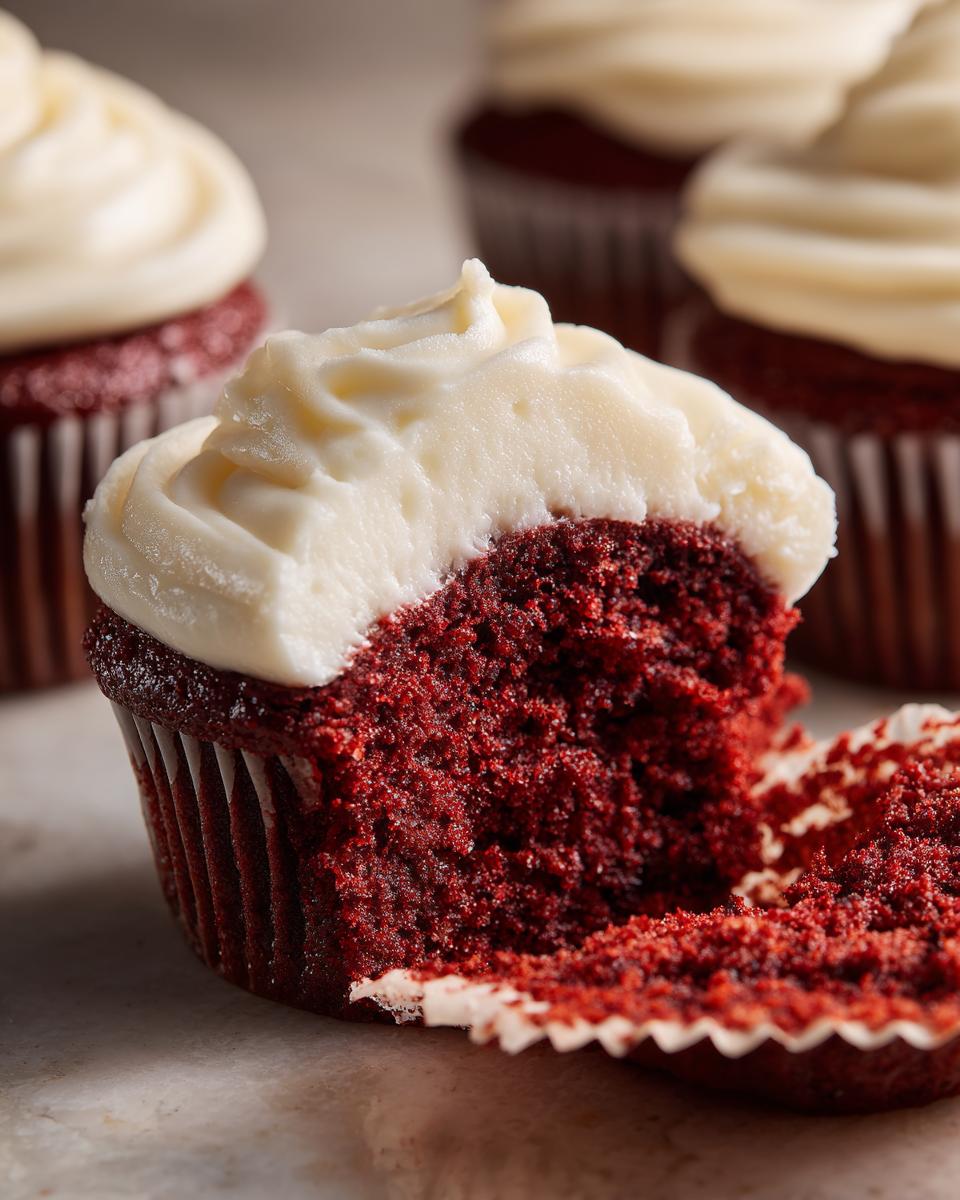
If you’re tired of sinking into a dry cake when you crave something rich, stop right here. I spent years trying to perfect what felt like an impossible balancing act: making the red velvet cupcakes of my childhood dreams—so soft they practically melt—without spending all day measuring and mixing. Well, I found the answer, and it’s finally time to share it! Prepare yourself for the Best Ever Ultra-Moist Red Velvet Cupcakes with Tangy Cream Cheese Frosting recipe. This is my promise to you: real food, genuinely doable, that brings back that core joy of baking I felt back in my Midwest kitchen. These are everything they should be.
- Why Our Classic Red Velvet Cupcakes Recipe Works (E-E-A-T)
- Gathering Ingredients for Your Red Velvet Cupcakes from Scratch
- Step-by-Step Instructions for Classic Red Velvet Cupcakes
- Tips for Bakery Style Red Velvet Cupcakes Success
- Variations for Your Homemade Red Velvet Treats
- Serving Suggestions for Decadent Red Velvet Treats
- Storage and Reheating for Your Red Velvet Cupcakes
- Frequently Asked Questions about red velvet cupcakes
- Nutritional Snapshot of these red velvet cupcakes
- Share Your Perfect red velvet cupcakes
Why Our Classic Red Velvet Cupcakes Recipe Works (E-E-A-T)
When I set out to create this Best Red Velvet Cupcake Recipe, I wasn’t chasing trends; I was chasing texture. The secret to getting those genuinely Moist Red Velvet Cupcakes—the kind that make you close your eyes when you take a bite—lies in respecting the acidic balance. Most cakes rely on milk everywhere, but our use of Buttermilk Red Velvet Cupcakes is non-negotiable. That acid tenderizes the flour so beautifully. Plus, I’ve swapped some of the butter for oil, which is a trick I picked up watching my dad bake. If you want to move beyond boring cakes, check out how I tackle moisture in my classic carrot cake too: The Secret to Perfect Carrot Pound Cake (Grandma’s Recipe).
Achieving Ultra-Moist Red Velvet Cupcakes
It’s all about the fat distribution here. Using oil instead of all butter keeps these treats unbelievably soft, even the day after you bake them, which is a huge win when you’re busy. The combination of the acid from the buttermilk reacting with the tiny bit of cocoa powder gives us that signature subtle flavor, but the fat guarantees these are your new favorite Fluffy Red Velvet Cupcakes. Trust me on the oil; it’s worth it!
The Secret to Tangy Cream Cheese Frosting for red velvet cupcakes
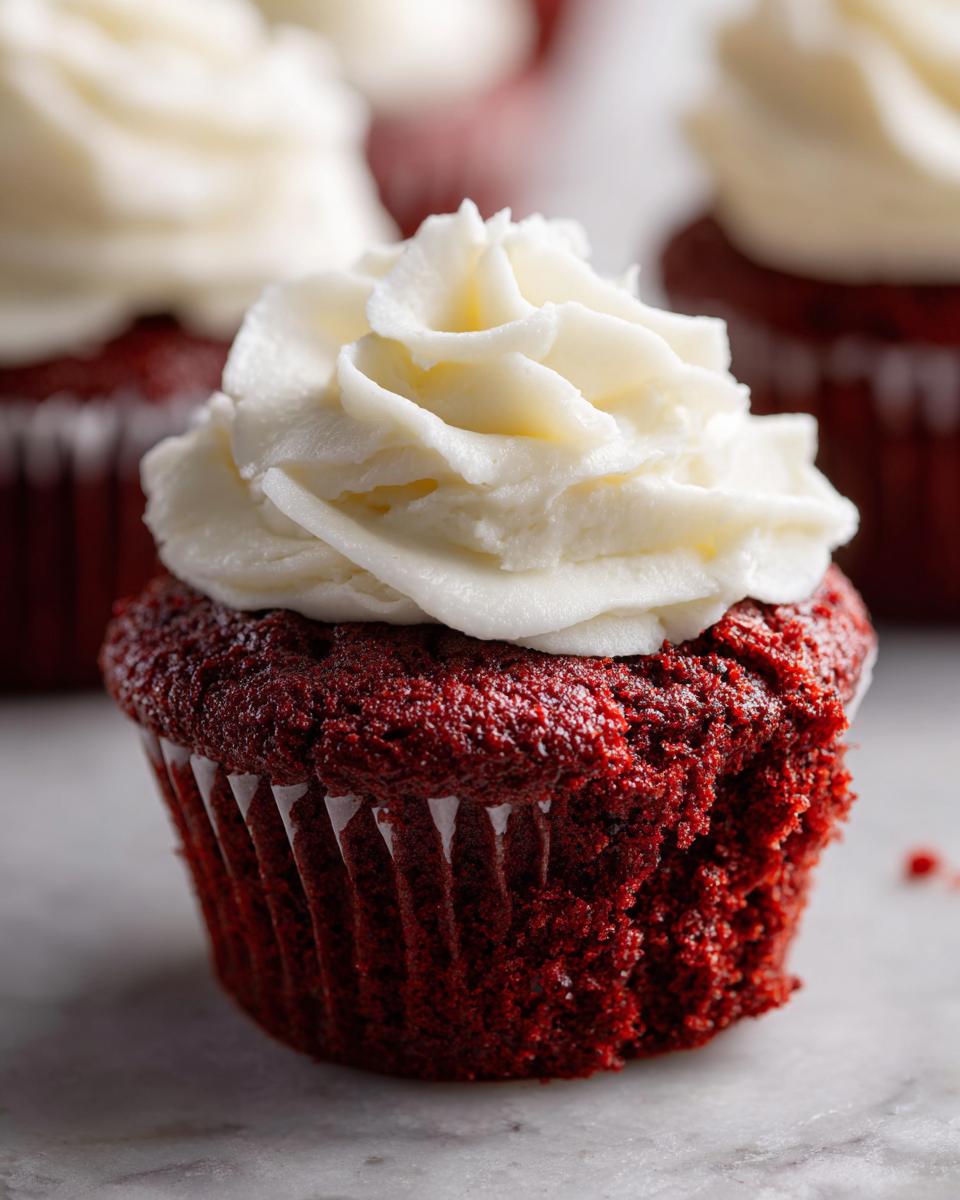
You can’t talk about these amazing cakes without talking about what goes on top. Our frosting is perfectly balanced because both the cream cheese and the butter must be perfectly softened—not melty, just soft! This means they whip up into that airy, dream-like swirl you see at the top-tier bakeries. That tang you crave? That comes from using real, full-fat cream cheese. No substitutes, ever! That sweet and sharp contrast is what finishes off the perfect Red Velvet Cupcakes with Cream Cheese Frosting experience.
Gathering Ingredients for Your Red Velvet Cupcakes from Scratch
Getting ready to bake is almost as fun as eating them, right? I’ve compiled the whole list here, but please, pay close attention to the details! For the red velvet cupcakes to turn out bakery-perfect, ingredient preparation matters just as much as the mixing. Making sure everything is exactly what the recipe calls for is how we guarantee that ultra-moist texture. If you’re looking for other recipes that need specific fridge prep, like my cheese sauce, knowing how to prep dairy matters: How to Make Easy Homemade Cheese Sauce.
For the Ultra-Moist red velvet cupcakes Batter
- 1 1/2 cups all-purpose flour
- 1 cup granulated sugar
- 1 tablespoon unsweetened cocoa powder (no scooping too much!)
- 1 teaspoon baking soda
- 1/2 teaspoon salt
- 1 cup buttermilk (don’t skimp!)
- 1/2 cup vegetable oil
- 1 large egg
- 1 teaspoon white vinegar
- 1 teaspoon vanilla extract
- 1 to 2 teaspoons red food coloring (I strongly recommend the gel type for that rich, vibrant red, not the runny liquid drops)
For the Tangy Cream Cheese Frosting
Remember, the key to whipping up a fluffy topping is making sure these next two things are truly softened—leave them out on the counter for a good hour before needed.
- 8 ounces cream cheese, softened
- 1/2 cup unsalted butter, softened
- 3 cups confectioners’ sugar, sifted (sifting is mandatory here, trust me!)
- 1 teaspoon vanilla extract
Step-by-Step Instructions for Classic Red Velvet Cupcakes
Okay, this is where the magic happens! Making red velvet cupcakes from scratch sounds fancy, but I promise you, these steps are straightforward. Good things take time, but not *too* much time—that’s my Completely Yummy rule! We mix the wet and dry ingredients separately first, which is key to avoiding that overworked batter texture. For extra inspiration on mastering simple baking techniques, sometimes I look at pastry guides, like this one on The Secret to Perfect Flaky Buttery Pie Crust, just to remember the foundations.
Preparing the red velvet cupcakes Cake Base
First things first: crank that oven up to 350°F (175°C) and get those paper liners ready in your tin. In one bowl, whisk your dry stuff—flour, sugar, cocoa, baking soda. In your second bowl, get all the wet goodies mixed up nice and red: buttermilk, oil, egg, vinegar, vanilla, and all that coloring until it’s beautifully vibrant. Pour the wet into the dry and mix on low speed until they *just* hug each other—I mean it, stop mixing once you see no more white streaks! They bake fast, usually just 18 to 20 minutes. Don’t forget to test them with a pick!
Making the Dreamy Cream Cheese Frosting
While those babies are cooling off (patiently, please!), let’s whip the topping. Make sure that cream cheese and butter are soft dolls! Beat them together until they look smooth as silk. Now, add that sifted confectioners’ sugar slowly, a cup at a time, mixing on low first so you don’t end up with snow all over your shirt. Once it’s mostly mixed in, crank that mixer high! Beat it for a good few minutes until that frosting is truly light and fluffy. That’s the secret to cloud-like Red Velvet Cupcakes with Cream Cheese Frosting.
Assembling Your red velvet cupcakes
You must wait for the cupcakes to be completely, 100% cool. If you frost a warm cupcake, you get soup, and nobody wants soup-frosting! Trust me on this one. Once they are totally chilled, you can break out the piping bag or just use a small offset spatula to swirl that tangy frosting high on top. These Classic Red Velvet Cupcakes are ready to disappear fast!
Tips for Bakery Style Red Velvet Cupcakes Success
You want that stunning, vibrant look, right? If you skip the color boost, you end up with just a sad, pinkish brown cake that really doesn’t scream “Red Velvet.” The best way to get that deep, gorgeous hue that shouts Bakery Style Red Velvet Cupcakes from across the room is by ditching the liquid food coloring bottles entirely. Go for a high-quality gel coloring if you can. It packs way more pigment without throwing off the wet-to-dry ratio in your batter.
Also, let’s talk about buttermilk, because sometimes we just don’t have it hanging around. Don’t panic! If you run out, you can easily fake it. Just take a cup of whole milk—yes, whole milk is important!—and stir in one tablespoon of white vinegar or lemon juice. Let it sit on the counter for about five minutes. It’ll curdle slightly, and boom, you have a buttermilk substitute ready for the mixing bowl. It keeps that essential acid needed for the texture. Speaking of texture, if you’re looking for other incredibly moist baked goods, you absolutely must check out my recipe for Easy Moist Chocolate Muffins Recipe.
Variations for Your Homemade Red Velvet Treats
I love that this recipe for red velvet cupcakes is the perfect starting point, but sometimes you just want to jazz things up a bit! That’s the beauty of Homemade Red Velvet Desserts—you can customize them easily. While the classic flavor combination of cocoa and tang is hard to beat, a few small changes can make these feel brand new.
Adding a Cheesecake Swirl to red velvet cupcakes
I know a lot of you are dreaming of those incredible ‘Red Velvet Cheesecake Cupcakes,’ and honestly, this batter is the perfect base for it! Before scooping the batter into your liners, prep a small batch of cheesecake filling—the same one I use for my brownies. Just put a dollop right in the middle of the batter in each cup. Don’t overfill them! When they bake, that creamy cheesecake center sinks just a little, giving you that stunning two-layer effect. You can find my cheesecake base recipe notes here if you want to dive deep into that Red Velvet Cheesecake Brownies Recipe technique.
Flavor Tweaks for red velvet cupcakes
If you want to lean into that subtle chocolate note, try adding just a tiny whisper of spice. Seriously, just 1/8 teaspoon of finely ground nutmeg blended with your dry ingredients gives the cake a warmth you can’t quite place—it’s lovely! And about the color: if you are trying to avoid heavy artificial dyes, you can use beet powder, but you’ll need quite a bit, and it might change the texture slightly, so always start small and check the consistency before putting it in the oven!
Serving Suggestions for Decadent Red Velvet Treats
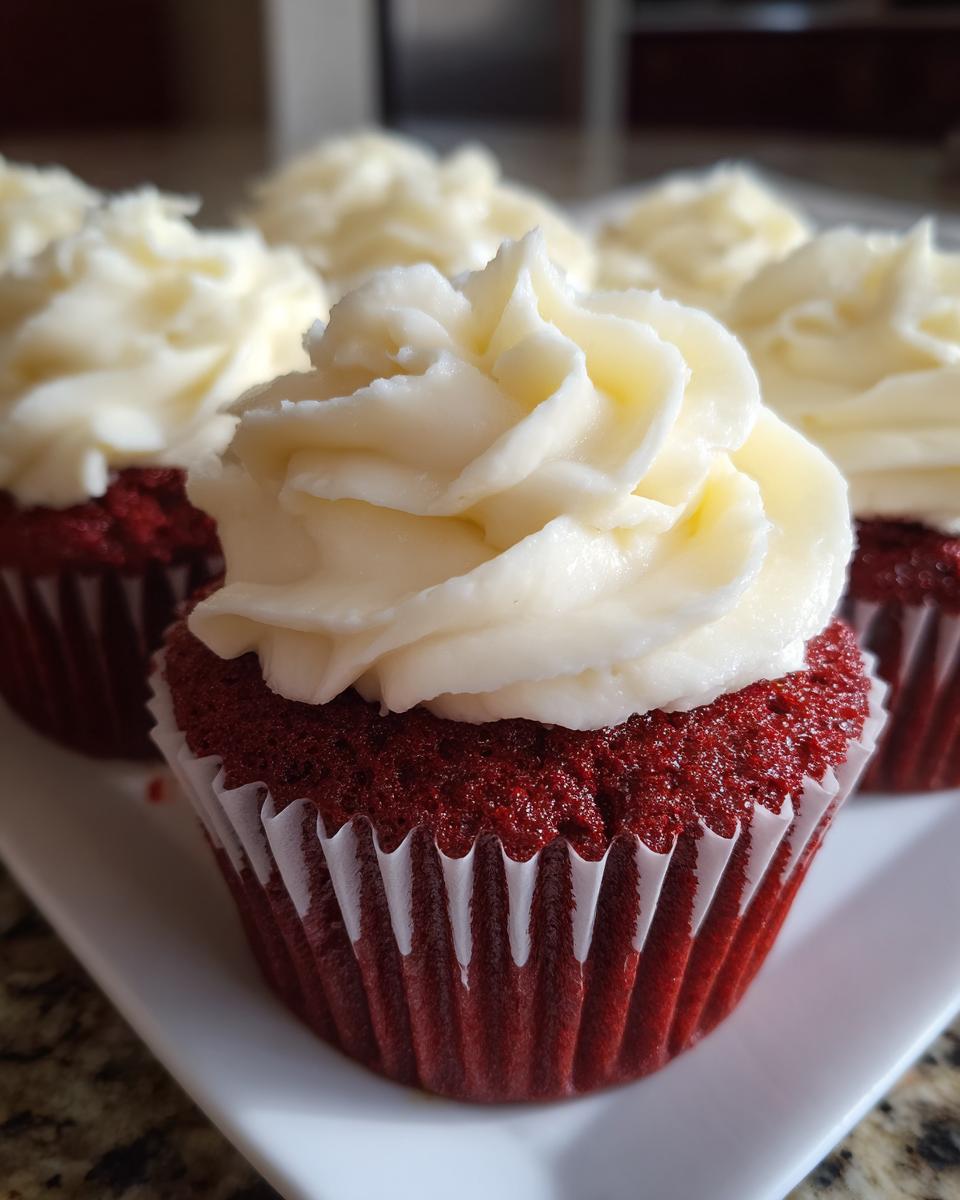
These Decadent Red Velvet Treats really shine when you lean into that beautiful deep red and white contrast. For Christmas or Valentine’s Day, they are instant show-stoppers just sitting on a white platter. If you’re looking for other easy, elegant desserts that follow that red and white theme, you have to see my chewy Christmas cookie bars; they always get rave reviews!
They are fantastic served simply plain, of course, but a drizzle of melted white chocolate across the top of the cream cheese frosting adds a lovely texture crunch. For an extra burst of freshness, have a side of fresh raspberries ready—the slight tartness cuts through the sweetness of the frosting perfectly. For more holiday dessert ideas that look fancy but are totally doable, check out my Easy Chewy Holiday Treats.
Storage and Reheating for Your Red Velvet Cupcakes
The big question after baking a batch of perfect red velvet cupcakes is—how do I keep them magnificent?
Because we used that amazing cream cheese frosting, airtight storage is your best friend here. You can leave these beauties out on the counter for about two days, covered tightly, if your kitchen isn’t too warm. The sugar helps preserve them. If you need to keep them longer, pop them into the fridge. Don’t worry, they won’t totally dry out if you used my recipe!
If they are refrigerated, just remember to pull them out about 30 minutes before you want to eat them. Letting them come back to room temperature lets that fluffy texture return. I never reheat cupcakes; the frosting just gets weird! Enjoy them cool or room temp.
Frequently Asked Questions about red velvet cupcakes
I know you’ve got questions, I always do when I try a new classic recipe! Getting red velvet cupcakes perfect means nailing a few specifics that other cakes don’t worry about. It’s totally normal to check in before you get started. If you are looking for the recipe’s full procedure, just hop back to the main steps! But while you’re here, let’s clear up some common confusion about making these Classic Red Velvet Cupcakes.
What makes red velvet cupcakes different from chocolate cupcakes?
Great question! While both use cocoa powder, red velvet is different because the tiny amount of cocoa interacts with the acid from the buttermilk and vinegar. That reaction, combined with the vibrant red coloring we add, changes the flavor profile completely. It’s not just a chocolate cupcake with food dye; it has a distinct, slightly tangy background note you don’t find in standard chocolate recipes. It’s subtle, but that’s what makes them special!
Can I make these red velvet cupcakes without buttermilk?
You absolutely can, but it’s important to replace that acid! If you don’t have buttermilk in the fridge, don’t worry about running to the store. Remember that simple little trick I shared? Just mix one cup of whole milk with one tablespoon of white vinegar or lemon juice. Let it sit for five minutes until it starts to curdle just a little bit. That homemade version works beautifully in this recipe for Moist Red Velvet Cupcakes.
How do I ensure my red velvet cupcakes are truly fluffy?
Fluffiness, or rather, that velvety texture, comes down to two main things we talked about: chemistry and gentle handling. First, make sure your egg and dairy ingredients are at room temperature; cold ingredients don’t mix smoothly! Second, and this is key: Do. Not. Overmix. Once you combine the wet and dry ingredients, mix only until the flour streaks disappear. That prevents gluten buildup, which is what makes cakes tough instead of light and fluffy. For more recipe troubleshooting from my kitchen adventures, I sometimes reference my guide on making soups, like my Easy Chicken and Dumpling Recipe, because good technique applies everywhere!
Nutritional Snapshot of these red velvet cupcakes
Now, I always tell everyone that baking from scratch means these red velvet cupcakes are a treat, not part of your daily diet plan! These numbers are just estimates based on the ingredients listed, so they can vary a bit based on your specific brands, of course. You deserve to know what you’re enjoying, though!
- Serving Size: 1 cupcake
- Calories: 350
- Sugar: 35g
- Fat: 18g
- Protein: 4g
So, yes, they are decadent! Enjoy them knowing you made them with the best ingredients possible, which always tastes better, right?
Share Your Perfect red velvet cupcakes
I truly hope these red velvet cupcakes bring as much joy to your kitchen as they do mine! Once you try them, please come back here and tell me what you thought. Did they stay moist? How did you decorate them for your special occasion? Leaving a rating helps other bakers find this genuinely doable recipe.
If you snapped a picture of your gorgeous red-and-white treats, share it on social media and tag me! I love seeing your beautiful results. If you want to know more about how I develop these recipes for busy lives, feel free to check out the About Ava Sinclair / Our Story page!
PrintThe Best Ever Ultra-Moist Red Velvet Cupcakes with Tangy Cream Cheese Frosting
Make bakery-style red velvet cupcakes from scratch. This recipe delivers ultra-moist, soft cupcakes with a hint of cocoa, topped with the dreamiest, tangy cream cheese frosting.
- Prep Time: 20 min
- Cook Time: 20 min
- Total Time: 40 min
- Yield: 12 servings 1x
- Category: Dessert
- Method: Baking
- Cuisine: American
- Diet: Vegetarian
Ingredients
- 1 1/2 cups all-purpose flour
- 1 cup granulated sugar
- 1 tablespoon unsweetened cocoa powder
- 1 teaspoon baking soda
- 1/2 teaspoon salt
- 1 cup buttermilk
- 1/2 cup vegetable oil
- 1 large egg
- 1 teaspoon white vinegar
- 1 teaspoon vanilla extract
- 1 to 2 teaspoons red food coloring (gel preferred)
- 8 ounces cream cheese, softened
- 1/2 cup unsalted butter, softened
- 3 cups confectioners’ sugar, sifted
- 1 teaspoon vanilla extract
Instructions
- Preheat your oven to 350°F (175°C). Line a 12-cup muffin tin with paper liners.
- In a large bowl, whisk together the flour, sugar, cocoa powder, and baking soda.
- In a separate medium bowl, whisk together the buttermilk, oil, egg, vinegar, vanilla extract, and red food coloring until fully combined and vibrant red.
- Pour the wet ingredients into the dry ingredients. Mix on low speed until just combined. Do not overmix.
- Divide the batter evenly among the 12 cupcake liners, filling each about two-thirds full.
- Bake for 18 to 20 minutes, or until a toothpick inserted into the center comes out clean.
- Let the cupcakes cool in the pan for 5 minutes, then transfer them to a wire rack to cool completely before frosting.
- To make the cream cheese frosting, beat the softened cream cheese and butter together in a large bowl until smooth.
- Gradually add the sifted confectioners’ sugar, mixing on low speed until incorporated, then increase speed to medium-high.
- Beat in the vanilla extract until the frosting is light and fluffy.
- Once the cupcakes are completely cool, pipe or spread the cream cheese frosting onto each cupcake.
Notes
- For the most vibrant red color, use a high-quality gel food coloring instead of liquid drops.
- If you do not have buttermilk, mix 1 cup of whole milk with 1 tablespoon of white vinegar or lemon juice. Let it sit for 5 minutes before using.
- For bakery-style cupcakes, use room temperature ingredients for the cake batter.
Nutrition
- Serving Size: 1 cupcake
- Calories: 350
- Sugar: 35
- Sodium: 250
- Fat: 18
- Saturated Fat: 9
- Unsaturated Fat: 9
- Trans Fat: 0
- Carbohydrates: 45
- Fiber: 1
- Protein: 4
- Cholesterol: 45