
Okay, let’s talk truth: that cardboard circle you buy in the freezer aisle? It’s just sad. It doesn’t have any soul, and honestly, the flavor is nonexistent. Once you taste a perfect, flaky, buttery homemade pie crust, you will never go back—I promise you that. I created the Best Flaky, All-Butter Pie Crust Recipe (Simple, No-Fail Version) because, just like everything else here at Completely Yummy, I wanted the absolute best flavor without needing hours in the kitchen. My mission, as Ava Sinclair, is to take those classic, incredible techniques my family showed me and make them genuinely doable for your busy weeknights. This simple pie crust recipe is your ticket to truly amazing chicken pot pie or holiday desserts!
- Why This All-Butter Pie Crust Recipe is Foolproof (Simple Pie Crust Recipe)
- Ingredients for the Best Flaky Pie Crust Recipe
- How to Make Pie Crust From Scratch: Step-by-Step Instructions
- Tips for Success with Your Buttery Pie Dough
- Using Your Simple Pie Crust Recipe: Single or Double Crust
- Storage & Reheating Instructions for Homemade Pie Crust
- Frequently Asked Questions About Making Pie Crust
- Estimated Nutritional Data for This Pie Crust
- Share Your Flaky Pie Crust Creations
Why This All-Butter Pie Crust Recipe is Foolproof (Simple Pie Crust Recipe)
I know what you’re thinking—homemade pastry is scary. But trust me on this one! This particular all-butter pie crust is designed to give you that amazing, rich, buttery flavor without all the usual guesswork. It’s truly the best pie crust recipe, even if you’ve only ever bought the frozen kind before.
- Incredible Flaky Texture: We skip the shortening entirely, which means big pockets of butter steam up in the oven, creating those beautiful layers.
- Rich, Buttery Flavor: Only real butter makes this crust taste homemade.
- Easy to Handle: Despite being all-butter, the chilling process makes this dough surprisingly cooperative for rolling out.
The Secret to a Truly Flaky Pie Dough
The magic here is all about temperature control and texture. You absolutely must keep everything ice cold—your butter, your water, maybe even your mixing bowl if your kitchen is warm! When you mix it, you aren’t aiming for smooth dough right away. You want coarse crumbs, and you should still see visible chunks of butter, some about the size of a small pea. That unmixed butter is literally what separates when it melts, making your final pie dough flaky!

Ingredients for the Best Flaky Pie Crust Recipe
I’ve kept this recipe simple—just five core items! If you follow the list below, you’ll have enough for a double pie crust, meaning you get the bottom *and* the top layer for your perfect dish. Remember, no matter what you’re making—apple pie, quiche, or savory goodness—the quality of your pie crust starts here.
- 2 1/2 cups all-purpose flour
- 1 teaspoon salt
- 1 tablespoon granulated sugar
- 1 cup (2 sticks) unsalted butter, very cold and cut into 1/2-inch cubes
- 1/2 cup ice water, plus 1-2 tablespoons more if needed
Ingredient Clarity and Preparation
Preparation is everything when it comes to achieving that perfect lift. Your butter needs to be cut into exactly half-inch cubes before it goes into the freezer for a quick chill party. It has to be *extremely* cold! Likewise, the water must be ice cold. I keep a glass of ice water right beside my mixing station so I can easily eye-dropper the liquid into the flour mixture when the time comes. Don’t skip these temperature checks!
How to Make Pie Crust From Scratch: Step-by-Step Instructions
Alright, let’s get down to business! Making your own pie crust is really just a matter of following steps in the right order. We need to build that flaky structure gently, so take your time during the mixing phase. This recipe is laid out to maximize the butter’s structure before we ever let it rest in the fridge.
Mixing the Dough for Tender Pie Crust
First up, grab your dry things—flour, salt, and sugar—and whisk them until they look perfectly uniform in your bowl. Now, bring in those cold butter cubes! You’ll use a pastry blender or your fingertips to work that butter into the flour. You are looking for a mixture that has crumbs of all sizes, but you must see some noticeable, pea-sized pieces of butter still floating around. Stop cutting as soon as you hit that stage! Then, add the ice water slowly, just until the dough starts to hug itself together when you squeeze a bit. Don’t be tempted to knead; it ruins the possibility of a tender pie crust!
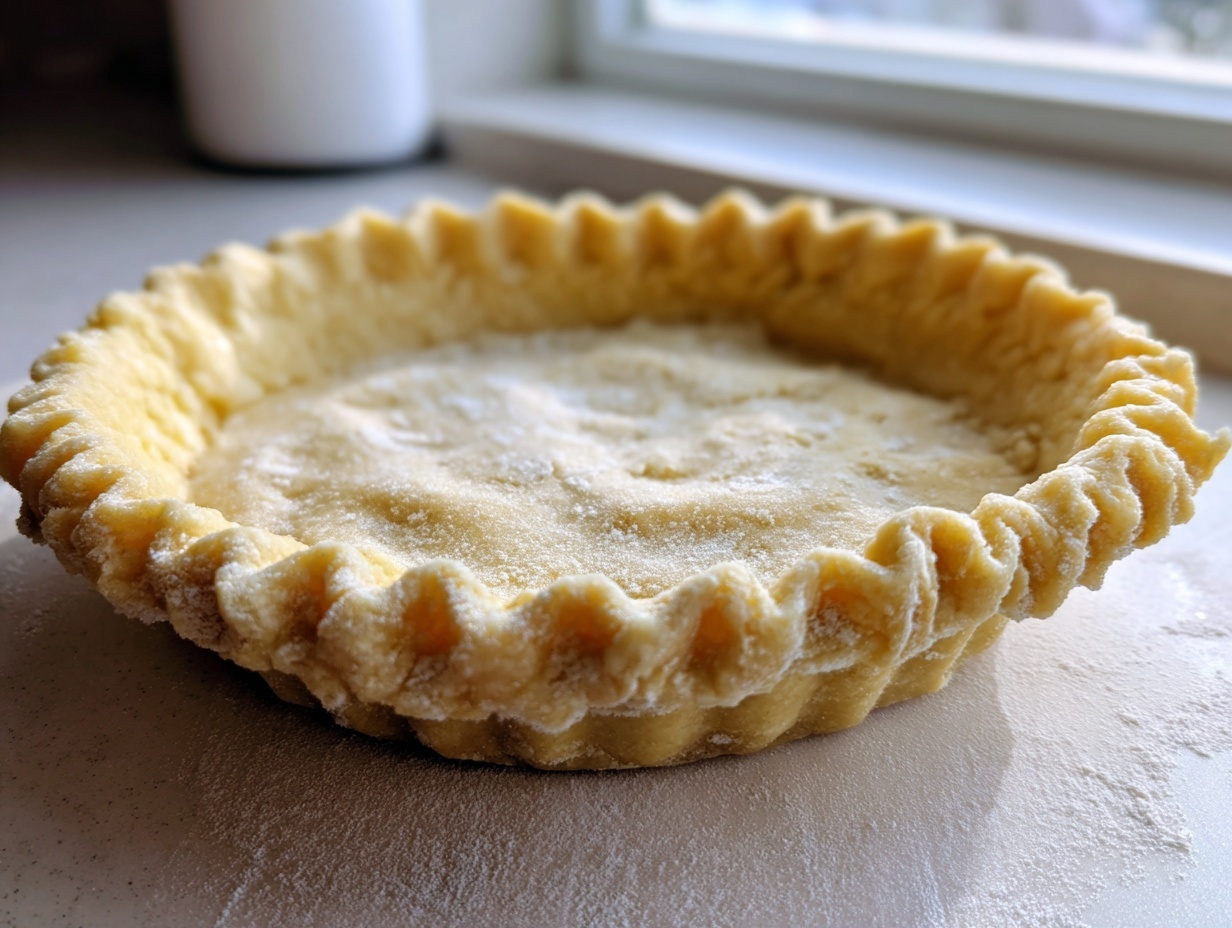
Chilling and Rolling Your Homemade Pie Crust
Once that dough just barely holds together, divide it in two, flatten each half into a nice, compact disk, wrap them up snuggly in plastic wrap, and send them to the refrigerator. This chilling time isn’t optional; it’s essential! You need to let that butter firm up again for a minimum of two hours. If you skip this rest, the dough will fight you like crazy when you try to roll it out. When you’re ready, take one disk out and let it warm up just ten minutes—it needs to be pliable, not rock hard. Roll it gently from the center outward until you have a circle that’s about 12 inches across, making sure you handle your beautiful pie crust as little as possible.
Tips for Success with Your Buttery Pie Dough
I have a few extra little tricks up my sleeve to make sure this pie dough works every time, whether you’re a nervous beginner or you’re making this for the tenth time. First, if you absolutely must rush things—or if your hands are just naturally warm—don’t be afraid to use a food processor! Just pulse the dry bits and the cold butter until you get those pea-sized crumbs, and then drizzle in the ice water while pulsing until it all just starts to look shaggy. Stop right there before it turns into a real ball!
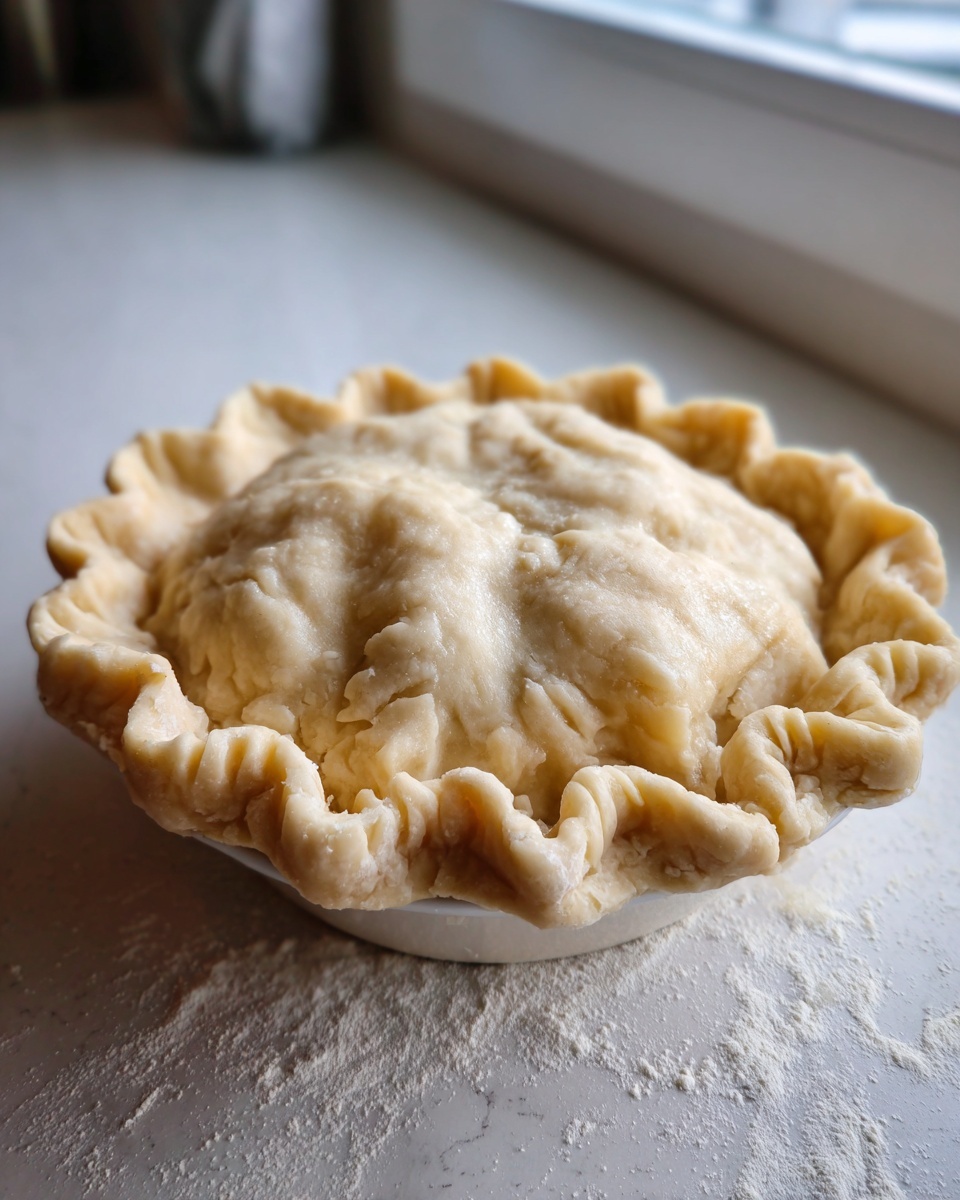
Handling Dough for Savory vs. Sweet Pies
One of the best parts about this recipe is its versatility. You get the richness you crave for holiday desserts, but honestly, it shines just as brightly under a savory topping. This base is fantastic for creating that super flaky, crisp quiche crust recipe come Sunday morning, or it forms the perfect cap for a hearty chicken pot pie crust later in the week. The buttery flavor just elevates anything baked on top of it!
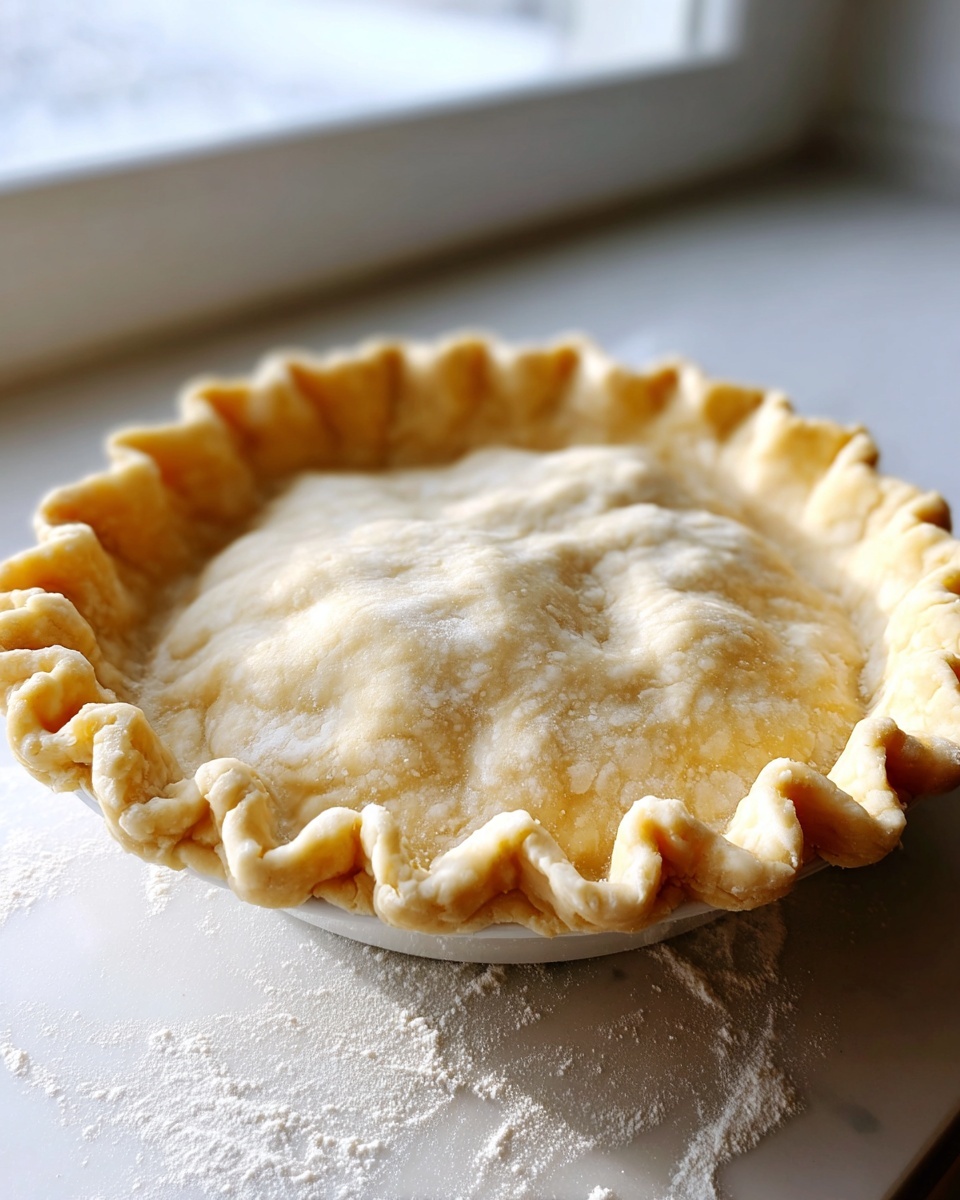
Using Your Simple Pie Crust Recipe: Single or Double Crust
This recipe is generous! When the instructions said it made a double pie crust, they meant it—you can make pies with tops and bottoms, or you can divide the dough to make two completely separate single pies, maybe one sweet and one savory! If you’re making a pie that needs just one layer, like a pumpkin pie, wrap up that second disk and pop it in the freezer for a rainy day. Now, if you’re blind baking a bottom layer for something wet—like a quiche—you have to remember to prick the dough all over with a fork before chilling it again. That little step stops the bottom from puffing up like a giant balloon halfway through baking your pie crust!
Storage & Reheating Instructions for Homemade Pie Crust
One thing I love about making this dough is that it lasts! Since we aren’t rushing to fill the pie right away, you can totally make this ahead of time. Keep those tight little disks wrapped tightly in the fridge for up to two full days. That gives you two days to decide between a holiday pie or maybe just treating yourself to an extra-flaky savory bake later! If you think you won’t use it within that window, definitely wrap it extra well and toss it in the freezer. It freezes like a dream, giving you a head start on baking whenever inspiration strikes. To use the frozen disk, just let it thaw slowly in the fridge overnight before bringing it to room temperature for rolling, as shared on sites that focus on that buttery flavor.
Frequently Asked Questions About Making Pie Crust
It’s funny how even with the simplest things, questions always pop up! I get so many messages asking how to fix a dough that got too warm or what happens if they skip a step. That’s okay! That’s why we build up that knowledge together here at Completely Yummy. Dealing with dough can be tricky, but once you know these little secrets, you’ll have the confidence to whip up a perfect pie crust for any occasion.
Can I use this easy pie pastry recipe without chilling the dough?
Oh, please don’t try it! If you skip that crucial chilling time, the butter softens up way too much. When you try to roll it or bake it, the dough becomes tough or greasy instead of light and flaky. You need that cold time for structure!
What makes this the best pie crust recipe?
Hands down, it’s the all-butter commitment. There’s no shortening, which means you get the deepest, richest flavor possible! Plus, the method of cutting the cold butter into visible pieces guarantees you end up with that airy, flaky pie crust every single time you reach for this recipe.
Why is my homemade pie crust tough instead of tender?
Toughness almost always comes down to overworking the dough! Once you add the water, you mix just until it clumps. If you keep mixing, you’re developing too much gluten, which tightens up when baked. Remember, we want a tender experience, so easy mixing is your best friend here.
Can I substitute half of the butter for shortening?
You certainly *can*, but then it wouldn’t be this specific recipe, right? I designed this as a genuine all-butter experience because shortening gives you flakiness but zero flavor. If you absolutely must swap it for texture reasons, use half the butter and half the shortening. But you’ll miss out on that deep, satisfying buttery taste that people rave about!
Estimated Nutritional Data for This Pie Crust
Now, I promised you seriously good food, but let’s keep it real—this is pastry, and it’s loaded with glorious butter! These numbers are just an estimate for 1/8th of the crust before you add any filling whatsoever. If you use this as a single pie crust recipe, the numbers per slice will shift slightly, of course.
- Serving Size: 1/8 of crust
- Calories: About 280
- Total Fat: 18g (Behold the butter!)
- Carbohydrates: 27g
- Protein: 4g
Please remember these are true estimates calculated on the raw dough only. They will change wildly once you top this beauty with savory chicken or sweet apple filling, so don’t stress too much about these figures!
Share Your Flaky Pie Crust Creations
I just love seeing what you all bake up! When you use this recipe, snap a picture! Whether you kept it simple with a classic pumpkin pie or went hearty with a homemade pie crust for your chicken pot pie, tag us and use the hashtag #CompletelyYummy.
Seeing your perfectly flaky results totally makes my day. Five stars if you loved it, and let me know below so I can keep bringing you recipes that are simple and seriously good!
PrintThe Best Flaky, All-Butter Pie Crust Recipe (Simple, No-Fail Version)
Make a perfectly flaky, buttery homemade pie crust from scratch. This easy, all-butter recipe is foolproof and works for sweet pies, quiches, and chicken pot pie.
- Prep Time: 20 min
- Cook Time: 0 min
- Total Time: 2 hr 20 min
- Yield: One 9-inch double crust 1x
- Category: Baking
- Method: No-Bake (Chilling Required)
- Cuisine: American
- Diet: Vegetarian
Ingredients
- 2 1/2 cups all-purpose flour
- 1 teaspoon salt
- 1 tablespoon granulated sugar
- 1 cup (2 sticks) unsalted butter, very cold and cut into 1/2-inch cubes
- 1/2 cup ice water, plus 1-2 tablespoons more if needed
Instructions
- Combine the flour, salt, and sugar in a large bowl. Whisk them together.
- Add the very cold butter cubes to the flour mixture. Use a pastry blender or your fingertips to cut the butter into the flour until the mixture resembles coarse crumbs with some pea-sized pieces of butter remaining. This step is key for a flaky pie crust.
- Gradually add the ice water, one tablespoon at a time, mixing gently with a fork until the dough just comes together. Do not overmix. You may not need all the water.
- Divide the dough in half. Form each half into a flat disk, wrap tightly in plastic wrap, and refrigerate for at least 2 hours, or up to 2 days. This chilling time is necessary for a tender pie crust.
- When ready to use, remove one disk from the refrigerator and let it sit at room temperature for about 10 minutes to soften slightly.
- Lightly flour a clean surface. Roll the dough out from the center outward into a 12-inch circle.
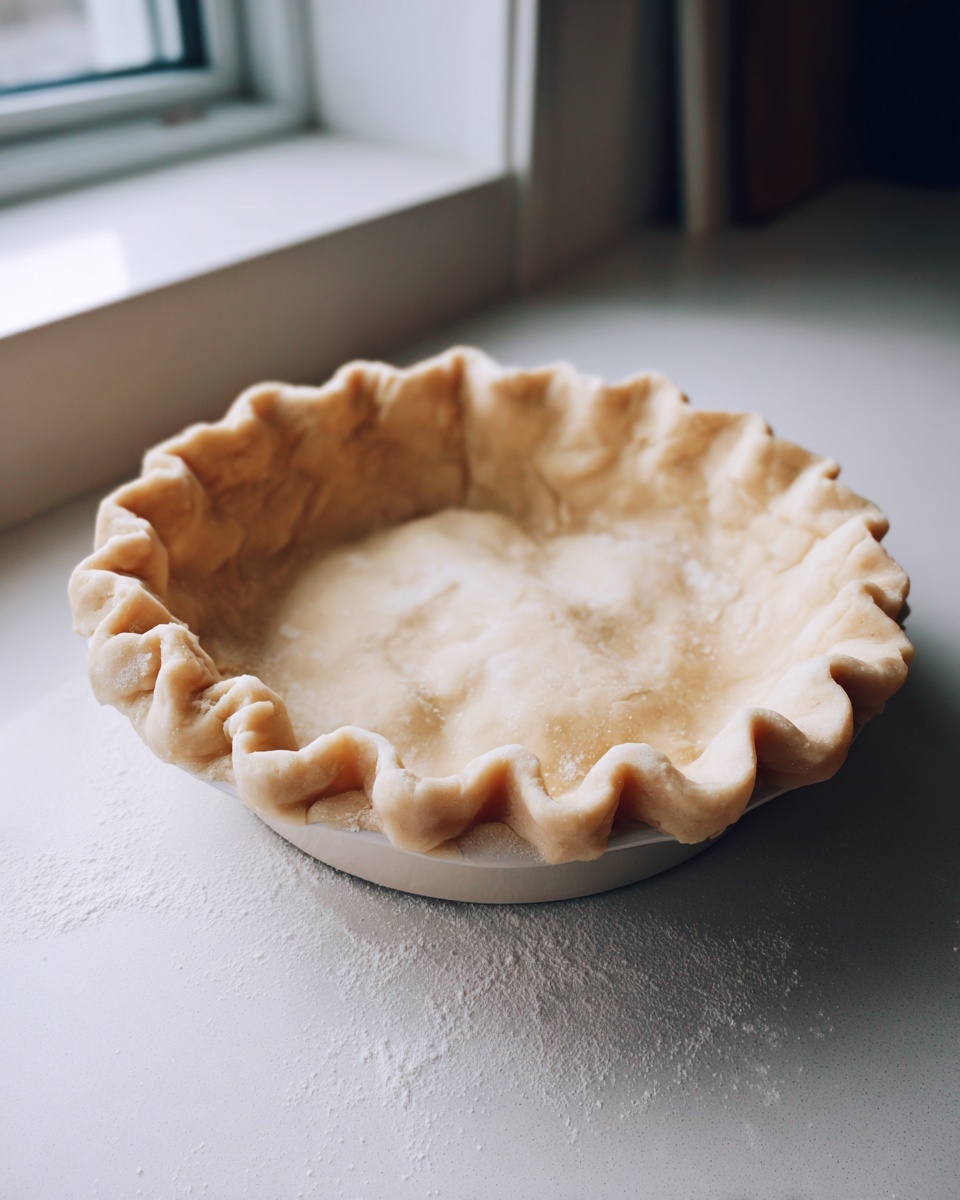
- Carefully transfer the dough to your 9-inch pie plate. Trim and crimp the edges as desired for your single pie crust recipe or double pie crust.
- If blind baking, prick the bottom all over with a fork. Chill the crust again for 30 minutes before baking according to your pie recipe instructions.
Notes
- Keep your butter and water as cold as possible for the flakiest results.
- If you prefer a food processor method for making pie dough, pulse the dry ingredients, then add the cold butter and pulse until coarse crumbs form. Drizzle in the ice water while pulsing until the dough just starts to clump.
- This recipe makes enough for a double pie crust (top and bottom), or two single pie crusts.
Nutrition
- Serving Size: 1/8 of crust
- Calories: 280
- Sugar: 0.5
- Sodium: 250
- Fat: 18
- Saturated Fat: 11
- Unsaturated Fat: 7
- Trans Fat: 0.5
- Carbohydrates: 27
- Fiber: 1
- Protein: 4
- Cholesterol: 45