
Oh, there is nothing quite like the smell of bread fresh from the oven, right? Especially when that bread is warm, pillowy, and magically expands to form that perfect pocket! I’m Ava, and I promise you, learning to make your own **greek pita bread recipe** from scratch is going to change your Mediterranean nights forever. Forget those stiff, store-bought versions; this is the definitive, easy guide that guarantees the softest texture and those incredible, puffy pockets you dream about. It’s so simple, I even make this on nights when I’m testing other slightly more complicated bakes, like that wonderful Greek yogurt banana bread!
Mastering this staple bread is essential, folks. Whether you’re stuffing it with gyros or just scooping up giant mounds of homemade tzatziki, this bread transforms the whole meal. We worked hard to nail this process so it’s genuinely doable, even for beginners. Trust me, once you smell that yeasty goodness wafting from your stovetop, you’ll never look back!
- Why This is the Best Pita Bread Recipe for Homemade Greek Pita Bread
- Ingredients for Your Authentic greek pita bread recipe
- Step-by-Step Instructions for Making Pita Pockets at Home
- How to Make Greek Pita Bread Fluffy Using the Stovetop Pita Bread Recipe
- Tips for Success with Your Soft Mediterranean Bread Recipe
- Serving Suggestions for This Greek Flatbread Recipe
- Storage and Reheating Instructions for Leftover greek pita bread recipe
- Frequently Asked Questions About Making Bread
- Nutrition Information Estimate
Why This is the Best Pita Bread Recipe for Homemade Greek Pita Bread
I know there are a million flatbread recipes out there, but I stand by this one—it’s truly the **best pita bread recipe** you’ll find for home cooks. Why? Because we ditch the fussy oven and head straight to the stovetop. It’s incredibly fast, and seriously, that high, direct heat is what forces the dough to puff up perfectly every single time.
If you’re looking for that satisfying, soft, tear-apart texture that defines excellent **homemade greek pita bread**, this is it. The simple addition of olive oil right into the dough ensures they stay tender and bendable, unlike some dried-out, cardboard versions you sometimes end up with. Plus, since we keep the ingredients so minimal, they taste unbelievably fresh. You can check out the secrets to another fluffy favorite over here for soft, fluffy homemade pita bread, but for true Greek flavor, stick with this method!
Ingredients for Your Authentic greek pita bread recipe
When you’re aiming for that authentic soft texture, the ingredients list needs to be spot-on. Don’t stress; we are keeping this collection of essentials super simple. You’ll need just six things to make this glorious **greek pita bread recipe**—mostly pantry staples, which I love! Gather your warm water, a little sugar to wake up the yeast, your main flour component, salt for flavor, and just a splash of good olive oil.
Ingredient Notes and Substitutions
Listen, the olive oil is important here—it’s what keeps this bread so tender; don’t skip it! For the flour, all-purpose works perfectly fine, but if you’re feeling like you want an extra chewy bite, you can swap out half of it for bread flour. It just adds a little more structure to hold that amazing puff we’re aiming for. Also, when I say warm water, I mean ‘bathwater warm’—not hot! If it’s too hot, you’ll kill your yeast, and then we are in trouble!
Step-by-Step Instructions for Making Pita Pockets at Home
Okay, now for the fun part—getting our hands into the dough! This process for **making pita pockets at home** is incredibly satisfying. We’re going to move through this methodically, but don’t rush the rising part; that’s where the magic happens for texture.
Activating Yeast and Mixing the greek pita bread recipe Dough
First things first: we need to proof that yeast! Grab a small bowl, pour in your warm water (remember, 105°F to 115°F—just warm to the touch!), and sprinkle in the sugar and that active dry yeast. Leave it alone for about ten minutes. When you come back, it should look bubbly and gloriously foamy—that’s your signal it’s ready to work! In a bigger bowl, give your flour and salt a quick whisk together, then pour in the wet yeast mixture and your olive oil. Mix it until it looks like a messy, shaggy ball of dough.
Kneading and The Crucial First Rise
Time to get energetic! Turn that sticky mess out onto a lightly floured counter. You need to knead this dough for a solid 5 to 7 minutes. Keep pushing, folding, and turning until it stops fighting you and becomes beautifully smooth and elastic. It should feel springy under your fingers. Pop that smooth ball into an oiled bowl, cover it up tight with plastic wrap, and tuck it somewhere genuinely warm—like near a sunny window or in a slightly warm oven that’s been turned OFF. Let it chill out for about an hour to an hour and a half until it’s doubled in size. That patient rise makes all the difference between a tough bread and a soft one!
Shaping and Preparing for the Heat
Once it’s doubled, give the dough a gentle punch down to release the air. Now, divide what you’ve made into 8 equal portions. Roll each one into a neat little ball and cover them again—we need a quick 15-minute rest so the gluten relaxes! After resting, grab your rolling pin. Roll each ball out into a circle that’s about 6 to 7 inches wide, but try to keep the thickness consistent, aiming for about 1/8 of an inch. This consistent thickness is key for an even puff later on! If you’re looking for other great ways to handle dough, you might want to check out my guide on easy homemade corn tortillas while you wait!
How to Make Greek Pita Bread Fluffy Using the Stovetop Pita Bread Recipe
We’ve done the hard work mixing and resting, and now it’s time for the miracle moment! This step is where you learn exactly **how to make greek pita bread fluffy** and guarantee that incredible pocket forms. The secret sauce here is pure, aggressive heat. Forget simmering; we need blazing fire—or at least, screaming hot cast iron!
Get your heavy-bottomed skillet, preferably cast iron, heating over medium-high to high heat. And I mean *hot*. Don’t add any oil to the pan; this **stovetop pita bread recipe** relies on a dry surface. Drop one rolled-out pita gently onto that hot surface. You should see little bubbles forming on the top almost instantly—that’s the good sign!
Cook it for just 30 to 60 seconds on the first side. Then flip it. Now, here’s the crucial technique for that famous puff: grab your spatula and gently, but firmly, press down on the top surface of the pita. Don’t smash it flat, but give it encouragement! This trapped steam inside needs a little nudge to fully separate the layers and inflate like a balloon. It’s so satisfying watching it swell up! If you need other tips for maximizing puffiness in baked goods, I talk a bit about dough expansion secrets over in my guide to fluffy pancakes!
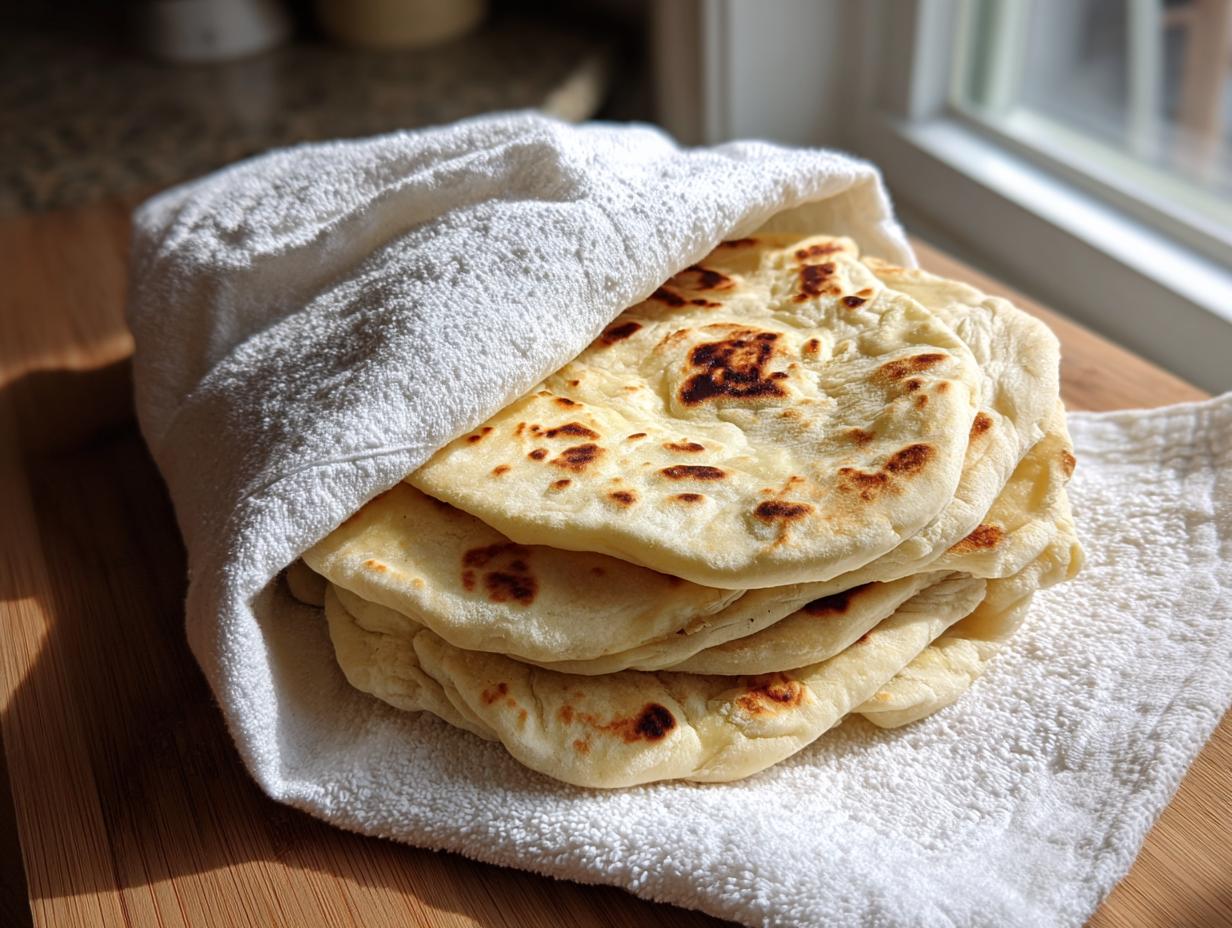
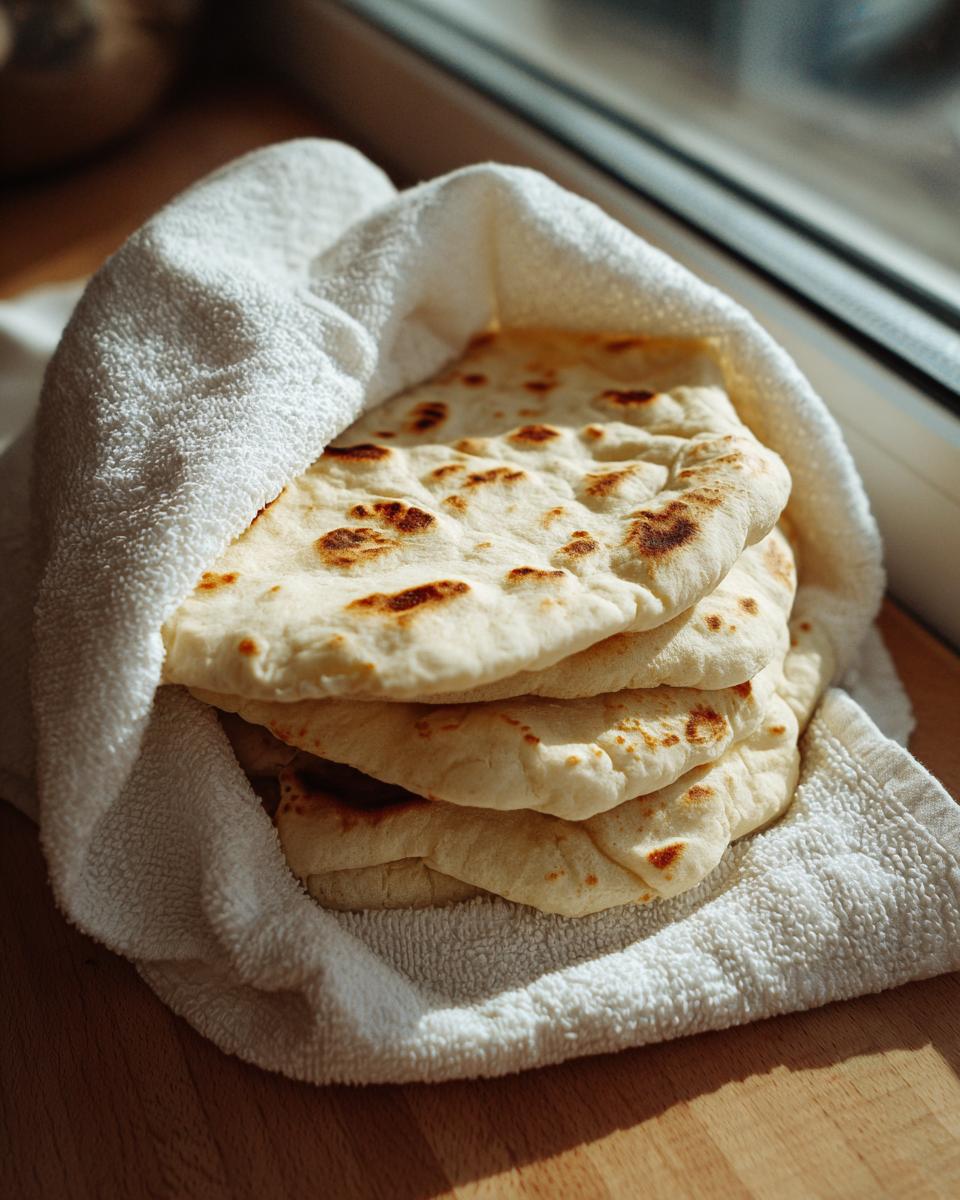
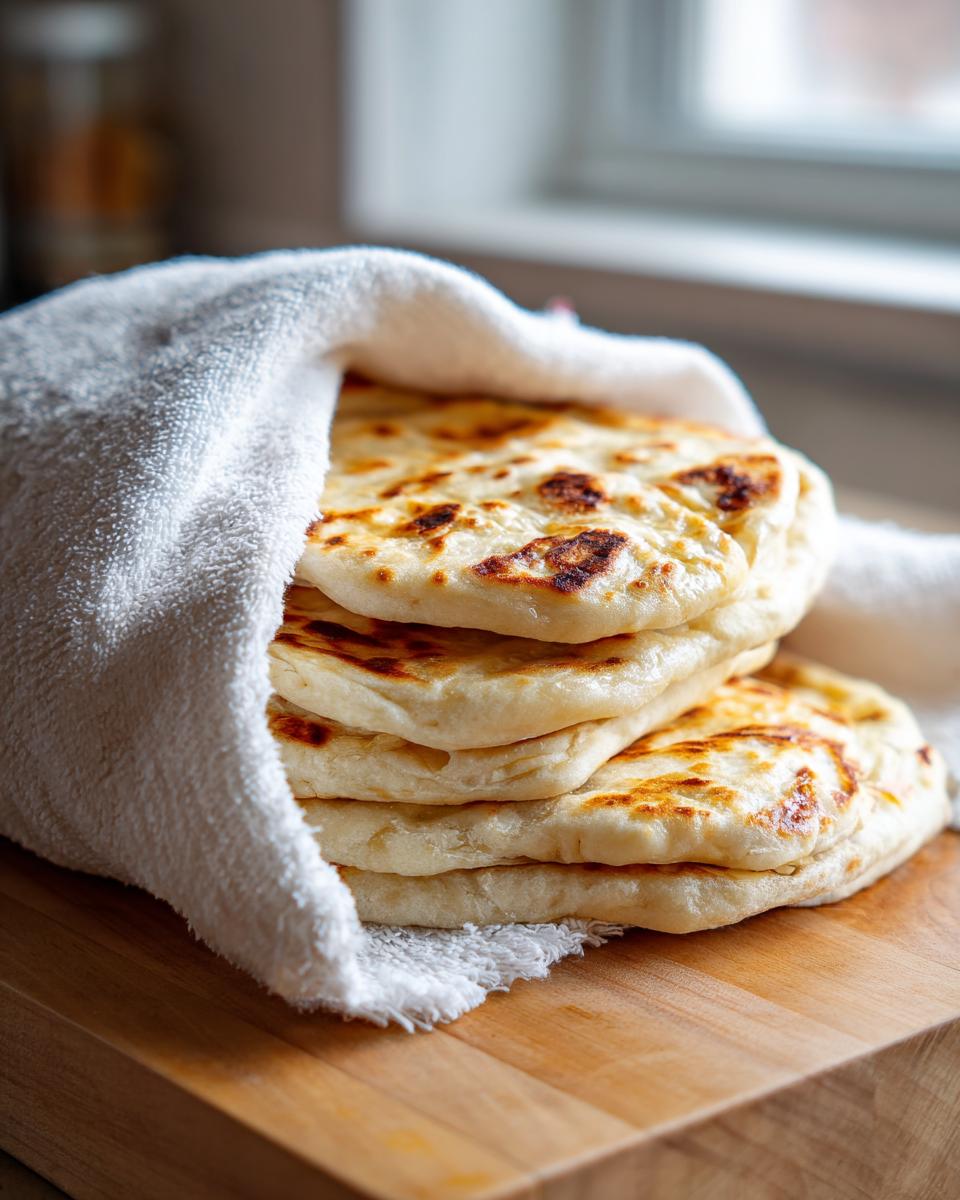
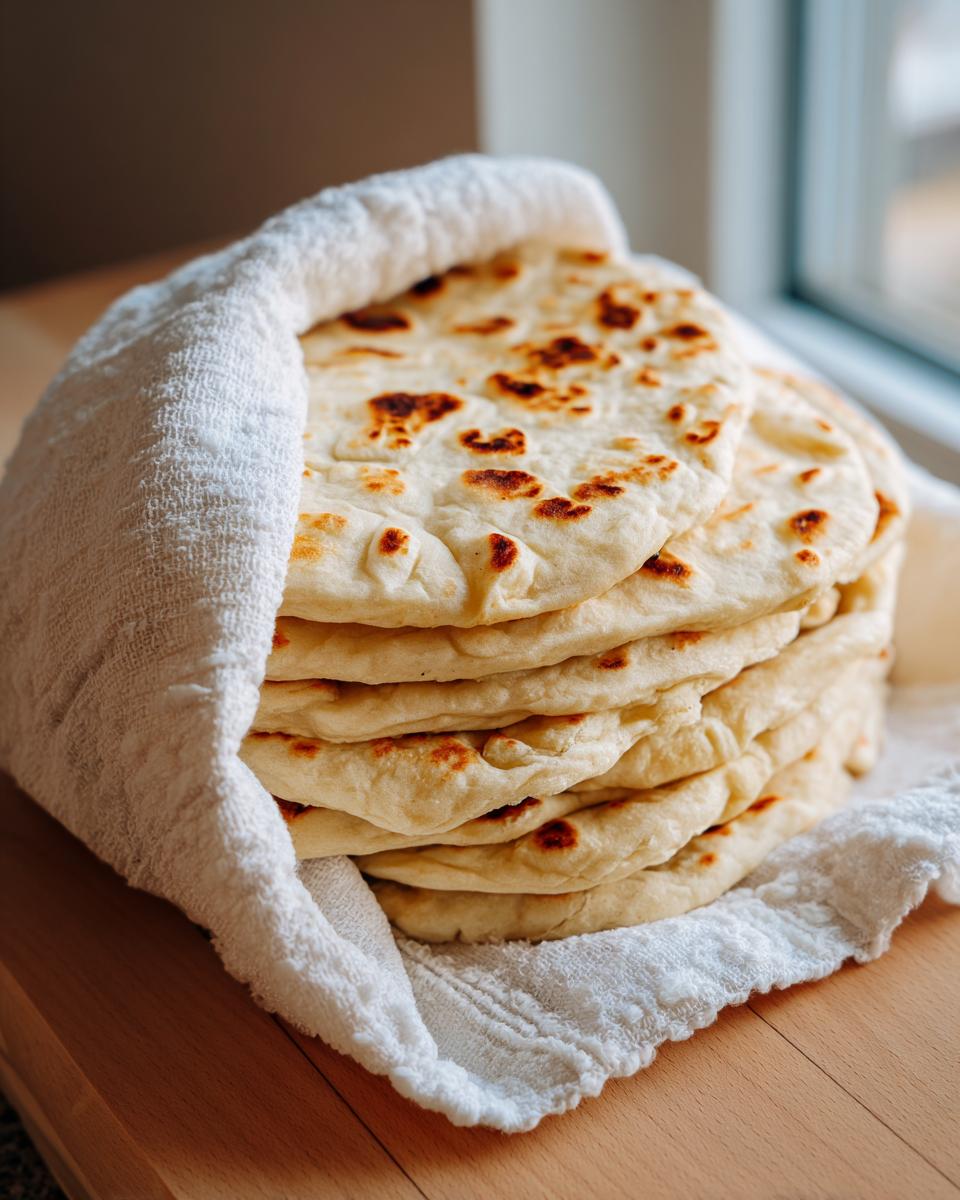
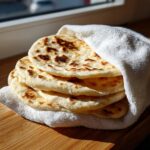
As soon as it puffs—and I mean the moment it’s fully inflated—take it off the heat. It only needs a few more seconds on the other side until it shows just a few light golden-brown spots. Stack the finished pitas immediately and wrap them up tight in a clean kitchen towel. That trapped residual heat and steam keep them perfectly soft while you cook the rest of the batch. If you skip the wrapping, they dry out fast!
Tips for Success with Your Soft Mediterranean Bread Recipe
Even with the best recipe, sometimes our pita bread decides to be stubborn! Don’t panic if your dough doesn’t inflate into a giant balloon right away; it usually comes down to heat or handling. My biggest piece of advice for achieving that wonderfully **soft mediterranean bread recipe** texture is skillet temperature. It must be screaming hot before that dough hits the surface. If your pan is lukewarm, the moisture evaporates too slowly, and you get a stiff flatbread instead of a pocket.
Also, pay close attention to your rolling. If you roll any section too thin—say, thinner than the rest of the circle—that thin spot won’t have enough structural integrity to trap the steam, and it will just flatten out. Be firm, but gentle, when rolling those 1/8-inch circles. If you’re struggling with rolls, sometimes playing with dough structure helps. For instance, when I make easy French bread, handling the dough gently after the final rest makes a huge difference!
Serving Suggestions for This Greek Flatbread Recipe
Now that you’ve mastered making these perfectly pliable rounds, the crucial question is: What are we eating them with? Honestly, this **greek flatbread recipe** is so versatile, you could probably eat them straight off the towel, but where’s the fun in that?
The classic answer, of course, is stuffing them full! These are the absolute best wraps for making amazing gyros or loading up with souvlaki skewers and onions. But they shine just as brightly on the appetizer table. Tear them apart and use them as your vehicle for diving deep into homemade tzatziki—you won’t regret it. They are also fantastic served warm alongside a platter of hummus, baba ghanoush, or salty feta cheese. If you’re looking for a rich meat option to go inside, check out my thoughts on achieving perfect flavor when making homemade doner kebab. Seriously, these things make any meal feel like a taverna experience!

Storage and Reheating Instructions for Leftover greek pita bread recipe
My biggest tip for keeping these glorious rounds fresh is something I mentioned briefly earlier, but it bears repeating because it’s so vital: as soon as you pull a pita off that hot skillet, put it straight into a clean kitchen towel and wrap it up snugly! That trapped steam is the secret weapon for keeping them soft past the cooking stage.
If you have leftovers—which is rare in my house, let’s be honest—you need to keep them airtight. Pop the wrapped stack into a sealed plastic bag or an airtight container. They stay wonderfully soft at room temperature for up to three days. If you need them to last longer, you can absolutely freeze them, but make sure they are wrapped twice to avoid any freezer burn!
Reheating is super simple, and you want to bring back that fresh-from-the-skillet softness. You have two great options. For one or two pitas, just put them back onto that screaming hot, dry skillet for maybe 20 seconds per side. You’ll see them soften up instantly. Or, if you’re using the toaster oven, give them about 30 seconds on a low setting just until they are warm through. Don’t ever microwave them unless you want rubbery bread; trust me on this one!
Frequently Asked Questions About Making Bread
Why did my pita bread come out tough instead of soft?
Oh, this happens to everyone, don’t worry! Usually, if your bread is tough, it means you either over-kneaded it for too long, which develops too much gluten, or you didn’t allow it that crucial resting and rising time. When the dough is overworked or rushed, it becomes tight and won’t stretch properly to trap the steam, leading to a stiff, chewy texture rather than a soft one. Patience really is key with yeasted dough!
Can I make this greek pita bread recipe without yeast?
That’s a great question, especially if you’re out of yeast or just need a super quick bread! While this classic recipe thrives on yeast for that signature puff and flavor, you could try using baking powder instead for a quicker rise; this would actually turn it into more of a quick flatbread. It won’t puff up quite as dramatically as this version, but it’s still fast and delicious for dipping. If you’re looking specifically for no-yeast bakes, I have a wonderful easy beer bread recipe!
What is the main difference between homemade naan vs pita?
That’s a fun comparison! The dough recipe is similar in that both use yeast, but the cooking is totally different. Pita bread is typically cooked very quickly over intense, dry heat (like our skillet method) to force that steam pocket to form perfectly. Naan, on the other hand, is usually cooked slightly slower, often brushed with yogurt or oil, and traditionally baked against the hot walls of a tandoor oven, so it ends up slightly thicker and chewier, usually without that clean, hollow pocket.
How thick should I roll the dough for the best pocket?
Aiming for consistency is more important than hitting an exact number, but if you can, shoot for about 1/8 of an inch thick, or about the thickness of a couple of stacked credit cards. If you roll it too thin, the dough won’t have enough substance to expand when the steam hits it, and you’ll get a crisp tortilla instead of a fluffy pita. If it’s too thick, the middle might not cook all the way through before the outside burns.
Nutrition Information Estimate
Now, I’m not a nutritionist, so please take these numbers with a grain of salt—just like you would with any baking project! This estimate is based on the recipe details provided for one single pita, which is about 180 calories per serving. You’re looking at about 34 grams of carbohydrates and 6 grams of protein in that delicious, fluffy bread.
What I love is that it’s relatively low in fat, coming in around 3 grams total. These values are just an educated guess based on the flour, yeast, and olive oil we used. They are certainly a whole lot better than grabbing a highly processed loaf from the store, that’s for sure!
PrintAuthentic Greek Pita Bread Recipe for Perfect Pockets
Learn how to make soft, fluffy Greek pita bread at home using a simple stovetop method. This recipe yields bread perfect for gyros or dipping.
- Prep Time: 20 min
- Cook Time: 15 min
- Total Time: 1 hour 45 min
- Yield: 8 servings 1x
- Category: Bread
- Method: Stovetop
- Cuisine: Greek
- Diet: Vegetarian
Ingredients
- 1 teaspoon active dry yeast
- 1 teaspoon granulated sugar
- 1 cup warm water (about 105-115°F)
- 3 cups all-purpose flour, plus more for dusting
- 1 teaspoon salt
- 2 tablespoons olive oil
Instructions
- Activate the yeast: In a small bowl, combine the warm water, sugar, and yeast. Let it stand for 5 to 10 minutes until foamy.
- Mix dry ingredients: In a large bowl, whisk together the flour and salt.
- Combine: Pour the yeast mixture and olive oil into the flour mixture. Mix until a shaggy dough forms.
- Knead: Turn the dough out onto a lightly floured surface. Knead for 5 to 7 minutes until the dough is smooth and elastic.
- First rise: Place the dough in a lightly oiled bowl, turning to coat. Cover the bowl with plastic wrap or a damp towel. Let it rise in a warm place for 1 to 1.5 hours, or until doubled in size.
- Divide and rest: Punch down the dough gently. Divide it into 8 equal pieces. Roll each piece into a ball. Cover the balls and let them rest for 15 minutes.
- Shape: On a lightly floured surface, use a rolling pin to roll each ball into a circle about 1/8 inch thick and 6 to 7 inches in diameter.
- Cook: Heat a dry cast-iron skillet or griddle over medium-high heat until very hot. Place one pita in the hot skillet. Cook for about 30 to 60 seconds until bubbles appear on the surface.
- Flip and puff: Flip the pita. Cook for another 30 to 60 seconds. Press gently on the top of the pita with a spatula to encourage it to puff up completely, forming the pocket.
- Finish: Remove the pita when it is lightly browned in spots. Stack the cooked pitas and wrap them in a clean kitchen towel to keep them soft while you cook the remaining bread.
Notes
- For the best puff, make sure your skillet is very hot before adding the dough.
- If your pita does not puff, it often means the dough was rolled too thin or the heat was too low.
- Store leftover pita bread in an airtight container at room temperature for up to 3 days.
- Reheat quickly in a dry hot skillet or briefly in a toaster oven to restore softness.
Nutrition
- Serving Size: 1 pita
- Calories: 180
- Sugar: 1
- Sodium: 250
- Fat: 3
- Saturated Fat: 0.5
- Unsaturated Fat: 2.5
- Trans Fat: 0
- Carbohydrates: 34
- Fiber: 2
- Protein: 6
- Cholesterol: 0