
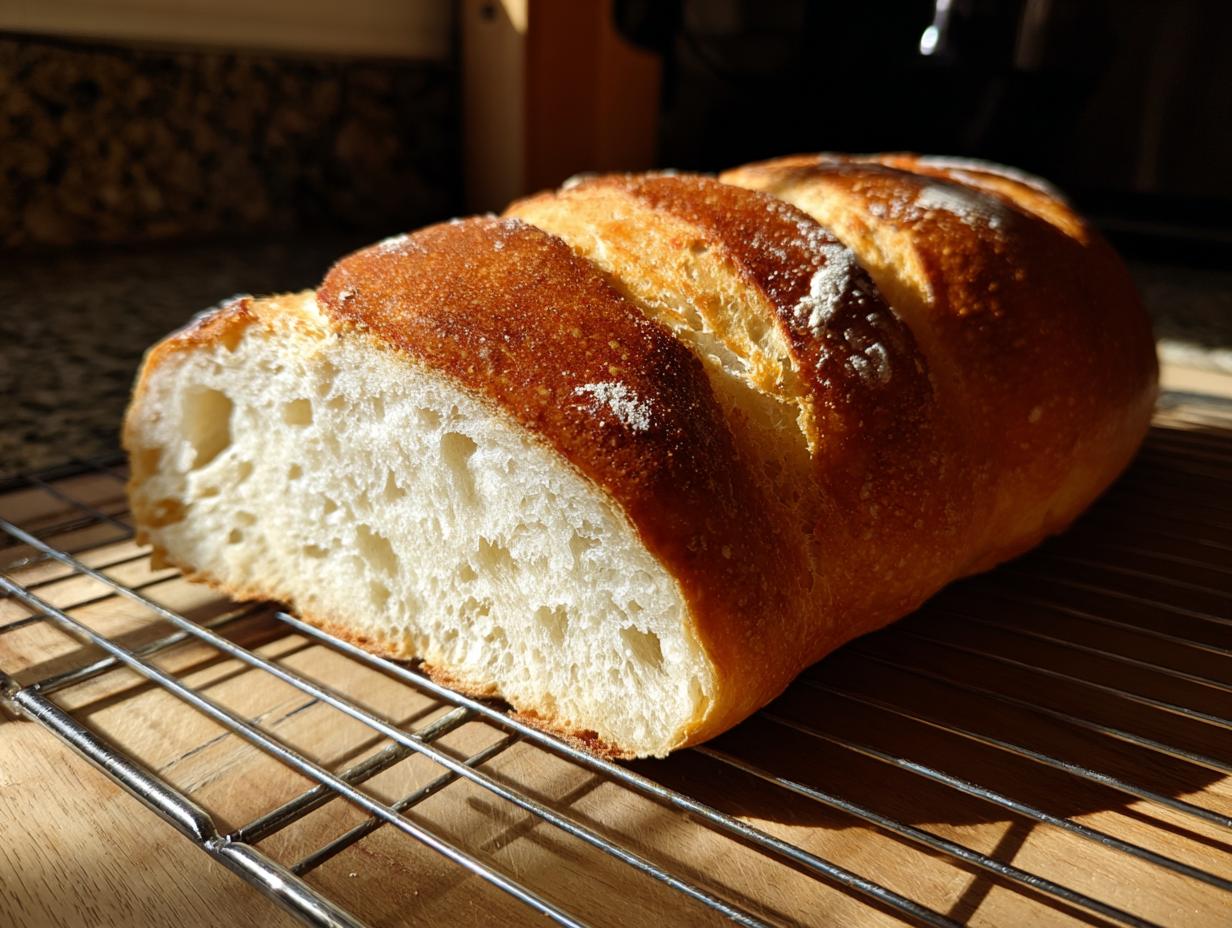
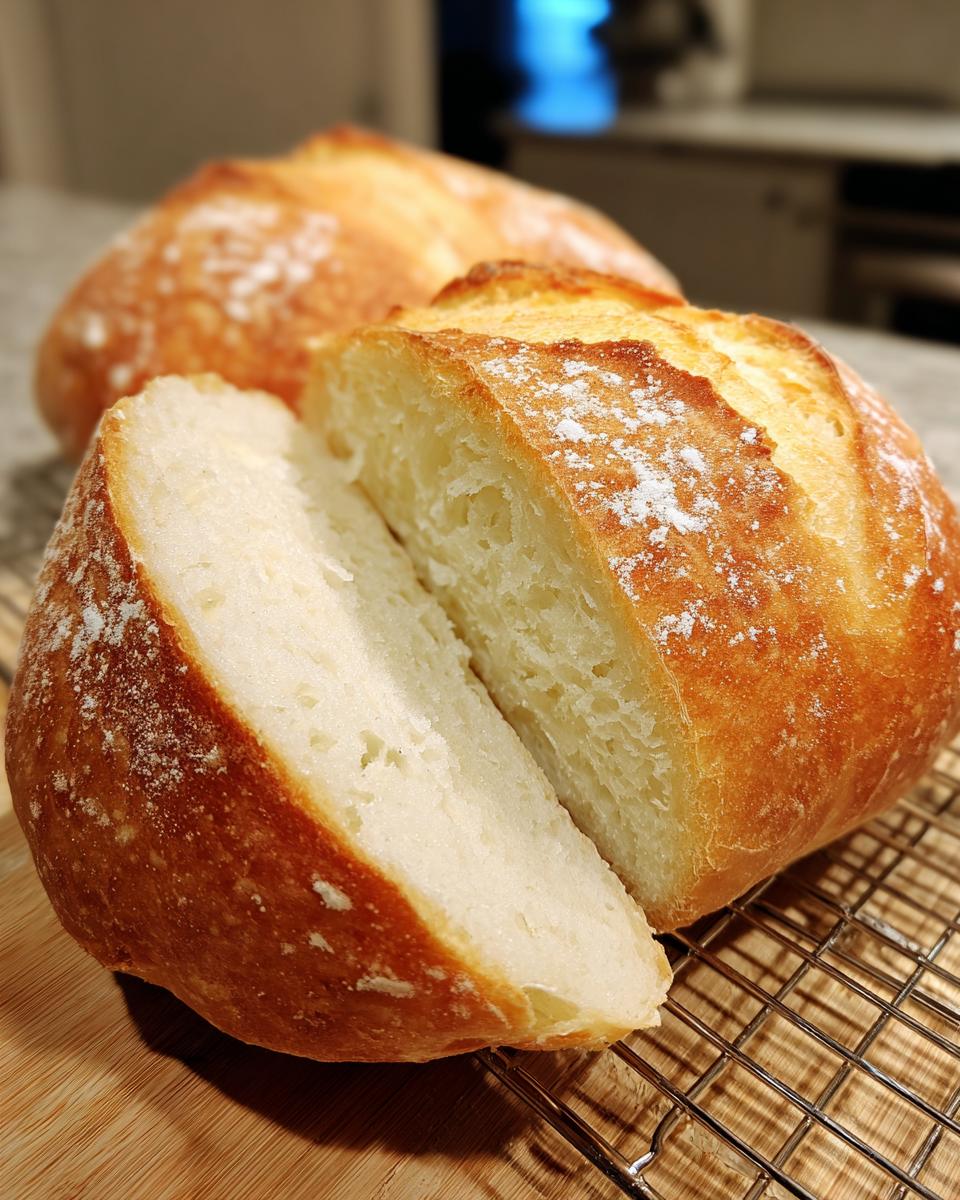
Oh, the smell! There is simply nothing that beats the aroma of fresh, hot bread filling your entire kitchen, is there? For the longest time, I thought truly great, bakery-style loaves were off-limits unless you dedicated an entire Sunday to them. But that’s not my style, and I know it isn’t yours either! That’s why I spent ages perfecting this Easy Homemade Soft and Crusty French Bread recipe. We’re talking soft, unbelievably fluffy inside, with that shatteringly crisp exterior, and it’s ready in under two hours. This is truly the Best Homemade Bread you can whip up when you’re busy. Remember my mission? It’s about creating simple, reliable recipes, and this french bread is the perfect example of that! If you want to know more about why I started this journey to simplify home cooking, you can always check out my story over at the about page.
- Why This is the Best Homemade French Bread Recipe for Busy Cooks
- Ingredients for Your Easy French Bread
- How to Make Soft French Bread at Home: Step-by-Step Instructions
- Baking Homemade Bread Tips for a Perfect Crusty Exterior Bread
- Serving Suggestions for Your Fresh French Bread
- Storage & Reheating Instructions for Homemade French Bread Recipe
- Frequently Asked Questions About This Quick French Bread Recipe
- Nutritional Estimate for This Tender Crumb Bread
- Share Your Homemade French Bread Success
Why This is the Best Homemade French Bread Recipe for Busy Cooks
I’ve tested about a hundred different ways to make this loaf, and I finally landed on the sweet spot. You want that amazing taste, but you don’t have four hours to babysit dough, right? This recipe cuts down the waiting time without sacrificing that tender, airy crumb we all crave. It’s proof that you don’t need complex techniques to get Soft French Bread at Home.
- It’s genuinely beginner-friendly—if you can mix, you can make this!
- The total active time is less than 45 minutes, which is perfect for a weeknight hustle.
- It delivers that rustic, slightly chewy interior my family insists on for dipping in soup. For weeknight recipes that pair well, check out my quick dinner ideas!
Achieving Bakery Style Bread Texture Quickly
The secret to success here is how we handle the two rises. We keep the first one generous—about 75 minutes—to develop the flavor, but the second, shorter rise gets us into the oven faster. That blast of high heat, plus that little trick I’ll share later about steam, is what gives you that satisfying Bakery Style Bread crunch on the outside. We get the whole process done in under two hours, which I think is a miracle for artisan-style bread!
Ingredients for Your Easy French Bread
Okay, let’s talk about what you need for this french bread. I love this part because honestly, most of these things are already sitting in your pantry. We aren’t messing around with fancy stuff here! You need a packet of active dry yeast—that’s usually about two and a quarter teaspoons if you buy it in bulk, so keep that ratio in mind. We need warm water, but I want you to pay attention to that temperature. If it’s too hot, you’ll kill your yeast before it even wakes up, and we absolutely can’t have that!
You’ll also need a tablespoon of sugar to give that yeast a little party to start, salt for flavor, and just two tablespoons of olive oil. That oil is doing double duty, helping with the texture and keeping things from sticking. Then there’s the flour, and this is where you need to listen closely because it varies: grab three and a half cups to start, but have up to four cups ready just in case. And finally, for that lovely golden shine, we use a mixture of one egg white beaten with a tiny bit of water for the wash.
Ingredient Clarity and Preparation Notes
When you’re getting your water ready for the yeast, you want it to feel warm to the touch, but not hot. The ideal zone is between 105°F to 115°F. If you don’t have a thermometer (though trust me, one is handy for baking!), aim for water that feels comfortably warm, like a nice hot bath, but not scalding. Remember that active dry yeast needs that sugar and this specific warmth to get foamy.
The flour situation is also important for any french bread recipe. Start with 3 1/2 cups when you mix everything. You’ll add the rest while kneading only if the dough still feels super sticky. I always tell people that slightly tacky dough is what you want under-kneaded, but if it’s sticking all over your hands, add flour, a tablespoon at a time, until it cleans up nicely. This flexibility is what helps us get that perfect soft texture throughout the loaf.
How to Make Soft French Bread at Home: Step-by-Step Instructions
This is where the magic happens, and I promise you, it’s straightforward! We need to get everything mixed just right before we let time do the heavy lifting. Remember, this whole process is designed to give you amazing results without needing to be a master baker. If you’re new to this, I have a whole guide on beginner bread baking that might help calm any nerves!
Activating Yeast and Mixing the Simple Yeast Bread Dough
First things first: we wake up that yeast! In your big bowl, combine your warm water (remember that 105°F sweetness spot!) with the sugar and the yeast packet. You need to let this sit undisturbed for five to ten minutes. If you don’t see a beautiful, foamy layer on top—like the head on a good beer—then your water was probably too cold or too hot, and you’ll need to start that step over because that tells us our Simple Yeast Bread starter is ready to go.
Once it’s foamy, go ahead and stir in your salt, the olive oil, and most of the flour—about 3 1/2 cups worth. Mix it up until you get what I call a “shaggy dough.” Don’t worry if it looks messy or weird right now; that’s exactly how it should look before we get our hands dirty!
Kneading and The First Rise for Fluffy Loaf Recipe
Now, turn that shaggy mess out onto a lightly floured counter. This is when we knead! You’re going to push and fold for about five to seven minutes. Don’t panic if it’s sticky at first! Only add that last extra half-cup of flour if the dough is totally refusing to come together. When it’s done, it should feel smooth and elastic, maybe just slightly tacky—like a good Post-It note, not sticky putty.
Lightly grease a clean bowl with a little oil, pop your dough ball inside, and turn it over once so it’s coated. Cover it well, and walk away for 60 to 75 minutes. We are looking for it to double in size. That big, fluffy balloon is what guarantees us a fantastic Fluffy Loaf Recipe later on!
Shaping, Final Proof, and Scoring the French Bread
Once it’s doubled, gently punch the air out—it feels so satisfying! Divide the dough into two equal parts and gently roll each into an even loaf, about 14 inches long. Lay them on parchment-lined baking sheets. Now, cover them loosely and let the dough rest again for 30 minutes. Crucially, start preheating your oven to 400°F during the last 15 minutes of this rise! This timing is key for great french bread.
Right before the oven is ready, brush the tops of your loaves with that thin egg white wash. Take a super sharp knife or a razor blade and quickly slash three diagonal lines across the top of each loaf. Those slashes let the steam escape and control where the bread expands, giving you that beautiful, classic look when it bakes up.
Baking Homemade Bread Tips for a Perfect Crusty Exterior Bread
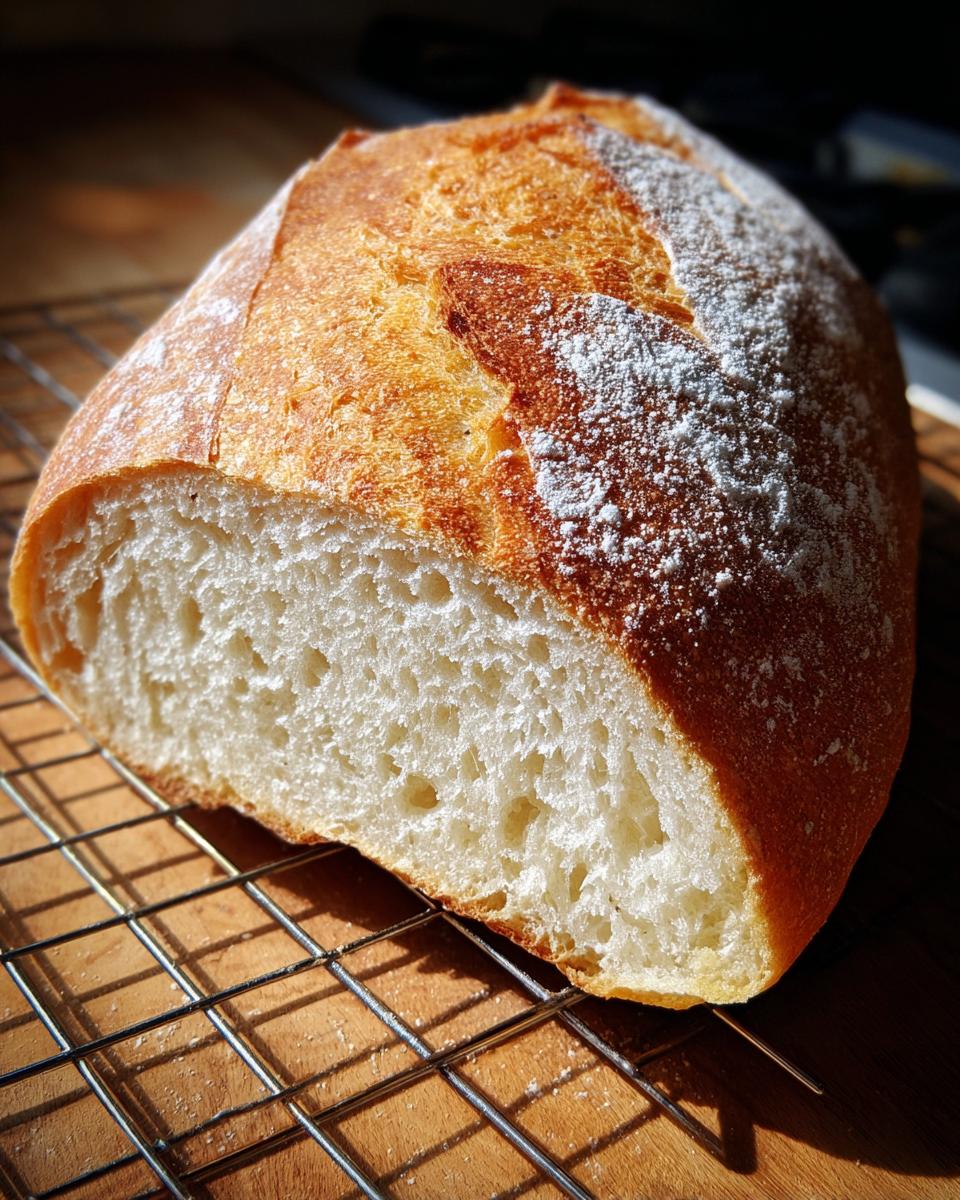
Okay, we’ve mastered the rising and the shaping, but now we have to talk about the final moment: the bake. This is where you can actually trick your oven into behaving like a professional bakery oven, and it makes all the difference if you want that deep, satisfying crunch. If you’ve struggled before to get that perfect **Crusty Exterior Bread**, this section is for you! Remember, the goal of this **Homemade French Bread Recipe** is to give you that contrast—soft inside, shatteringly crisp outside.
Creating Steam for Authentic Crusty Artisan Bread
Steam is seriously the secret sauce for real **Bakery Style Bread**. Without it, the crust sets too quickly, and you end up with a dull-looking, less crunchy loaf. So, here’s what I want you to do while your oven is preheating for the final 15 minutes of the second rise: stick a shallow broiler pan or an old metal baking dish on the very bottom rack.
When you slide your beautiful French bread loaves onto the hot baking stone or sheet, you need to work fast. Carefully pour about a cup of *very* hot water into that hot pan down below, quickly shut the door, and let the oven fill up with steam. This moisture keeps the crust soft just long enough for the bread to expand fully—that’s called oven spring—and only then does it dry out, creating that thin, delicate, shatter-worthy crust. It’s such a reliable trick!
Now, if you are making this bread for little kids or just really prefer a softer chew overall—maybe you plan to use it straight for sandwiches—you can skip the scary hot water trick! Instead, once the bread is in the oven, just open the door quickly three or four times during the first 10 minutes of baking and give the bread a quick mist with a spray bottle filled with water. That light moisture does the exact opposite; it softens the crust formation. Both methods work perfectly; it just depends on what kind of bread experience you’re looking for!
Serving Suggestions for Your Fresh French Bread
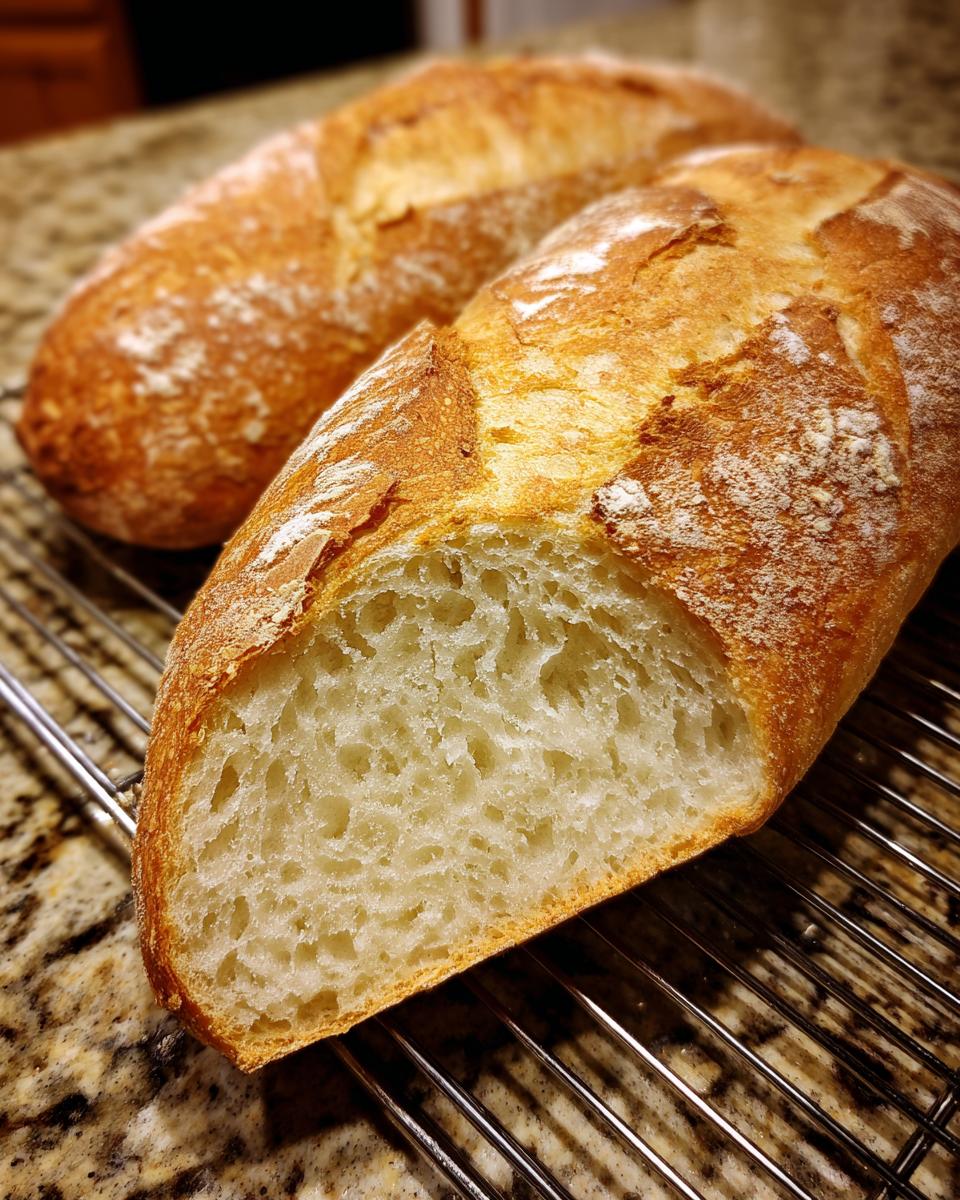
Congratulations! You now have two glorious loaves of french bread sitting on your counter, and the smell alone is probably making your family hover. What are you going to do with all this wonderfulness? Honestly, this bread is so versatile, which is why I love making two loaves at once. It rarely lasts more than a day in our house, but having extras means you have options!
The first and most immediate use, of course, is serving it warm straight away. Nothing beats tearing off a thick slice, slathering it with good salted butter, and eating it while it’s still hot. This is the ultimate Dinner Side Bread. It pairs beautifully with almost anything, whether you’re serving a big pot of chili, a hearty stew, or just a simple pasta dish. It’s perfect for soaking up every last bit of sauce on your plate!
But don’t forget about lunch the next day! Because we made sure this loaf has that soft, tender crumb inside, it’s fantastic when turned into Bread for Sandwiches. Forget that flimsy, cellophane-wrapped stuff from the store. Homemade bread gives your turkey and cheese a structural integrity that is just unmatched. Slice it thick and go for hearty combinations!
If you happen to have leftovers that have cooled down and lost a little of that crust snap, don’t fret! You can quickly revive them using the oven trick I talked about earlier, or you can turn them into croutons or breadcrumbs. But my absolute favorite way to use leftover French bread is to slice it thin, brush it with olive oil and garlic, and bake it until it’s crisp for incredible homemade garlic bread to serve alongside one of my easy weeknight dinners.
Storage & Reheating Instructions for Homemade French Bread Recipe
Now that you’ve conquered the oven and have two gorgeous loaves of **Homemade French Bread Recipe** cooling, we have to talk about preservation! This bread is best savored the day it comes out of the oven, I won’t lie, but you definitely want to know how to keep it nice for day two, or even day three.
Here’s my rule: never, ever put it in the refrigerator. Refrigeration is the death knell for crusty bread; it makes the inside go stale almost instantly. For keeping it fresh as long as possible, wrap the loaves completely in plain brown paper bags, or if you need a little more time, wrap them loosely in a clean kitchen towel, and leave them on the counter at room temperature. This lets the crust breathe a little bit while protecting the soft crumb.
If you’ve already sliced into a loaf, cover the cut end tightly with plastic wrap or aluminum foil to slow down drying, but still keep the loaf out of the fridge!
Reviving That Crusty Exterior Bread Magic
So, your bread is a day old, and the crust has gone a little soft? Don’t toss it! We can bring it right back to life. This is one of my favorite baking hacks for homemade bread because it mimics that perfect initial bake.
For the best results, preheat your oven—no lower than 350°F! If you have any leftover steam tray from baking, put it in the bottom again. Take your slightly stale loaf, spritz the crust lightly with water—just a fine mist, nothing soaking wet—and place it directly on the oven rack. Bake it for about 5 to 7 minutes.
What happens is that water on the crust turns to steam in the hot oven, re-moisturizing the dough slightly, and then the heat dries it out again perfectly. When you pull it out, you get that beautiful, crackly **Crusty Exterior Bread** back, and the inside is softer than you remember it being!
Freezing Your Extra Loaves
If you know you won’t get to that second loaf right away, freeze it whole! Slice your second loaf first—this is important, as it makes thawing much easier—and then wrap the slices tightly in plastic wrap, followed by a layer of aluminum foil. This double wrap protects it from freezer burn.
When you’re ready to eat it, take out only what you need. Let the frozen slices thaw on the counter for about an hour, and then you can bring them back to life using that quick 5-minute spritz-and-bake reheat trick! It tastes almost exactly like it just came out of the oven. See? Being prepared means you always have a **Homemade French Bread Recipe** staple ready to go!
Frequently Asked Questions About This Quick French Bread Recipe
I know when you’re diving into a new bread recipe, your mind starts racing with all the “what ifs.” That’s totally normal! I’ve pulled together the questions I get most often about this specific **Quick French Bread Recipe**. Knowing these little details upfront really helps build your confidence, which is my favorite part of teaching you how to **Make French Bread from Scratch**.
Can I make this French Bread Recipe in under an hour?
This is a brilliant question, and the short answer is: technically, no, but it’s close! You are looking at one of the fastest recipes out there—it’s truly a **Quick French Bread Recipe**—but bread requires patience for that perfect texture. Your active hands-on time is super low, maybe 35 minutes total. However, the yeast needs time to work its magic! We have a total rising time of nearly two hours (about an hour and 45 minutes total, including the second rest). If you absolutely need to speed it up, you can try creating a warmer, draft-free spot for your dough to rise faster, but rushing the rise means sacrificing that wonderful, airy interior that makes this a great **Homemade French Bread Recipe**.
What if I don’t have active dry yeast?
No problem at all! If you happen to have instant yeast (sometimes called rapid-rise), you can definitely use that for this **Simple Yeast Bread**. The process is actually even easier, as you skip the initial 5-minute proofing step entirely! Just mix your instant yeast right in with the dry ingredients (the flour and salt) when you add them to the foamy water mixture. Since instant yeast is more active, you might find your dough rises just a tiny bit quicker, so keep an eye on that first rise!
If you only have fresh yeast, you’ll need about three times the amount listed for active dry, but honestly, most home bakers stick to the dry versions. Always trust your **Baking Homemade Bread Tips**—if you see foam, you’re good to go!
Is it possible to get a chewier texture instead of ultra-soft?
Absolutely! If you prefer a slightly chewier bite, which pairs wonderfully when you’re trying to create **Crusty Artisan Bread**, you can make one small tweak. When you are kneading (Step 3), don’t stop kneading at 5 to 7 minutes. Push that kneading time up to a solid 10 minutes. This develops more gluten structure in the dough, which translates directly to a slightly chewier, more resilient crumb rather than our desired soft texture. You might also notice a slightly less puffy loaf, which is just fine when you’re aiming for that classic, sturdy texture!
I’ve had readers reach out to me via my contact form saying they prefer that slight chew for dipping in olive oil, and this adjustment really helps achieve that perfect middle ground!
Nutritional Estimate for This Tender Crumb Bread
Okay, deep breaths! I know that when we’re baking something this comforting and delicious, we don’t usually think about the nutrition label, but since you asked, I always like to include a general estimate. Remember, this **Tender Crumb Bread** is made with simple ingredients, but it’s still bread, so enjoy it!
This breakdown is based on two loaves being sliced into standard portions. If you cut bigger slices for dipping after dinner, your numbers will change, naturally. These are just ballpark figures to give you an idea of what you’re enjoying when you savor a slice of this **Easy French Bread**.
Here’s what the numbers generally look like:
- Serving Size: 1 slice (based on the yield of two loaves)
- Calories: Around 150 per slice
- Fat: About 2 grams
- Saturated Fat: Less than 1 gram
- Carbohydrates: Roughly 30 grams
- Protein: About 5 grams
- Sugar: Very low, only about 1 gram
- Sodium: Approximately 250mg
I love that this loaf has minimal sugar since we rely on the yeast activity and the flour itself for structure. And because we aren’t deep-frying it or slathering it in butter before we count it, the fat content stays quite manageable! Just remember, this is just an estimate for the bread itself. If you dip it in olive oil and balsamic like I sometimes do, you’ll want to account for that extra deliciousness!
Share Your Homemade French Bread Success
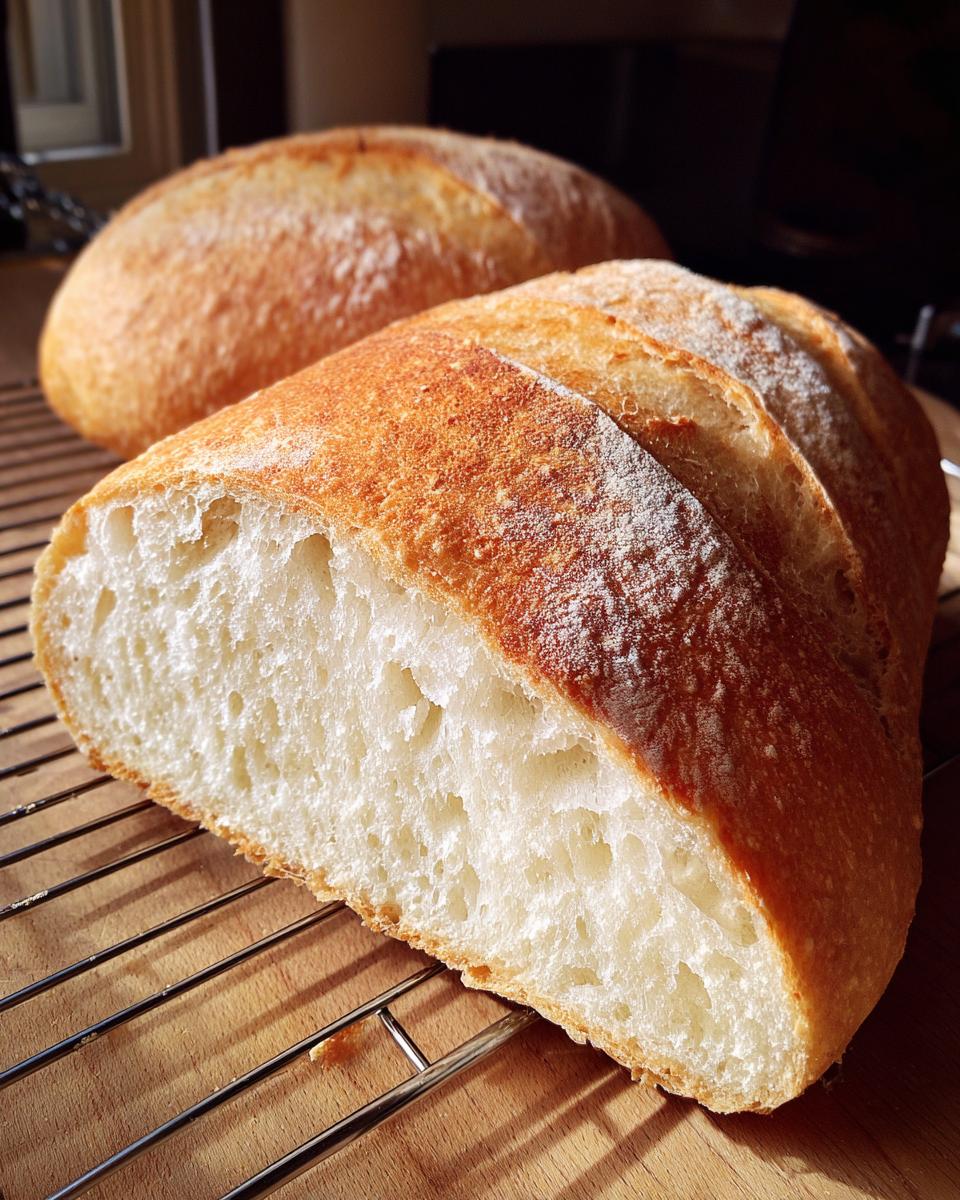
Well, friend, that’s it! You’ve just turned flour, water, and yeast into two gorgeous, crusty, and incredibly soft loaves of french bread. I truly hope your kitchen smells incredible right now. When you take that first bite of warm, homemade goodness, I want you to feel proud of yourself!
Since I put my heart into making sure this recipe is straightforward and delivers those amazing results—soft interior, crunchy crust—I would absolutely love to hear about *your* experience. Did you go for the extra crispy crust with the steam trick? Or did you stick to the softer side for easy sandwiches? Don’t keep that success to yourself!
If you made this loaf, please do me a huge favor and leave a rating right down below. Five stars is what we’re aiming for if this becomes one of your new go-to staples! It really helps other busy home cooks see just how reliable this Quick French Bread Recipe is. Also, snap a picture of your beautiful loaves—whether they’re slathered in butter or torn apart next to your dinner plate—and tag me on social media! I cheer for every single bake.
I’m already planning what simple, seriously good recipe we’ll tackle next, so make sure you stick around and check back often for more ways to bring comfort and joy back into your kitchen routine. You can always peek at our recipe index to see what’s new, or check out the site’s privacy policy if you’re curious about the site!
PrintEasy Homemade Soft and Crusty French Bread (Ready in Under 2 Hours)
You can make bakery-style French bread at home with this simple recipe. It yields soft, fluffy loaves with a satisfyingly crusty exterior, perfect as a dinner side or for sandwiches. This recipe is straightforward for beginners and respects your busy schedule.
- Prep Time: 20 min
- Cook Time: 25 min
- Total Time: 1 hour 40 min
- Yield: 2 loaves 1x
- Category: Baking
- Method: Baking
- Cuisine: French
- Diet: Vegetarian
Ingredients
- 1 packet active dry yeast (about 2 1/4 teaspoons)
- 1 1/2 cups warm water (105°F to 115°F)
- 1 tablespoon granulated sugar
- 3 1/2 to 4 cups all-purpose flour
- 2 teaspoons salt
- 2 tablespoons olive oil, plus more for greasing
- 1 egg white, beaten with 1 teaspoon water (for egg wash)
Instructions
- Activate the yeast: In a large bowl, mix the warm water, sugar, and yeast. Let it stand for 5 to 10 minutes until foamy.
- Mix the dough: Add 3 1/2 cups of flour, salt, and 2 tablespoons of olive oil to the yeast mixture. Mix until a shaggy dough forms.
- Knead: Turn the dough onto a lightly floured surface. Knead for 5 to 7 minutes, adding the remaining flour only if necessary, until the dough is smooth and elastic. It should be slightly tacky but not sticky.
- First Rise: Lightly grease a clean bowl with olive oil. Place the dough in the bowl, turning to coat. Cover the bowl with plastic wrap or a clean towel. Let the dough rise in a warm place for 60 to 75 minutes, or until doubled in size.
- Shape the loaves: Gently punch down the risen dough. Divide it into two equal pieces. Shape each piece into a long, even loaf, about 14 inches long. Place the shaped loaves on baking sheets lined with parchment paper, leaving space between them.
- Second Rise: Cover the loaves loosely and let them rise for another 30 minutes. Preheat your oven to 400°F (200°C) during the last 15 minutes of this rise.
- Score and Bake: Lightly brush the tops of the loaves with the egg white wash. Use a sharp knife or razor blade to make three diagonal slashes across the top of each loaf.
- Bake for 20 to 25 minutes, or until the crust is golden brown and the bread sounds hollow when tapped.
- Cool: Transfer the finished French bread to a wire rack to cool completely before slicing.
Notes
- For a crispier crust, place a shallow pan on the bottom rack while preheating the oven and pour 1 cup of hot water into it right before you put the bread in to create steam.
- If you want a softer crust, skip the egg wash and simply mist the loaves with water a few times during the first 10 minutes of baking.
- This bread is excellent for making sandwiches or serving with dinner.
Nutrition
- Serving Size: 1 slice
- Calories: 150
- Sugar: 1
- Sodium: 250
- Fat: 2
- Saturated Fat: 0.5
- Unsaturated Fat: 1.5
- Trans Fat: 0
- Carbohydrates: 30
- Fiber: 1
- Protein: 5
- Cholesterol: 0