
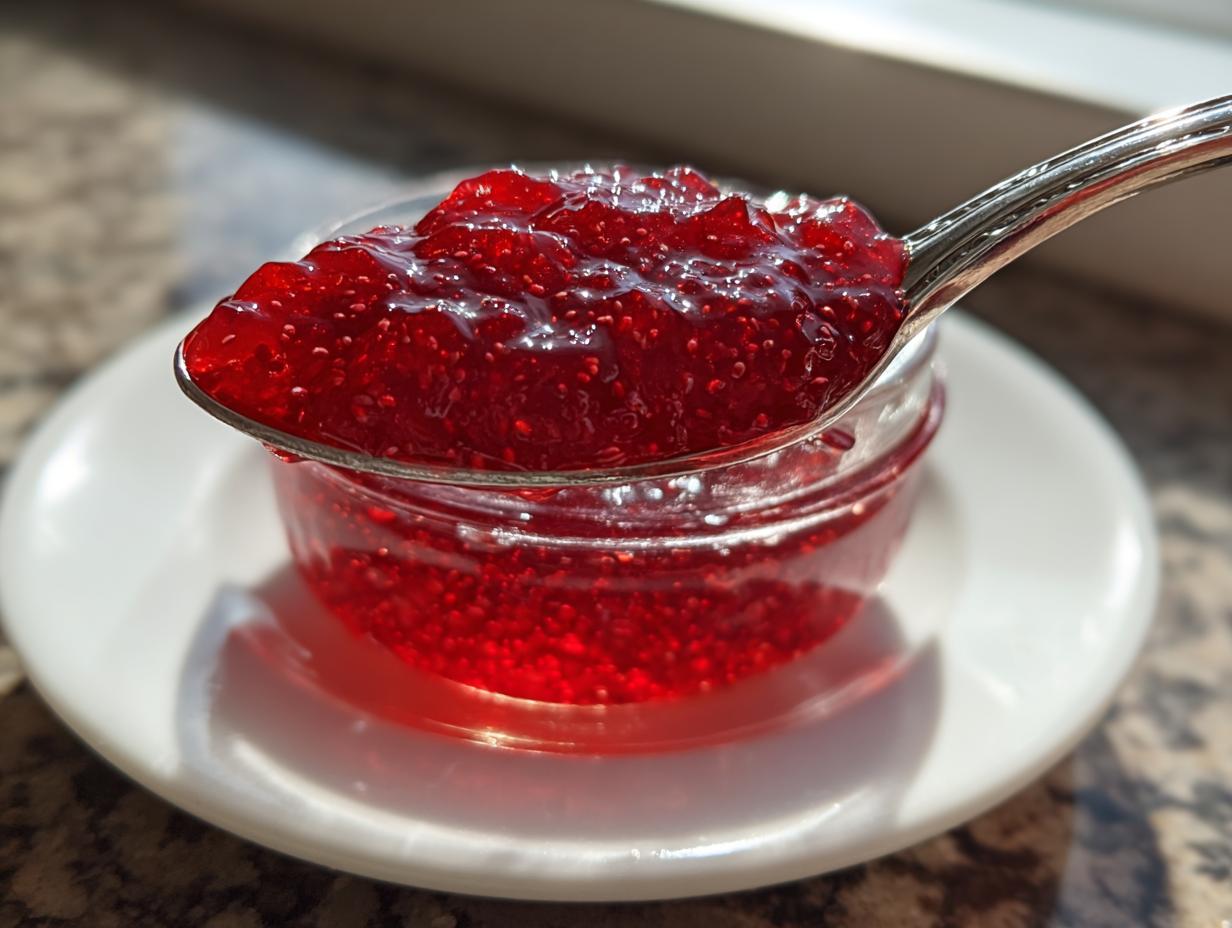
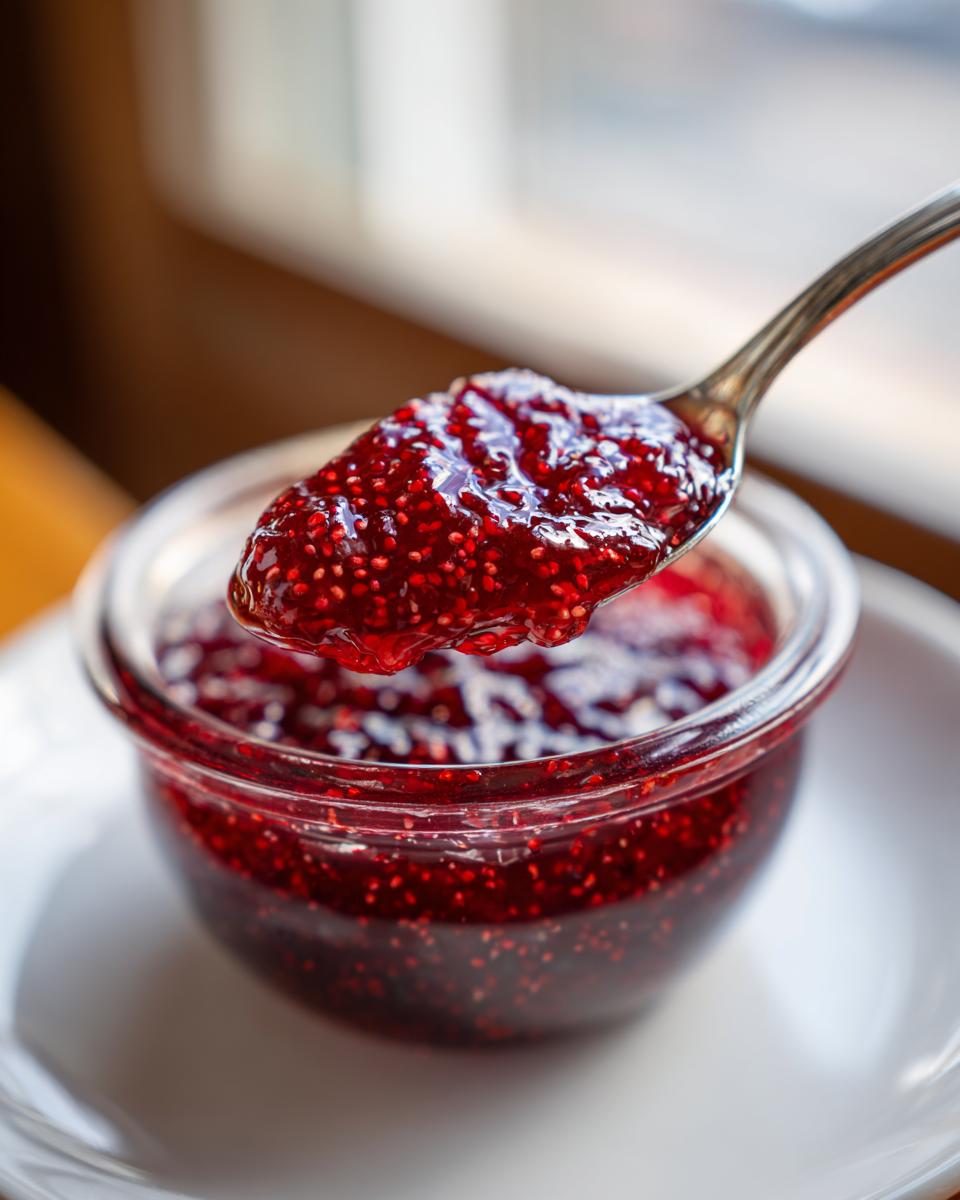
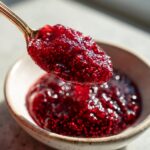
Oh, summer! If there’s one flavor I fight to keep alive long after the last berry patch closes, it’s the bright, tangy burst of fresh raspberries. I’m Ava Sinclair, and here at Completely Yummy, my goal is always to give you those incredible tastes without demanding your entire evening. That’s why I’m so thrilled to share this recipe today: we are making the best raspberry jam, and trust me, you won’t even need that scary jar of commercial pectin!
This is the ultimate 3 ingredient jam—just fruit, sugar, and a little lemon. It sets up beautifully just through cooking, which is exactly the kind of straight-to-the-point, genuinely doable magic I champion here on the blog. If you’re tired of quick dinners and want something satisfying to preserve, remember that sometimes the best things start slow, like making this jam or perhaps trying that quick easy sweet potato skillet dinner I love. We believe a great meal, or in this case, a great preserve, should be a daily possibility, not a rare indulgence reserved for someone with endless weekends. If you are looking for a reliable, easy jam recipe, you’ve found your new favorite way to capture the sunshine!
- Why This Is the Best Raspberry Jam Recipe for Beginners
- Gathering Ingredients for Your 3 Ingredient Jam
- Step-by-Step Instructions for Easy Raspberry Jam
- Pro Tips for Perfect Homemade Raspberry Jam
- Storing and Preserving Your Quick Raspberry Preserve
- Serving Suggestions for Your Fresh Fruit Jam
- Frequently Asked Questions About Making Raspberry Jam
- Estimated Nutritional Value for This Easy Jam Recipe
- Share Your Homemade Raspberry Jam Success
Why This Is the Best Raspberry Jam Recipe for Beginners
I know what you’re thinking: Homemade jam looks complicated, right? Wrong! This no pectin jam is specifically designed for those of us who want real flavor without the chemistry degree. It honestly feels like cheating because it’s so simple, yet the results are fantastic. We rely on good old-fashioned technique and the natural makeup of the fruit itself.
- It’s only three main ingredients—can you believe it? Sugar, berries, and lemon.
- It sets naturally, so you don’t need to worry about strange powders or exact measurements of commercial pectin.
- We use high heat to concentrate the fruit, which means happy cooks get to eat faster!
This recipe is perfect if you’re just dipping your toes into preserves. If you like easy, show-stopping results, you might also want to check out how I keep things simple with my easy homemade caramel recipe. Same rule applies: simple ingredients, maximum flavor!
The Appeal of No Pectin Jam
When you cook fruit juice with sugar, the magic begins. Raspberries naturally have enough acid and just enough pectin hiding in their seeds and structure to do the job. When we boil that mixture vigorously with the sugar, we cook off the water. This forces the remaining pectin and acid to finally bind together when it cools down. It makes for such a sweet and tangy jam—no weird additives necessary!
Gathering Ingredients for Your 3 Ingredient Jam
Okay, setting up is half the battle, and honestly, this ingredient list proves how easy this homemade raspberry jam is going to be! We are sticking strictly to the three core superstars. You don’t need anything fancy, which is a huge win for beginners.
Here is what you need for about two small jars of deliciousness:
- Two cups of raspberries—I use fresh ones if they are bursting at the farmers market, but frozen work just as well!
- Two cups of good old standard granulated sugar. Don’t substitute this for anything else; the ratio needs the sugar to activate that natural set.
- One tablespoon of fresh lemon juice. This is crucial for flavor balance and helping the setting process along. If you happen to be making my classic fresh squeezed homemade lemonade soon, you’ll have fresh juice ready!
It takes maybe 5 minutes to gather these, but we do need 30 minutes for them to sit together before we even turn on the stove. For being totally transparent, Prep Time is about 30 minutes (plus that maceration time), Cook Time is a quick 25 minutes, and it yields about two half-pint jars.
Step-by-Step Instructions for Easy Raspberry Jam
This is where the fun starts! I always put on some music here because the first step requires a bit of patience, but trust me, it’s worth it. We aren’t jumping straight into the fire!
- First things first, grab your main ingredients—the raspberries and the granulated sugar—and toss them together in a nice, heavy-bottomed saucepan. Don’t crank the heat yet! We need to let this mixture sit quietly for 30 minutes. This waiting period is the maceration step, and it lets the sugar pull out all that lovely juice from the berries. This initial resting time really sets us up for success.
- Once you see liquid pooling at the bottom, it’s time. Set your pot over medium-high heat. You must stir constantly until you see that sugar completely dissolve. We need a clear liquid before we can move on. The second you see it hit a full, roiling boil—that’s what I call a rapid boil—toss in that tablespoon of lemon juice we talked about.
- Keep that rapid boil going! You’ll stir often now so the bottom doesn’t scorch, but we *need* that high heat to cook off the water and concentrate everything. This usually takes between 15 and 25 minutes.
- When you think it’s ready, turn the heat off. If you see any grey foam floating on top (that’s normal!), just use a spoon and gently skim it away.
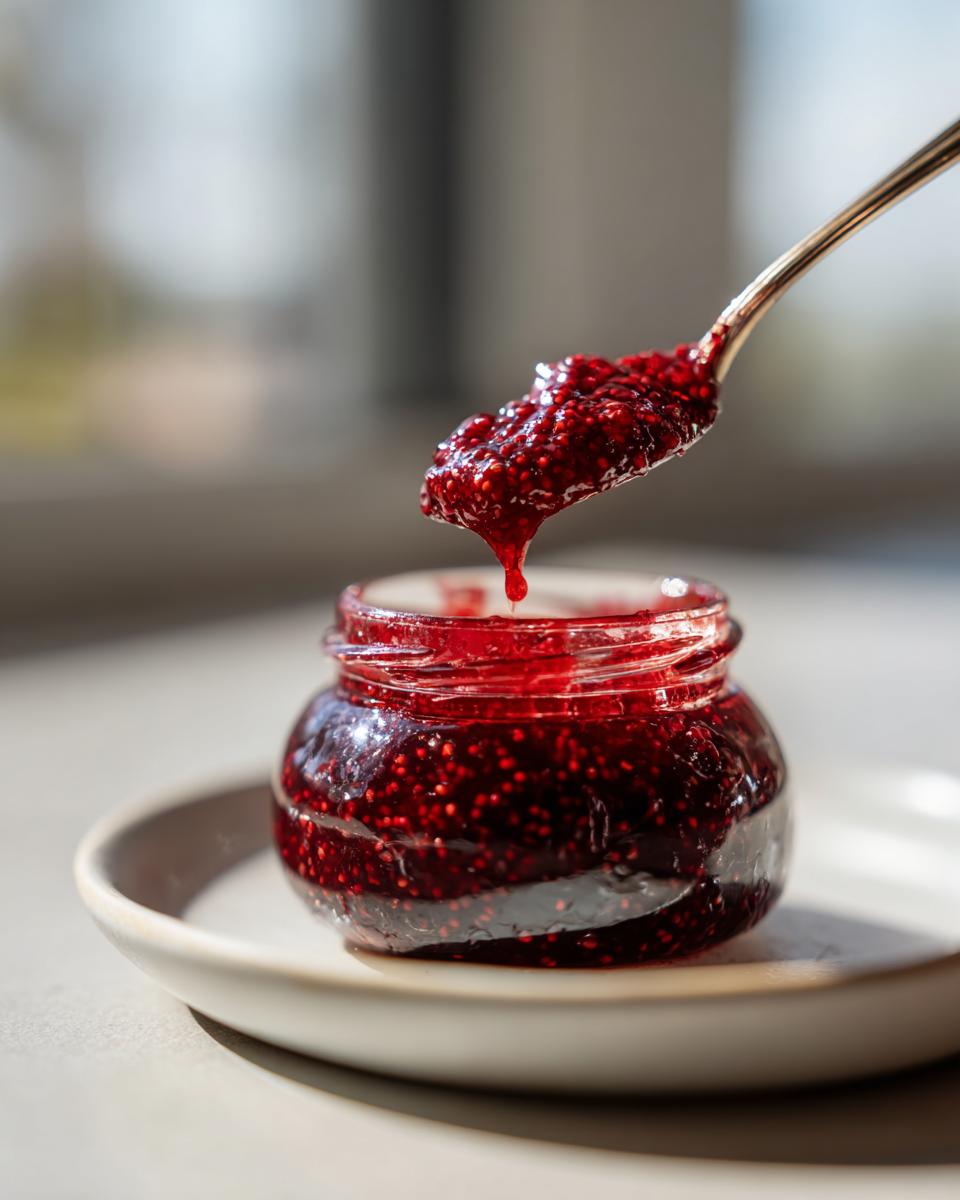
- Finally, carefully ladle your gorgeous, hot jam into your sterilized jars, making sure you leave about a quarter-inch of space at the top—that’s called headspace, and it’s important. Wipe those rims clean before sealing them up. If you’re making something like my easy homemade teriyaki sauce, I always suggest tasting before you jar, but with jam, you taste it through the set test!
Achieving the Perfect Set: The Cold Plate Test
If you don’t have a candy thermometer, or if you’re just nervous about boiling liquids, this is your secret weapon for that perfect, spreadable texture. Before you even start cooking, stick a little saucer or small plate in your freezer. When you think the jam is done bubbling, take a tiny teaspoon of jam and drop it onto that icy cold plate. Pop it back in the freezer for just 60 seconds. If you nudge that blob with your finger and the surface wrinkles up, guess what? It’s set! If it still looks runny, keep boiling for another five minutes and test again.

Pro Tips for Perfect Homemade Raspberry Jam
Even though this is my simplest preserve recipe, those little extra steps are what really elevate it from good to *that* jam everyone asks for the recipe for. Remember, skimming the foam off the top after you take it off the heat? Don’t skip that! That foam is just air bubbles and sugars, and if you leave it, it can make your beautiful, bright red jam look a bit dull on the top layer. It’s easy to just spoon it away with a non-metallic utensil.
Now, let’s talk about texture. If you absolutely cannot stand seeds—and I totally get it, sometimes you want pure velvet—you have an easy modification here. Right after the jam has cooked and before you ladle it into the jars, you can run the whole batch through a fine-mesh sieve. Press it gently with a spatula to extract all that gorgeous liquid and pulp. This gives you a lovely, sweet and tangy jam that’s completely seedless. It’s a bit more work, but oh so elegant!
Also, if you are making a larger batch than this small one, just keep an eye on the cooking time. Doubling the recipe means more liquid to cook off, so it might take 5 or 10 minutes longer to hit that perfect set point. You’ll ace it, especially if you keep that cold plate test handy! For more simple favorites, take a peek at my best peanut butter blossom soft chewy recipe next.
Storing and Preserving Your Quick Raspberry Preserve
You’ve made it! You have this beautiful, brightly colored preserve ready to go, and the excitement is real. Since this is a small batch jam, you have two great options for keeping it fresh. The easiest route, especially for beginners, is treating it like refrigerator jam. Once the jars have cooled completely on the counter after filling, just seal them up and pop them straight into the fridge. It’ll stay wonderfully fresh and delicious for about three weeks—perfect for keeping on hand for toast!
If you want to keep that sunshine flavor around all year long, you’ll want to go the water bath canning route. I know canning sounds intense, but for something like this quick raspberry preserve, it’s really straightforward. Make sure your jars are sterilized, fill them up leaving that 1/4 inch headspace, wipe those rims clean, and then process them in a rolling boil for 10 minutes. Just remember to always follow standard procedures for canning raspberry jam based on your altitude!
This small batch size is honestly perfect for trying out canning without committing to huge jars destined for the pantry. If you’re looking for another simple treat to preserve or just whip up quickly, you’ve got to try my easy white chocolate fudge recipe. And if you want more tips on getting the best set without pectin, you know I always recommend checking out the advice over at Kings Cook!
Serving Suggestions for Your Fresh Fruit Jam
Toast is wonderful, of course, but that vibrant, sweet and tangy jam deserves a spotlight in more places! This fresh fruit jam is so versatile, especially since it has that amazing, natural homemade texture. Don’t let it just sit staring at you from the fridge shelf!
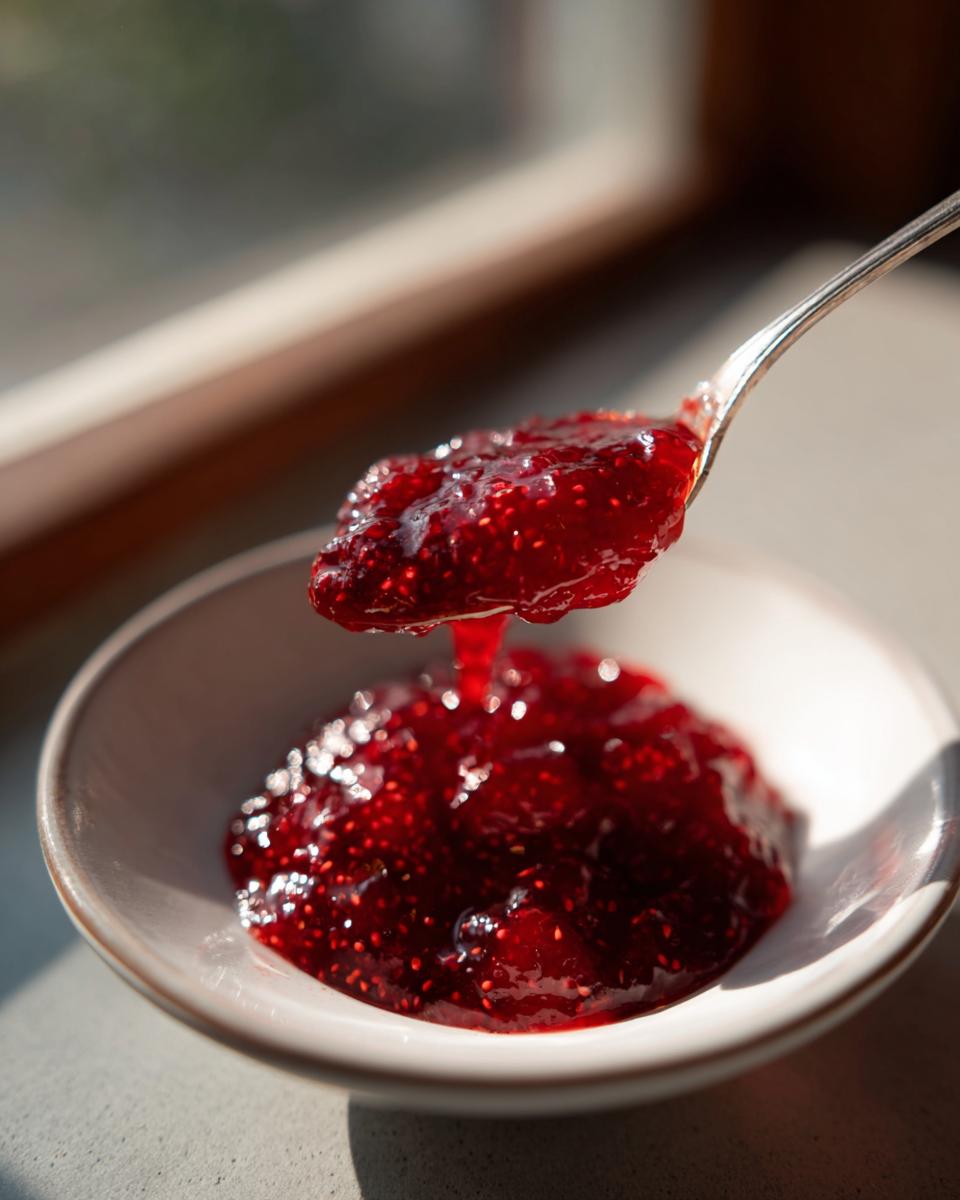
I love swirling a big dollop right into my morning Greek yogurt—it makes it instantly feel fancy. It’s also the absolute best filling for thumbprint cookies, or if you’re feeling adventurous, use it as a tangy layer between cake slices. Try spreading a thin layer over shortbread before baking for a quick-and-easy fruit bar. Speaking of wonderful bakery items, if you’re looking for a showstopper dessert, you have to look at my banana split cake recipe next!
Frequently Asked Questions About Making Raspberry Jam
I always get questions when people try their first batch of homemade raspberry jam, so let’s tackle the most common ones right here. Remember, if you followed these steps closely, you’ll have success!
Can I use frozen raspberries instead of fresh ones?
Yes, absolutely! You can definitely use frozen berries for this easy jam recipe. If you use frozen, you may not need that initial 30-minute waiting period (maceration) because the freezing process has already done some of that work breaking down the cells. Just combine them with the sugar and move straight to the heat when they start to release juice.
Why didn’t my no pectin jam set properly?
This is the number one issue, but usually, it’s easy to fix! If your jam didn’t set after cooling, it simply didn’t cook long enough to reach the setting point. Remember, we are relying only on the natural pectin and sugar concentration. The best solution is to scoop the runny jam back into the pot, add another half cup of sugar, bring it back to a rolling boil, and cook it down longer until the wrinkle test works. Don’t worry; we all have a batch that needs a second chance!
Can I reduce the amount of sugar?
This is tricky, especially when making jam without pectin. Sugar isn’t just for taste here; it’s a preservative, and more importantly, sugar is necessary to bind with the fruit’s natural pectin and acid to create that thick texture. If you drastically reduce the sugar, you risk having a very watery preserve and decreasing its shelf life. If you want less sugar, try converting this to a small batch and storing it only as refrigerator jam for immediate use.
Is this recipe suitable for canning raspberry jam?
It sure is! Because this recipe uses the right ratios of fruit, acid, and sugar, it is perfectly safe for water bath canning once the set is achieved. Just ensure you follow all standard procedures for sterilizing jars and processing times. If you want inspiration for canning methods, I often look at guides like the one on Sumara Recipes for extra confidence!
Estimated Nutritional Value for This Easy Jam Recipe
Now, I always want to be upfront about what goes into our bodies, even with something as fun as homemade jam! Since we are using simple, pure ingredients here, it’s easy to get a good idea of the breakdown. Please remember these are just estimates based on standard measurements of the fruit, sugar, and lemon juice, so treat them as a guide, not gospel!
- Serving Size: 2 tablespoons
- Calories: 105
- Sugar: 27g (Yep, that sugar does most of the heavy lifting for the set!)
- Protein: 0.3g
- Sodium: 1mg
- Fat: 0.2g
Because we keep things basic, you won’t see any cholesterol or saturated fat worth worrying about here. It’s just fruit and sugar making magic!
Share Your Homemade Raspberry Jam Success
I truly hope you dive into making this homemade raspberry jam. There’s honestly nothing quite like cracking open a jar of summer sunshine you made yourself. Seriously, it tastes a million times better than anything store-bought, and you did it with just three ingredients—that’s a major win for the busy cook!
When you make this batch, please swing back and let me know how it went! Did you manage to get that perfect wrinkle on the cold plate test? Did you decide to go for the seedless option, or do you love that natural chunkiness? Drop a star rating below so new bakers know they can trust this easy method. And if you ended up with too much jam (what a great problem to have!), try using a dollop over my caramel crunch cake recipe—it’s divine!
If you found this guide helpful for learning how to make jam without pectin, feel free to share this page with a friend who needs a simple win in the kitchen. For other canning inspiration, check out the great walkthroughs on Canning Magic. Happy preserving, and enjoy every sweet, tangy spoonful!
PrintEasy 3-Ingredient Raspberry Jam (No Pectin Needed)
Make this simple homemade raspberry jam using only three ingredients. It sets naturally without added pectin, giving you a sweet and tangy spread perfect for toast or desserts.
- Prep Time: 30 min (plus 30 min maceration)
- Cook Time: 25 min
- Total Time: 85 min
- Yield: About 2 half-pint jars 1x
- Category: Preserves
- Method: Stovetop Cooking
- Cuisine: American
- Diet: Vegetarian
Ingredients
- 2 cups fresh or frozen raspberries
- 2 cups granulated sugar
- 1 tablespoon fresh lemon juice
Instructions
- Combine the raspberries and sugar in a medium, heavy-bottomed saucepan. Let this mixture sit for 30 minutes to allow the sugar to draw out the juices from the fruit.
- Place the saucepan over medium-high heat. Stir constantly until the sugar dissolves completely and the mixture begins to boil rapidly.
- Once boiling, add the lemon juice. Continue to boil, stirring often to prevent scorching, until the jam reaches the setting point (about 220 degrees Fahrenheit on a candy thermometer) or passes the cold plate test. This usually takes 15 to 25 minutes.
- Remove the jam from the heat. Skim off any foam that forms on the surface using a spoon.
- Ladle the hot jam into clean, sterilized jars, leaving 1/4 inch headspace. Wipe the rims clean.
- For refrigerator storage, allow the jars to cool completely on the counter, then seal and store in the fridge for up to three weeks. For water bath canning, process the jars in a boiling water bath for 10 minutes, adjusting for altitude. Cool and check seals.
Notes
- To test for set without a thermometer, place a small plate in your freezer before starting. When you think the jam is ready, drop a teaspoon of jam onto the cold plate. Return it to the freezer for one minute. Push the jam with your finger; if the surface wrinkles, it has set.
- If you prefer seedless raspberry jam, press the cooked mixture through a fine-mesh sieve before jarring.
- This recipe makes a small batch jam perfect for beginners. You can double the recipe for larger quantities, but you may need to increase the cooking time slightly.
Nutrition
- Serving Size: 2 tablespoons
- Calories: 105
- Sugar: 27g
- Sodium: 1mg
- Fat: 0.2g
- Saturated Fat: 0g
- Unsaturated Fat: 0.1g
- Trans Fat: 0g
- Carbohydrates: 27g
- Fiber: 1g
- Protein: 0.3g
- Cholesterol: 0mg