
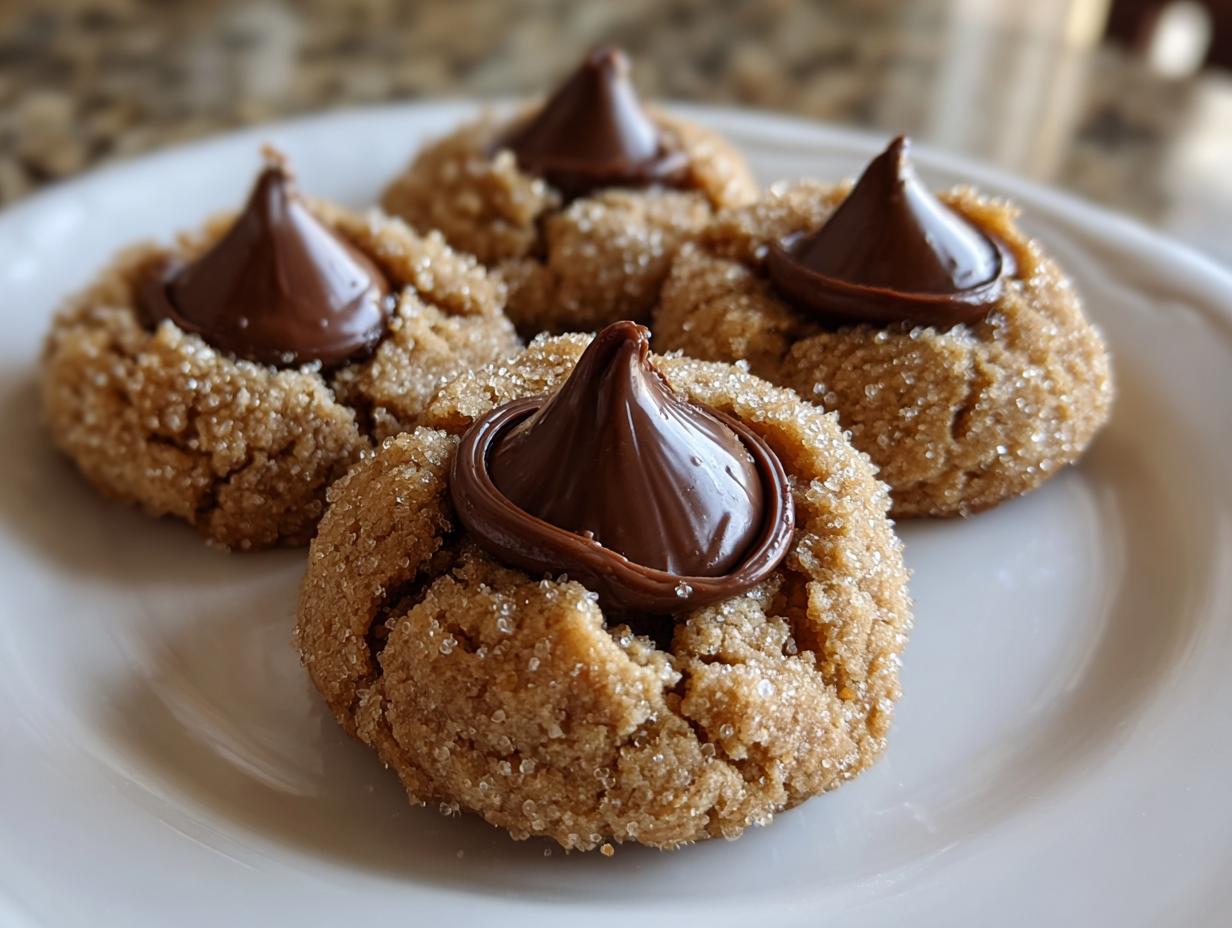
Oh my gosh, is it that time of year already? Nothing screams warm nostalgia quite like pulling out the tray of classic Christmas cookies, and right at the top of that list, you absolutely have to have the Peanut Butter Blossoms. Seriously, the perfect salty-sweet bite with that little hat of chocolate is just magic. But you know the biggest problem? They always seem to dry out faster than you can put them away! That’s why I worked tirelessly—and I mean tirelessly—to nail down the ultimate soft & chewy classic peanut butter blossoms recipe. My goal here at the site is always to keep the soul of home cooking alive while honoring how busy life gets, and these blossoms prove you don’t have to sacrifice that gorgeous, melt-in-your-mouth texture for the sake of speed. Trust me, these are the ones you want on your holiday platter.
- Why This is the Best peanut butter blossom Recipe for Soft & Chewy Texture
- Ingredients for Ultimate Soft & Chewy peanut butter blossom
- Step-by-Step Instructions for Perfect peanut butter blossom
- Expert Tips for Guaranteed Soft peanut butter blossom Success
- Variations on the Classic peanut butter blossom Cookie
- Storage and Reheating Instructions for peanut butter blossom
- Frequently Asked Questions About peanut butter blossom
- Serving Suggestions for Your Classic Christmas Cookies
- Sharing Your peanut butter blossom Creations
Why This is the Best peanut butter blossom Recipe for Soft & Chewy Texture
I know, I know. Everyone claims they have the best peanut butter cookie recipe, but when it comes to the blossom, texture is everything! My biggest hang-up in the past was ending up with what felt like peanut butter crackers instead of soft baked peanut butter cookies. It drove me crazy!

The secret to truly chewy chocolate top cookies lies in three things we tackle in this recipe. First, we use both granulated and brown sugar; that brown sugar brings in molasses which is a natural tenderizer. Don’t skip packing that brown sugar measurement correctly!
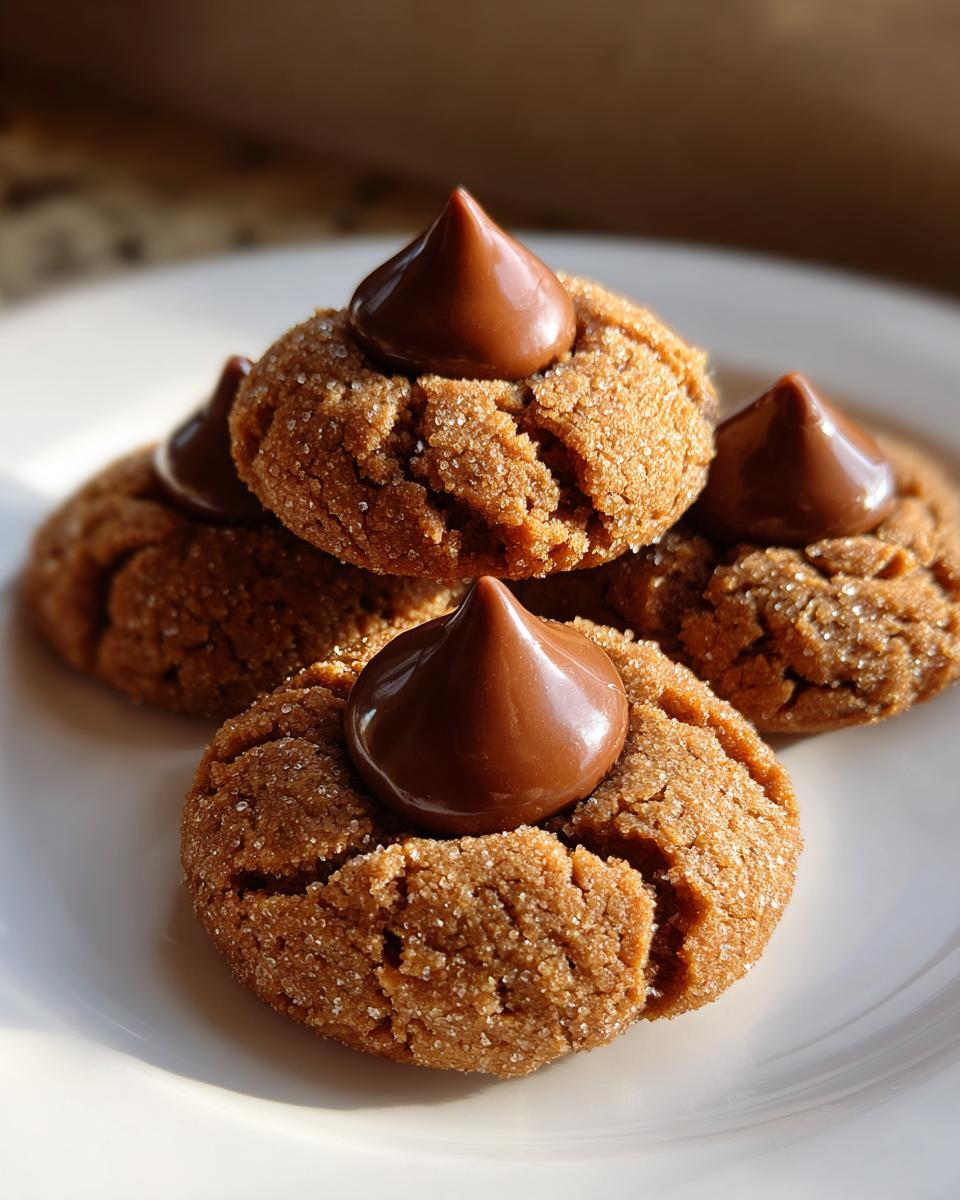
Second, look at the leavening agents—baking soda and powder—we have a careful balance here to give lift without making the cookie cakey. And finally, the baking time is crucial. We pull these out when they look slightly underdone. Those extra 30 seconds on the counter letting residual heat work its magic are what locks in the moisture. You want that signature crackle on top, but a soft middle that yields beautifully when you press down that chocolate kiss. That’s the sign of success right there!
Ingredients for Ultimate Soft & Chewy peanut butter blossom
Okay, let’s talk about what goes into this winning base. You don’t need anything fancy or hard to find here, which is part of why these are such a staple! Just make sure you measure carefully, especially when handling the sugars. Having your butter truly softened—not melted, just soft—is important for the creaming step later on. Here is the lineup for about three dozen of the very best peanut butter blossom cookies you’ll ever tackle.
- 1 cup (2 sticks) unsalted butter, softened
- 3/4 cup creamy peanut butter
- 3/4 cup granulated sugar
- 3/4 cup packed light brown sugar
- 2 large eggs
- 1 teaspoon vanilla extract
- 2 1/4 cups all-purpose flour
- 1 teaspoon baking soda
- 1/2 teaspoon baking powder
- 1/2 teaspoon salt
- 1 cup granulated sugar, for rolling
- 1 bag (12 ounces) Hershey’s Kisses, unwrapped
Step-by-Step Instructions for Perfect peanut butter blossom
Alright, time to put theory into practice! This is where we turn those beautiful ingredients into those classic, iconic peanut butter blossom cookies everyone swoons over. Because we want that soft texture, every step here matters. We are aiming for those perfect, simple cookie recipes with kisses that really taste homemade.
Mixing the Dough for Your peanut butter blossom
First things first, get your oven set to 375°F and line those baking sheets with parchment paper—do not skip this, it makes clean-up a dream! In your big bowl, cream that softened butter, peanut butter, the 3/4 cup of white sugar, and all that packed brown sugar until it looks fluffy, kinda pale, and light. Then, add in your eggs one by one, followed by that vanilla. Now, in a separate bowl, whisk together your flour, baking soda, baking powder, and salt. Here’s the crucial part: only add the dry stuff to the wet mixture slowly, mixing on low speed just until everything disappears. If you overmix, you activate the gluten, and poof! Say goodbye to the chewiness! If you’re looking for other things that stay soft, check out my caramel recipe!
Baking and Adding the Chocolate Kiss Center
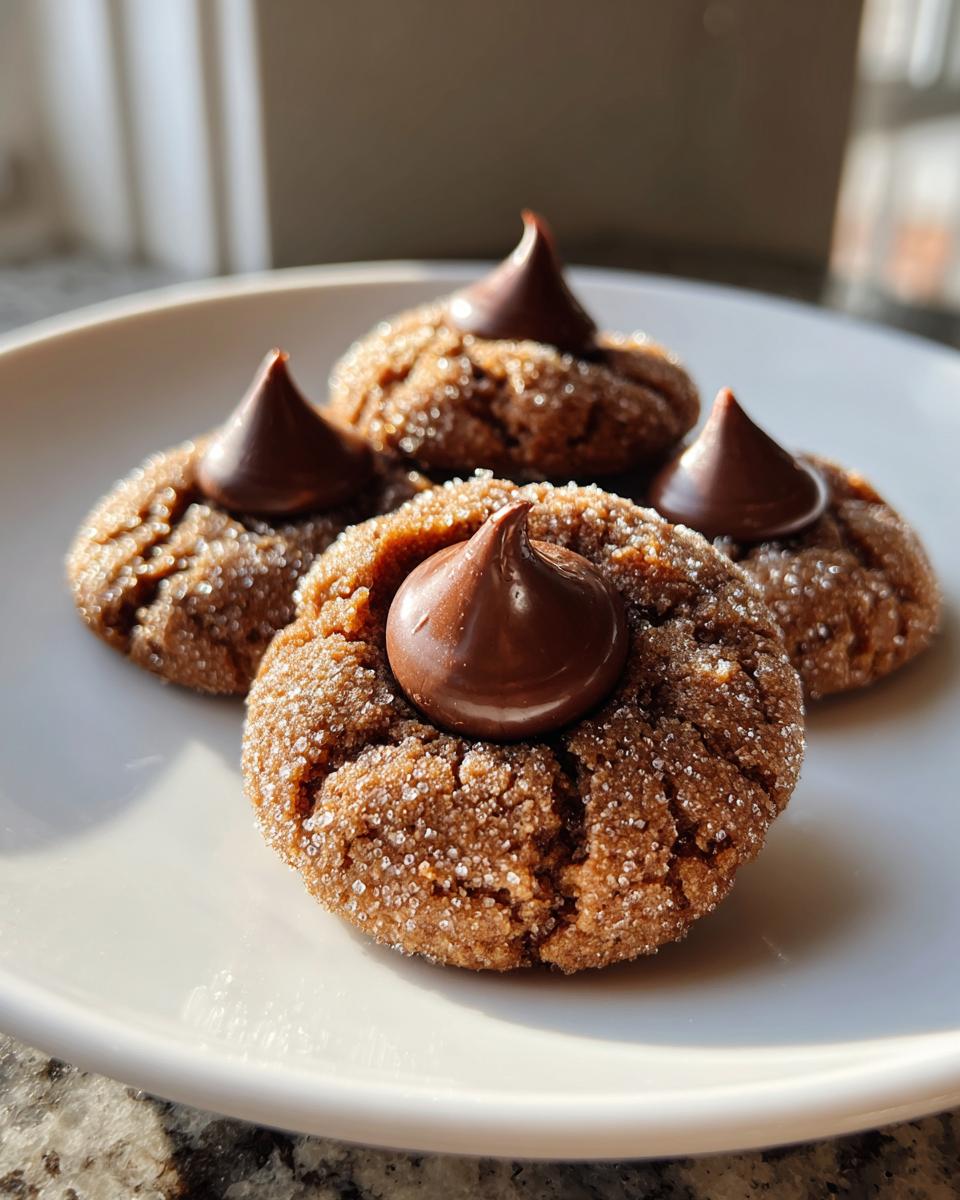
Get your second bowl ready with the remaining 1 cup of plain granulated sugar. Roll your dough into beautiful 1-inch balls, and then really commit to rolling them completely in that sugar. Make sure they are totally coated before placing them about two inches apart on your prepared sheets. Bake these babies for just 8 to 10 minutes. You’re looking for edges that look set, but the center should still look a little soft—we aren’t looking for color here! As soon as they come out, gently press one unwrapped Hershey’s Kiss right into the center of each warm cookie. That residual heat does all the work melting the chocolate perfectly. Let them sit on the hot pan for just five minutes before moving them to a rack to cool down. If you try to move them too soon, they might crack, so have a little patience!
Expert Tips for Guaranteed Soft peanut butter blossom Success
Even with the best recipe, sometimes things go slightly sideways, right? I’ve ruined batches of cookies before they made it to the cooling rack! My biggest disaster was totally overbaking them one year when I got distracted by a holiday phone call—they came out looking okay, but they cracked wide open when I tried to press in the Kisses! Lesson learned: precision timing is key for these iconic peanut butter cookies.
To make sure you get that perfect soft and chewy texture every time, I always follow a few non-negotiable rules I pulled straight from the original recipe notes:
- Don’t Overbake, Seriously: This is the number one way to dry out a cookie. You want those edges set, but the center should still look soft, almost underdone, when you slide them out. The residual heat works wonders!
- The Kiss Timing: Press that chocolate kiss in right away, but if your kitchen is super warm and the Kisses start getting melty and losing their shape, just wait 60 seconds. A tiny bit of cooling time prevents the chocolate from totally dissolving into the dough.
- Altitude Adjustments: If you live somewhere high up, you already know the drill. For these blossoms, scale back the baking powder slightly to about 1/4 teaspoon. This stops them from over-rising and then crashing into dryness.
Variations on the Classic peanut butter blossom Cookie
I absolutely adore the classic look, but sometimes you just want to shake things up, right? These peanut butter cookie variations are fun, especially if you’re making these for a huge batch for a cookie swap. Don’t feel like you have to stick to creamy peanut butter—switching to crunchy gives you such a fun, nutty texture contrast!
Also, let’s talk chocolate. While the Hershey’s Kiss is iconic, try using dark chocolate Kisses for a richer flavor, or maybe stick a peanut butter chip right in the middle instead of the traditional kiss shape. My favorite little bonus touch? A tiny sprinkle of flaky sea salt right on top of the chocolate while it’s still warm. It makes that salty part of the sweet/salty combo really pop!
If you are totally tired of scooping dough, I saw a genius idea for making them into bars—you get all that incredible flavor baked flat! You can check out that peanut butter blossom bar idea if you want to save time on rolling.
Storage and Reheating Instructions for peanut butter blossom
The best part about these peanut butter blossom cookies is that they are genuinely one of the few cookies that stay soft for days, but we still have to protect that moisture! Once they are completely cool—and I mean cool, or the chocolate will smudge—get them into an airtight container right away. They hang out perfectly on the counter for about three days.
If you need them to last longer, freezing is your friend! Lay them flat on a baking sheet until hard, then transfer them to a freezer bag. They are good for about two months. When you want one, just let it thaw on the counter for twenty minutes. If you’re feeling fancy, pop that thawed cookie in the microwave for about five seconds to get that chocolate nice and melty again!
Frequently Asked Questions About peanut butter blossom
I always get questions when I put these out at parties—everyone wants to know my secrets! Since these are such classic Christmas cookies, people sometimes worry about making them perfectly. Here are some of the things I hear most often about whipping up the best peanut butter blossom batch possible.
Can I skip rolling them in sugar?
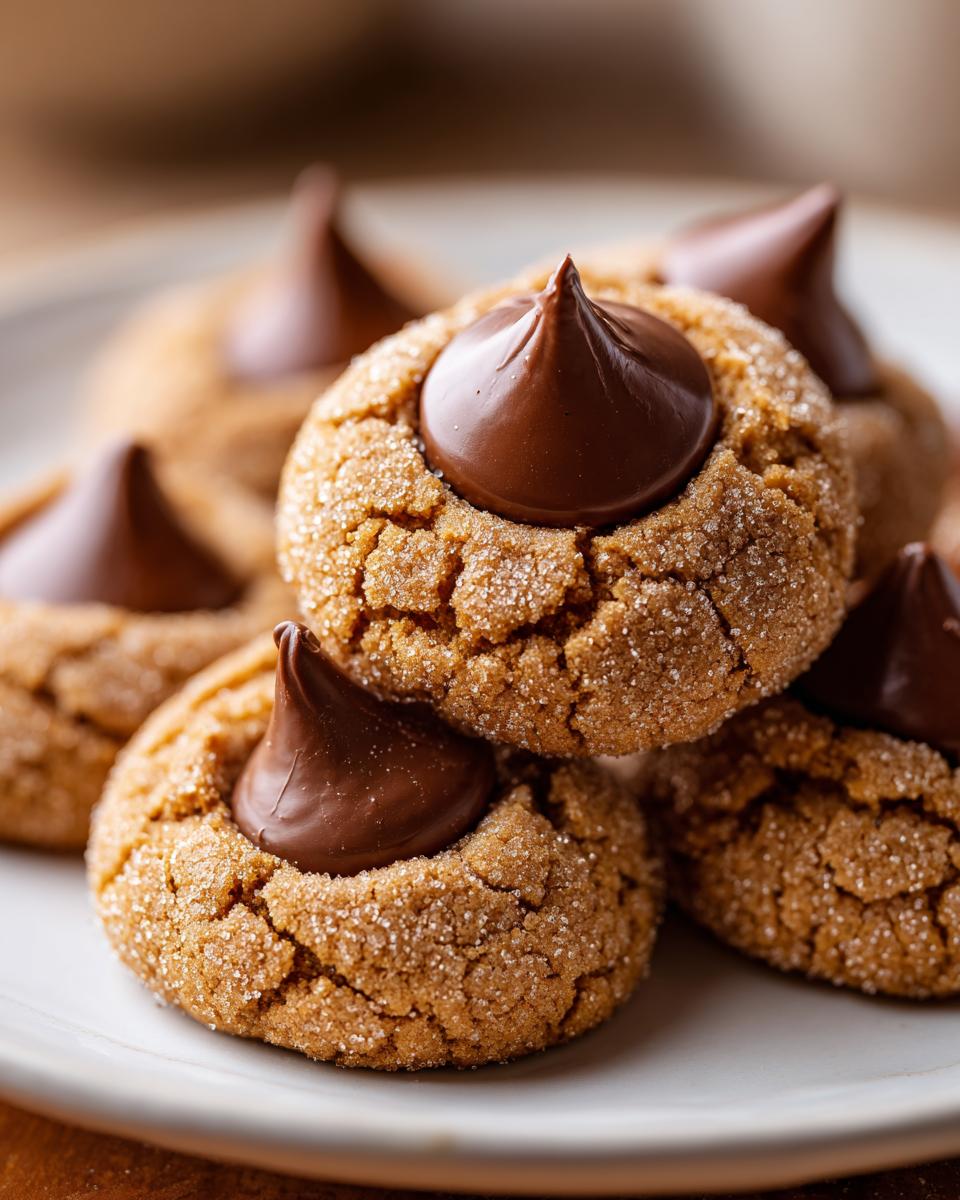
Oh, please don’t! Seriously, skipping the sugar roll is probably the fastest way to get dry, cracked tops on your cookies. That outer coating of sugar actually helps create a slight barrier that locks in the moisture during baking, giving you those beautiful signature cracks and keeping them soft. It’s worth the extra 5 minutes of rolling, I promise!
My chocolate kisses melted completely, what went wrong?
This is the classic rookie mistake! If the chocolate completely melts and dissolves, it usually means you left them in the oven too long, or you waited too long to press the kiss in after they came out. Remember, the residual heat does the work. They should go in immediately when they come out of the 375°F oven. Check out this article on classic peanut butter blossoms for a breakdown of timing if you need more visuals.
Are these good for cookie swaps?
Absolutely! These are the ultimate cookie swap treats because everyone recognizes them, and they hold up so well during transport! Since they’re relatively quick to make—we were done in about 30 minutes total—they are perfect when you need to contribute something impressive for your easy holiday cookie recipes tray.
Can I use natural peanut butter?
I generally advise against it for this specific recipe. Natural peanut butters (the runny kind) have a different fat content and moisture level than standard, processed creamy peanut butter. That change can totally mess up the structure we worked so hard to perfect for that chewy center!
Serving Suggestions for Your Classic Christmas Cookies
There’s nothing better than seeing a platter full of these beautiful **Peanut Butter Kiss Cookies**, especially when you’re pooling treats for a big family gathering or a cookie swap! They are robust enough to hold their own, but they pair so well with everything warm.
Of course, an ice-cold glass of milk is the original and best partner for anything involving chocolate and peanut butter. If you’re serving grown-ups, a piping hot mug of coffee or rich hot cocoa cuts through that sweetness perfectly. For a truly festive feel, try serving them alongside something tart, like a slice of lemon loaf or even my bright White Christmas Margarita if you’re hosting something later in the evening. These are truly the perfect **Holiday Cookie Swap Treats**!
Sharing Your peanut butter blossom Creations
Now you know my secrets for the perfect soft and chewy creation! I really hope you love making these as much as I do. Would you do me a huge favor and hop over to the contact page to let me know how they turned out? I’m dying to know—what did you love more, the salty peanut butter dough or that smooth chocolate Kiss center?
PrintUltimate Soft & Chewy Classic Peanut Butter Blossoms

Make the best peanut butter blossom cookies that stay soft and chewy long after baking. This recipe delivers the iconic sweet and salty flavor combination with a perfect chocolate kiss center.
- Prep Time: 20 min
- Cook Time: 10 min
- Total Time: 30 min
- Yield: About 3 dozen cookies 1x
- Category: Dessert
- Method: Baking
- Cuisine: American
- Diet: Vegetarian
Ingredients
- 1 cup (2 sticks) unsalted butter, softened
- 3/4 cup creamy peanut butter
- 3/4 cup granulated sugar
- 3/4 cup packed light brown sugar
- 2 large eggs
- 1 teaspoon vanilla extract
- 2 1/4 cups all-purpose flour
- 1 teaspoon baking soda
- 1/2 teaspoon baking powder
- 1/2 teaspoon salt
- 1 cup granulated sugar, for rolling
- 1 bag (12 ounces) Hershey’s Kisses, unwrapped
Instructions
- Preheat your oven to 375 degrees F. Line baking sheets with parchment paper.
- In a large bowl, cream together the softened butter, peanut butter, 3/4 cup granulated sugar, and brown sugar until the mixture is light and fluffy.
- Beat in the eggs one at a time, then mix in the vanilla extract.
- In a separate medium bowl, whisk together the flour, baking soda, baking powder, and salt.
- Gradually add the dry ingredients to the wet ingredients, mixing on low speed until just combined. Do not overmix the dough.
- Pour the remaining 1 cup of granulated sugar into a shallow dish.
- Roll the dough into 1-inch balls. Roll each ball thoroughly in the sugar until completely coated.
- Place the sugared dough balls about 2 inches apart on the prepared baking sheets.
- Bake for 8 to 10 minutes, or until the edges are set but the centers still look slightly soft.
- Immediately upon removing the cookies from the oven, gently press one unwrapped Hershey’s Kiss into the center of each warm cookie. The residual heat will slightly melt the chocolate.
- Let the cookies cool on the baking sheet for 5 minutes before transferring them to a wire rack to cool completely.
Notes
- For the softest cookies, do not overbake. Remove them when the edges look set but the middle still appears slightly underdone.
- If your chocolate kisses are too soft to press in, wait 2-3 minutes after removing the cookies from the oven before adding them.
- If you are baking at high altitude, reduce the baking powder to 1/4 teaspoon and slightly increase the liquid or decrease the flour by 1 tablespoon.
Nutrition
- Serving Size: 1 cookie
- Calories: 185
- Sugar: 15g
- Sodium: 110mg
- Fat: 9g
- Saturated Fat: 4g
- Unsaturated Fat: 5g
- Trans Fat: 0g
- Carbohydrates: 24g
- Fiber: 1g
- Protein: 4g
- Cholesterol: 25mg