
Let’s just be honest: sometimes you just need frosting. Not some fancy meringue or complicated Italian process—you need something quick, something that tastes exactly like you remember from birthday parties, and something that absolutely will not collapse when you try to pipe a border. That’s why I perfected my take on the vanilla buttercream frosting. I’ve taken all those childhood shortcuts and smoothed out the bumps parents used to struggle with. This recipe strips away everything unnecessary, leaving you with a classic American buttercream that is outrageously creamy, perfectly fluffy, and ready to decorate with in about 10 minutes flat. It’s the result of simplifying my favorite desserts for our busy modern lives, giving you seriously good food without eating up your whole evening. This is your new go-to classic cake frosting!
If you’re looking for other ways to top your baked treats, check out my collection of amazing delicious dessert recipes that always need a little crown of sweet goodness!
- Why This Vanilla Buttercream Frosting Recipe Works Every Time
- Ingredients for Classic Vanilla Buttercream Frosting
- How to Prepare the Best Vanilla Buttercream Frosting
- Tips for Success with Your Piping Buttercream Guide
- Serving Suggestions for Creamy Dessert Topping
- Storage and Reheating Instructions for Homemade Vanilla Icing
- Frequently Asked Questions About This Easy Buttercream Frosting
- Estimated Nutritional Data for Vanilla Buttercream Frosting
- Share Your Simple Vanilla Frosting Creations
Why This Vanilla Buttercream Frosting Recipe Works Every Time
I know, I know, everyone claims they have the “best” this or that, but hear me out on this vanilla buttercream frosting. This isn’t complicated, heavy icing; this is American buttercream that sets up beautifully for piping without hardening like cement later on. The magic is in the balance. We use just the right amount of high-quality butter and fat to keep it creamy, but the technique builds in enough air so it stays light.
My goal for Completely Yummy is that everything works perfectly the first time you try it, and this recipe lives up to that. It tastes rich because we aren’t skimping on good ingredients, and you can trust the results.
Quick Buttercream Recipe: Ready in 10 Minutes
If you’re reading this, chances are you need frosting *now*, not next week. Seriously, this is a game-changer for busy nights when you suddenly remember a cake is needed tomorrow morning. The total time, start to finish, is about 10 minutes—I timed it dozens of times making batches for testing! It’s the ultimate quick buttercream recipe when you need a last-minute filling or topping.
Achieving Fluffy Cupcake Icing Texture
The transformation happens during that final whipping stage. When you incorporate the heavy cream (or milk) at the end, you have to beat it on high speed for a good 3 to 5 minutes. Don’t skip that part! That long beating time is what folds tiny pockets of air into the dense base, turning your sugary paste into genuinely fluffy cupcake icing. It makes the difference between frosting that glops onto your cupcake and frosting that looks like it came from a professional bakery.
Ingredients for Classic Vanilla Buttercream Frosting
Getting this smooth vanilla buttercream frosting right depends entirely on getting the base ingredients ready first. Don’t just toss things in the bowl! We need room temperature butter—soft enough to mash easily but not shiny or melted, which will separate everything—and powdered sugar that has been properly sifted. Sifting is non-negotiable for that truly creamy, lump-free result we want for our homemade vanilla icing.
- 1 cup unsalted butter, softened to room temperature
- 4 cups powdered sugar, sifted
- 1 teaspoon pure vanilla extract
- 2 to 4 tablespoons heavy cream or milk
- Pinch of salt
Ingredient Notes and Substitutions for Your Vanilla Buttercream Frosting
A few words on what makes this specific list the *best*—the key here is quality where it counts. For the vanilla, please use pure extract; the imitation stuff tastes artificial next to all this butter and sugar. When it comes to the liquid, heavy cream gives you a richer, almost decadent topping, perfect for a best buttercream for cakes. If I’m in a pinch, whole milk works fine, but you might need slightly less of it.
Also, don’t forget that tiny pinch of salt! It sounds funny in frosting, but it balances out the sweetness so much that you’ll notice a huge difference if you leave it out. Trust me on this one.
How to Prepare the Best Vanilla Buttercream Frosting
Alright, here’s where we assemble this beauty. This is the American buttercream tutorial you’ve been waiting for, and it’s all about technique, not complicated recipes. Scraping the bowl is your best friend here—don’t let ingredients hide on the sides and cause lumps in your beautiful vanilla buttercream frosting! We move quickly, but we don’t rush the mixing parts, especially the whipping.
Remember, you can find supporting techniques for other desserts, like my delicious dessert recipes, but this specific method is tailored for this creamy topping.
The Creaming Process: Butter and Sugar
First things first: grab that softened butter. Pop it into your mixer bowl with the paddle attachment—I mean it, let it go until it’s utterly smooth and looks almost glossy. That takes about two solid minutes. If you have soft patches, scrape down the sides and keep going!
Next, here’s where the sifting really pays off. Add your mountain of sifted powdered sugar slowly, only one cup at a time, mixing on low speed. If you dump it all in at once, you’ll end up with a cloud of sugar dust filling your kitchen! Scrape the sides down *after every single cup* to make sure everything incorporates evenly. It will look crumbly at first, but keep going.
Whipping for a Rich Vanilla Flavor Frosting
Once the sugar is mostly mixed in, it’s time for the flavor shots: that pure vanilla extract and your tiny pinch of salt. Mix that on low just until you don’t see white streaks anymore. Now, for the magic to create that rich vanilla flavor frosting.
Add 2 tablespoons of heavy cream or milk. Turn the mixer speed up to medium-high, and let it run for a full 3 to 5 minutes. Seriously, set a timer! This is the step that stops it from tasting like heavy, greasy sugar and turns it into that impossibly light, fluffy goodness that’s perfect for piping. After that high-speed whip, check the consistency. If it’s too stiff for spreading, add the remaining cream, one teaspoon at a time, until it’s right where you want it.
Tips for Success with Your Piping Buttercream Guide
You’ve made the frosting, it looks great in the bowl, but now it’s time for the real test: spreading it or decorating with it. Don’t panic if it seems a little off right when you finish the whipping step! A great vanilla buttercream frosting needs a little tweaking sometimes, and knowing how to adjust the consistency is key to making this a flawless piping buttercream guide.
The ingredient ratio we used is usually spot-on for frosting a layer cake, but if you’re working in a super humid kitchen or using a different type of butter, you might need these little fixes. Remember, it’s always easier to add something than to take it away!
If your frosting is stiff when you start: If you finished the beating stage and your easy buttercream frosting just seems too thick to spread nicely across a cake top, the fix is simple. Add your remaining heavy cream or milk, one teaspoon at a time. Mix it in slowly on low speed, then give it a brief final whip on high. You only need a tiny splash to loosen it up beautifully!
If your frosting is too thin or soupy: If you added too much liquid, or maybe your butter was just a touch too warm when you started, don’t despair and don’t throw it out! This is easily fixed by adding more powdered sugar. Just remember to sift it first, even if you think it’s lump-free. Add about 2 tablespoons of sifted sugar at a time on low speed until you get that perfect, hold-its-shape texture. It will stiffen up fast, so only add what you absolutely need.
My main piece of advice? Whenever you adjust sweetness or liquid, always finish with a quick 30-second blast on medium-high speed. This reactivates the air you beat in earlier, keeping the texture light and preventing it from collapsing into a dense, sugary mess.
Serving Suggestions for Creamy Dessert Topping
Okay, now that you have this unbelievably smooth and wonderful vanilla buttercream frosting sitting in your bowl, aren’t you tempted just to eat it with a spoon? Oh, I know I am! But this glorious, creamy dessert topping is just too versatile to keep confined to a single use. We made this recipe so reliable it works perfectly whether you’re filling a big beautiful layer cake or just topping a humble cookie.
Never settle for boring desserts just because you ran out of time. This simple frosting elevates everything it touches. For more ways to dress up your baking successes, check out my collection of delicious dessert recipes that always beg for a sweet finish!
Decorating Frosting Ideas for Cakes and Cookies
Because we spent that extra time whipping the air in, this is truly the best buttercream for cakes. It’s sturdy enough to handle stacking and frosting without sliding off. For layer cakes, I love using an offset spatula to create those beautiful, rustic swoops around the side. It looks fancy but takes three seconds!
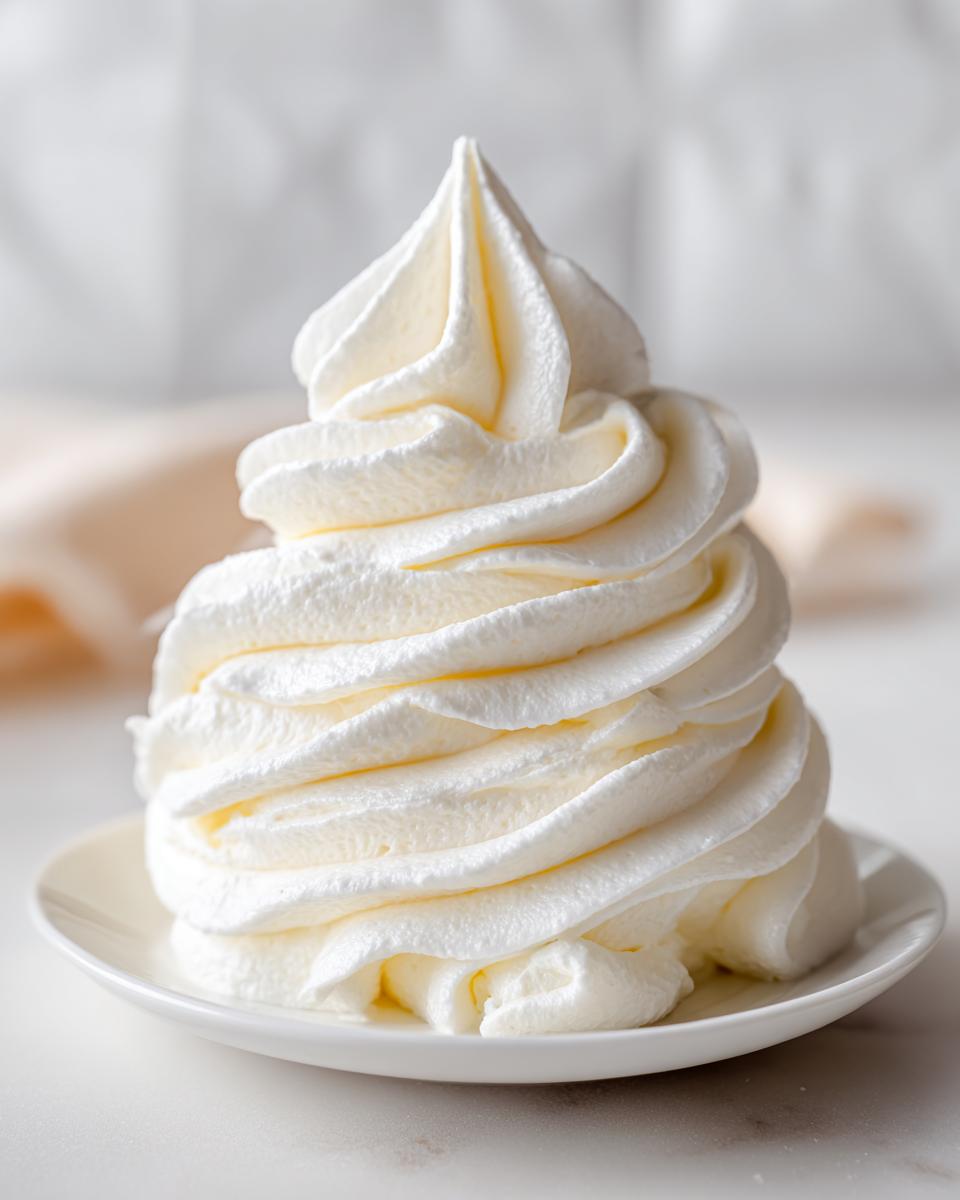
For cupcakes, obviously, you need to pipe! I usually reach for a large star tip, like a Wilton 1M, to get those big, dramatic swirls. It’s so easy to do: just fill your piping bag, hold it vertically over the center of the cupcake, squeeze until the base is covered, and pull up while twisting gently to create that signature peak.
But don’t stop there! This simple vanilla frosting makes an amazing layer between thin gingerbread cookies for easy sandwich cookies. You can also thin it *just* a tiny bit with a drop more milk and use it like a thick glaze on scones or cinnamon rolls. If you want color, just add a single drop of gel food coloring at the very end of the mixing process, and you’ve instantly got a custom shade for any celebration!
Storage and Reheating Instructions for Homemade Vanilla Icing
So, you made a giant batch of vanilla buttercream frosting because you’re smart, and now you have leftovers! Good for you. This recipe for homemade vanilla icing is great because it keeps really well, but you need to know how to store it correctly so it doesn’t go hard or separate when you pull it out later. I’ve gotten so many questions about this, because nobody wants to salvage a rock-hard tub of icing the night before a bake sale!
I like to think of this as essential knowledge for any competent home cook. If you use good quality ingredients, there’s no reason this frosting shouldn’t last you through a few weeks of dessert topping needs.
Leaving It Out: Room Temperature Storage
If you plan on using your creamy dessert topping within a day or two, keeping it covered tightly at cool room temperature is actually my preferred method. Why? Because when you go to frost next time, it’s already soft and ready to go! Use an airtight container or cover the mixing bowl tightly with plastic wrap, making sure the wrap touches the surface of the frosting to prevent a skin from forming.
However, if your kitchen is super warm—like, hotter than 75°F—you need to refrigerate it. Butter doesn’t like being too runny, and we don’t want that greasy texture. If your kitchen is warm, pop it straight into the fridge.
Refrigerating and Bringing Your Icing Back to Life
For longer storage, say up to two weeks, the fridge is your friend. Cover it really well, almost suffocating it with plastic wrap, and seal it in an airtight container. Make sure it doesn’t sit next to anything smelly, like last night’s leftovers, otherwise, your easy buttercream frosting might start tasting faintly of garlic!
When you pull that cold tub out, it will be rock solid. Don’t try to use it! You need to let it sit on the counter for a good hour or two until it comes completely back to room temperature. Once it’s soft, don’t just stir it with a spoon; that won’t bring the air back in. Put it back in your mixer bowl, turn it on low to semi-incorporate it, and then whip it on medium-high speed for another 2 to 3 minutes. This simple re-whipping restores all that beautiful fluffiness we beat into it in the first place, making it perfect for decorating again.
Can I Freeze This Easy Buttercream Frosting?
Yes, you absolutely can freeze it! If you made a double batch for a really big event, freezing is the way to go. Shove that tightly wrapped container in the freezer for up to three months. Thaw it slowly overnight in the refrigerator first—don’t shock it with heat!
Just like with refrigeration, once it’s thawed in the fridge, let it sit out for an hour or so before you take it out of the container and give it that final, fast whip in the mixer. You’ll have fresh, perfect vanilla buttercream frosting like you just made it, ready for any cake!
Frequently Asked Questions About This Easy Buttercream Frosting
I always get a ton of questions when I post this recipe because people want to make sure their vanilla buttercream frosting isn’t too soft or too much work. It’s the easiest recipe around, but these little adjustments make all the difference when you’re aiming for that smooth, professional look!
Can I make this vanilla buttercream frosting ahead of time?
You totally can! It’s perfect for a planning ahead baker. You can store leftovers in an airtight container in the fridge for up to two weeks. But here’s the critical part: when you pull it out, it’s going to be stiff—like a brick. Let it sit on the counter for at least an hour until it’s soft all the way through. Then, put it back in your mixer and whip it on high for a minute or two. That re-whipping brings all the air back in, making it soft and usable again!
How do I make the frosting stiffer for detailed piping?
If you’re using this for a serious piping buttercream guide design—maybe ruffles or super fine borders—you need it a bit stiffer than what we describe for simple spreading. If it seems too soft after the initial 5-minute whip, the best fix is adding more powdered sugar, about 2 tablespoons at a time, until it firms up. Likewise, if you used the full 4 tablespoons of cream/milk and it’s still too loose, just use 3 next time. Reducing the liquid is the fastest way to thicken it up without making it taste overly sweet!
Estimated Nutritional Data for Vanilla Buttercream Frosting
Okay, look, because this is pure butter and sugar magic, we know it’s a treat! When you’re whipping up this vanilla buttercream frosting, you’re making something delicious, and that’s what matters most in my book. But since you asked, I put together the estimated nutritional breakdown based on the ingredients listed and the yield size. This is just a guideline, since ratios can change based on the exact butter you use or how much air you whip in!
This data is based on a serving size of 1/4 cup, which is a generous dollop on a cupcake if you ask me. Remember, this is a homemade recipe, so these numbers are estimates but should give you a good idea!
- Serving Size: 1/4 cup
- Calories: 350
- Fat: 15g
- Saturated Fat: 9g
- Trans Fat: 0g
- Cholesterol: 35mg
- Sodium: 45mg
- Carbohydrates: 57g
- Sugar: 55g
- Protein: 1g
Basically, it’s rich and sweet, just how a classic cake frosting should be! Enjoy it knowing you made it from scratch with the best ingredients possible.
Share Your Simple Vanilla Frosting Creations
Now that you have whipped up a batch of this truly easy, ridiculously good vanilla buttercream frosting, it’s time to show it off! I always get the biggest smile on my face seeing how you all use these foundational recipes to make your own family memories. That’s the whole point behind Completely Yummy—Simple Recipes, Seriously Good Food—making something amazing doable any day of the week.
It would honestly make my week if you came back here and let me know how it went!
- First off, please come back and leave a rating! The five-star system helps other busy home cooks know they can trust this recipe for reliable results.
- Snap a photo of what you frosted—whether it’s a towering cake or just a spoon dipped straight into the bowl (I won’t judge!). Tag us on social media so I can see your amazing work.
If you ever have a question while you’re baking or decorating, or if you just want to chat about how much better homemade icing is than store-bought, don’t hesitate to reach out through the contact page. Happy baking, friends!
PrintThe Best Classic Vanilla Buttercream Frosting
Make this classic vanilla buttercream frosting for creamy, smooth, and fluffy results perfect for piping on cakes and cupcakes. This easy American buttercream recipe is ready fast.
- Prep Time: 10 min
- Cook Time: 0 min
- Total Time: 10 min
- Yield: About 3 cups 1x
- Category: Dessert Topping
- Method: Mixing
- Cuisine: American
- Diet: Vegetarian
Ingredients
- 1 cup unsalted butter, softened to room temperature
- 4 cups powdered sugar, sifted
- 1 teaspoon pure vanilla extract
- 2 to 4 tablespoons heavy cream or milk
- Pinch of salt
Instructions
- Place the softened butter in the bowl of a stand mixer fitted with the paddle attachment (or use a large bowl with a hand mixer). Beat the butter on medium speed until it is completely smooth and creamy, about 2 minutes. Scrape down the sides of the bowl.
- Gradually add the sifted powdered sugar, one cup at a time, mixing on low speed until just combined after each addition. Scrape down the sides frequently.
- Add the vanilla extract and a pinch of salt. Mix on low speed until incorporated.
- Add 2 tablespoons of heavy cream or milk. Increase the mixer speed to medium-high and beat for 3 to 5 minutes until the frosting is light, fluffy, and smooth. This step incorporates air, making it ideal for piping.
- If the frosting seems too stiff, add the remaining cream or milk, one teaspoon at a time, until you reach your desired spreading or piping consistency. If it is too thin, add a few more tablespoons of sifted powdered sugar.
- Use immediately to frost cakes, cupcakes, or cookies.
Notes
- For the smoothest texture, ensure your butter is truly at room temperature, not melted.
- If you need a stiffer frosting for detailed piping work, use less liquid or add more sifted powdered sugar.
- To achieve a richer vanilla flavor, use high-quality pure vanilla extract.
Nutrition
- Serving Size: 1/4 cup
- Calories: 350
- Sugar: 55
- Sodium: 45
- Fat: 15
- Saturated Fat: 9
- Unsaturated Fat: 6
- Trans Fat: 0
- Carbohydrates: 57
- Fiber: 0
- Protein: 1
- Cholesterol: 35