
I’m going to be honest with you: I used to rely on that blue can of stuff. You know the one. But when I decided to reclaim my kitchen, I realized that the soul of comfort food was missing from those sad, overly sweet, gelatinous layers.
Forget everything you think you know about complicated fruit prep. Today we are making the absolute best homemade apple pie filling using a totally quick & easy stovetop homemade apple pie filling recipe. When I was juggling marketing deadlines, I thought making things from scratch was impossible, but this recipe proved me wrong. It’s simple, it sings with *real* spice, and it tastes like autumn descended right into my saucepan. Trust me, once you make this, you’ll never go back to the store-bought stuff again. It’s pure, doable comfort!
- Why This Homemade Apple Pie Filling Beats Store-Bought
- Gathering Ingredients for Your Easy Apple Pie Filling Recipe
- How to Make Stovetop Apple Pie Filling Step-by-Step
- Tips for Success Making Your Apple Pie Filling From Scratch
- Versatile Uses for Your Quick Apple Dessert Filling
- Storage Options: Make Ahead Pie Filling and Freezer Friendly Pie Filling
- Frequently Asked Questions About Apple Pie Filling
- Nutritional Estimates for Spiced Apple Filling
- Share Your Homemade Comfort Food Dessert Creations
Why This Homemade Apple Pie Filling Beats Store-Bought
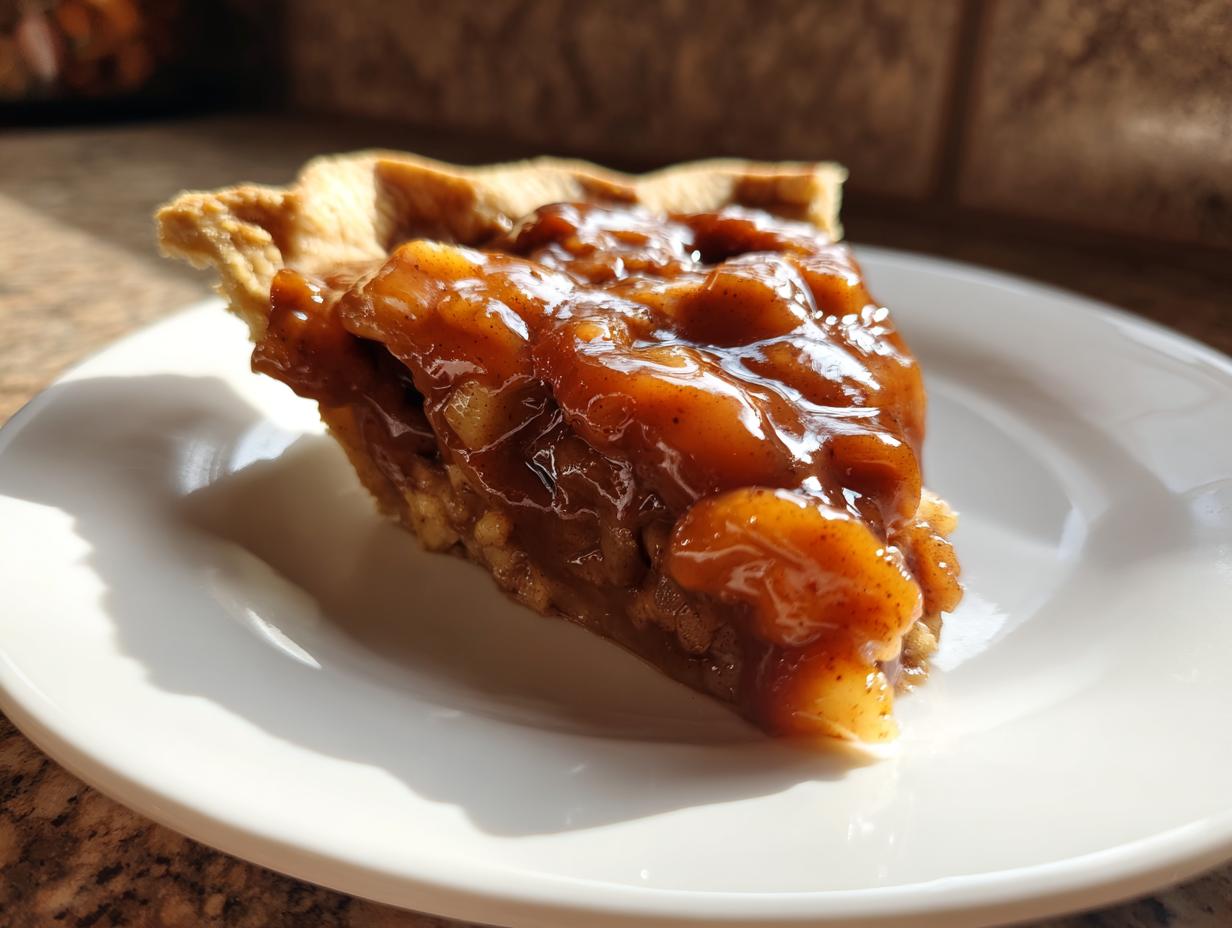
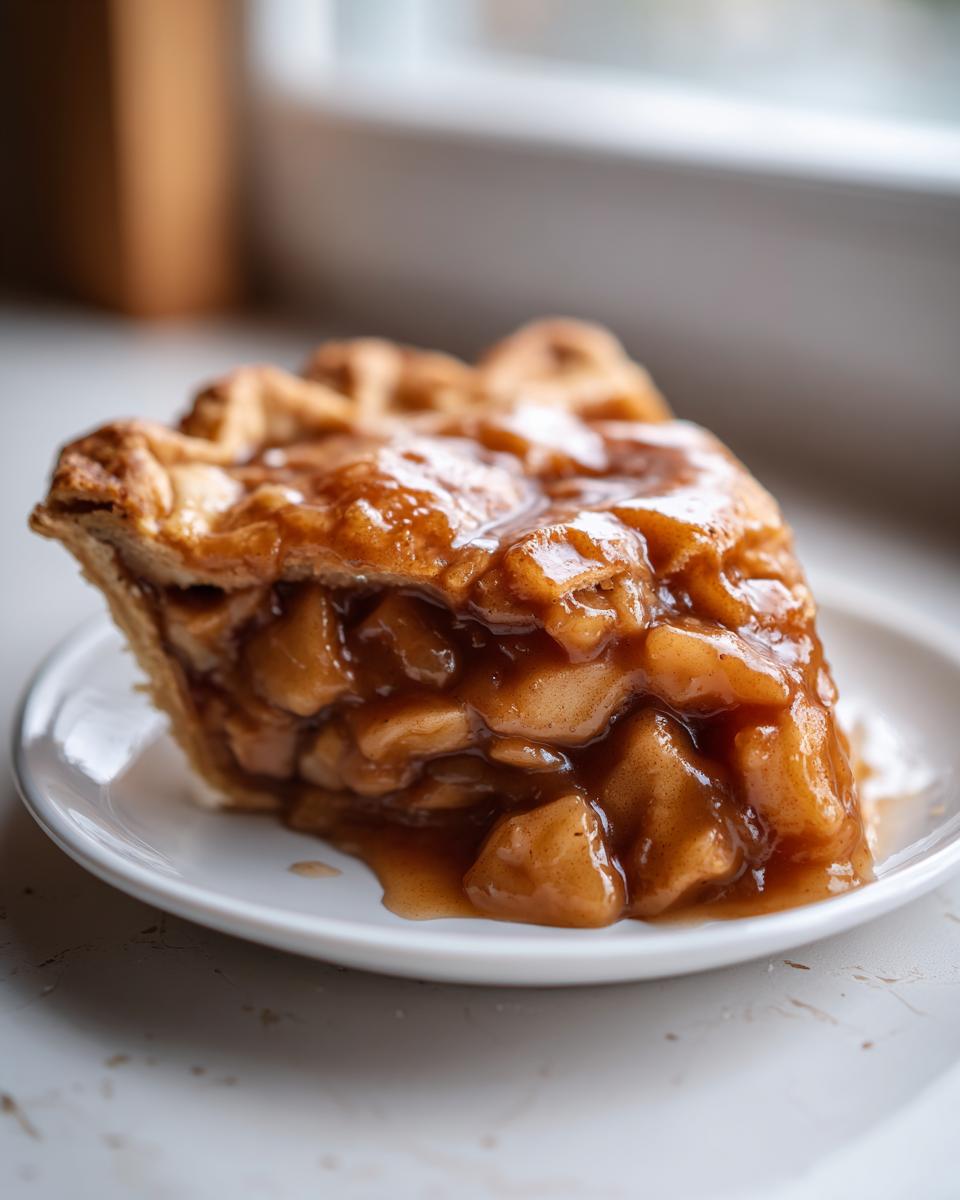
Listen, canned filling is fast, but it always walks that sad tightrope between being too runny and tasting aggressively sweet. When you make your own apple pie filling on the stovetop, you take back control! We’re aiming for the best apple pie filling texture here—apples that are tender but still have a lovely bite left in them.
- Flavor Control: You decide exactly how much brown sugar goes in. No weird fillers needed! Here, we rely on real cinnamon and nutmeg for that cozy hug of flavor.
- Texture Wins: We are actively stopping that dreaded watery mess that ruins a perfectly good crust. These apples hold their shape!
- Speed: Honestly, the whole process takes barely 30 minutes. It’s faster than driving to the store sometimes!
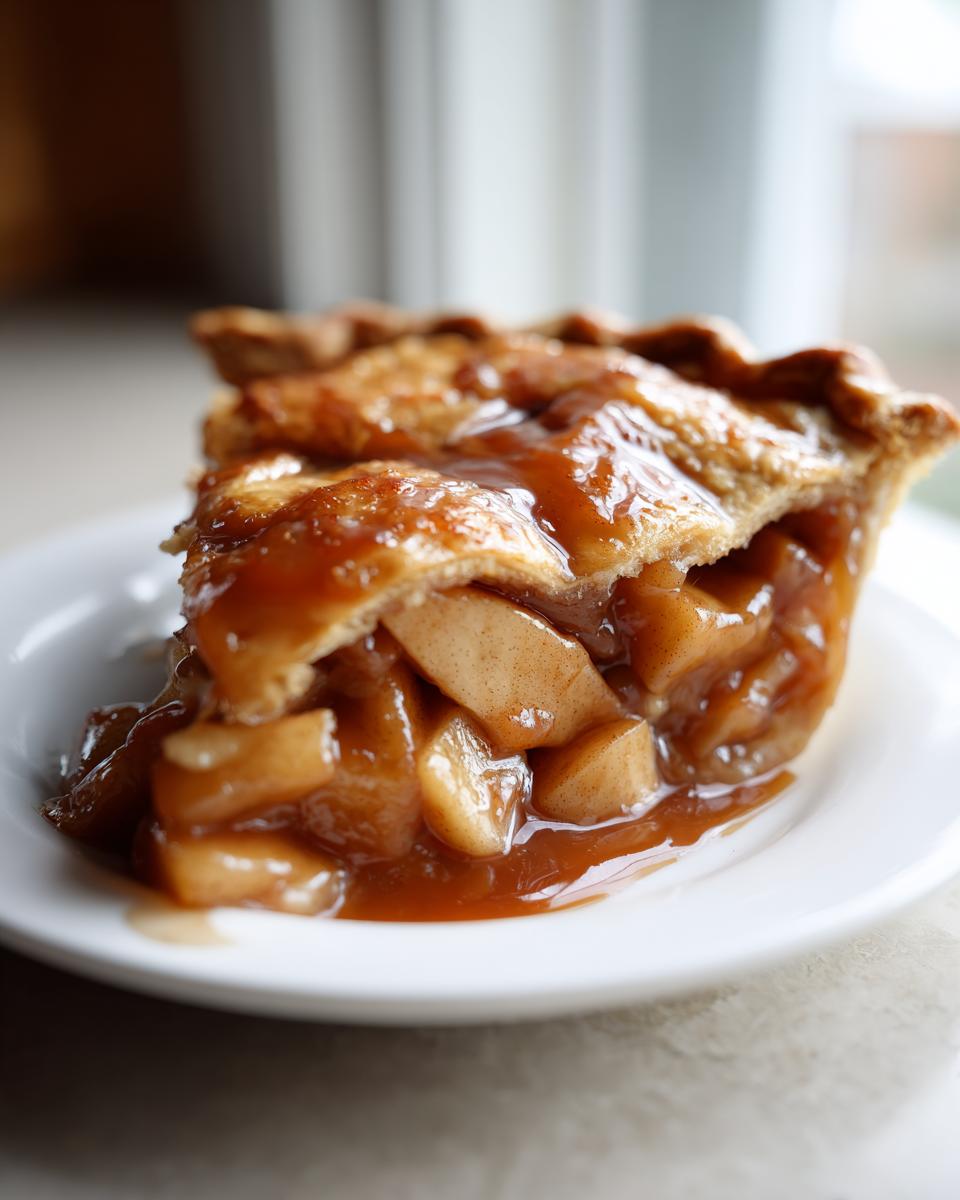
Achieving the Perfect Texture: Non Watery Apple Pie Filling
Oh, the tragedy of a beautiful pie with a soupy bottom! I used to suffer from that constantly. The secret? We pre-cook the apples slightly, but the real trick is the cornstarch slurry we add right at the end. Mixing the cornstarch with *cold* water first is critical—never dump it straight into the hot sauce! This makes our non watery apple pie filling guaranteed to be thick, glossy, and ready for the oven without soaking your bottom crust.
Gathering Ingredients for Your Easy Apple Pie Filling Recipe
The beauty of making your own apple pie filling is that it relies on ingredients you likely already have, or can grab on a quick trip. We aren’t messing around today; quality matters, especially with something so simple! Everything comes together fast on the stove, so have your measuring cups ready to go before you turn on the heat.
Here is what you need:
- 6 medium apples (like Granny Smith or Honeycrisp), peeled, cored, and sliced 1/4-inch thick
- 3/4 cup packed light brown sugar
- 1/4 cup granulated sugar
- 1 tablespoon lemon juice
- 1 teaspoon ground cinnamon
- 1/4 teaspoon ground nutmeg
- 1/8 teaspoon ground allspice
- 1/4 teaspoon salt
- 1 1/2 cups water
- 3 tablespoons cornstarch
Ingredient Notes and Best Apples for Pie Filling
Choosing the right apple is half the battle for a great pie. You absolutely want a mix of sweet and tart, so I always reach for Granny Smith for that nice tang and Honeycrisp for texture that holds up when cooked. Avoid anything too soft, or you’ll end up with apple mush! The lemon juice isn’t just for flavor, either; it keeps those pretty pieces from browning while you prep the rest of your spiced sauce. It’s these little details that make a big difference in a truly fantastic apple pie filling.
How to Make Stovetop Apple Pie Filling Step-by-Step
Okay, now for the fun part! We don’t need a fancy mixer or hours of simmering here. This is where that quick list of ingredients transforms into cozy magic right on the stovetop. Remember how I always loved making fried apple pies as a kid? The filling was always the main event. We want the apples mostly tender, but definitely not collapsing into mush! We use a simple, large saucepan for this whole process.
Combining Apples and Spices for Rich Brown Sugar Apple Filling
First things first: dump those sliced apples right into your pan! Don’t worry about heating it yet. Now, toss in ALL that glorious brown sugar, the salt, and those cozy spices—cinnamon, nutmeg, allspice. You need to gently toss everything until those apples are evenly kissed by the sugar and spice mixture. Once they look pretty and coated, *then* you add the water and set the heat to medium-high. Let it come to a proper boil!
Thickening the Apple Pie Filling Sauce Correctly
While the apples are simmering (give them about seven minutes—you want them starting to soften), get your slurry ready. Take your cornstarch and whisk it *really* well into that tiny bit of cold water until there are absolutely zero lumps. This matters! Now, bring your apples up to a gentle simmer again and slowly pour that slurry in while you stir constantly. Keep that spoon moving! It will go from looking watery to suddenly getting glossy and thick in just a minute or two. That’s how you know your apple pie filling is ready!
Tips for Success Making Your Apple Pie Filling From Scratch
It’s so rewarding to master how to make apple pie filling from scratch, and mastering a few small details seals the deal. The biggest thing I learned is patience during the cooling stage. If you try to rush that hot filling into a beautiful flaky crust, you are begging for a soggy bottom. Seriously, let it cool down for at least 30 minutes!
If you are prepping for holiday baking, make this filling a day or two ahead. It sets up even better as it cools in the fridge. Also, remember that tip about using mixed apples? That provides necessary acid and structure. Don’t be tempted to use just one soft variety—we want structure, honey!
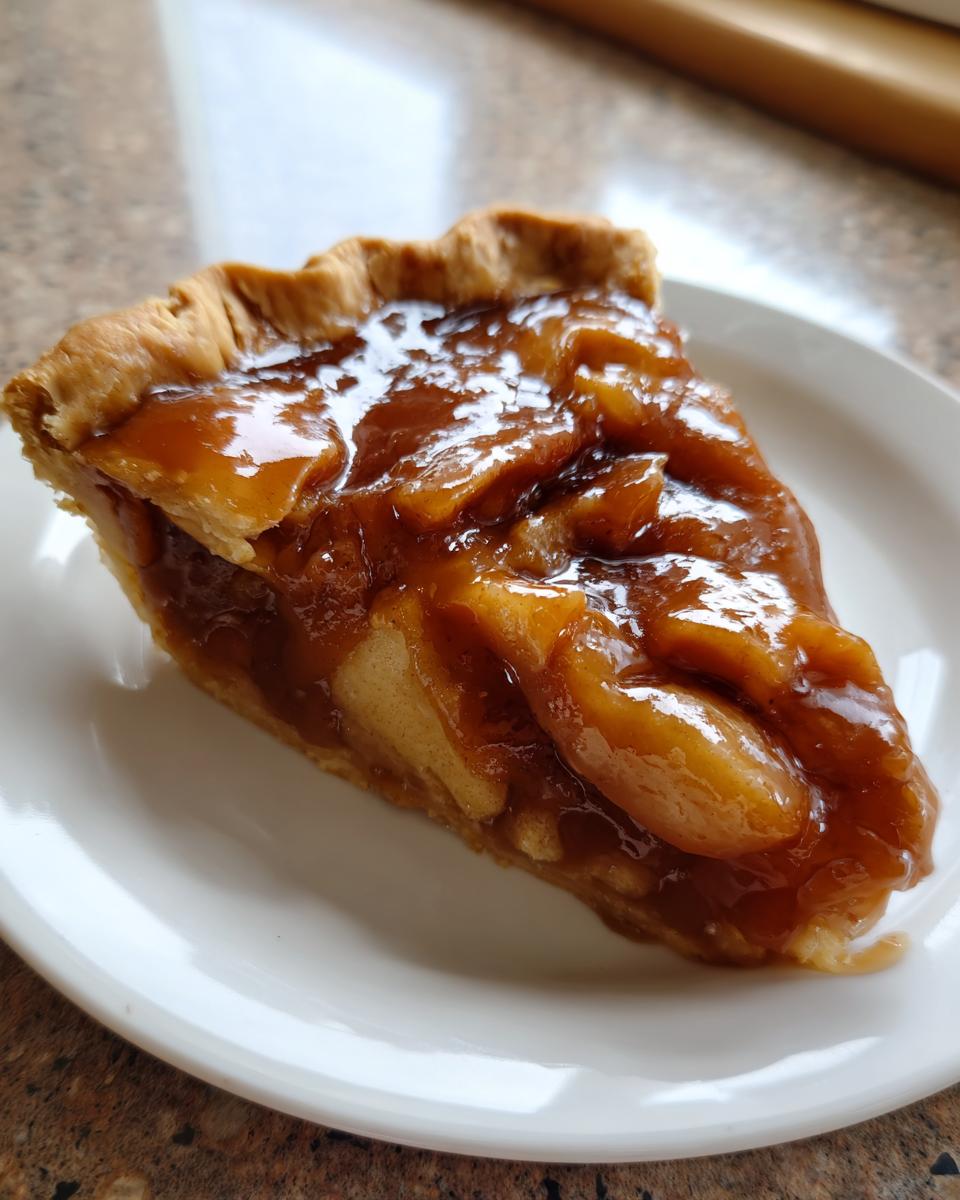
Versatile Uses for Your Quick Apple Dessert Filling
Okay, you did it. You resisted the big blue can and made this gorgeous, thick, spiced apple pie filling. Now what? Honestly, eating it with a spoon straight out of the saucepan is tempting—I won’t judge! But this apple pie filling is way too versatile to keep just for pies, even though it excels there.
Think of this as your ultimate comfort sauce. It’s marvelous spooned warm over a scoop of vanilla ice cream, making instant gratification dessert! It serves perfectly as an incredible apple pie topping for waffles or French toast. I even use a dollop when I make my favorite cinnamon roll pancakes—talk about next-level breakfast!
It’s perfect for turning humble oatmeal into a decadent breakfast, or use it cold inside crescent roll pastry for super quick turnovers. You’ve made a powerful sweet staple here, so use it everywhere!
Storage Options: Make Ahead Pie Filling and Freezer Friendly Pie Filling
This is the best part about using a stovetop method—we can totally make this in a big batch! If you’re feeling motivated, you can absolutely make this apple pie filling ahead of time. For short-term use, just let it cool completely in the fridge. It keeps beautifully for about a week, and as it chills, that sauce gets even firmer, which is great if you’re using it for something like a hand pie later.
But if you want to save that autumn magic for the middle of January? This recipe is totally freezer friendly pie filling. Cool it down completely, scoop it into sturdy, airtight containers—leaving a little headspace for expansion—and freeze it for up to three months. Pull it out when you need it, thaw it overnight, and you’ve got homemade goodness ready to go!
Frequently Asked Questions About Apple Pie Filling
I always get the same handful of questions when folks try this stovetop recipe for the first time, so let’s get those housekeeping notes out of the way! Having the answers upfront means you can spend less time worrying and more time enjoying the amazing smell coming from your kitchen.
Can I use this recipe for canning apple pie filling?
This is an important safety note! Because this specific apple pie filling uses cornstarch as its thickener for that fast stovetop method, I absolutely do not recommend using this recipe for traditional water bath canning where you want shelf-stable storage years later. Cornstarch doesn’t handle the high heat needed for safe long-term canning the way special canning thickeners do. If you want to preserve it, please stick to the freezing instructions I mentioned earlier. Freezing is much safer and keeps the texture fantastic!
What is the best way to reheat apple pie filling?
If you’ve pulled this filling from the fridge or freezer, reheating is simple! For a larger batch, throw it back in a saucepan over medium-low heat, stirring until warm. If you just have a scoop left and need it fast, the microwave works perfectly fine. Just warm it in 30-second bursts. Fair warning: sometimes the sauce thickens up a lot when cold. If it seems too stiff after reheating, just stir in a teaspoon or two of hot water until it gets back to that perfect, spoonable consistency for topping your homemade pie!
Nutritional Estimates for Spiced Apple Filling
Since we are making this beautiful apple pie filling from scratch, it’s great to have a quick idea of what’s in it. Keep in mind, these numbers are just my best estimates based on the ingredient list and the total yield of about 5 cups. If you use less sugar or different apples, these will shift a bit, naturally!
Here’s what you can roughly expect for a half-cup serving size:
- Serving Size: 1/2 cup
- Calories: 220
- Sugar: 35g (mostly from the apples and added brown sugar, of course!)
- Fat: 0.5g
- Carbohydrates: 56g
- Fiber: 3g
- Protein: 0.5g
This is wholesome comfort food, friends. We skipped the heavy fats you find in some other dessert recipes, relying mostly on the natural sweetness of the apples and the rich molasses flavor from the brown sugar. It tastes decadent, even if the numbers are reasonably friendly!
Share Your Homemade Comfort Food Dessert Creations
Now, the absolute best part of creating a recipe staple like this? Seeing what you all do with it! Seriously, I live for the comments and photos you send my way. Did you use it in a classic pie, or did you try it over ice cream? Did you manage to use it up before it all went into your coffee cake?
Please do me a huge favor: If this apple pie filling made your week easier or your dessert happier, let me know! Take a moment to click the star rating right down below the recipe card and leave a little note. Hearing from you truly builds my confidence that I’m hitting that sweet spot between simple and seriously satisfying.
And hey, if you snap a picture of your finished masterpiece—whether it’s a slice of pie or just a gorgeous bowl of that spiced goodness—tag me on social media! I love seeing my recipes in your own kitchens. Let’s keep this great circle of comfort food sharing going strong. Happy baking, friends! Check out some other delicious dessert recipes while you’re here!
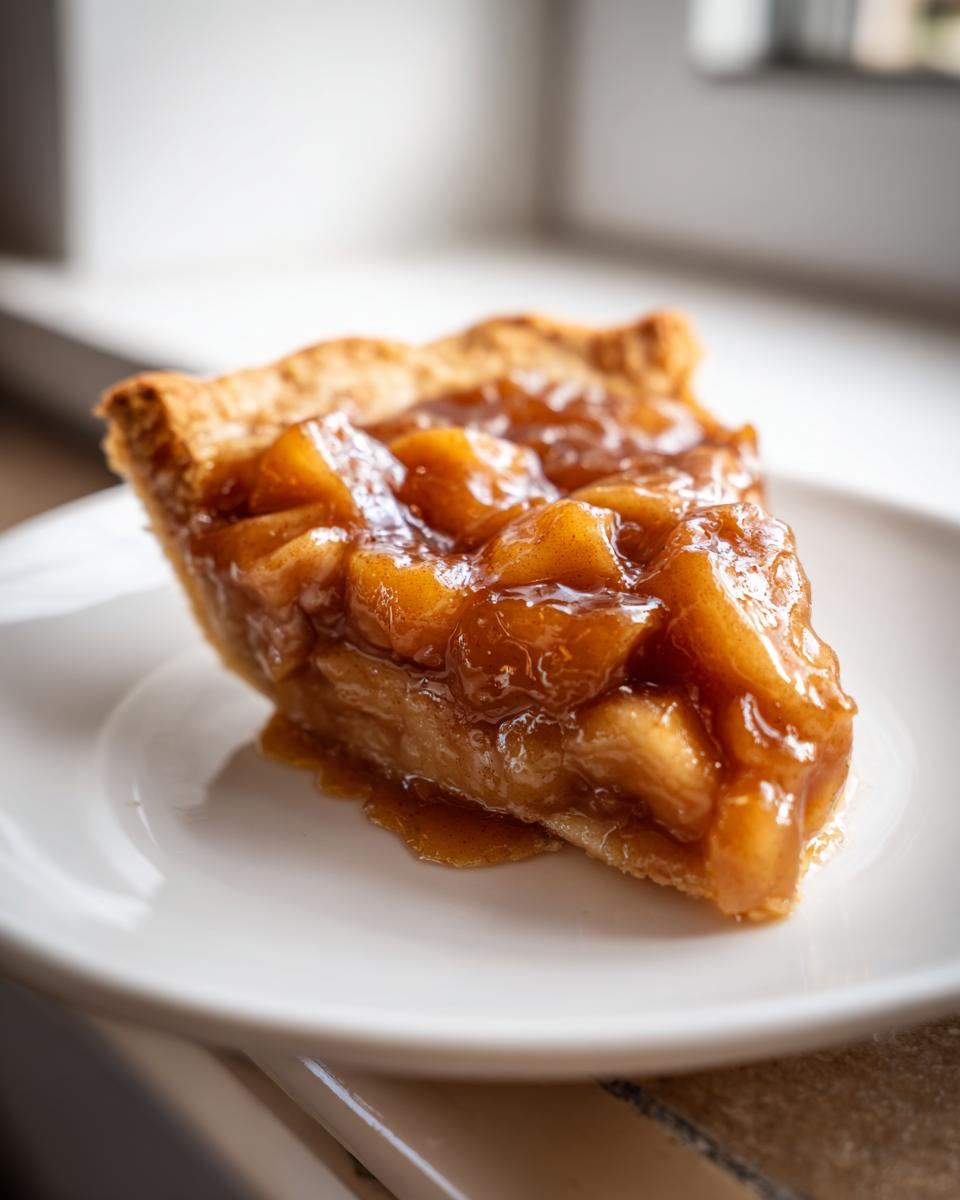
PrintQuick & Easy Stovetop Homemade Apple Pie Filling

Make the best homemade apple pie filling on the stovetop in minutes. This recipe delivers tender apples in a thick, spiced brown sugar sauce, perfect for pies, crisps, or topping pancakes.
- Prep Time: 15 min
- Cook Time: 15 min
- Total Time: 30 min
- Yield: About 5 cups 1x
- Category: Dessert Filling
- Method: Stovetop Cooking
- Cuisine: American
- Diet: Vegetarian
Ingredients
- 6 medium apples (like Granny Smith or Honeycrisp), peeled, cored, and sliced 1/4-inch thick
- 3/4 cup packed light brown sugar
- 1/4 cup granulated sugar
- 1 tablespoon lemon juice
- 1 teaspoon ground cinnamon
- 1/4 teaspoon ground nutmeg
- 1/8 teaspoon ground allspice
- 1/4 teaspoon salt
- 1 1/2 cups water
- 3 tablespoons cornstarch
Instructions
- Combine the sliced apples, brown sugar, granulated sugar, lemon juice, cinnamon, nutmeg, allspice, and salt in a large saucepan. Toss gently to coat the apples evenly.
- Add the water to the saucepan. Bring the mixture to a boil over medium-high heat, stirring occasionally.
- Once boiling, reduce the heat to medium-low and simmer for 5 to 7 minutes, or until the apples begin to soften slightly but still hold their shape. Do not overcook them to mush.
- In a small bowl, whisk the cornstarch with 3 tablespoons of cold water until completely smooth to create a slurry.
- Pour the cornstarch slurry into the simmering apple mixture while stirring constantly.
- Continue to cook, stirring, until the filling thickens significantly, about 1 to 2 minutes. It should coat the back of a spoon.
- Remove the saucepan from the heat. The filling will thicken more as it cools.
- Use immediately in a pie crust or allow it to cool completely before storing.
Notes
- For the best texture, use a mix of sweet and tart apples. Avoid overly soft varieties.
- This filling is freezer friendly. Cool completely, then store in airtight, freezer-safe containers for up to 3 months.
- If you are using this for a double-crust pie, let the filling cool for at least 30 minutes before placing it into your bottom crust to prevent a soggy bottom.
Nutrition
- Serving Size: 1/2 cup
- Calories: 220
- Sugar: 35
- Sodium: 15
- Fat: 0.5
- Saturated Fat: 0
- Unsaturated Fat: 0.5
- Trans Fat: 0
- Carbohydrates: 56
- Fiber: 3
- Protein: 0.5
- Cholesterol: 0