

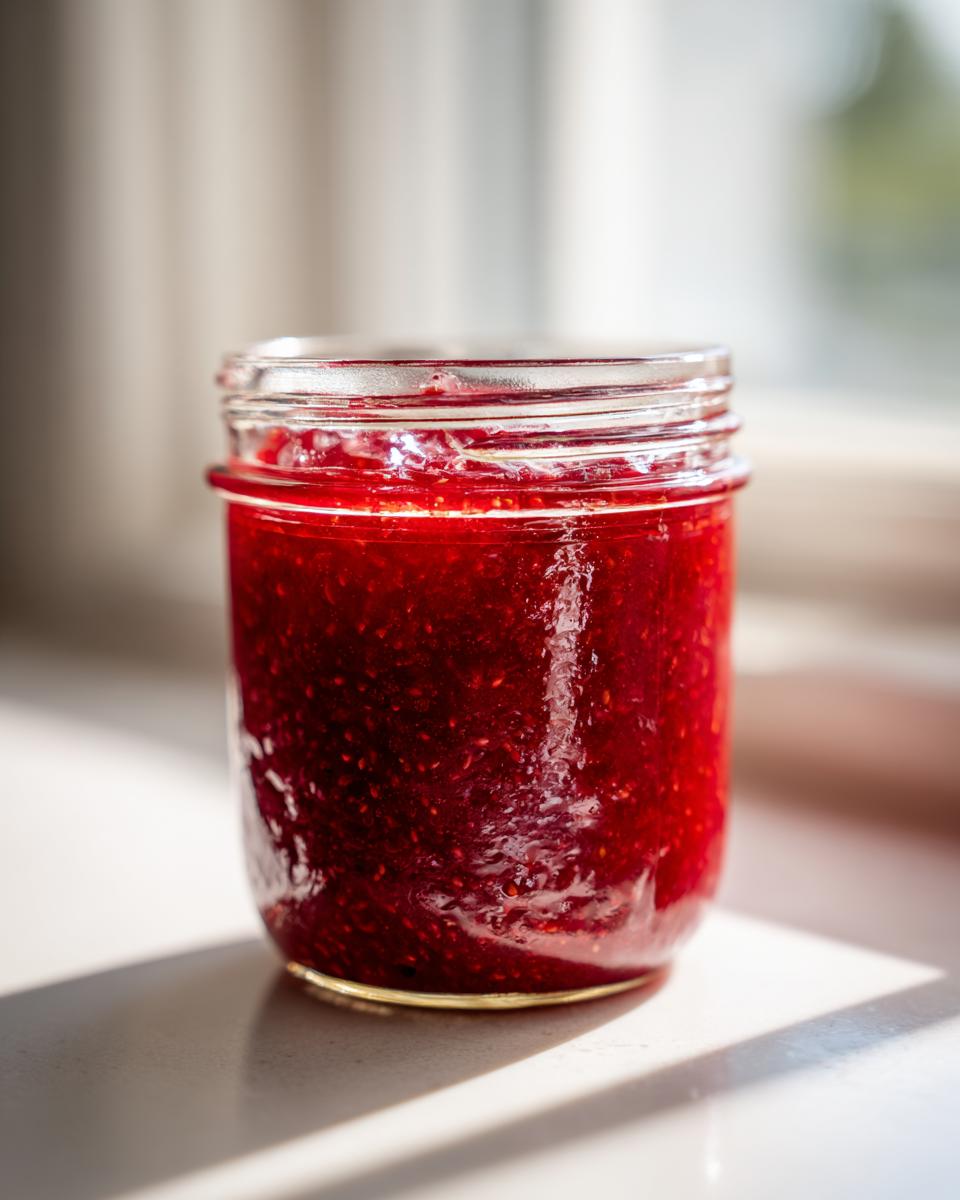
When the berries are perfectly ripe, you just don’t want to wait around for a long, hot boiling process just to put them away. I get that! That’s exactly why I’m so passionate about this specific recipe. If you want to capture that bright, fresh taste of summer strawberries right now, you need to learn how to make **freezer jam**. This is my signature, no-cook method. Forget the giant pots of boiling water; this is about speed and simplicity, which is exactly what my mission here at Completely Yummy is all about—delicious food that respects your busy schedule. As I explain in my story, I developed these methods because life moves fast! We’re talking about perfectly preserved fruit flavor in less time than it takes to watch your favorite show!
- Why This No Cook Strawberry Freezer Jam is Your New Favorite Preserve
- Gathering Ingredients for Perfect Strawberry Freezer Jam
- Step-by-Step Guide: How to Make Freezer Jam Without Boiling
- Tips for Foolproof Freezer Jam Success
- Variations for Your Next Batch of Freezer Jam
- Storage and Enjoyment of Your Homemade Freezer Jam
- Serving Suggestions for Sweet and Tangy Jam
- Frequently Asked Questions About Making Freezer Jam
- Nutritional Snapshot for Your Homemade Freezer Jam
- Share Your Homemade Freezer Jam Creations
- Nutritional Snapshot for Your Homemade Freezer Jam
- Share Your Homemade Freezer Jam Creations
Why This No Cook Strawberry Freezer Jam is Your New Favorite Preserve
I’m telling you, once you try this, you won’t go back to fussy boiling methods. This is the easiest homemade jam you’ll ever whip up. It’s all about speed and keeping that bright, vibrant fruit alive. We keep things incredibly simple here.
- It’s genuinely the best **no cook jam recipe** out there if you’re short on time.
- It tastes shockingly fresh—like eating a raw strawberry right off the vine.
- Perfect for those of us looking for simple fruit preservation ideas that are hands-off.
- This is the way to get that incredible **fresh tasting jam** without the hassle.
Speed and Simplicity: The No-Cook Advantage for Freezer Jam
Traditional canning means you’re committing a couple of hours, and honestly, who has that time when the strawberries are screaming to be used TODAY? This recipe is ready to mix, jar, and freeze in under 30 minutes of active work. We let chemistry do the heavy lifting, not the hot stove. It is the ultimate win for the modern cook!
Capturing Peak Fruit Flavor in Your Freezer Jam
The best part about this technique is what we *don’t* do: we don’t cook it for long, which means the beautiful, bright flavor of peak summer berries is locked right in. Because we aren’t subjecting the fruit to high heat for an extended period, you get a much more vivid taste. That’s why using the ripest berries possible is key for the **best fruit for freezer jam**!

If you need quick ideas for what to serve this unbelievable jam on, check out my favorite easy weeknight dinners—you might want something savory after all that sweet fruit!
Gathering Ingredients for Perfect Strawberry Freezer Jam
When putting together a recipe that relies on ingredients doing their job perfectly—like this no-cook situation—you can’t just eyeball things. We need precision for that guaranteed set! This is where clarity comes in, and I want to make sure you have everything ready to go before you even start crushing those berries. Having your jars ready and your ingredients lined up makes the whole process feel effortless.
Ingredient Clarity for Your Freezer Jam Recipe
I use the standard ingredients here because they’ve been tested hundreds of times to make sure this **freezer jam** sets up properly without requiring me to stand over a hot stove. Before you begin, make sure you have these three things ready:
- 6 cups fresh strawberries, hulled and crushed—we want them broken down a bit!
- 1 package (1.75 oz) powdered fruit pectin, specifically the kind like Sure-Jell. This is non-negotiable for the science of the set.
- 7 cups granulated sugar. Yes, that’s a lot of sugar, but trust me, it works with the pectin to create that perfect texture for our **easy homemade jam**.
If you need a quick, savory break from all this sweetness before or after, you might want to check out my recipe for easy homemade cheese sauce. It’s a wonderful pantry staple!
Step-by-Step Guide: How to Make Freezer Jam Without Boiling
Okay, here is where the magic happens! This process is so straightforward, which is why it’s the perfect starting point for anyone new to **beginner jam making**. We aren’t cooking, remember? We are activating the pectin with the right ratio of sugar and fruit. Seriously, stick to the timing I list below, and you will have a brilliant, **simple fruit spread recipe** that sets up beautifully in the freezer.
Preparing Jars and Crushing the Fruit for Freezer Jam
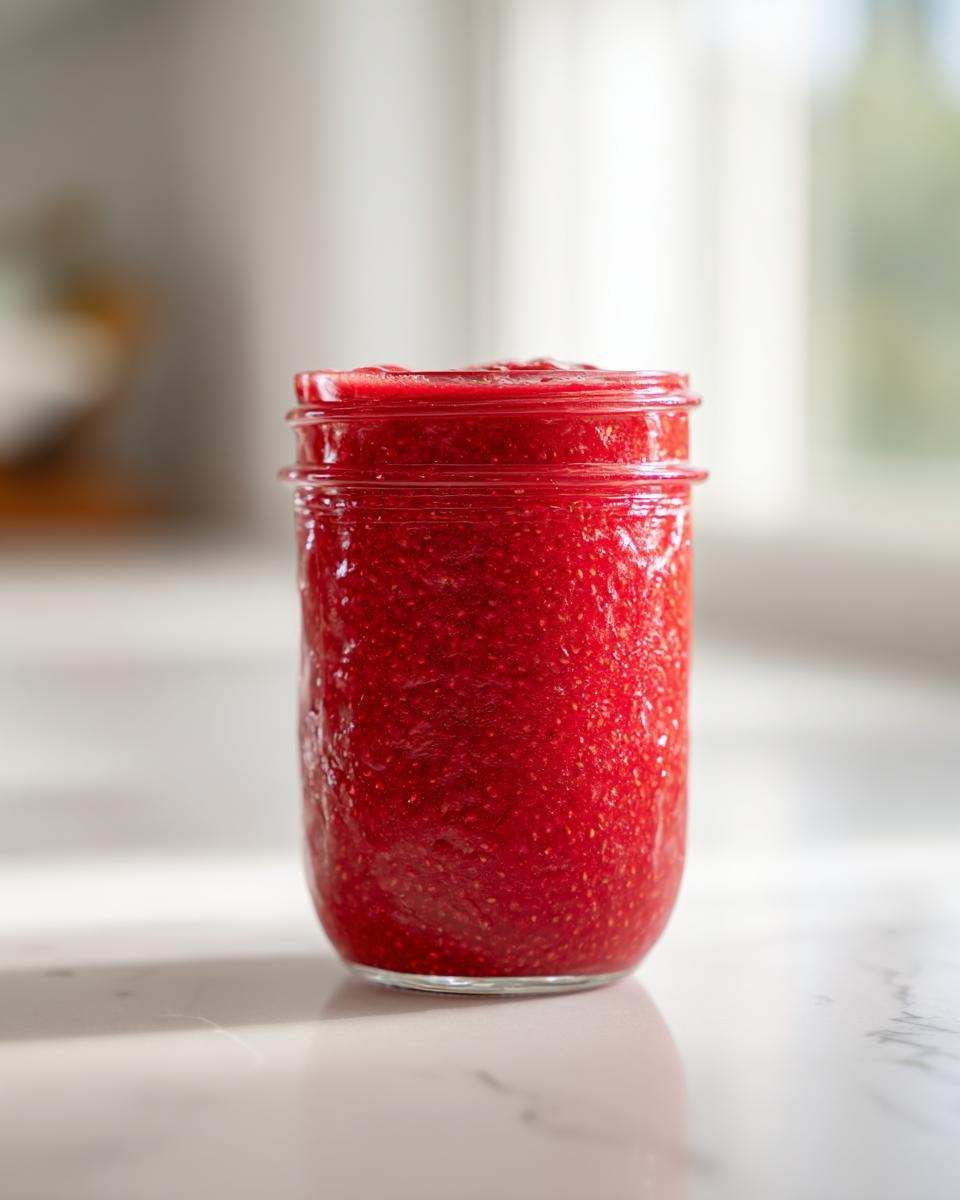
First things first: get your containers ready. Grab your clean containers and lids—you need them ready to fill because once the pectin mixes with the sugar, things move fast! For the strawberries, you need 6 cups, hulled and crushed. I usually grab a potato masher and go to town in a big bowl. You’re aiming for about 4 cups of crushed fruit total. Don’t worry if it’s a little chunky; that’s fine for this style of **freezer jam**.
Activating Pectin and Dissolving Sugar in this Freezer Jam
Now for the science bit. Take that packet of powdered fruit pectin and dump it right into your crushed berries. You must stir constantly for a full three minutes. Don’t stop, don’t pause—that three minutes is crucial for activating the pectin! Once that’s done, slowly start raining in all 7 cups of sugar. Keep stirring until you can’t feel any more grit and the sugar is totally dissolved. It will look watery, I promise you, don’t panic!
Resting and Filling Containers for Your Quick Fruit Preserves
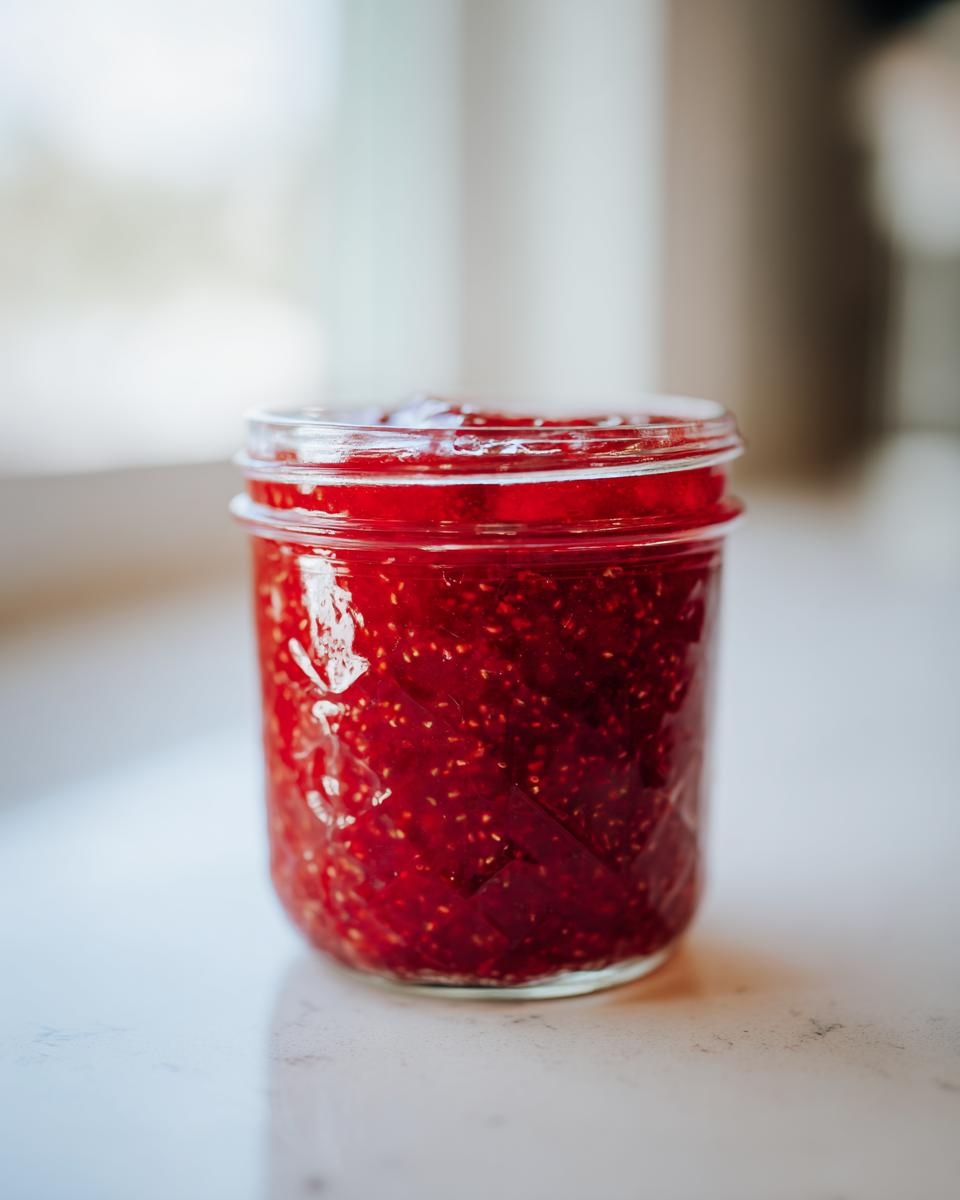
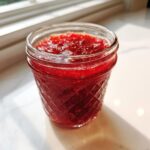
This next step is the one people try to skip, and that’s their mistake! You must let that mixture sit on the counter for 30 minutes, stirring it just every now and then. This resting time is key for the whole process to work flawlessly. After the half-hour rest, carefully pour your **quick fruit preserves** into those prepared containers. Make absolutely sure you leave about a half-inch of space at the top—that’s your headroom! Wipe the rims clean, pop the lids on, let them sit at room temperature for about an hour to chill, and then straight into the freezer they go!
If you want something amazing to spread this jam on later, check out my recipe for whipped ricotta dip—it’s divine with toast or crackers!
Tips for Foolproof Freezer Jam Success
Listen, even with this super easy **freezer jam** recipe, sometimes people cross a wire or two, and that’s okay! But I have a few tricks up my sleeve—secrets from the trial-and-error phase—to guarantee you a perfect, reliable set every single time. We are going for foolproof here, not frustrating! These tips make sure your **refrigerator jam how to** experience is smooth sailing.
Adjusting Consistency in Your Freezer Jam
If you taste your jam after the 30-minute room temperature rest and you’re worried it looks a little loose—maybe you mashed your strawberries a bit too lightly—don’t worry! You can absolutely let that mixture hang out for up to two hours before jarring it up. Giving it extra time to rest lets the standard pectin completely hydrate and integrate. Trust me, a little patience here means a thicker set later!
Making Low Sugar Jam Recipes with Freezer Jam
Now, I need to be super clear about this, especially if you’re looking into **low sugar jam recipes**. The specific powdered pectin we use in this primary recipe relies on a high amount of sugar to activate correctly—it’s part of the chemistry for this specific **Sure Jell recipe** style. If you want to cut the sugar way down, you *must* use the special low-sugar or no-sugar pectin packets, and you need to follow those specialty instructions exactly. Don’t swap them out in this recipe, or you’ll end up with runny fruit sauce instead of jam!
To make sure your kitchen is stocked for success next time, check out my tips on keeping a solid flaky, buttery pie crust recipe handy! You never know when you’ll need a great base for fruit!
Variations for Your Next Batch of Freezer Jam
The beauty of this no-cook **freezer jam** method isn’t just how fast it is; it’s how adaptable it is! If you happen to have an overabundance of something else coming in from the garden or farmer’s market, you absolutely can swap out the strawberries. We are aiming for some amazing **year round fruit flavor**, and this base recipe makes that easy.
You can use the exact same ratios and steps for other wonderful options. For instance, if you have fantastic, tart raspberries on hand, just substitute them directly for the strawberries. Raspberry **freezer jam** is absolutely stunning—so bright and zingy!
Peaches are another dream to work with using this technique; they turn into such a luxurious **simple fruit spread recipe**. Just make sure that whatever fruit you choose is crushed or puréed to roughly the same volume you’d get from 6 cups of strawberries. Trust me, once you realize how easy it is to preserve the taste of summer berries this way, you’ll be looking for any excuse to make another small batch!
If you ever find yourself with extra berries (or maybe you’re feeling really festive later in the year), you should definitely try my recipe for easy crockpot cranberry strawberry jam. It uses a different method, but the goal is the same: delicious preserves!
Storage and Enjoyment of Your Homemade Freezer Jam
Okay, so now you have these beautiful jars of vibrant **freezer jam**! What do you do while you wait for that magical 24 hours to pass in the deep freeze? First off, label everything! I know, I know, it seems tedious, but you’ll thank yourself six months from now when you’ve forgotten if that was peach or raspberry. You can keep this jam frozen solid for up to a full year, and honestly, the flavor stays so astonishingly bright. That’s the benefit of keeping the heat away from the fruit!
Once you pull a jar out of the freezer because you *need* that taste of summer right now, that’s when the clock starts ticking a little differently. Once thawed, treat it like fresh fruit. It needs to stay tucked away in the refrigerator, and you should aim to use it up within about three weeks. That’s the trade-off for that incredible, **fresh tasting jam**—it doesn’t have the longevity of traditionally canned goods.
To really get the best experience, try not to use it straight from the fridge when it’s ice cold. Let it sit on the counter for maybe 15 minutes before you slather it on anything. That slight warming just wakes up those fresh berry flavors again. It’s the best part of making your own **freezer jam**!
If you’re looking for more great ways to use up delicious fruit preserves, you have to check out my collection of delicious dessert recipes. A dollop of this jam on something warm is pure comfort!
Serving Suggestions for Sweet and Tangy Jam
Now that you’ve got this gorgeous, bright **freezer jam** sitting in your fridge, the real fun begins! I always feel like I’ve won a miniature lottery when I pull out a jar of preserved summer flavor in the middle of January. While slathering it thickly on a biscuit right out of the jar is totally acceptable (and how I eat half of mine!), this jam is so versatile.
This **sweet and tangy jam** really shines when you look beyond simple toast. Think about texture contrasts! If you’re having breakfast, skip the maple syrup on your pancakes or waffles and use a generous spoonful of this instead. It soaks in just enough and gives you that incredible burst of fresh berry flavor that syrup just can’t match.
It is spectacular swirled into plain Greek yogurt or cottage cheese. That tartness cuts right through the creaminess. I’ve even used it as a simple filling between layers of a plain vanilla cake when I don’t want to make a fuss with buttercream. It keeps things light and tastes like summer!
If you want to try serving it with something warm and fluffy, you absolutely have to try my recipe for cinnamon roll pancakes; the jam alongside the cinnamon spice is truly unbeatable. It elevates any basic meal into something special, remembering my whole philosophy: simple food that tastes seriously good!
Frequently Asked Questions About Making Freezer Jam
I know when you start something new, especially a preservation trick like **freezer jam**, you have a ton of little questions bubbling up. That’s totally normal! I tried to make this recipe so simple that it almost feels impossible that you don’t need to crank up the stove, but I want you to feel 100% confident when you start this **small batch jam**. Here are a few things I get asked most often about **how to make freezer jam**.
Can I make this freezer jam recipe without Sure-Jell?
That’s a great question, and the answer is technically yes, but you need to manage your expectations! The recipe I gave you relies on that specific powdered pectin (Sure-Jell) reacting perfectly with the high sugar content to create that solid, spreadable set without boiling. If you skip the pectin and just cook down the fruit and sugar, you end up with what’s basically a very thick fruit sauce or topping—it won’t gel up like proper jam in the freezer. If you’re going pectin-free, you’ll want to look up a specific recipe that compensates for the lack of gelling agent, usually by cooking much, much longer.
How long does it take for the freezer jam to set completely?
This is where patience plays a teeny role! You can technically open a jar once it’s been frozen for about 24 hours and use it if you’re desperate; it will be thick enough to spread. However, to get that *perfect*, firm, no-fuss set that everyone loves, you really need to let it hang out in the deep freeze undisturbed for a full 48 hours. That extra day lets the pectin fully bond and solidify all those beautiful fresh strawberry flavors inside the jar. Don’t rush the final freeze!
What is the best fruit for freezer jam besides strawberries?
Honestly, raspberries are my second biggest obsession for this recipe! They have that wonderful tartness that balances the sugar beautifully, and they break down just as nicely as strawberries. Peaches are also fantastic, especially when they are perfectly ripe in the summer heat. Any firm, slightly acidic berry or soft fruit works wonderfully because the no-cook method keeps that vibrant flavor locked in. Just make sure that whatever fruit you choose, you crush it up well beforehand, just like we did with the strawberries!
If you run into any other snags along the way—seriously, don’t hesitate to reach out on my contact page—I love hearing from folks trying out my simple recipes!
Nutritional Snapshot for Your Homemade Freezer Jam
I always get questions about how much sugar is in this because, let’s face it, there’s a good amount required for the chemical reaction that makes this **freezer jam** set without heat. But remember, this is a condiment, not a main meal portion! I pulled together the estimates based on the exact measurements we used here. Transparency is key, just like keeping things simple and delicious.
This data is an estimate for a standard serving size of 2 tablespoons:
- Calories: 60
- Sugar: 15 grams (This is why we talk about the low-sugar option being a separate recipe!)
- Sodium: 0
- Fat: 0
- Carbohydrates: 15 grams
These numbers look great for a small treat to spread on your morning toast or swirl into your afternoon snack. It’s real fruit, preserved simply, and that’s what matters most! You can find more ideas for wholesome eats over on my quick healthy breakfast page.
Share Your Homemade Freezer Jam Creations
That’s it! You’ve done it! You’ve bypassed the boiling, you’ve captured the taste of summer, and you have a wonderful supply of bright, **fresh tasting jam** waiting in your freezer. This is exactly the kind of victory I love sharing here at Completely Yummy—proving that complex-sounding tasks can be totally doable in a real, busy kitchen.
I truly hope you love this easy recipe. If you make a batch, please, please come back and leave a rating! Hearing that these recipes bring ease and deliciousness to your week makes my day every single time. Snap a picture of your jars and tag me! I’d love to see how you’re stocking up on those little jars of sunshine.
If you have any final questions after making it, don’t hesitate to drop me a line via my contact page. Happy jamming, everyone!
Nutritional Snapshot for Your Homemade Freezer Jam
I always get questions about how much sugar is in this because, let’s face it, there’s a good amount required for the chemical reaction that makes this freezer jam set without heat. But remember, this is a condiment, not a main meal portion! I pulled together the estimates based on the exact measurements we used here. Transparency is key, just like keeping things simple and delicious.
This data is an estimate for a standard serving size of 2 tablespoons:
- Calories: 60
- Sugar: 15 grams (This is why we talk about the low-sugar option being a separate recipe!)
- Sodium: 0
- Fat: 0
- Carbohydrates: 15 grams
These numbers look great for a small treat to spread on your morning toast or swirl into your afternoon snack. It’s real fruit, preserved simply, and that’s what matters most! You can find more ideas for wholesome eats over on my quick healthy breakfast page.
Share Your Homemade Freezer Jam Creations
That’s it! You’ve done it! You’ve bypassed the boiling, you’ve captured the taste of summer, and you have a wonderful supply of bright, fresh tasting jam waiting in your freezer. This is exactly the kind of victory I love sharing here at Completely Yummy—proving that complex-sounding tasks can be totally doable in a real, busy kitchen.
I truly hope you love this easy recipe. If you make a batch, please, please come back and leave a rating! Hearing that these recipes bring ease and deliciousness to your week makes my day every single time. Snap a picture of your jars and tag me! I’d love to see how you’re stocking up on those little jars of sunshine.
If you have any final questions after making it, don’t hesitate to drop me a line via my contact page. Happy jamming, everyone!
PrintEasiest No-Cook Strawberry Freezer Jam (Ready in 30 Minutes!)
Make bright, fresh-tasting strawberry jam without boiling or canning. This simple, no-cook freezer jam recipe is perfect for beginners and captures the peak flavor of summer strawberries quickly.
- Prep Time: 20 min
- Cook Time: 0 min
- Total Time: 50 min (plus 24 hours freezing)
- Yield: About 6 half-pint jars 1x
- Category: Preserves
- Method: No-Cook
- Cuisine: American
- Diet: Vegetarian
Ingredients
- 6 cups fresh strawberries, hulled and crushed
- 1 package (1.75 oz) powdered fruit pectin (like Sure-Jell)
- 7 cups granulated sugar
Instructions
- Prepare your freezer containers. You need clean, freezer-safe jars or containers with lids.
- Crush the strawberries using a potato masher or immersion blender until you reach your desired consistency. You should have about 4 cups of crushed fruit.
- In a large bowl, mix the crushed strawberries with the powdered fruit pectin. Stir constantly for 3 minutes. This step is important for the set.
- Gradually stir in the sugar until it is completely dissolved. The mixture will look thin.
- Let the mixture sit at room temperature for 30 minutes, stirring occasionally. Do not skip this rest time; it helps the jam set.
- Pour the jam mixture into your prepared freezer containers, leaving about 1/2 inch of headspace at the top of each container.
- Wipe the rims clean, seal the containers, and let them cool on the counter for about an hour.
- Place the containers in the freezer. The jam will be ready to eat after 24 hours in the freezer.
- Store the jam in the freezer for up to one year for the best flavor. Once thawed, keep it in the refrigerator and use it within 3 weeks.
Notes
- This recipe uses standard powdered pectin and sugar for a reliable set. For a low sugar jam recipe, you must use a specific low-sugar pectin product and follow its directions exactly.
- If you want a thicker set, you can let the mixture sit for up to 2 hours before jarring.
- This recipe makes a small batch, perfect for testing or for gifts.
- For year round fruit flavor, you can substitute strawberries with raspberries or peaches using the same method.
Nutrition
- Serving Size: 2 Tbsp
- Calories: 60
- Sugar: 15
- Sodium: 0
- Fat: 0
- Saturated Fat: 0
- Unsaturated Fat: 0
- Trans Fat: 0
- Carbohydrates: 15
- Fiber: 0
- Protein: 0
- Cholesterol: 0