
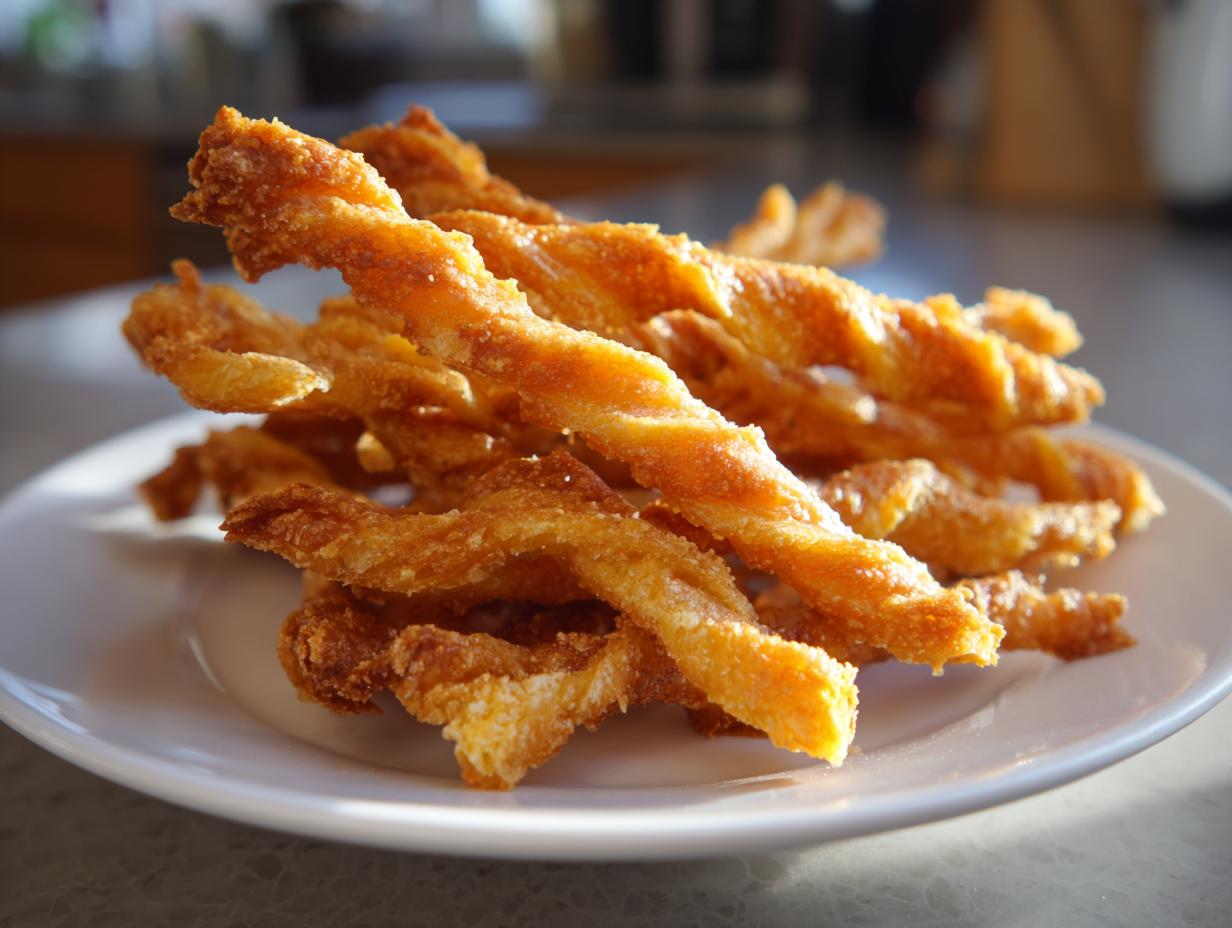
There’s just something magical about a truly savory snack, isn’t there? Forget those sad, soft crackers you find in a box—when I think of entertaining, I think of that satisfying *snap*. That’s why I’m obsessed with getting the texture exactly right on our classic Southern cheese straws. At Completely Yummy, my goal is simple: making food that is deeply satisfying yet genuinely doable for you, even on a busy weeknight.
These aren’t delicate little biscuits; these are rich, buttery, and shatteringly crispy bites of sharp cheddar goodness. They embody my whole philosophy: simple ingredients transformed into seriously good food. If you need that perfectly addictive appetizer for game day or just a moment of crunchy joy, these homemade delights are what you’ve been looking for. Trust me, once you master this technique, you’ll never go back to store-bought again!

- Why This Classic Southern Recipe Makes the Best Cheese Straws
- Essential Ingredients for Perfect Cheese Straws
- Ingredient Notes and Smart Substitutions for Cheese Straws
- Step-by-Step Guide to Making Homemade Savory Snacks Cheese Straws
- Tips for Success with Your Party Cheese Bites Cheese Straws
- Serving Suggestions for Flavorful Cheese Sticks
- Storage and Reheating Instructions for Homemade Cheese Straws
- Frequently Asked Questions About Making Cheese Straws
- Nutritional Estimates for These Cheddar Appetizers
Why This Classic Southern Recipe Makes the Best Cheese Straws
You might see other recipes out there, but this one is special because it solves the number one problem folks have with these snacks: sogginess! We’re going for that authentic, Southern Cheese Crackers texture here—the kind that shatters beautifully when you bite it. We achieve this through a couple of non-negotiables when it comes to temperature and thickness. If you follow these few steps, you’ll have the crispiest cheese straws you’ve ever made. For those looking for that specific heat, I always recommend checking out how other Southern cooks approach their classic spicy cheddar recipes, like the one detailed over at this excellent source!
Achieving Peak Crispiness in Your Cheese Straws
Crispiness starts and ends with coldness. You absolutely must use ice-cold butter cut into tiny bits before mixing. That fat needs to stay solid! When we roll the dough thin—aiming for just about 1/8-inch—it ensures all the moisture cooks out fast. Then, the final crucial step: don’t leave them on the pan! Transfer them directly to a wire rack right out of the oven. That cooling process is where the magic happens, letting them set into that perfectly shatteringly crisp texture we want.
Flavor Profile: Sharp Cheddar and Savory Seasoning
Look, mild cheddar just won’t cut it here. You need that bite that only freshly grated sharp cheddar gives you. It’s the backbone of the flavor profile, which is why I call it my favorite part of this whole sharp cheddar recipe. We keep the seasoning simple to let that cheese shine, usually just salt and maybe a whisper of cayenne. That little kick elevates it from a snack to a true savory treat.
Essential Ingredients for Perfect Cheese Straws
When we talk about making the best cheese straws, the ingredients list is short, but every single item needs to be top-notch. Remember, there are no big sauces or complicated flavor layers to hide behind here, so quality matters immensely. You need that flour, salt, and that kick of cayenne if you want a little heat. But the stars? That’s the pound of very cold butter and the mountain of freshly grated sharp cheddar. Don’t skimp on the cheese sharpness, and please, keep that butter chilled until the absolute second you use it!
Ingredient Notes and Smart Substitutions for Cheese Straws
This recipe relies on purity, which means ingredient choice isn’t just a suggestion—it’s honestly the key to getting those addictive, buttery cheese wafers texture. If you want them to taste incredible and bake up crispy every single time, you have to listen closely to what works best. I’ve learned over the years that a few small tweaks make a huge difference in the final crunch!
Choosing the Best Cheese for Your Cheese Straws
I can’t stress this enough: use a block of good, sharp cheddar and grate it yourself right before you start mixing. Those pre-bagged ones are coated in starches to keep them from clumping in the bag, but guess what that starch does in the oven? It makes your straws softer! Nobody wants a soft cheese straw. If you want a deeper, nuttier flavor for your next batch of flavorful cheese sticks, try swapping out half of the cheddar for a high-quality Parmesan. It adds a fantastic salty depth. Or, if you’re feeling adventurous and basing this on some recent recipe trends, Pepper Jack would give you a lovely creaminess and heat!
If you do decide to branch out into Parmesan territory, you might enjoy my recipe for Italian Herb and Cheese Bread, as those flavors play so nicely together. For straight-up cheese straw flair with herbs, check out these Rosemary Parmesan Cheese Straws for inspiration!
Step-by-Step Guide to Making Homemade Savory Snacks Cheese Straws
Okay, this is where the real magic happens! Getting these easy baked cheese snacks right means following the technique, especially on keeping things cold and not messing with the dough too much. Remember my philosophy: simple process, supreme flavor. We want flaky layers, not tough crackers, so pay attention to how gentle you are in the first phase.
Mixing the Dough for Flaky Cheese Straws
First things first, after you’ve mixed your dry stuff, it’s time to get those cubes of cold butter into the flour. You need a pastry blender, or honestly, just use your fingertips, but you have to work fast! We’re aiming for a coarse crumb—think small peas or maybe slightly uneven cornmeal. If the butter melts even a tiny bit because your hands are warm, the fat steams during baking instead of creating those beautiful little pockets that give us that flaky texture. Keep that butter cold so you seal in the flakiness!
Chilling and Shaping Your Cheese Straws
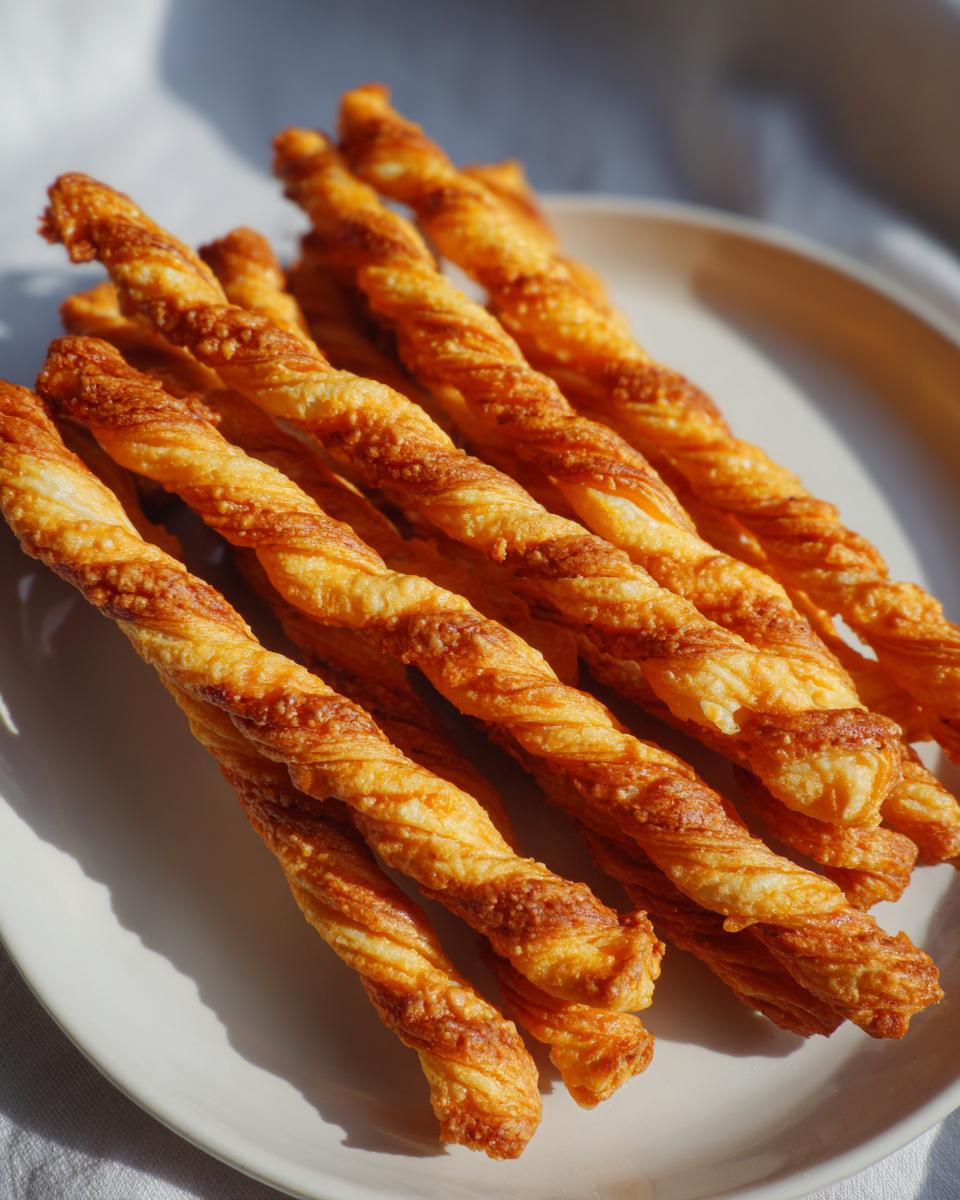
Once all the liquid is mixed in, you’ll notice it’s a shaggy mess. Great! Don’t try to knead it into a smooth ball like bread dough; just gently press it into a disk. Wrap it tight and stick it in the fridge for at least 30 minutes. This is crucial so the gluten relaxes and the butter firms up again. When you roll it out, go thin—I mean 1/8-inch thickness. If it’s too thick, it won’t bake crunchy. Cut those strips about 1/2-inch wide. If you want that classic look, give each strip a little half-twist before placing it on your parchment paper. If you’re looking for other fun shapes for your dough, check out my tips for making easy homemade breadsticks; the shaping principles are similar!
Baking for Maximum Crispness in Your Cheese Straws
Preheat your oven hot—400 degrees Fahrenheit is what we need. We want a quick, high blast of heat to set the shape and crisp everything up instantly. Bake them until they look gloriously golden brown all over. Don’t worry if they seem a little soft when they first come out of the oven; that’s normal! They continue to dry out and firm up into the perfect crunch as they cool completely on the wire rack. This step guarantees you get those genuine, sturdy cheese straws that people fight over at parties.
Tips for Success with Your Party Cheese Bites Cheese Straws
Look, these savory wonders move fast at any gathering, so setting yourself up for success is key when making these entertaining finger foods. The absolute biggest hurdle I see people face is moisture retention—we want snappy, not chewy! If you’re worried about that, maybe look into making a creamy dip using my amazing bruschetta dip to serve alongside them instead of focusing on keeping the straws soft.
My best tip? Don’t crowd the baking sheet. If the straws are touching, they steam each other, and that ruins that crispy finish we worked so hard for. Give them space to breathe in that 400-degree heat! It helps to read up on what the masters suggest too; Serious Eats has some fantastic insights on Southern staples, which I always keep in mind for these classic cheese straws.
Serving Suggestions for Flavorful Cheese Sticks
These flavorful cheese sticks are versatile, which is why they fly off the plate during any competition viewing. Because they are so rich and savory, they pair beautifully with something slightly acidic or creamy to cut through that sharp cheddar. Honestly, they are fantastic all by themselves, but if you’re setting up a spread for Game Day Appetizers, try serving them alongside a little bowl of my creamy roasted tomato bisque—the slight sweetness of the tomato and basil is just divine with the salty cheese.
They also work wonderfully as a crunchy crouton substitute on top of a big salad. Just let them cool completely first!
Storage and Reheating Instructions for Homemade Cheese Straws
Now that you’ve baked the perfect batch of shatteringly crisp cheese straws, the next question is always: how do I keep them this way? I’m going to tell you right now—don’t even think about putting them in the fridge! Cold air is the enemy of crunch. It introduces humidity, and humidity makes everything soggy. Bleh.
For make-ahead success, I highly recommend preparing the dough in advance. You can totally make the dough, flatten it into that disk, wrap it super tightly in plastic wrap, and pop it in the refrigerator for up to two days. When you’re ready to bake, just let it sit on the counter for about 10 minutes to soften up just slightly before rolling out. This saves so much time when you’re prepping for a big party!
To store the baked straws, keep them in an airtight container at room temperature. If they last long enough (and they rarely do in my house!), they might lose a little snap after day three. That’s easily fixed! Pop them back on a baking sheet and heat them in a 300-degree oven for about 5 minutes. That gentle warmth dries them right out and brings back that irresistible crispness. You can make a batch of these savory treats weeks ahead if you freeze the baked straws after they cool completely. Just reheat them gently to refresh that buttery texture. If you’re looking for other easy make-ahead party treats, my recipe for easy white chocolate fudge freezes like a dream too!
Frequently Asked Questions About Making Cheese Straws
Can I use pre-shredded cheese in my cheese straws?
Oh, honey, please don’t! This is the fastest way to sabotage your gorgeous, crispy texture. Pre-shredded cheese is treated with things like potato starch or cellulose to keep the pieces from sticking together in the bag. Those anti-caking agents absolutely prevent the cheese from melting down smoothly and getting that beautiful, crisp, fully-rendered butter/cheese seal on your cracker. For amazing cheese straws, you must grate your own sharp cheddar right before you start mixing!
How do I make spicy cheese straws instead of the classic version?
That’s a fun variation, and honestly, a little heat just balances out the richness of the butter and cheese so perfectly! If you want to turn up the dial on these savory snacks, you have a couple of easy options. You can double the amount of cayenne pepper we used in the recipe—or even triple it if you like a serious burn! Another favorite trick of mine is adding about a teaspoon of smoked paprika along with a generous pinch of red pepper flakes right into the dry flour mixture. That gives you a smokier, deeper heat that’s amazing, especially paired with the sharp cheddar.
What is the best way to store leftover cheese straws to maintain crunch?
I already mentioned this, but it’s so important, I’ll tell you again: room temperature and airtight! Humidity is the absolute enemy of crunch. Once they are completely cool from the oven, toss them into a container with a tight-fitting lid. Don’t put them in the fridge; you’ll wake up to sad, flexible savory snacks. If you find your leftovers have gone a little soft after a few days, just give them a quick 5 to 7 minutes in a low oven—around 300 degrees—and they crisp right back up. If they manage to last that long, that is! For other easy make-ahead ideas that don’t rely on being perfectly crisp, you can always check out my guide to easy weeknight dinners.
Nutritional Estimates for These Cheddar Appetizers
You work so hard to make these perfect, flaky, buttery cheddar appetizers, and while we’re focusing on flavor and texture here at the blog, I know some of you are curious about the numbers. Because every brand of cheese and butter is slightly different, please remember these figures are just estimates based on the ingredients listed in our recipe guide. I used the standard measurements provided, so your personal results might vary slightly, especially depending on how thinly you roll them out!
Here is a general look at what you can expect per serving (which we calculated as about 4 of these delicious straws, which isn’t much, I know!):
- Serving Size: 4 straws
- Calories: 110
- Fat: 7g
- Saturated Fat: 4.5g
- Carbohydrates: 8g
- Fiber: 0.3g
- Protein: 3g
- Sodium: 180mg
- Sugar: 0.2g
See? That low sugar count is exactly why these are the ultimate savory snack! No hidden sweetness here—just pure, delicious cheesy goodness. Enjoy them guilt-free knowing you crafted something truly wonderful!
Print
Classic Southern Crispy Cheddar Cheese Straws

Make shatteringly crispy, savory cheese straws using sharp cheddar and cold butter. This straightforward recipe delivers the classic Southern snack perfect for parties or game day.
- Prep Time: 20 min
- Cook Time: 14 min
- Total Time: 64 min
- Yield: About 4 dozen 1x
- Category: Appetizer
- Method: Baking
- Cuisine: American
- Diet: Vegetarian
Ingredients
- 2 cups all-purpose flour
- 1 teaspoon salt
- 1/2 teaspoon cayenne pepper (optional, for a slight kick)
- 1 cup (2 sticks) cold unsalted butter, cut into small cubes
- 1 1/2 cups freshly grated sharp cheddar cheese
- 1 large egg, lightly beaten
- 1 tablespoon cold water
Instructions
- In a large bowl, whisk together the flour, salt, and cayenne pepper.
- Cut the cold butter into the flour mixture using a pastry blender or your fingertips until the mixture resembles coarse crumbs. Work quickly to keep the butter cold.
- Stir in the grated sharp cheddar cheese until evenly distributed.
- In a small bowl, mix the beaten egg and cold water. Add this liquid mixture to the flour and cheese mixture. Mix just until a shaggy dough forms. Do not overmix.
- Turn the dough out onto a lightly floured surface. Gently bring it together into a cohesive disk. Wrap the disk in plastic wrap and chill in the refrigerator for at least 30 minutes.
- Preheat your oven to 400 degrees Fahrenheit (200 degrees Celsius). Line two baking sheets with parchment paper.
- Divide the chilled dough in half. On a lightly floured surface, roll one half of the dough out to about 1/8-inch thickness.
- Use a knife or pizza cutter to cut the dough into strips about 1/2-inch wide and 5 to 6 inches long. You can twist the strips slightly for a more traditional look.
- Place the cheese straws on the prepared baking sheets, leaving a small space between them.
- Bake for 10 to 14 minutes, or until the straws are golden brown and crisp. Baking time depends on your oven and the thickness of your straws.
- Transfer the straws to a wire rack to cool completely. They will crisp up further as they cool.
Notes
- For the crispiest texture, use freshly grated sharp cheddar cheese and ensure your butter is very cold.
- If you prefer a Parmesan flavor, substitute half of the cheddar with grated Parmesan cheese.
- You can prepare the dough up to 2 days ahead; keep it tightly wrapped in the refrigerator.
Nutrition
- Serving Size: 4 straws
- Calories: 110
- Sugar: 0.2g
- Sodium: 180mg
- Fat: 7g
- Saturated Fat: 4.5g
- Unsaturated Fat: 2.5g
- Trans Fat: 0.2g
- Carbohydrates: 8g
- Fiber: 0.3g
- Protein: 3g
- Cholesterol: 25mg