
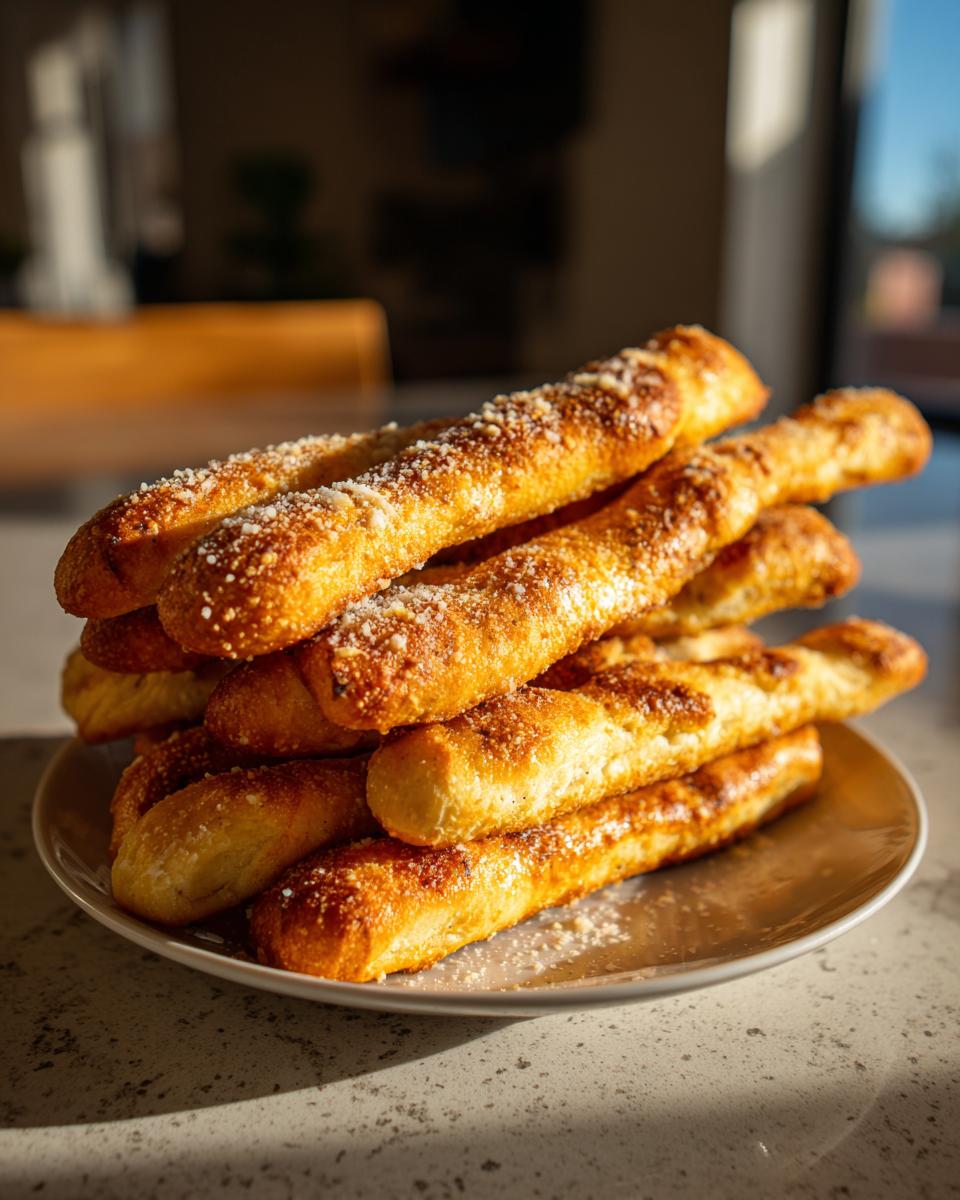
Oh, that craving! You know the one—where you just *need* that warm, pillowy, garlicky goodness that only restaurant-style breadsticks deliver? I get it. That desire for a perfect, soft companion to your pasta night is exactly why Completely Yummy exists. My mission, ever since I stepped away from my hectic marketing days, has been to take those amazing classic flavors and make them genuinely doable for you, right now. Trust me when I say this Ultimate Soft & Chewy Olive Garden Copycat Breadsticks recipe is the one. Forget dry, dense versions; we’re making the best homemade breadsticks you’ll ever have, and they bake up in about an hour!
- Why This Homemade Breadsticks Recipe Delivers Restaurant Style Breadsticks
- Gathering Ingredients for Your Garlic Breadsticks Recipe
- How to Prepare Easy Breadsticks: Step-by-Step Instructions
- Tips for Success When Making Chewy Breadsticks
- Variations: Making Cheesy Breadsticks and More
- Storing and Reheating Your Buttery Breadsticks
- Serving Suggestions for Dinner Side Dish Bread
- Frequently Asked Questions About Making Breadsticks
- Estimated Nutritional Data for These Breadsticks
Why This Homemade Breadsticks Recipe Delivers Restaurant Style Breadsticks
When you’re chasing that perfect restaurant vibe, you need a recipe that respects the details. We aren’t just throwing dough together here; we are engineering that specific soft, chewy experience you look for in great breadsticks. This formula hits the nail on the head every time!
- It nails the texture because we follow a very specific process for the dough.
- The topping is carefully balanced—it’s rich but never greasy, which is crucial for the copycat flavor.
Achieving Soft Breadsticks Texture
The softness starts right at the beginning. You absolutely must ensure your water is in that 105°F to 115°F zone. Too cold, and the yeast throws a tantrum; too hot, and you kill it instantly! Then, we knead until the dough is smooth and elastic. That kneading develops the gluten just right, giving us those wonderful, chewy ribbons instead of tiny, hard rocks.
The Secret to Buttery Breadsticks Flavor
This is where we become Olive Garden Breadsticks Copycat masters! It’s all about the finishing brush. We use melted butter, but the real magic is blending in fresh minced garlic and Italian seasoning. That ratio ensures every single one of these buttery breadsticks is punchy with flavor right out of the oven.
Gathering Ingredients for Your Garlic Breadsticks Recipe
Alright, let’s get organized! Baking these amazing garlic breadsticks recipe is seriously easy once the ingredients are laid out. The list looks long, but most of it is pantry staples! We need the yeast mixture, the dry ingredients for the dough, and then the heavenly topping components. Don’t go using cold water or cheap oil; those details really matter when you’re recreating a restaurant favorite.
Ingredient Notes and Substitutions for Perfect Breadsticks
A couple of quick notes before you dive in. Remember that warm water needs to hit between 105°F and 115°F. That’s the sweet spot for waking up that yeast! I list all-purpose flour because it gives the best chew, but if you’re in a pinch, bread flour will work just fine, too. If you happen to be vegetarian and need a Parmesan swap, a couple of tablespoons of nutritional yeast mixed into the topping will give you that nutty flavor without the dairy. But honestly, the grated Parmesan is worth seeking out for these!
How to Prepare Easy Breadsticks: Step-by-Step Instructions
Okay, let’s get down to the fun part—making the actual dough! This whole process moves surprisingly fast, which is why these come together for a great quick bread recipe. Follow these steps exactly, and I promise you’ll have fantastic homemade breadsticks ready for dipping soon!
Making and Rising the Homemade Dough Recipe
First up, we wake the yeast! Mix that warm water (watch the temp—105°F to 115°F!), sugar, and yeast in your big bowl. You have to wait 5 to 10 minutes for it to get all foamy up top. If it looks like milkshake foam, congrats, your yeast is alive and ready to work! Once that’s bubbly, dump in the salt, 3 cups of flour, and the olive oil. Mix until it looks shaggy, then slowly add the rest of the flour until it starts pulling away from the sides. Now, knead it on your counter for a solid 5 to 7 minutes until it’s this beautiful, smooth, stretchy ball. Pop it in an oiled bowl, cover it up, and let it go hide in a warm spot for a full hour until it’s doubled. Don’t rush this rest!
Shaping and Baking Your Breadsticks
Once your dough is puffed up, punch it down gently. Preheat your oven to 400°F. Line two baking sheets with parchment paper—this saves you loads of scraping later. Roll your dough out to about a half-inch thickness and slice it into strips, maybe 10 or 12 per batch. Lay them out on the sheets, then cover them again and let them chill out for 15 minutes while the oven finishes heating. They need that short rest! Bake them for 10 to 12 minutes. You want them gently golden, not dark brown, because they’ll continue cooking when we add the topping.
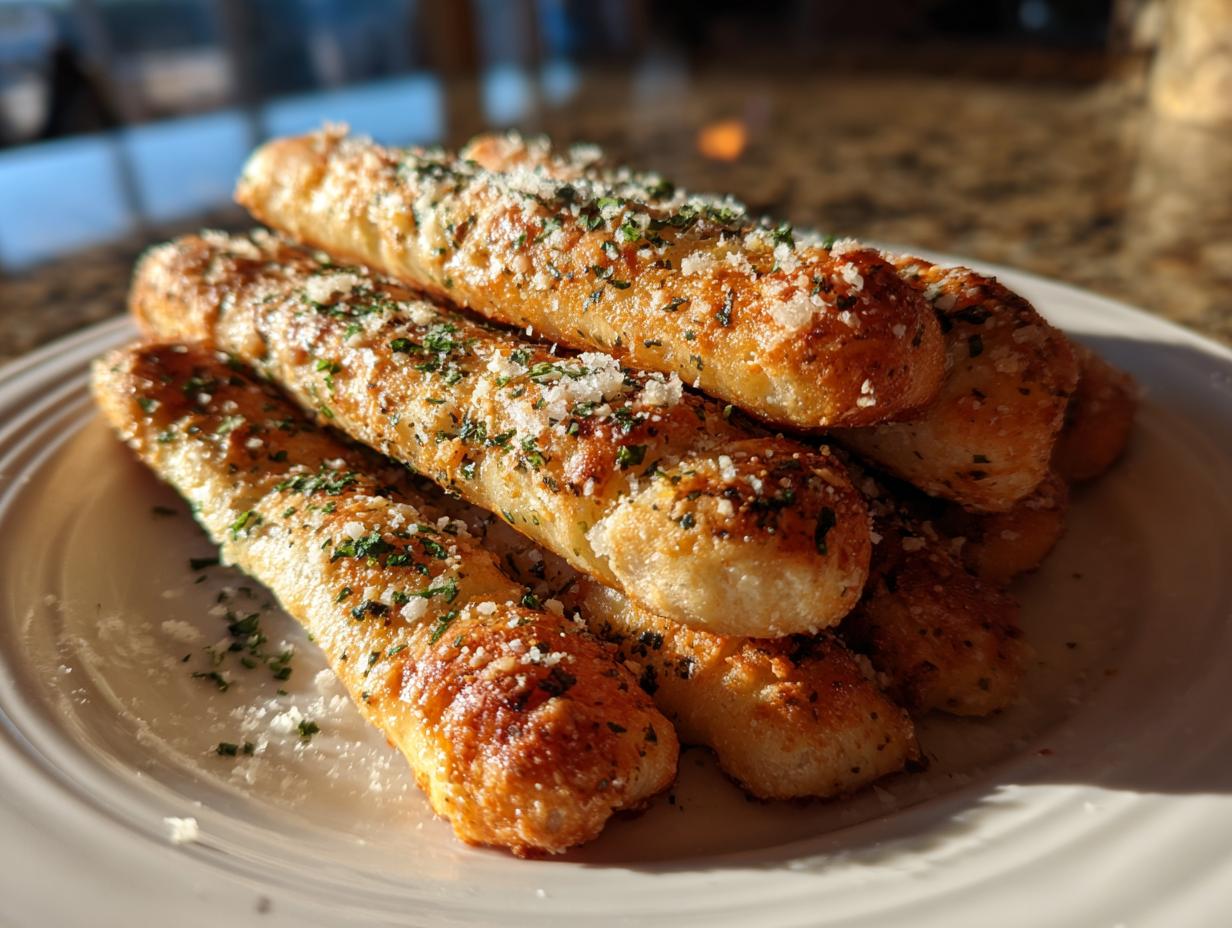
Applying the Garlic Parmesan Breadsticks Topping
This is the grand finale, folks! While those beauties are baking, quickly whisk together your melted butter, the fresh minced garlic, and the Italian seasoning. It smells incredible already, doesn’t it? The second you pull the hot sticks out of the oven, you must brush on that garlic butter mixture generously. Seriously, brush it fast! The heat pulls that seasoning right into the crust. Finish by tossing that grated Parmesan cheese all over the top. That’s it! Serve them right away while they are piping hot!
Tips for Success When Making Chewy Breadsticks
Even though this recipe is really straightforward, there are a few sneaky things that can trip up the first-time breadstick maker. Since I want you to have fantastic, chewy results like mine, let me share a few things I learned the hard way about these homemade breadsticks.
My number one tip revolves around moisture management. If your dough feels way too sticky to work with when you’re trying to shape your strips, don’t just throw in handfuls of extra flour! That’s the fastest way to lose that soft texture we are aiming for. Instead, keep a small bowl of flour nearby and lightly dust your hands and the counter, working the flour in gradually until the dough is just manageable.
Also, let’s talk about the bake time. People sometimes worry their breadsticks aren’t done because they look pale. Remember, we are finishing them with hot butter! If you bake them until they look dark brown, they will be overdone and dry by the time you bathe them in garlic goodness. Stick to that light golden color shown in the instructions; they are designed to finish cooking during the butter bath.
Lastly, don’t skip that little 15-minute rest (Step 6) after you shape the strips but before they go in the oven. I know we are rushing for that 1-HOUR goal, but those 15 minutes let the dough relax just enough. If you skip it, the strips will try to shrink back on you in the oven, making them thick and dense instead of long and light!
Variations: Making Cheesy Breadsticks and More
Now, don’t get me wrong, the classic buttery garlic style is pure perfection, but sometimes you need to elevate your breadsticks game. If you’re serving these alongside a saucy dish, you absolutely have to try the cheesy version. It’s so easy to transform these into spectacular cheesy breadsticks!
For the cheesy lovers, wait until the last three minutes of baking—that’s critical! Pull your breadsticks out just when they are beginning to turn golden, sprinkle them generously with shredded mozzarella cheese (I use low-moisture, full-fat, of course!), and pop them back in for just a few minutes until the cheese is melted and bubbly. Then, immediately apply the garlic butter topping over the cheese. That combination of melted, stretchy cheese under the aromatic butter is just heavenly.
This recipe is also super adaptable if you’re really short on time and can’t make the yeast dough from scratch. You can absolutely use store-bought refrigerated homemade pizza dough recipe. The key here is letting that refrigerated dough sit on the counter for about 30 minutes to warm up before you try to roll it out. Cold dough fights you! Use the same shaping and baking instructions, but keep a close eye on the bake time since commercial doughs sometimes bake faster.
Storing and Reheating Your Buttery Breadsticks
The best part about these Buttery Breadsticks is that they are fantastic fresh, but they are also great for leftovers! I know, I know, there probably won’t be many leftover after dinner, but just in case you snagged a few for a snack tomorrow, we need to talk about keeping that soft texture. If you’re thinking about making these ahead of time, this is your go-to guide for handling them like a pro.
For short-term storage—say, overnight—I just use a standard airtight container or a zippered bag. Keep your leftover breadsticks at room temperature. Putting them in the fridge is tempting, but it actually dries dough out faster, and we certainly don’t want that!
Now, if they’ve gotten a little stiff the next day (which happens once the butter soaks in completely), you have two ways to bring them back to life. The oven is the best method for reviving a batch. Wrap the sticks loosely in foil—just loosely, you don’t want to steam them too much—and heat them at about 325°F for about 8 to 10 minutes. That gentle heat melts the butter again and softens the interior crumb beautifully.
If you’re just grabbing one or two sticks for a quick lunch side, the microwave works in a pinch, but use this method sparingly! Microwave them for just 10 to 15 seconds. Any longer and they go from soft to chewy rubber unbelievably fast. Honestly, for the ultimate soft experience, the oven is always the way to go when reviving these breadsticks.
Serving Suggestions for Dinner Side Dish Bread
These Italian Breadsticks aren’t meant to be eaten alone, though I wouldn’t blame you if you tried! They are the absolute best supporting actor for a big, saucy Italian meal. Think of them as your perfect utensil for sopping up every last drop of flavor from your main course. This is how you maximize their potential as a stellar Dinner Side Dish Bread.
The number one pairing, naturally, has to be pasta. Any dish with a rich tomato sauce or a creamy Alfredo just demands one of these alongside it. They are fantastic with homemade meat sauce or even a simple baked ziti. Imagine dipping that soft, garlicky point right into the sauce—it’s pure comfort.
Pairing with Pasta or Sauces
If you’re making my famous lasagna with cottage cheese, you absolutely need these breadsticks on the table. The slight saltiness of the Parmesan on the breadsticks cuts through the richness of the lasagna perfectly. They also work wonders with anything swimming in liquid, like a hearty stew or a creamy chicken and mushroom dish—they soak it all up without getting soggy too fast.
Soup and Salad Night Upgrades
Sometimes dinner is just soup and salad, right? Don’t underestimate how much these buttery breadsticks elevate that. They break apart so easily for topping a big bowl of creamy tomato soup. And for salad night? Instead of boring croutons, break these into chunks and toss them on top of a Caesar salad for an incredible crunch and flavor surprise. They turn a light salad into a genuinely satisfying meal!
Frequently Asked Questions About Making Breadsticks
I always get questions whenever I post a picture of these beauties on social media! It’s funny how the same little things trip everyone up when making homemade breadsticks. Here are the answers to the most common things I hear about keeping these soft and perfect!
Can I substitute instant yeast for active dry yeast?
Yes, you absolutely can, but you have to change how you start the process! If you use instant yeast, you don’t need that 10-minute resting period with the warm water and sugar. You can just mix the instant yeast right in with the flour and salt. Since you skip the proofing step, you might find your second rise takes just a little bit longer, but the final texture of your Appetizer Bread Sticks will be nearly identical.
Why are my breadsticks hard instead of soft and chewy?
This usually comes down to two things: either you added too much flour during the kneading stage, or you overbaked them! Remember, we want the dough slightly tacky—not stiff—before the first rise. If you used too much flour, you’ll get hard results. Also, if you baked them until they were deeply brown, they are going to feel dense after they cool. Stick to that light golden hint!
How do I make the Cheesy Breadsticks variation?
Okay, if you didn’t see the variations section, here’s the quick cheat sheet for making those irresistible cheesy breadsticks. Just wait until the last three minutes of baking time. Throw a good amount of shredded mozzarella right over the strips, let it melt until gooey, and *then* immediately brush on your garlic butter topping. Melted cheese under the butter? Yes, please!
Do I need to knead the dough for the full 7 minutes?
You do! Don’t skimp on the kneading if you want that signature soft texture. Kneading helps build structure. It makes the dough stretchy and strong enough to hold those beautiful air bubbles it created during the rise. If you rush it, your soft dinner rolls texture will turn out crumbly instead of delightfully chewy.
Estimated Nutritional Data for These Breadsticks
I always make sure to include a rough guide for the nutrition facts, just so you can budget your dinner plans accordingly. Remember, since this is a homemade recipe and you might be adding extra cheese or butter (because who doesn’t?), these figures are just an estimate based on the core ingredients listed and our standard serving size of two breadsticks.
If you’re tracking macros or watching sugar intake, this is good reference material. But honestly? When they come out of the oven smelling like that, I stop counting!
- Serving Size: 2 breadsticks
- Calories: 180
- Fat: 8g
- Saturated Fat: 4g
- Carbohydrates: 24g
- Sugar: 2g
- Protein: 4g
- Sodium: 250mg
This data is based on the recipe provided and does not include any extra mozzarella, for instance. Keep that melted cheese in mind if you go heavy on the Appetizer Bread Sticks toppings! Enjoy every bite.
PrintThe Ultimate Soft & Chewy Olive Garden Copycat Breadsticks with Garlic Parmesan Butter
Make soft, chewy breadsticks at home that taste just like the restaurant favorite. This easy recipe uses simple ingredients to create buttery, garlic-seasoned breadsticks perfect for any dinner side dish or appetizer.
- Prep Time: 20 min
- Cook Time: 12 min
- Total Time: 1 hour 32 min
- Yield: 20-24 breadsticks 1x
- Category: Appetizer
- Method: Baking
- Cuisine: American
- Diet: Vegetarian
Ingredients
- 1 1/2 cups warm water (105-115°F)
- 2 1/4 teaspoons active dry yeast
- 2 tablespoons granulated sugar
- 4 cups all-purpose flour, plus more for dusting
- 1 teaspoon salt
- 1/4 cup olive oil, plus more for brushing
- 1/2 cup unsalted butter, melted
- 4 cloves garlic, minced
- 1 teaspoon dried Italian seasoning
- 1/2 cup grated Parmesan cheese
Instructions
- Activate the yeast: In a large bowl, combine the warm water, yeast, and sugar. Let it stand for 5 to 10 minutes until foamy.
- Mix the dough: Add 3 cups of the flour, salt, and 1/4 cup of olive oil to the yeast mixture. Mix until a shaggy dough forms. Add the remaining flour gradually until the dough comes together.
- Knead the dough: Turn the dough out onto a lightly floured surface. Knead for 5 to 7 minutes until the dough is smooth and elastic.
- First rise: Place the dough in a lightly oiled bowl, turning to coat. Cover the bowl with plastic wrap or a clean towel and let it rise in a warm place for 1 hour, or until doubled in size.
- Shape the breadsticks: Preheat your oven to 400°F (200°C). Line two baking sheets with parchment paper. Punch down the dough and divide it into two equal pieces. Roll each piece into a rectangle about 1/2 inch thick. Cut each rectangle into 10 to 12 strips.
- Second rise: Place the strips onto the prepared baking sheets, leaving about 1 inch between them. Cover loosely and let them rest for 15 minutes while the oven finishes preheating.
- Bake: Bake for 10 to 12 minutes, or until the breadsticks are lightly golden brown.
- Prepare the garlic butter topping: While the breadsticks bake, combine the melted butter, minced garlic, and Italian seasoning in a small bowl.
- Coat the breadsticks: Immediately after removing the hot breadsticks from the oven, brush them generously with the garlic butter mixture.
- Finish: Sprinkle the tops evenly with grated Parmesan cheese. Serve warm as a dinner side dish or appetizer.
Notes
- For extra soft dinner rolls texture, brush the tops lightly with a little extra olive oil before baking.
- If you want cheesy breadsticks, sprinkle mozzarella cheese over the tops during the last 3 minutes of baking, then apply the garlic butter.
- You can make the dough ahead of time; refrigerate it for up to 24 hours after the first rise, then let it warm up slightly before shaping.
Nutrition
- Serving Size: 2 breadsticks
- Calories: 180
- Sugar: 2
- Sodium: 250
- Fat: 8
- Saturated Fat: 4
- Unsaturated Fat: 4
- Trans Fat: 0
- Carbohydrates: 24
- Fiber: 1
- Protein: 4
- Cholesterol: 15