
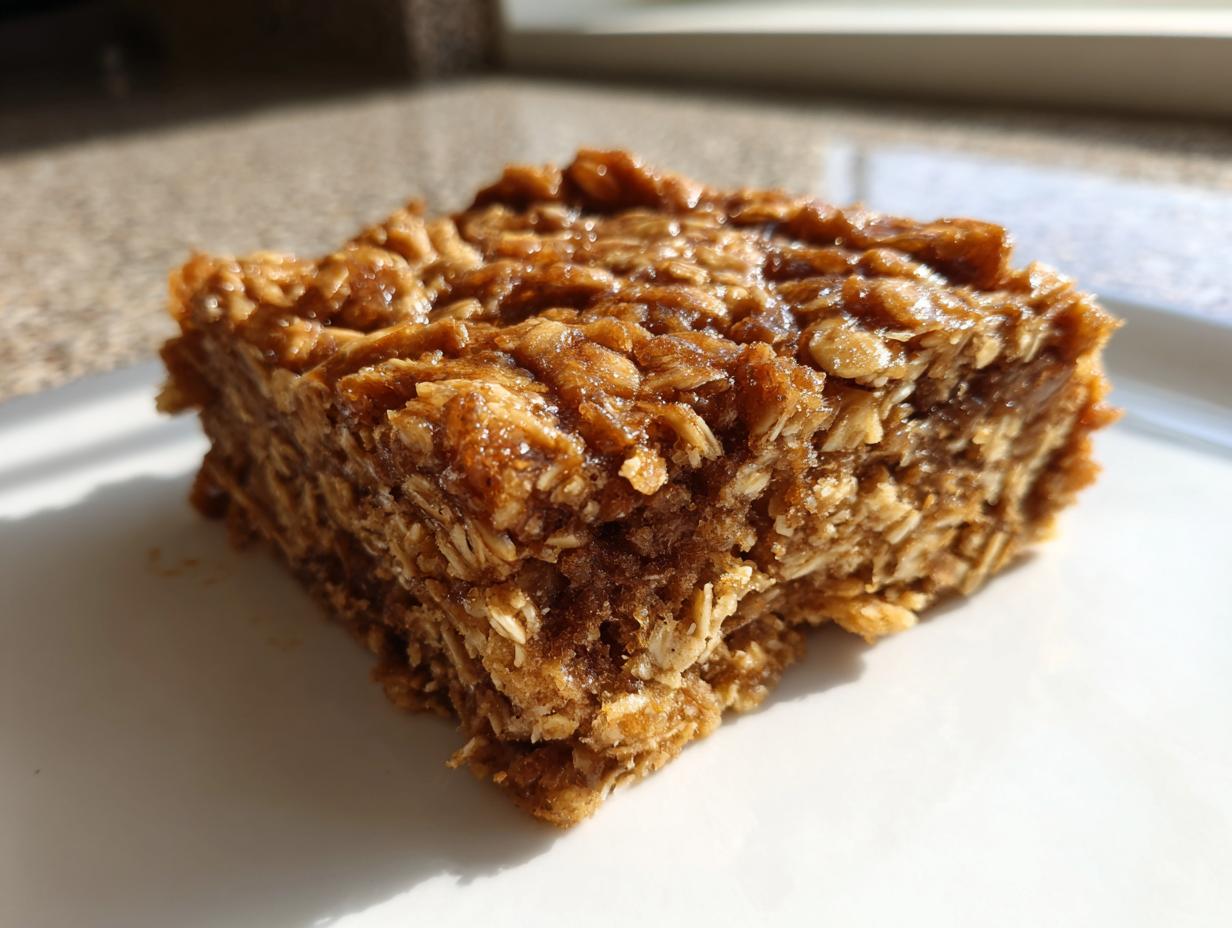
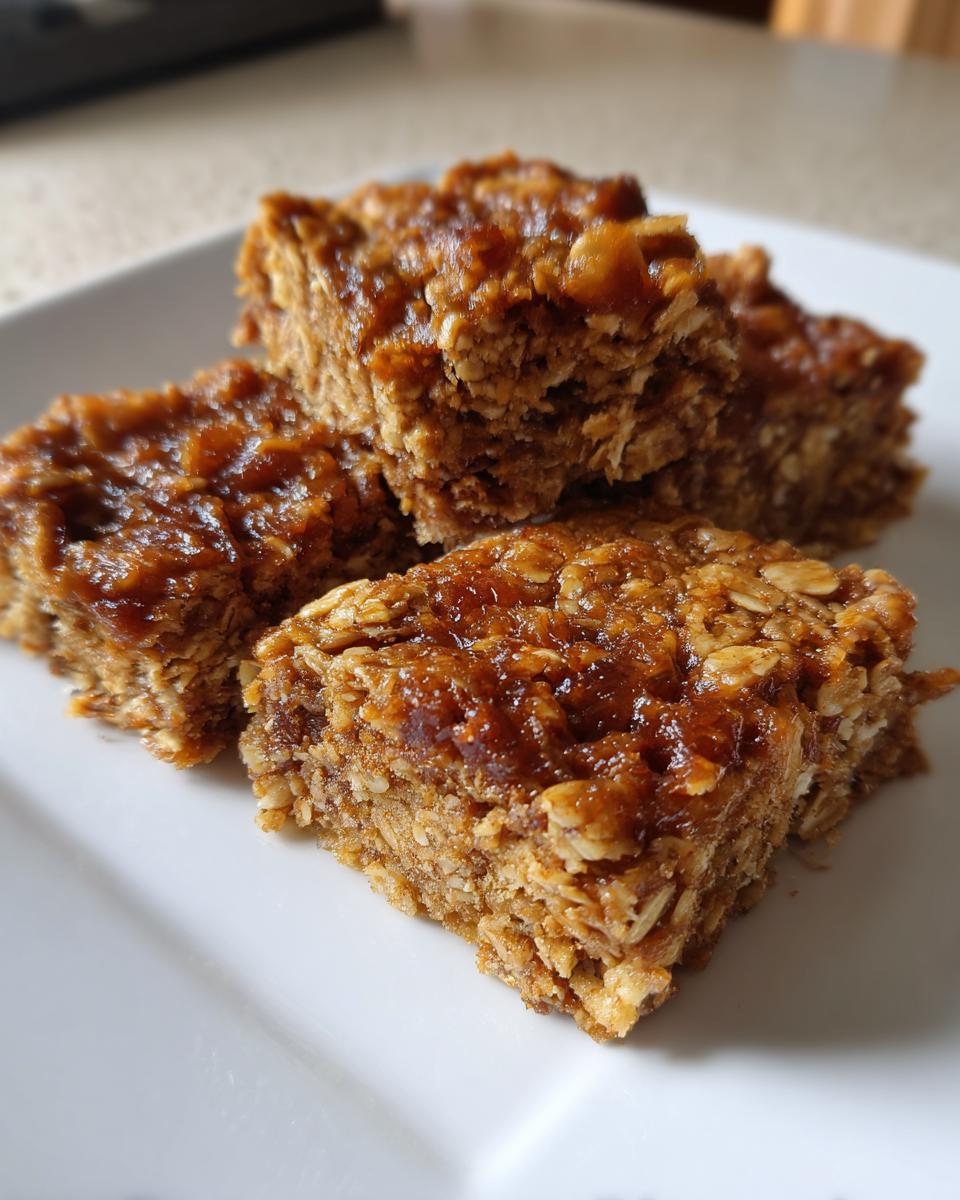
If there’s one thing I learned building this blog, it’s that we all need reliable go-to recipes that can switch roles—morning breakfast, the 3 PM slump cure, or a quick, wholesome dessert. That’s why I spent weeks testing and tweaking one single recipe until I hit absolute perfection: the Best Ever Chewy Oatmeal Bars. Seriously, my kitchen was covered in oats for days! I needed to crack the code on chewiness so these treats never crumbled the second you picked them up. These oatmeal bars are designed specifically for us busy folks who need fantastic flavor without a huge time commitment, reflecting exactly what Completely Yummy is all about. This base recipe is your canvas for the most satisfying, perfectly textured oat snacks you’ll ever make.
- Why This Base Recipe Makes the Best Chewy Oatmeal Bars (Expert Tips)
- Essential Ingredients for Perfect Chewy Oatmeal Bars
- How to Prepare Your Base Oatmeal Bars: Step-by-Step Instructions
- Simple Oat Desserts: Delicious Oatmeal Bar Variations
- Making Healthy Oatmeal Bars: Ingredient Swaps and Dietary Adjustments
- Storage and Reheating Instructions for Your Homemade Granola Bars
- Troubleshooting Common Issues When Making Oatmeal Bars
- Serving Suggestions for Oatmeal Snack Bars
- Frequently Asked Questions About These Oatmeal Bars
Why This Base Recipe Makes the Best Chewy Oatmeal Bars (Expert Tips)
If I’m honest, most store-bought oat bars feel like eating cardboard, right? They are either rock hard or turn to dust the second you try to transport them. Not these! The reason this oatmeal bar recipe is my go-to is purely down to the texture; we are aiming for maximum chewiness, zero crumble. I’ve tested this formula dozens of times—just like I obsess over the perfect texture for my sugar cookies—to make sure these chewy oatmeal bars hold their shape beautifully whether they are for a lunchbox or dessert. That’s the reliability factor you get with these oatmeal bars.
The real structure magic happens before you even turn the oven on. You *must* pay attention to the temperature of your ingredients. Make sure your butter is softened—not melted and greasy—and your eggs are room temperature. This perfect consistency ensures that when you cream the fats and sugars, you incorporate just the right amount of air. This tiny detail is what keeps the final bars moist and truly chewy, not dense and heavy.
Quick Snapshot: Prep, Cook, and Yield for Your Oatmeal Bars
- Prep Time: 15 min
- Cook Time: 30 min
- Total Time: 45 min
- Yield: 18 bars
Essential Ingredients for Perfect Chewy Oatmeal Bars
When I developed this base, I kept my pantry staples front and center. Seriously, if I can’t make something delicious using what I already have, it’s not going to pass the ‘Ava Test’! Having these simple ingredients on hand means you can whip up a batch whenever that craving strikes.
Here is what you need to gather. Pay close attention to how I wrote the butter and sugar—those tiny details matter so much for texture!
- 2 cups rolled oats (Only rolled oats work here to get that chew; don’t try quick oats!)
- 1 cup all-purpose flour (If you need a gluten-free option, I mentioned swapping this for GF oat flour in the notes, which works like a dream!)
- 1 teaspoon baking soda
- 1/2 teaspoon salt
- 1 cup (that’s two full sticks!) unsalted butter, softened until cool but yielding
- 1 cup packed light brown sugar (The molasses here is crucial for moisture and depth!)
- 1/2 cup granulated sugar
- 2 large eggs
- 1 teaspoon vanilla extract
- 1/2 cup milk (Whole milk makes them richer, but honestly, whatever milk you have works!)
That’s it! No weird flavorings or expensive extracts needed for the base mix. It’s pure, comforting goodness using foundations that every home cook should have ready to go.
How to Prepare Your Base Oatmeal Bars: Step-by-Step Instructions
Okay, now for the fun part! Since this recipe is designed to be super doable for my easy weeknight dinners crowd, the steps are straightforward, but timing is everything. First thing: get your oven preheated to 350°F (175°C) right away. Then, line that 9×13 inch pan with parchment paper. Make sure you leave an overhang on the sides; this is your secret weapon for lifting the whole thing out later without breakage!
You already whisked your dry stuff, so now we tackle the wet side. Grab your mixer and cream that softened butter with both sugars until it gets light and fluffy—this takes a good three minutes, don’t rush it! Eggs go in one at a time, followed by the vanilla. Next, introduce the dry oat mixture slowly to the wet stuff, mixing on low speed until it just barely comes together. Remember that milk? Stir that in last. The dough will be super thick; that’s exactly what we want!
- Press about two-thirds of that thick dough evenly into the bottom of your prepared pan. Be firm!
- Now, take the remaining one-third of the dough. This is where you mix in any extras if you’re using a variation—just fold them in gently before spreading this top layer over the base.
- Bake it for 25 to 30 minutes. You are looking for golden brown edges and a center that looks set, not wobbly.
- This final instruction is crucial for the texture: Let the oatmeal bars cool completely in the pan before you even think about slicing them. Patience pays off here!
Pro Tip: Achieving the Signature Chewy Oatmeal Bars Texture
I discovered this the hard way during testing: Don’t cut these while they are warm, even slightly warm! If you try to lift them out right after ten minutes, they will absolutely shatter. The magic sets up as they come to room temperature. Seriously, walk away for at least ninety minutes before you attempt to lift them out using that parchment overhang. That slow cooling process truly locks in the moisture and transforms them from soft dough into perfect, chewy bars.
Simple Oat Desserts: Delicious Oatmeal Bar Variations
This is where the base recipe really shines—it acts like a blank canvas for whatever deliciousness you have on hand! We’re talking beyond the plain flavor here. If you’re looking for easy oat bar variations, these simple flavor boosts elevate your oatmeal bars from a standard snack to a real treat. Think of these like the building blocks for great simple oat desserts!
I’ve tested a few ideas from the notes to make sure they are worth your time. If you’re staring down a bunch of overripe bananas, or if you just need something *right now* without heating up the oven, I have you covered. These are just as satisfying as a rich dessert bar, like my famous snickerdoodle blondies!
No Bake Chocolate Chunk Oat Bars for Quick Grab and Go Snacks
Sometimes you just can’t wait for the oven to preheat, right? That’s when you turn to the no-bake version. These are truly the fastest oatmeal bar snacks you can make, perfect for packing in a hurry. You ditch the flour and eggs entirely in this adaptation focusing on peanut butter and honey to bind everything. Once mixed, you press it into a pan and chill it. That’s it! You get wonderfully dense no bake oatmeal bars loaded with flavor. I love tossing in giant chunks of dark chocolate for those amazing chocolate chunk oat bars.
Banana Bread Style Oatmeal Bars for Breakfast Oatmeal Bars
If you’re trying to get some fruit into your morning routine, this variation is fantastic. You simply mash up one very ripe banana and mix it right into the wet ingredients—remember, you’ll reduce the milk slightly! It gives the bars a warm, slightly cakey texture that reminds me instantly of my dad’s famous banana bread. These are definitely my favorite for making a batch of breakfast oatmeal bars for meal prepping the week. For another great banana idea, check out these delicious Banana Oatmeal Bars for some inspiration!
Making Healthy Oatmeal Bars: Ingredient Swaps and Dietary Adjustments
I totally get it. Sometimes we want that comforting oat flavor without loading up on refined sugar or worrying about gluten. My whole mission here at Completely Yummy is making sure you can have treats that fit your life, which means we have to talk about creating genuinely healthy oatmeal bars from this fantastic base recipe. You don’t need complicated ingredients; you just need smarter swaps!
For starters, if you’re trying to make these wholesome oat treats, the easiest fix is often the sugar. You can cut the granulated sugar entirely and bump up the light brown sugar to 1 1/2 cups total, or, if you’re feeling adventurous, try substituting 1/4 cup of the sugar with applesauce or mashed sweet potato. That might sound wild, but it keeps the moisture locked in while cutting down on sweetness. Or, if you want something really easy, check out some low-calorie inspiration over here: 3 Ingredient Coconut Oatmeal Bars might catch your eye!
Now, let’s talk about flour. If you are keeping things gluten-free, that’s super simple with this recipe. Just swap that all-purpose flour for an equal amount of certified gluten-free oat flour or a good quality 1:1 blend. It blends right in, and I promise you won’t notice the difference in texture, especially since we rely so much on the oats themselves for structure. For richer flavor and slightly heartier morning bars, I sometimes use a mix of oat flour and almond flour!
If you want something closer to a quick, stovetop energy boost instead of baking, I’ve got a completely different approach with oats that you absolutely have to see. You can check out my creamy banana oatmeal if you need a break from baking entirely. But sticking to the bar format, making these healthier just means tweaking the binder ingredients, and this base is such a champ!
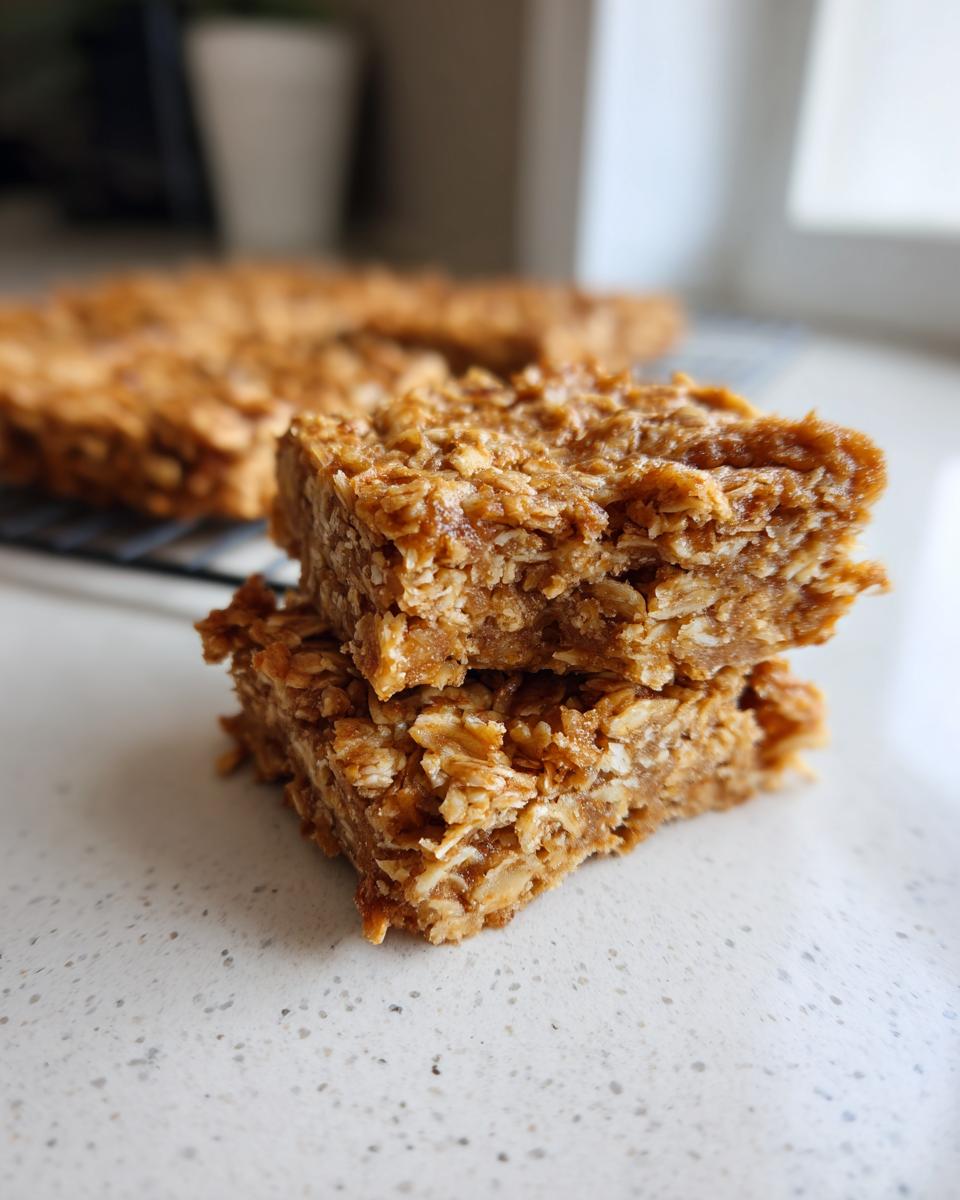
Storage and Reheating Instructions for Your Homemade Granola Bars
One of the truly fantastic parts about these baked bars is how well they travel and how long they last. It means you can make a huge batch on Sunday—think of it as fantastic meal prep bars potential!—and have snacks ready for almost a week. We want them to stay soft and chewy, not dry out or get crumbly.
The best way to store your finished homemade granola bars is simple: keep them in an airtight container at room temperature. I usually layer mine with small squares of parchment paper between the layers so they don’t stick together in a big brick. If you stack them tight, they are perfect for grabbing at the door on your way out. I’ve found they stay wonderfully fresh and retain that great chewiness for a solid five days. Don’t even think about trying to hide them for longer; I speak from experience when I say they disappear fast!
Now, sometimes after a few days, they might firm up just a tiny bit, especially if your kitchen runs a little cool. If you prefer that fresh-from-the-oven softness again, reheating is super easy! You don’t want a microwave here because it can make them tough later. Instead, pop a square or two onto a microwave-safe plate and heat it for just 10 to 15 seconds. This warms them enough to soften the butter and sugar ever so slightly, just unlocking that wonderful moist texture again. Perfect for a little afternoon lift with a cup of coffee. If you love making things ahead for later, you might also enjoy my recipe for date nut bread, which keeps beautifully on the counter too!
Troubleshooting Common Issues When Making Oatmeal Bars
Honestly, even for me, sometimes things go sideways in the kitchen. When you rush or if your oven runs hot, you can hit a few snags with baked goods, even with a solid recipe like this. But don’t panic! That’s why I wanted to share the few common issues I encountered while testing oatmeal bars because knowing how to fix it makes you a better, calmer baker.
If you follow my steps, you should be golden, but here are the quick fixes for when things get stubborn. It’s the sharing of these real-life moments that makes a recipe truly trustworthy, right?
My Bars Are Crumbly and won’t hold together!
This is the most frustrating problem, usually pointing back to one of two things we talked about. First, check your oats—did you accidentally use instant oats instead of rolled oats? Instant oats dissolve too much and result in a sandy texture rather than a chewy one. Second, check your binding agents. Did you skip creaming the butter and sugar long enough? If you didn’t whip enough air in at the start, you won’t have that dense chewiness. If they are already baked and crumbly, try warming them slightly and pressing a clean, heavy spatula onto the top layer while they are slightly warm to help them compact before cooling completely. A little press goes a long way!
The Edges Are Burning Before the Center is Set
Oh, the dreaded crunchy edge! This almost always means your oven is running hotter than it says it is, or your pan is too thin. If your edges are getting dark before the center feels firm to the touch, you need to shield them. Take a strip of aluminum foil—even just a wide strip—and gently lay it across the edges of the pan for the last 10 minutes of baking time. This acts like a tiny oven shield, letting the middle finish cooking without scorching the perimeter. Also, make sure you aren’t overfilling your pan; too thin of a layer bakes too fast!
My Bars Are Too Soft and Won’t Firm Up After Cooling
If you cut into them and they melt into a gooey mess, usually that means there was too much liquid or fat, or you just didn’t wait long enough! I know I harp on the cooling time, but it’s critical. If they are still soft after cooling completely on the counter for two hours, you might have over-added milk or your eggs were extra large. For fixing set-up issues, try this trick: Once they are completely cool, place the whole pan (still lined with parchment) into the refrigerator for at least an hour. The colder temperature solidifies the butter/fat just enough to let you slice them neatly. They taste great chilled anyway!
If you ever have other baking issues, especially with quick breads, I share tons of troubleshooting tips over on my post about easy beer bread, because weird chemistry happens sometimes!
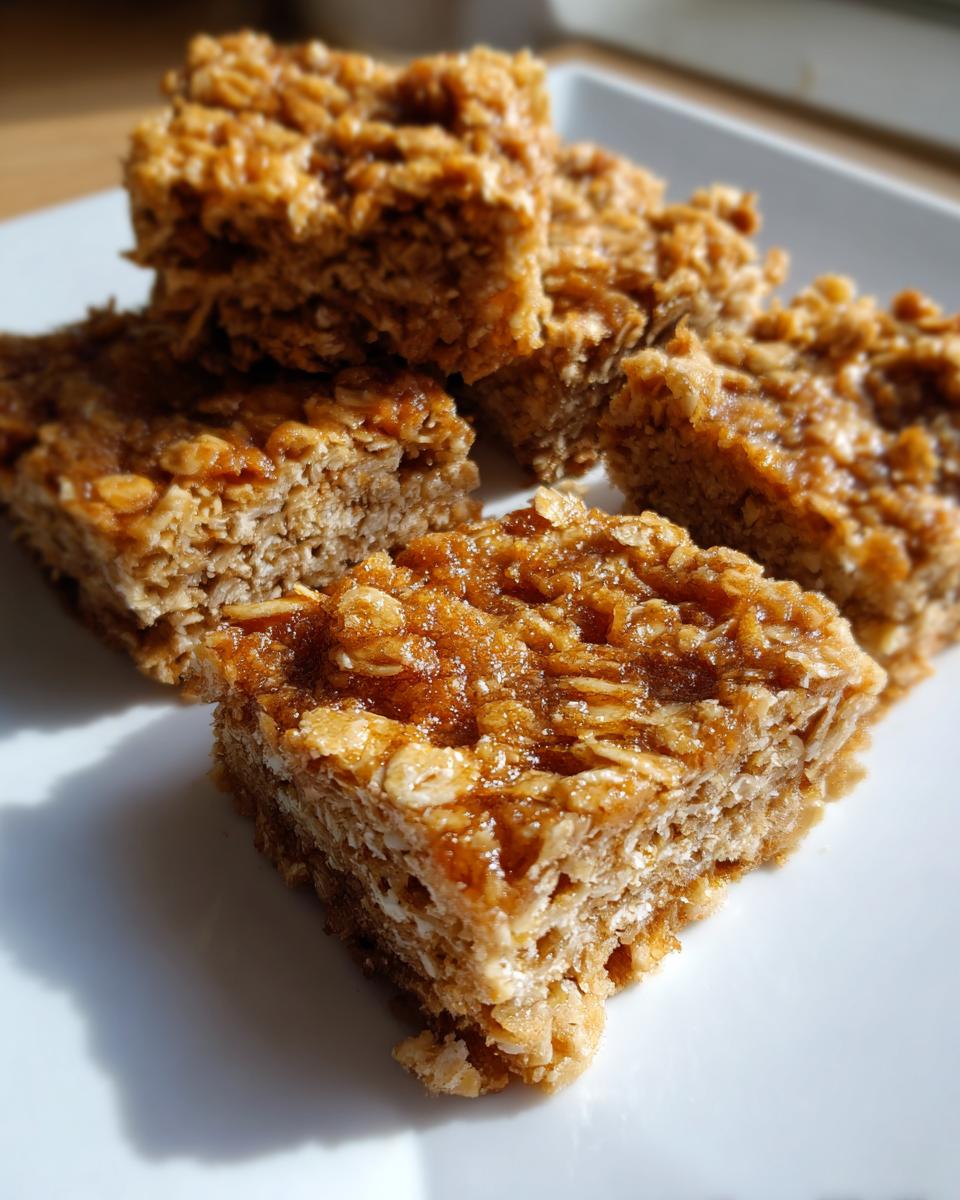
Serving Suggestions for Oatmeal Snack Bars
So you’ve got a pan full of perfectly baked, chewy goodness! Now, how do you serve these magnificent things? The beauty of these oatmeal bars is that they fit right into any meal planning category you can think of, which is why I made sure they are great for everyone in the house. They are robust enough to stand up to sauces or toppings without melting away, which is a huge win.
If you’re packing these for a light handheld breakfast—think of them as wonderful portable breakfast ideas—I love grabbing a few alongside a piece of fresh fruit, like an apple or a handful of grapes. That little bit of natural juice balances the density of the oats perfectly. For those mornings when I’m rushing out the door, these are my absolute favorite quick grab and go snacks. I usually keep a container right by the coffee maker!
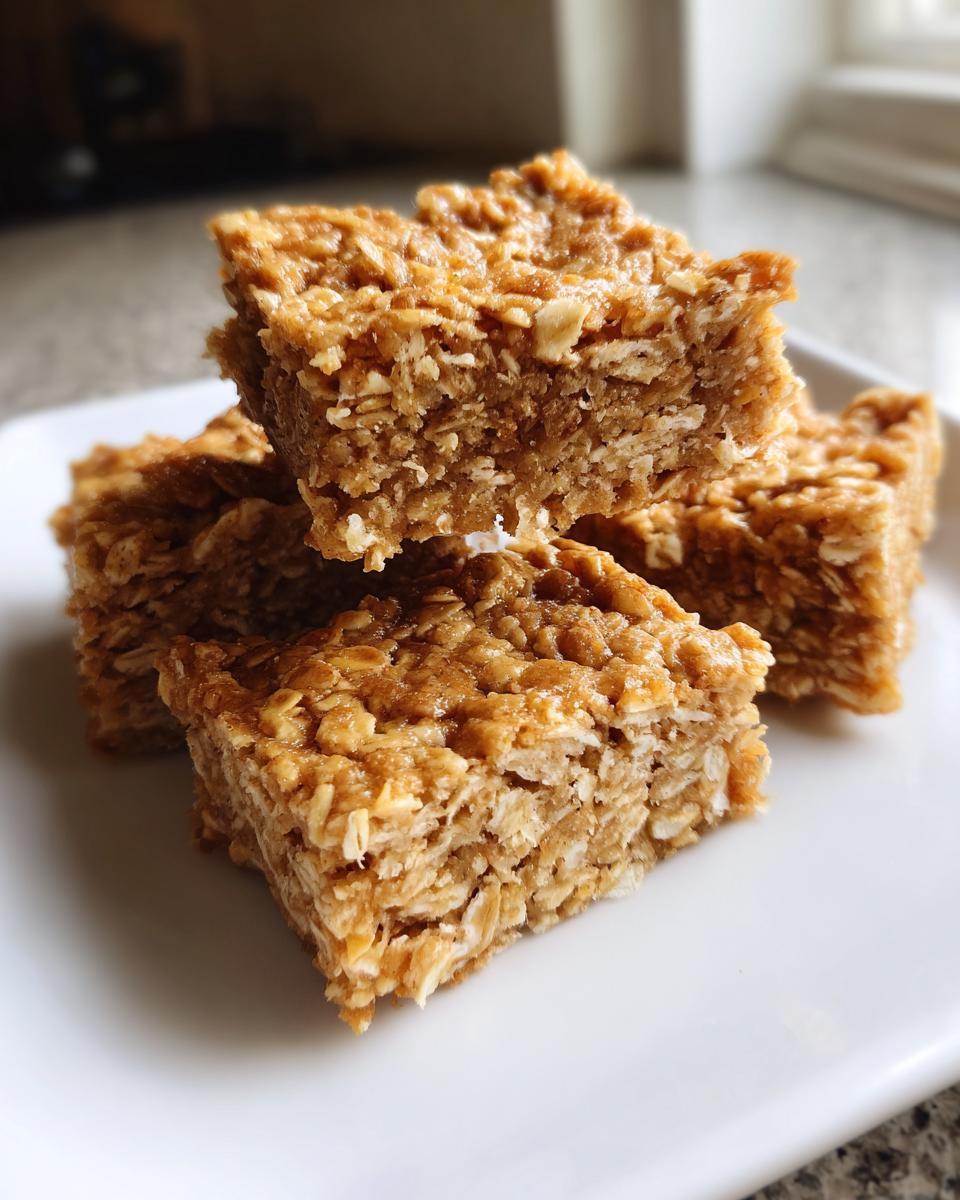
When we move into the afternoon, these shine as excellent oatmeal snack bars. They offer sustained energy when you need that midday kick. Try crumbling one over a scoop of Greek yogurt—it gives you the crunch similar to granola, but sturdier. If you treat them like true energy bars with oats, perhaps add a drizzle of honey or a few chopped walnuts on top right before serving. They are satisfying enough to stop you from raiding the candy cupboard later, trust me!
And for dessert? Well, they can be simple oat desserts too! A scoop of vanilla ice cream next to a warm (slightly reheated!) bar is pure comfort. Seriously, explore what works for you—these homemade treats are way better than anything you’ll buy pre-packaged. For other quick morning fuel ideas, check out my post on quick healthy breakfast options! And if you need more inspiration on packaging them up, take a peek at what my friends are doing over at this oatmeal bars recipe source.
Frequently Asked Questions About These Oatmeal Bars
I know when I find a new staple recipe, I always have a million little questions swirling around before I commit to a big batch. My goal with these oatmeal bars is to create something you feel confident about, whether you’re stocking up for meal prep bars or just whipping up an afternoon treat. I gathered the questions I get asked the most about this recipe!
Can I freeze these oatmeal bars for later?
Yes, absolutely! Freezing is one of the best ways to keep these easy oat snacks fresh for the long haul. Once they are completely cooled and cut, wrap each square individually in wax paper or plastic wrap. Pop those wrapped bars into a heavy-duty freezer bag or container. They do great in the freezer for up to three months. When you want one, just pull it out and let it thaw on the counter for about 30 minutes. It comes back to that perfect chewy texture like magic!
What can I use instead of rolled oats if I only have quick oats?
This is a good question that affects the texture a lot. I strongly advise against using quick oats if you want that satisfying, chewy texture this recipe is famous for. Quick oats are pre-steamed and cut smaller, so when they bake, they tend to absorb too much moisture and can turn the bar gummy or slightly mushy, rather than holding that beautiful structure we want. If rolled oats are truly unavailable, you can substitute them, but know that the texture of your oatmeal bars will be much softer and less defined.
How do I make these bars vegan-friendly?
Making these vegan-friendly is quite straightforward; it just takes swapping out the two main animal products! For the eggs, you can easily use two flax eggs (that’s two tablespoons of ground flaxseed mixed with six tablespoons of water, let it sit for five minutes until gelatinous). For the milk, use any plant-based milk you love—almond, soy, or oat milk work perfectly. Just make those two simple changes, and you’ve got lovely, wholesome oat treats that fit a vegan lifestyle! If you want more ideas for batch cooking that fit dietary needs, check out my thoughts on general meal prep ideas.
Why do I need exactly 1 cup of packed light brown sugar?
That light brown sugar is your secret weapon for chewiness, besides using rolled oats, of course! I know baking can sometimes feel like chemistry, and here’s why the sugar amount matters so much: Brown sugar contains molasses, which is acidic and hygroscopic—meaning it loves moisture. The quantity specified in this oatmeal bar recipe helps keep the bars soft and pliable over several days. Cutting back too much on sugar in baked goods often results in a dry, crumbly texture, which defeats the purpose of these amazing bars!
PrintBest Ever Chewy Oatmeal Bars: Easy Oat Snacks for Breakfast or Dessert
Create these versatile, chewy oatmeal bars using simple pantry staples. This base recipe works for quick grab and go snacks, portable breakfast ideas, or simple oat desserts, and we include variations like no-bake chocolate and fruit-filled squares.
- Prep Time: 15 min
- Cook Time: 30 min
- Total Time: 45 min
- Yield: 18 bars 1x
- Category: Snack
- Method: Baking
- Cuisine: American
- Diet: Vegetarian
Ingredients
- 2 cups rolled oats
- 1 cup all-purpose flour (or oat flour for gluten-free)
- 1 teaspoon baking soda
- 1/2 teaspoon salt
- 1 cup (2 sticks) unsalted butter, softened
- 1 cup packed light brown sugar
- 1/2 cup granulated sugar
- 2 large eggs
- 1 teaspoon vanilla extract
- 1/2 cup milk (any type)
Instructions
- Preheat your oven to 350°F (175°C). Line a 9×13 inch baking pan with parchment paper, leaving an overhang for easy removal.
- In a medium bowl, whisk together the rolled oats, flour, baking soda, and salt. Set aside.
- In a large bowl, use an electric mixer to beat the softened butter, brown sugar, and granulated sugar until the mixture is light and fluffy, about 3 minutes.
- Beat in the eggs one at a time, mixing well after each addition. Stir in the vanilla extract.
- Gradually add the dry oat mixture to the wet ingredients, mixing on low speed until just combined. Stir in the milk. The dough will be thick.
- Press about two-thirds of the dough evenly into the bottom of the prepared baking pan.
- If making the base bar, proceed to step 7. For variations (like adding chocolate chunks or fruit), mix your additions into the remaining one-third of the dough and spread evenly over the base layer.
- Bake for 25 to 30 minutes, or until the edges are golden brown and the center is set.
- Let the oatmeal bars cool completely in the pan on a wire rack before lifting them out using the parchment overhang.
- Cut into squares. Store in an airtight container at room temperature for up to 5 days for chewy oatmeal bars.
Notes
- For a **No-Bake Chocolate Oat Bar** variation, skip the oven. Mix 2 cups rolled oats, 1 cup peanut butter, 1/2 cup honey/maple syrup, and 1/2 cup melted chocolate chips. Press into a lined pan and chill for 2 hours before cutting.
- To make **Banana Oatmeal Bars**, mash 1 ripe banana and add it to the wet ingredients (step 3) before adding the eggs. Reduce the milk to 1/4 cup.
- For a **Gluten Free** version, substitute the all-purpose flour with an equal amount of certified gluten-free oat flour or a 1:1 gluten-free baking blend.
Nutrition
- Serving Size: 1 bar
- Calories: 210
- Sugar: 14g
- Sodium: 110mg
- Fat: 10g
- Saturated Fat: 6g
- Unsaturated Fat: 4g
- Trans Fat: 0g
- Carbohydrates: 30g
- Fiber: 2g
- Protein: 4g
- Cholesterol: 30mg