
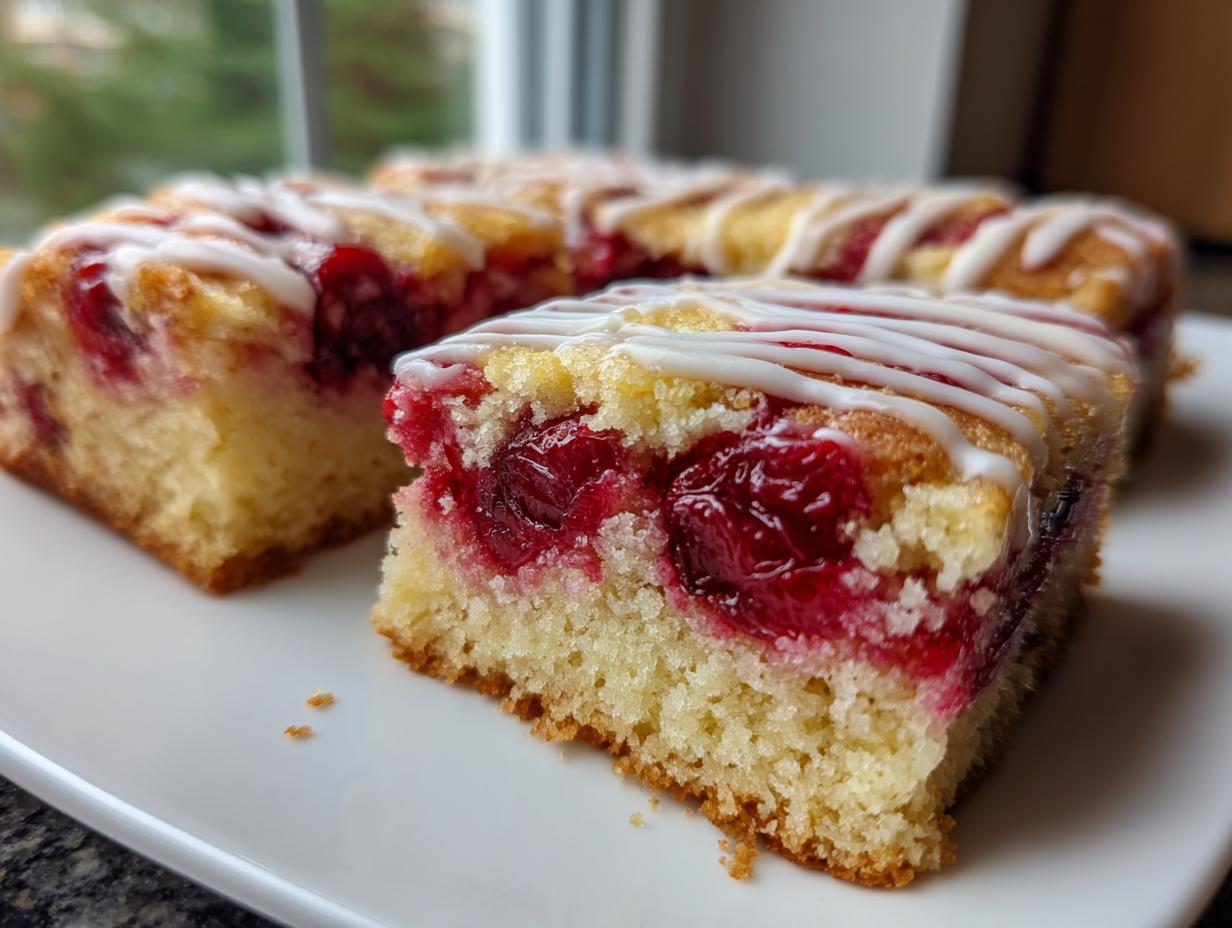
Sometimes you just need that classic, comforting taste of pie, but honestly, who has the time for crimping edges and worrying about slicing? That’s exactly why I perfected these cherry pie bars. They give you all the juicy, sweet-tart goodness of a real cherry pie, but are built on a foundation of the easiest, most buttery shortbread crust you can imagine. Here at Completely Yummy, my whole mission—starting with recipes like these—is making sure you can create genuinely delicious food without adding extra stress to your busy week. If you love finding quick wins in the kitchen, you absolutely must check out my full collection of delicious dessert recipes! Trust me, we are skipping all the fuss and getting straight to the amazingly doable dessert you deserve.
- Why You Will Love These Easy Cherry Pie Bars
- Gathering Ingredients for Your Cherry Pie Bars
- Expert Tips for Perfect Buttery Crust Bars
- Step-by-Step Instructions for Easy Cherry Pie Bars
- Ingredient Notes and Substitution Ideas for Cherry Pie Bars
- Troubleshooting Common Issues with Cherry Pie Bars
- Storing and Serving Your Glazed Cherry Bars
- Frequently Asked Questions About Homemade Cherry Pie Bars
- Nutritional Estimates for Cherry Pie Bars
- Share Your Simple Cherry Dessert Experience
Why You Will Love These Easy Cherry Pie Bars
These bars are my go-to when I need something impressive without the effort. Honestly, they check every box for a busy cook like me! You get that amazing pie experience in a neat little square that’s super easy to handle.

- They really are a Quick Cherry Dessert—prep is a breeze!
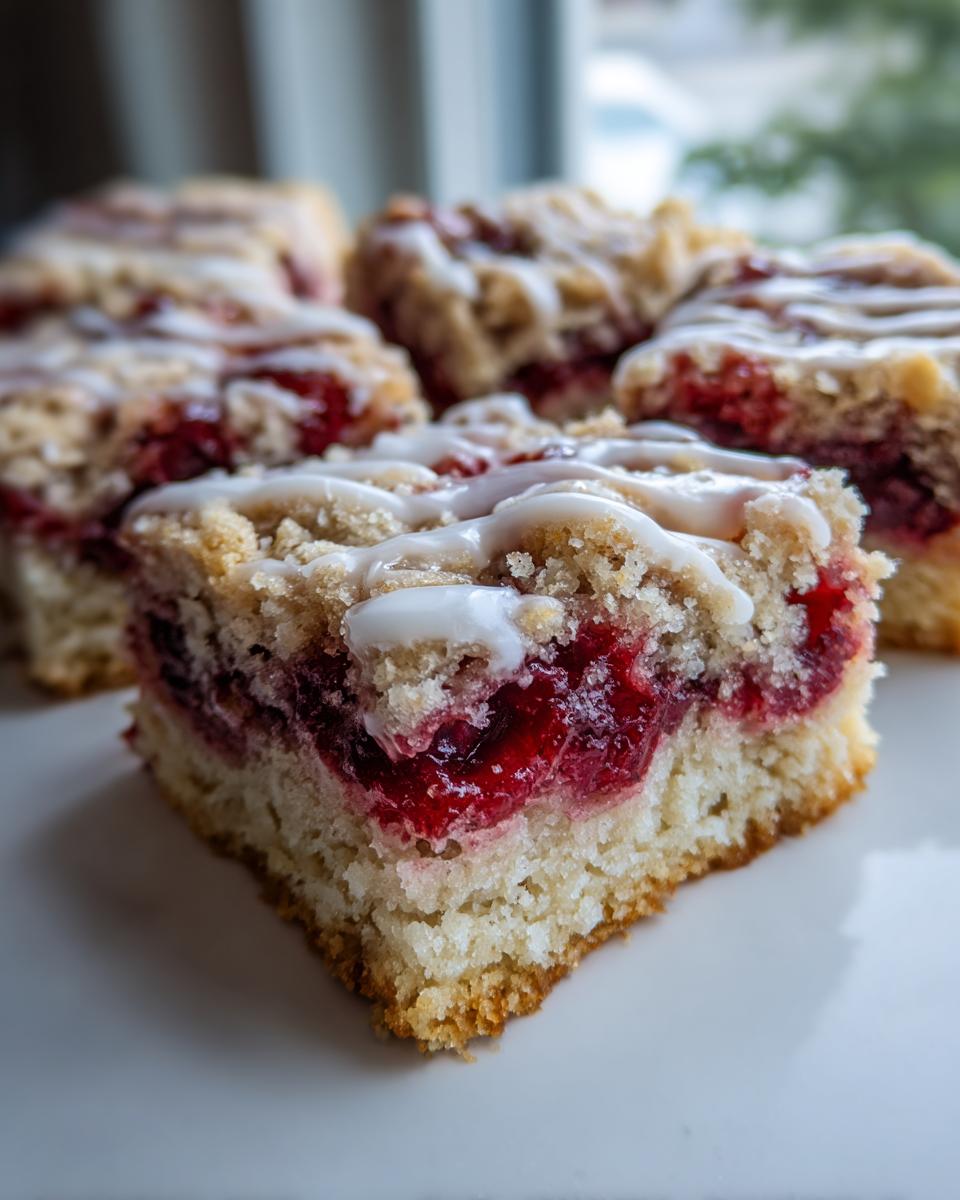
- The buttery crust is unbelievably tender, leaning into that Buttery Crust Bars feel.
- They are the ultimate grab-and-go treat, making them perfect for Potluck Desserts or summer picnics.
- That simple vanilla glaze just ties everything together without any drama.
Gathering Ingredients for Your Cherry Pie Bars
Okay, let’s talk about what you need to make these incredibly simple cherry pie bars! The beauty of this recipe, which helps me stick to my ‘Seriously Good Food’ philosophy, is that it relies on pantry staples and one fantastic shortcut. Getting your ingredients ready before you start is half the battle won. Precision matters most here, especially ensuring that butter is properly softened so it creams up nice and fluffy for that perfect shortbread base. You’ll be shocked how quickly these come together once everything is measured out.
For the Buttery Crust and Filling
- 1 cup unsalted butter, softened (This is important—not melted, just soft!)
- 1 cup granulated sugar
- 1/4 teaspoon salt
- 2 large eggs
- 1 teaspoon vanilla extract
- 1/2 teaspoon almond extract (This little bit adds unexpected depth!)
- 2 1/2 cups all-purpose flour
- 1 (21-ounce) can cherry pie filling (Yes, the canned stuff! No shame here, it speeds things up!)
For the Simple Vanilla Glaze
This glaze is what elevates them from a nice bar to a truly special dessert. Just whisk this together once the bars are completely cool.
- 1 cup powdered sugar
- 1-2 tablespoons milk (You’ll add this slowly until it drizzles perfectly.)
- 1/2 teaspoon vanilla extract
Expert Tips for Perfect Buttery Crust Bars
Listen, getting that base right is absolutely key to beautiful cherry pie bars. We are aiming for a shortbread texture here—rich, slightly crumbly, but sturdy enough to hold that glorious filling. When you mix the flour into your creamed butter and sugar, you have to pull back your energy! Overmixing develops gluten way too fast, and suddenly your tender crust becomes tough. Just mix until you see the last streaks of flour disappear. That’s it. Stop mixing!
When you press that first two-thirds of the dough into the pan, use the bottom of an actual measuring cup or a flat-bottomed glass. It gives you a much more even surface than just using your fingers. If you want the flakiest results possible, you can even chill this crust for about fifteen minutes before you spread the cherry filling over it. This just helps prevent too much shrinkage. You can definitely check out my thoughts on flaky, buttery pie crust recipe simple ways if you want to dive deeper into that buttery payoff!
Step-by-Step Instructions for Easy Cherry Pie Bars
Putting these cherry pie bars together is straightforward—we’re going for speed and maximum flavor here! Follow these steps closely, and you’ll have a baked masterpiece ready in under an hour of active time. Remember, the whole point is being doable, but a few key timing details make all the difference in getting that perfect shortbread texture.
Preparing the Pan and Mixing the Shortbread Dough
- First things first: get that oven humming! Preheat it to 350°F right away.
- You need a 9×13 inch pan. I insist on lining it with parchment paper, leaving a nice overhang on the sides—that’s your built-in handle for lifting these treats out later.
- In your big bowl, beat the softened butter, granulated sugar, and salt until they look creamy.
- Now, sneak in those eggs, one at a time, mixing well after each one joins the party. Stir in both extracts.
- Here’s where you need to watch it: slowly add the flour. Mix only until you see the last flour streaks disappear. Seriously, stop mixing right there to keep those results wonderfully tender. These are meant to be amazing Buttery Crust Bars, not hockey pucks!
Assembling and Baking Your Cherry Pie Bars
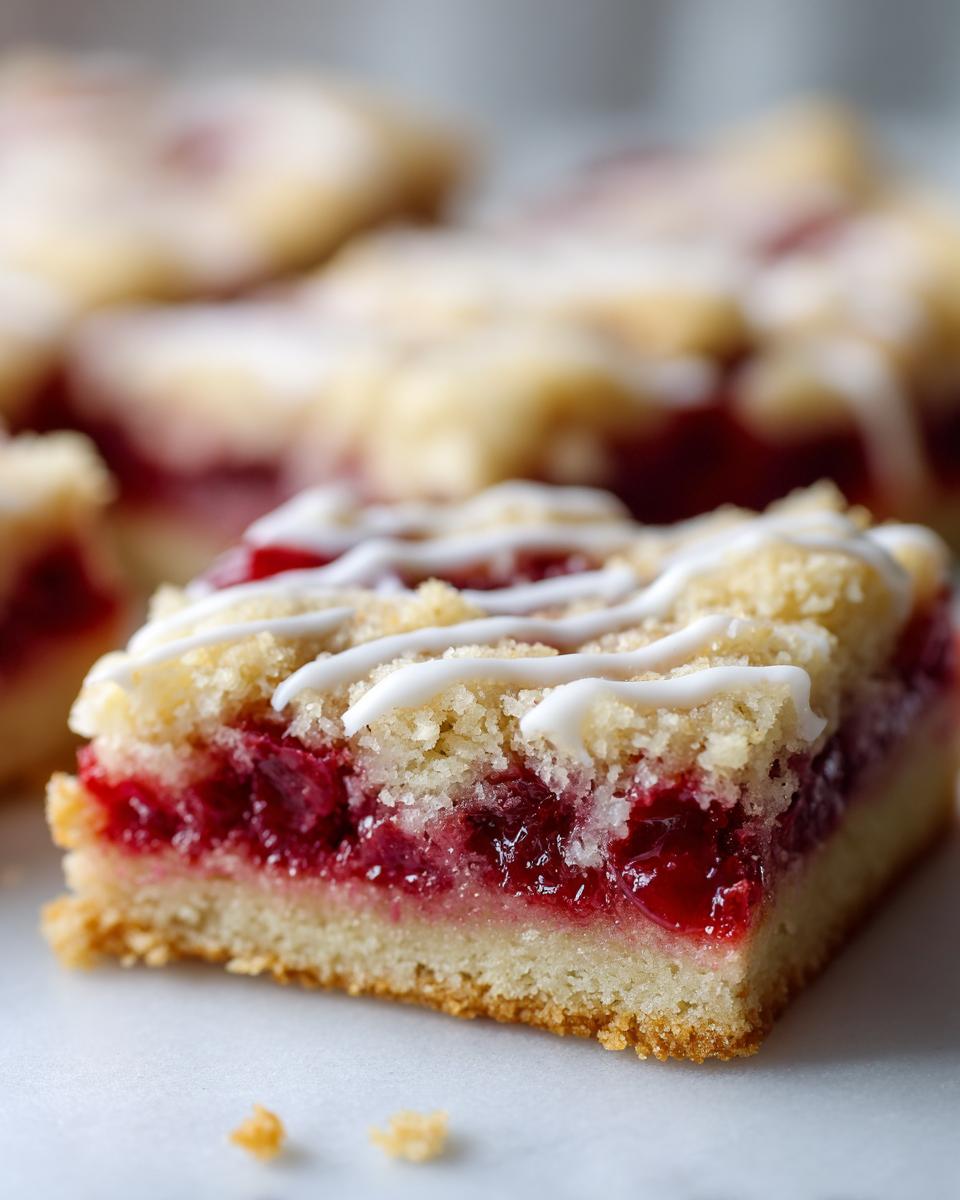
- Take about two-thirds of that shortbread dough you just made and press it firmly and evenly across the bottom of your prepared pan. This is your bottom crust!
- Open up that can of cherry pie filling—doesn’t that smell good already?—and just spoon the whole thing right over the crust. Spread it out so it covers everything evenly right up to the edges.
- Now, take the remaining one-third of your dough. Crumble it right over the top of that layer of cherry filling. Don’t press this top layer down; we want those delightful little peaks and valleys!
- Pop it into the preheated oven and bake for 35 to 40 minutes. You are looking for the top to be just lightly golden brown. If you want to try the Churro Cookies technique for inspiration, check out churro cookies recipe soft chewy for ideas on getting a perfectly textured topping, though the baking time here is shorter!
Making the Glaze and Finishing the Cherry Pie Bars
This is the grand finale, but you have to be patient! The biggest mistake people make is glazing while they are still warm.
- Cooling is non-negotiable! Let those bars chill completely in the pan after they come out of the oven. If you try to glaze them warm, the whole thing melts into a sticky puddle, which is just sad.
- To make the glaze, grab a small bowl and whisk the powdered sugar, extract, and a tiny splash of milk. Keep mixing and adding just a drop more milk at a time until you have a beautiful, thick yet pourable consistency.
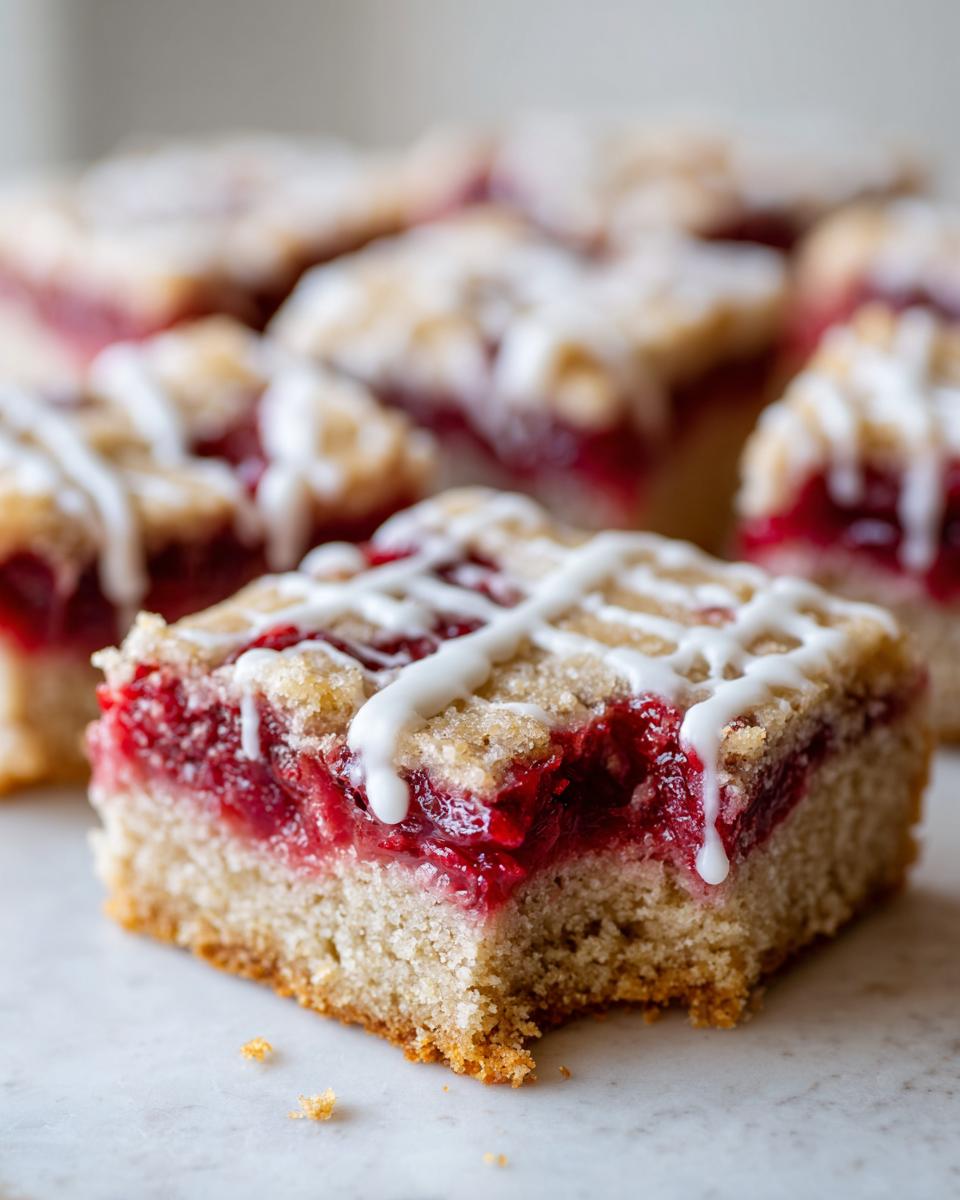
- Once the bars are stone cold, drizzle that shiny glaze all over the top.
- Wait again! You need to allow time for the glaze to set up—maybe 20 minutes or so. Once it’s firm to the touch, use those parchment paper handles to lift the whole slab out, and then cut them into perfect squares. You’re done!
Ingredient Notes and Substitution Ideas for Cherry Pie Bars
I know some purists might look at the ingredient list and see that can of cherry pie filling and gasp! But honestly, for cherry pie bars that need to come together fast, that filling is a gift. It saves you all that tedious pitting and cooking down of fruit. It’s what makes this recipe truly a Quick Cherry Dessert. If you’re looking to switch things up though, I highly recommend using almond extract in the glaze instead of vanilla sometimes—it pairs so magically with cherries. Or, you can try swapping out some of the flour for almond flour if you want a richer, nuttier crust, though you’ll need to check out my guide on easy pecan pie bars shortbread crust for exact ratios there!
Troubleshooting Common Issues with Cherry Pie Bars
Even the easiest recipes sometimes throw a little curveball, right? Don’t panic if your first batch of cherry pie bars doesn’t look exactly magazine-perfect. It happens to me all the time when I’m rushing! The key to fixing these treats is knowing exactly what went wrong in the first 40 minutes of baking prep.
If you find your bottom crust is too crumbly or just won’t stick together when you try to press it into the pan, nine times out of ten your butter wasn’t soft enough, or maybe you overworked the flour after the eggs went in. Try tossing the crumbles back into the bowl and mixing in just a *tiny* splash—like half a teaspoon—of ice water. Mix it gently, and it should regain just enough moisture to hold together when you press it down this time. Think of it as a little bit of kitchen first aid!
Now, let’s talk about that beautiful vanilla glaze. If it ends up looking too runny and just wants to soak right into the cool bars instead of sitting nicely on top, the fix is simple: add more powdered sugar, a tablespoon at a time, whisking thoroughly after each addition. If you accidentally went too far and it’s thick as paste and won’t drizzle? Just add a few drops of milk until you get that perfect, slow-moving ribbon consistency. Patience during the glaze stage is everything!
Storing and Serving Your Glazed Cherry Bars
Once you’ve mastered the glaze and cut these beauties, you need to know the best way to keep them fresh! Since these cherry pie bars have that jammy filling, stability is pretty good. I always store mine in an airtight container right on the counter, not in the fridge. Why? Because the cold tends to make that buttery crust just a little too hard, and we want to keep that tender texture we worked so hard for!
They stay perfectly fluffy and delicious at room temperature for about four days. This makes them fantastic for a Summer Cherry Dessert platter or if you bring them to an event early. They are truly designed for baking for a crowd because nobody cares about crumbs when they are snacking on these irresistible squares!
If, by some small miracle, you have any leftovers (which probably won’t happen!), you can layer them between sheets of wax paper inside a container. For a different kind of treat later on, they are also surprisingly good when paired with coffee, almost like a dense, fruity cookie. If you love cookie bars, you absolutely have to check out my guide on making maple brown sugar cookies recipe–it uses a similar sturdy base idea!
Frequently Asked Questions About Homemade Cherry Pie Bars
When baking these simple treats, people always have a few questions, especially those new to making cherry pie bars! I tried to cover all the bases in the main recipe, but here are some quick pointers to make sure your experience is flawless. Don’t stress if you need a little extra guidance; that’s why I’m here!
Can I use fresh or frozen cherries instead of canned filling?
This is a great question about using fresh fruit! While I love fresh cherries, they introduce way too much uncontrolled liquid into this specific recipe. If you want to use them, you absolutely must cook them down first with some sugar and cornstarch or tapioca until they are thick like jam. For this particular recipe, sticking to that canned cherry pie filling makes it the Simple Cherry Dessert that it’s famous for. If you wanted to try a from-scratch version, you’d probably want to check out the techniques in commercial recipes, maybe even look at some ideas over here.
Is the vanilla glaze mandatory for these Shortbread Cherry Bars?
Nope, it’s totally optional! The glaze adds a lovely sweet brightness and makes them look special for gatherings, but they are delicious without it. If you skip the glaze, you still have a fantastic Buttery Crust Bar. If you skip it, just dust the cooled bars lightly with powdered sugar instead. Either way, they’re wonderful!
What’s the secret to getting those perfectly clean cuts?
Clean cuts are all about temperature and patience, which is true for most cookie-style bars! First, let the bars cool completely—and I mean totally cold—before you even think about slicing them. Second, use a nice, sharp, large knife, but here’s the real trick: wipe the blade clean with a slightly damp, warm paper towel between every single cut. That little bit of heat helps glide right through the crust and the set glaze without dragging or smearing. This makes presentation so much better, especially if you’re prepping these for a big group!
How do I make sure these are good for Potluck Desserts?
These are champions for potlucks because they hold up so well! Because of the buttery crust and the baked-in filling, they don’t get soggy as fast as a cheesecake bar might. Just assemble them fully, let the glaze set hard, and transport them in the same 9×13 pan you baked them in. You can check out more ways to make impressive but simple dishes in my guide to Christmas cookie bars for other sturdy bar ideas!
Nutritional Estimates for Cherry Pie Bars
Now, I always want you to focus on the joy and flavor first, not just the numbers! But since we’re being thorough here, I’ve listed the estimated nutrition for one of these wonderful cherry pie bars below. Remember, because we are using standard ingredients, these figures are just guidance. If you use a different brand of filling or swap sugars, your final count will shift a little, but it gives you a general idea of what you’re enjoying in this sweet treat.
- Serving Size: 1 bar
- Calories: 320
- Sugar: 35g
- Sodium: 110mg
- Fat: 16g
- Carbohydrates: 44g
- Protein: 3g
Share Your Simple Cherry Dessert Experience
Well, that’s it! You now have the keys to making what I firmly believe is the best, most stress-free version of cherry pie bars out there. Seriously, this simple cherry dessert is just too good to keep quiet about.
I really hope you give this recipe a try next time you need a dependable make-ahead treat or just have a sudden craving for something sweet and fruity. Once you taste that buttery crust against the canned filling—don’t knock it till you try it!—you’ll see why it’s become a staple in my kitchen.
I am always so eager to hear what you think! Please take a moment to drop a rating below and let me know how your Glazed Cherry Bars turned out. Did you substitute anything? Do you have a secret tip for crisping up the top? Drop all your thoughts and memories in the comments section. It genuinely makes my day to hear from you folks! If you need anything else, or just want to send me a virtual high-five, you can always reach me over at the contact page!
Happy baking!
PrintEasy Cherry Pie Bars with Buttery Shortbread Crust
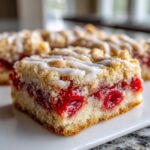
Make these simple cherry pie bars using canned filling for a quick, crowd-pleasing dessert with a buttery shortbread base and a sweet vanilla glaze.
- Prep Time: 20 min
- Cook Time: 40 min
- Total Time: 60 min
- Yield: 16 servings 1x
- Category: Dessert
- Method: Baking
- Cuisine: American
- Diet: Vegetarian
Ingredients
- 1 cup unsalted butter, softened
- 1 cup granulated sugar
- 1/4 teaspoon salt
- 2 large eggs
- 1 teaspoon vanilla extract
- 1/2 teaspoon almond extract
- 2 1/2 cups all-purpose flour
- 1 (21-ounce) can cherry pie filling
- 1 cup powdered sugar (for glaze)
- 1–2 tablespoons milk (for glaze)
- 1/2 teaspoon vanilla extract (for glaze)
Instructions
- Preheat your oven to 350°F. Line a 9×13 inch baking pan with parchment paper, leaving an overhang for easy removal.
- In a large bowl, beat the softened butter, granulated sugar, and salt until the mixture is creamy.
- Beat in the eggs one at a time, mixing well after each addition. Stir in the 1 teaspoon vanilla extract and 1/2 teaspoon almond extract.
- Gradually mix in the all-purpose flour until just combined. Do not overmix the dough.
- Press two-thirds of the dough mixture evenly into the bottom of the prepared pan to form the crust.
- Spread the entire can of cherry pie filling evenly over the crust layer.
- Crumble the remaining one-third of the dough mixture over the cherry filling.
- Bake for 35 to 40 minutes, or until the topping is lightly golden brown.
- Let the bars cool completely in the pan on a wire rack.
- Prepare the glaze: Whisk together the powdered sugar, milk, and 1/2 teaspoon vanilla extract until smooth. Add milk slowly until you reach a thick but pourable consistency.
- Drizzle the vanilla glaze over the cooled cherry pie bars.
- Once the glaze sets, lift the bars out of the pan using the parchment paper overhang and cut them into squares.
Notes
- Using canned cherry pie filling makes this a quick cherry dessert, perfect for potlucks.
- For a slightly different flavor, substitute the vanilla extract in the glaze with almond extract.
- These buttery crust bars transport well, making them a great option for baking for a crowd.
Nutrition
- Serving Size: 1 bar
- Calories: 320
- Sugar: 35
- Sodium: 110
- Fat: 16
- Saturated Fat: 9
- Unsaturated Fat: 7
- Trans Fat: 0
- Carbohydrates: 44
- Fiber: 1
- Protein: 3
- Cholesterol: 55