
Honestly, sometimes the best desserts are the ones that don’t require turning on the oven, right? When the craving hits hard and fast, you just don’t have time to wait for preheating and cooling. That’s exactly why I champion recipes like these delicious dessert recipes that minimize the fuss! My goal here at Completely Yummy is to show you that deeply satisfying food—the kind that tastes like you slaved away—can happen in minutes. And these avalanche cookies? They nail that philosophy perfectly. They are the ultimate sweet fix: no-bake, ridiculously fast, and they use ingredients you probably already have hiding in the pantry. Forget complicated steps; these buttery, crunchy clusters are ready before you know it.
- Why You Will Make These Easy Avalanche Cookies Again and Again
- Gathering Your Ingredients for No Bake Avalanche Cookies
- Expert Tips for Perfect White Chocolate Peanut Butter Cookies
- Step-by-Step Instructions for Quick Avalanche Cookies Recipe
- Variations on Classic Avalanche Cookies
- Storage and Make-Ahead Tips for Your Homemade Candy Clusters
- Frequently Asked Questions About No Bake Avalanche Cookies
- Estimated Nutritional Data for Avalanche Cookies
- Share Your Easy Avalanche Cookies Creations
Why You Will Make These Easy Avalanche Cookies Again and Again
Look, I get it. Sometimes you need dessert *now*, not in an hour. These No Bake Avalanche Cookies are the answer to that urgent sweet tooth. When I need a batch ready for gifting or just for evening snacking, these are my go-to because they simply can’t fail.
- The Ultimate Quick Avalanche Cookies Recipe: Seriously, the total time is under 40 minutes from start to finish, and that usually includes drying time! No oven required means zero preheating stress.
- Simple Ingredients for Perfect Avalanche Cookies: You only need four core things—white chocolate, peanut butter, marshmallows, and cereal. That’s it! They are the definition of 4 Ingredient Avalanche Cookies done right.
Gathering Your Ingredients for No Bake Avalanche Cookies
Okay, let’s talk about what you need to make these magic clusters. Because these are No Bake Avalanche Cookies, the quality of your base ingredients really shines through. Remember, success here relies on having good, smooth chocolate and creamy peanut butter. I always grab my favorite peanut butter—the creamy kind, not the natural separation kind—because we need that smooth binder!
If you want to make my family’s favorite version of the soft, chewy peanut butter treats, I highly recommend sticking to what works. These few items are what make these the best White Chocolate Peanut Butter Cookies!
Ingredient List for Classic Avalanche Cookies
- 12 ounces white chocolate chips
- 1 cup creamy peanut butter
- 6 cups crispy rice cereal
- 3 cups mini marshmallows
Expert Tips for Perfect White Chocolate Peanut Butter Cookies
Since these avalanche cookies involve zero baking, the magic really happens right in the melting stage. This is where most people run into trouble, but trust me, once you know the secret, you’ll never have seized or lumpy chocolate again! It’s all about controlling that heat, which is key to getting that smooth base for our yummy flavor.
We are aiming for a perfect pool of melted bliss before we add the crunch. If you want to see how I tackle another melt-and-mix recipe, check out my thoughts on making easy white chocolate fudge—the melting technique is super similar!
Melting Chocolate: The Key to Smooth Avalanche Cookies
If you’re using the microwave, be patient! Those 30-second bursts are your friend. Always stir it well between those bursts, even if it looks like it’s still mostly chips. The residual heat will keep melting it while you stir. If you don’t trust the microwave, just use a double boiler. Heat a bowl of water on the stove and set your chocolate chips right over it—low and slow heat stops the chocolate from shocking, which is what makes it go gritty. Don’t add any water, though, or you’ll be in trouble!
Achieving the Right Texture in Your Peanut Butter Cereal Bars
Once your peanut butter is mixed in, everything gets heavy quickly! When you add the cereal and marshmallows, use a spatula, not a spoon, and gently fold. I mean gently. You don’t want powder! We are aiming for a delicate coating, not crushing those Rice Krispies into dust or breaking up all the mini marshmallows. Stop folding the second everything looks coated evenly. That slight warmth holding it all together is exactly what you need before spooning them out to set.
Step-by-Step Instructions for Quick Avalanche Cookies Recipe
I know you’re eager to get these mixed, so let’s jump right in! Since these are a No Oven Dessert, the process is super streamlined. I promise, if you follow these steps exactly, you’ll have perfect, beautiful mounds ready for setting in no time at all. This is one of my favorite dessert truffles recipes because the cleanup is almost non-existent!
Preparing Your Surface and Melting the Base
First things first, line a baking sheet with parchment paper. It keeps cleanup a breeze, and trust me, when things are sticky, you want that buffer! Next, tackle the chocolate. Place your white chocolate chips in a large bowl—make sure it’s big enough for stirring later! Microwave them in short bursts, about 30 seconds at a time, stirring completely in between each burst until it’s smooth as silk. If you want another guide on stovetop melting, you can check out how I handle melted chocolate over at Kitchen Fun With My 3 Sons, but the microwave is usually faster for this job.
Combining Wet and Dry Components for Avalanche Cookies
As soon as that chocolate is glossy smooth, stir in that full cup of creamy peanut butter until everything is one cohesive, gorgeous mixture. Now, here’s the critical part for texture: add in your 6 cups of crispy rice cereal and the 3 cups of mini marshmallows. You absolutely must fold gently here! You want a light coat, not a mushy mess, so use a big spatula and just tuck everything together until you see no more dry spots. That’s it for mixing!
Shaping and Setting the No Bake Avalanche Cookies
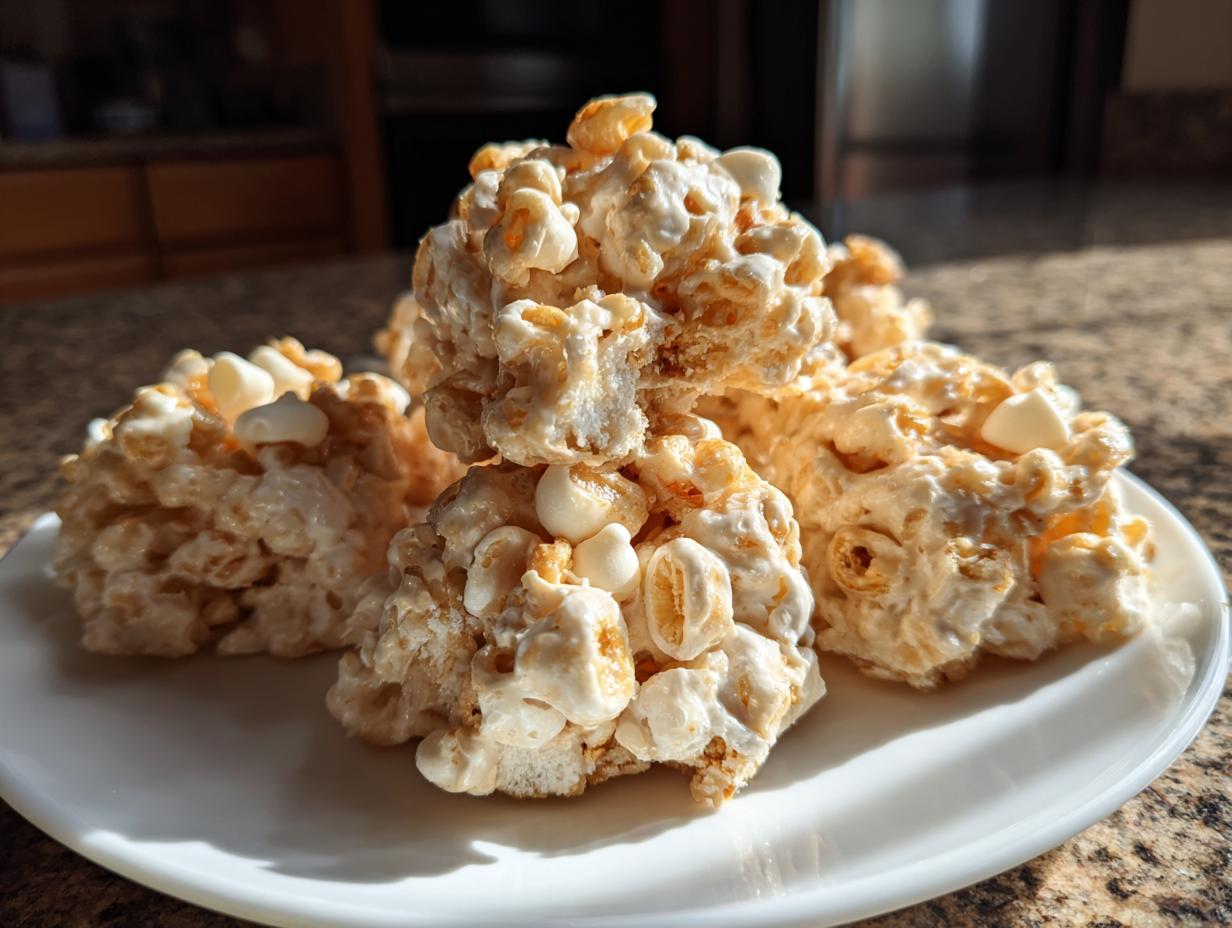
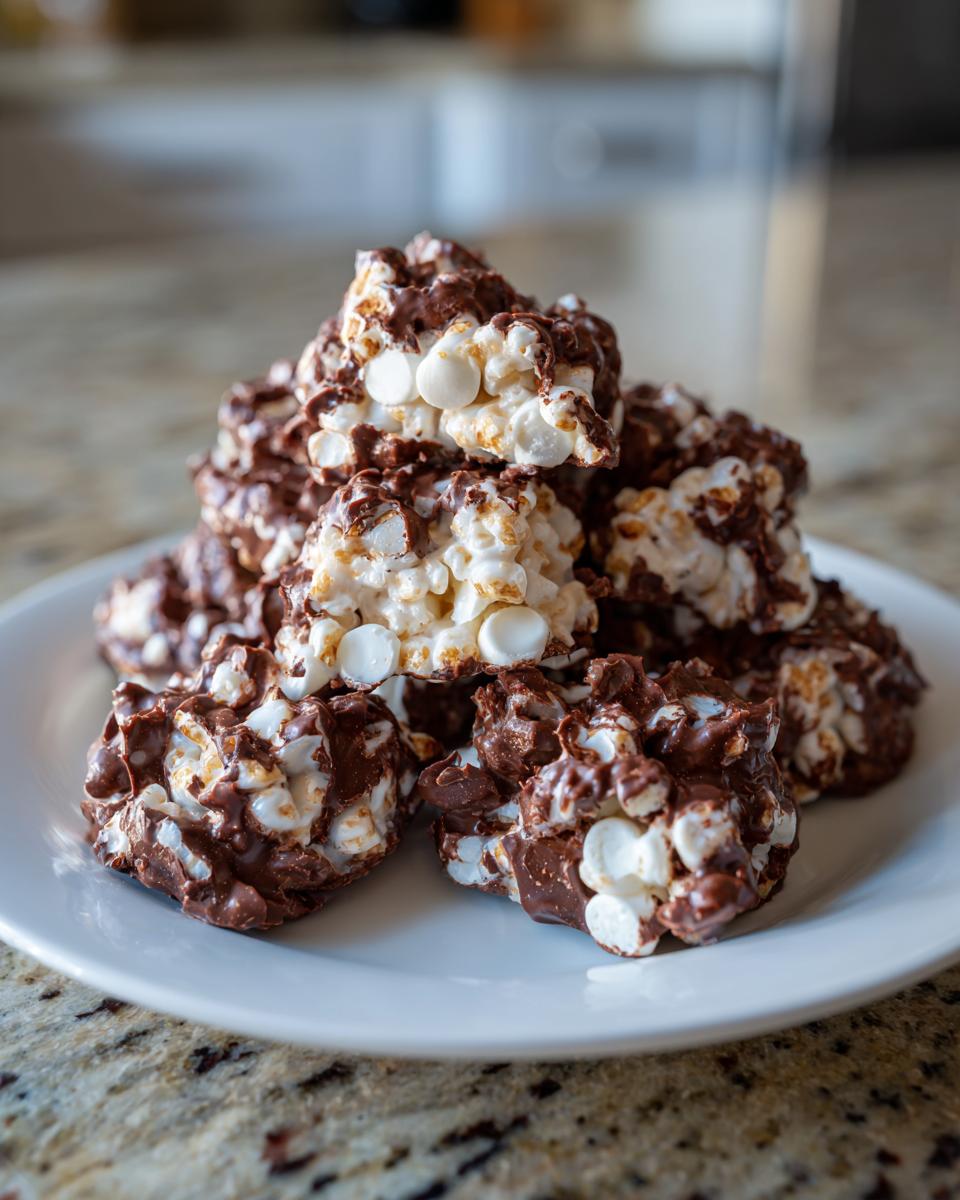
Time to turn this mixture into actual avalanche cookies! Drop rounded spoonfuls of the mixture onto that prepared sheet. They look messy and mounded, which is part of their charm—they look like they’ve been hit by a cute little candy avalanche! You have two options to set them: you can leave them at room temperature for about 30 minutes to firm up, or, if you’re impatient like me, pop them in the fridge for just 15 minutes until they are totally firm. They really don’t take long at all to be ready to eat!
Variations on Classic Avalanche Cookies
You know I love sticking to the original, classic recipe, but sometimes you just need a little switch-up, especially if you’re trying to fill up a huge holiday cookie tray! These avalanche cookies are so forgiving, which is why they are such a favorite potluck dessert because everyone likes a different spin. You can easily pivot this recipe, and I’ve got a couple of my favorite tweaks right here that keep the ease factor high.
If you’re looking for something a little different for your next batch, why not check out my recipe for red velvet cake mix cookies? They are a completely different world, but they have that same satisfying, simple mix-and-drop quality!
Making Chocolate Avalanche Cookies Variation
The easiest swap you can make is switching up that binding agent. My notes suggest substituting half of the white chocolate chips with milk chocolate or semi-sweet chocolate chips, and wow, does that change the flavor! It gives you that deep cocoa kick that readers over at Dang That’s Sweet rave about. Just melt it all together the same way you would the white chocolate, but the fudgier flavor really takes these over the top.
Adding Crunch: Pretzels and Nuts to Avalanche Cookies
If you want a little saltiness to cut through all that sweetness, this is my favorite trick! Right along with your crispy rice cereal and marshmallows, toss in a cup of chopped pretzels or your favorite toasted nuts. I usually go for walnuts or pecans, but salted pretzels add that really addictive salty/sweet balance. It basically turns them into amazing Peanut Butter Cereal Bars with an extra pop of texture!
Storage and Make-Ahead Tips for Your Homemade Candy Clusters
One of the best things about these avalanche cookies is that they are fantastic make-ahead treats! Since they don’t rely on any fresh eggs or delicate buttercreams, they hold up beautifully. I always make huge batches ahead of time when the holidays roll around because they are such fantastic cookie box filler recipes that everyone loves.
The main thing is keeping them cool and dry. Just pop the finished, set clusters into a sturdy, airtight container. You can layer them between sheets of wax paper to keep them from sticking together, especially if they are sitting for a week or two. They stay perfectly chewy and crunchy at cool room temperature for about a week, maybe longer if your kitchen isn’t too warm!
Frequently Asked Questions About No Bake Avalanche Cookies
I always get questions when people try these for the first time, which is great because it means everyone wants to make sure their Easy Avalanche Cookies turn out perfectly! Since these are a staple for me, especially when I need a quick quick, healthy breakfast replacement disguised as a treat, I’ve got the answers ready. These are just so fast!
Can I use crunchy peanut butter in these avalanche cookies?
You absolutely can! If you love texture, like I do, using crunchy peanut butter instead of creamy will just boost that factor even more. It gives you extra little peanut pieces mixed in with the cereal crunch. The only thing to watch for is that sometimes crunchy can make the mixture a tiny bit stiffer, so make sure you stir it really well when you combine it with the melted chocolate.
What is the best way to store leftover avalanche cookies?
Since these rely on melted chocolate to hold them together, storage is important! Keep them in a single layer or separated by wax paper in an airtight container. You can keep them on the counter, but if your kitchen runs warm, the fridge is better, especially during summer. They’ll still be delicious Marshmallow Cereal Treats even a week later!
Why are my white chocolate peanut butter cookies too soft?
This usually happens for one of two reasons. First, maybe you didn’t let them set long enough! If you skip the fridge time, they might seem soft 30 minutes later. Pop them in the fridge for 10 minutes—that usually firms them up nicely. Second, if you used a lower quality white almond bark or chopped white chocolate bars instead of chips, they sometimes don’t set as hard. Stick to good quality chips for the best results!
Estimated Nutritional Data for Avalanche Cookies
Because these avalanche cookies are mostly just chocolate, peanut butter, and cereal, they really are decadent treats! The exact counts can shift depending on the brand of chips or peanut butter you use, so please remember this is a best-guess estimate based on standard pantry options. We’re focusing on the yum factor here, not dieting, but it’s good to know what you’re working with!
- Serving Size: 1 cookie
- Calories: 210
- Sugar: 18g
- Sodium: 120mg
- Fat: 12g
- Saturated Fat: 6g
- Unsaturated Fat: 6g
- Trans Fat: 0g
- Carbohydrates: 25g
- Fiber: 1g
- Protein: 4g
- Cholesterol: 5mg
This information is an estimate calculated using standard ingredient averages and should be used as a rough guide only.
Share Your Easy Avalanche Cookies Creations
Now that you’ve made a batch of these unbelievably easy avalanche cookies, I truly want to see them! Did you add pretzels, or did you stick to the classic recipe? Drop a comment below and let me know how they turned out, or give the recipe a quick rating so others know just how ridiculously delicious these No Bake Avalanche Cookies are. If you snapped a picture, feel free to tag me over on social media—I absolutely love seeing what you’re whipping up in your kitchens! If you need to reach out to me directly, you can always use the contact page!
PrintEasy No-Bake Avalanche Cookies: Quick White Chocolate Peanut Butter Treats
Make these irresistible No-Bake Avalanche Cookies in minutes. This quick recipe combines creamy peanut butter, white chocolate, crispy cereal, and marshmallows for a satisfying, crunchy treat perfect for gifting or snacking.
- Prep Time: 10 min
- Cook Time: 0 min
- Total Time: 40 min
- Yield: About 24 cookies 1x
- Category: Dessert
- Method: No-Bake
- Cuisine: American
- Diet: Vegetarian
Ingredients
- 12 ounces white chocolate chips
- 1 cup creamy peanut butter
- 6 cups crispy rice cereal
- 3 cups mini marshmallows
Instructions
- Line a baking sheet with parchment paper.
- Place the white chocolate chips in a large, microwave-safe bowl. Microwave in 30-second intervals, stirring well after each, until the chocolate is completely melted and smooth.
- Stir the peanut butter into the melted white chocolate until fully combined.
- Add the crispy rice cereal and mini marshmallows to the chocolate mixture. Fold gently until all the dry ingredients are evenly coated.
- Drop rounded tablespoons of the mixture onto the prepared baking sheet. You can shape them into rough mounds or drop them as clusters.
- Let the cookies set at room temperature for about 30 minutes, or place them in the refrigerator for 15 minutes until firm.
- Store the finished avalanche cookies in an airtight container.
Notes
- For a richer flavor, substitute half the white chocolate chips with milk chocolate chips or semi-sweet chocolate chips.
- If you prefer a slightly firmer texture, add 1 cup of chopped pretzels or nuts along with the cereal.
- If you do not have a microwave, melt the chocolate using a double boiler method on the stovetop.
- These are excellent for cookie box filler recipes during the holidays.
Nutrition
- Serving Size: 1 cookie
- Calories: 210
- Sugar: 18g
- Sodium: 120mg
- Fat: 12g
- Saturated Fat: 6g
- Unsaturated Fat: 6g
- Trans Fat: 0g
- Carbohydrates: 25g
- Fiber: 1g
- Protein: 4g
- Cholesterol: 5mg