
There is just something soul-satisfying about that first bite of homemade breakfast bread, isn’t there? Forget the bland, uniform discs you find in the grocery store. I’m talking about the real deal: sourdough english muffins that boast those glorious, uneven holes—the signature nooks and crannies that perfectly catch melted butter. When I started Completely Yummy, my goal was simple: bring back the joy of real home cooking without demanding all my time. That’s why this recipe is such a lifesaver. By using an overnight fermentation, we build amazing flavor and texture while you sleep. You wake up, and the hard work is already done! It makes achieving soft, fluffy stovetop muffins incredibly doable, even on a hectic morning.
- Why You Will Love These Sourdough English Muffins
- Essential Ingredients for Tangy Sourdough Muffins
- Equipment Needed for Your Craggy English Muffins Recipe
- How to Prepare Sourdough English Muffins: Step-by-Step
- Tips for Perfect Sourdough English Muffins Texture
- Serving Suggestions for Your Artisan Breakfast Breads
- Storage and Make-Ahead Tips for Sourdough Baking for Breakfast
- Frequently Asked Questions About Sourdough English Muffins
- Estimated Nutritional Data for These Fermented English Muffins
- Share Your Homemade Nooks and Crannies Muffins
Why You Will Love These Sourdough English Muffins
I’ve tested dozens of breakfast breads, but these keep winning out every time. I know your mornings are busy, so I focused on making the process smooth while maximizing that amazing payoff in texture and flavor. Trust me, these are worth the minimal effort! If you love big flavor in your breakfast, check out my tips for fluffy pancakes recipe secrets too.
-
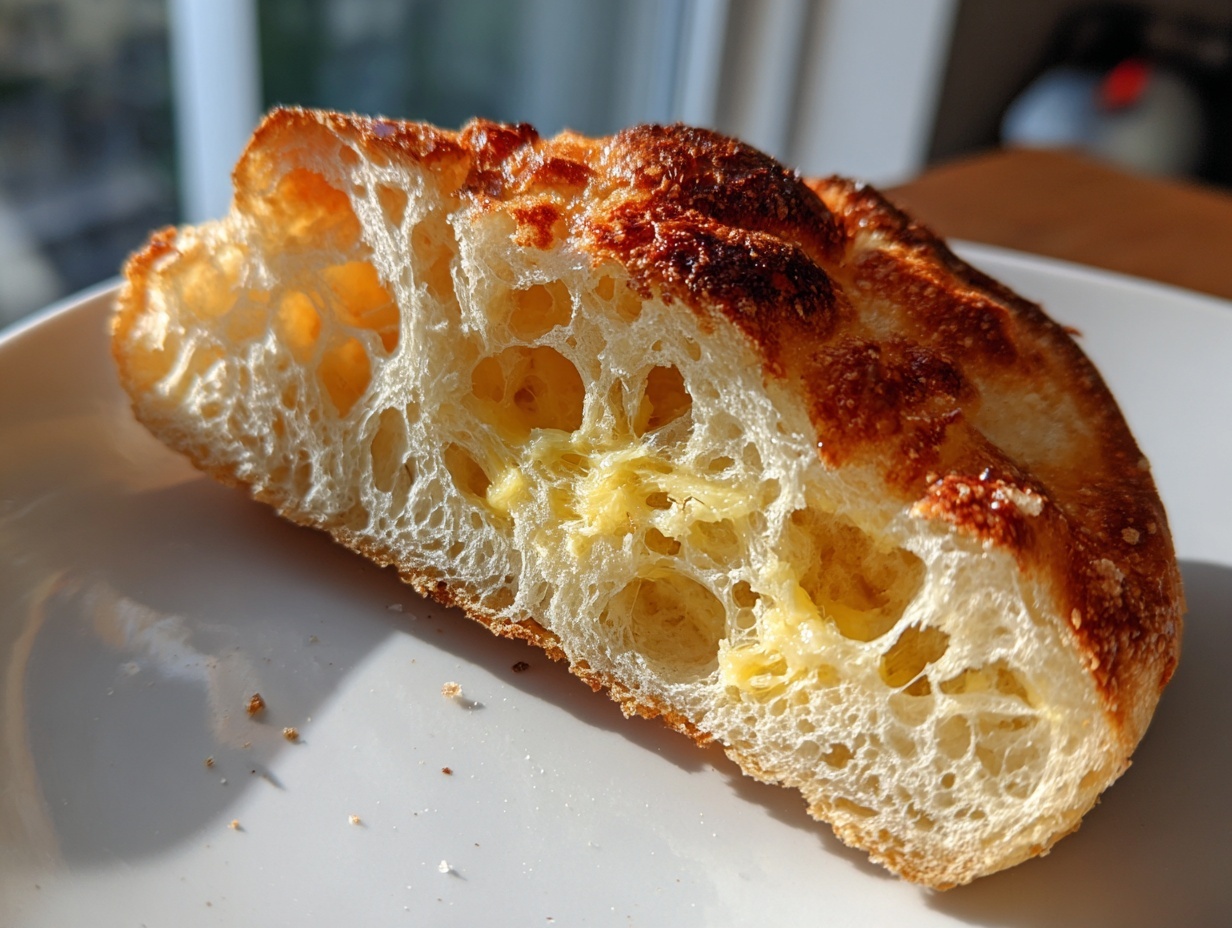
Perfect Texture: Homemade Nooks and Crannies Muffins
This is the texture you dream about! That signature craggy surface is perfect for trapping pools of melted butter or jam. Plus, the natural fermentation gives these tangy sourdough muffins a depth of flavor that plain yeast ones just can’t reach. It’s sourdough baking for breakfast perfection!
-
Easy Overnight English Muffin Recipe
This is about efficiency, friends. You mix up the **fermented English muffins** dough, let it rest overnight in the fridge, and the next morning, you just roll and cook! It feels like cheating, but it just lets that slow flavor develop while you sleep. So easy the next morning!
-
Uses Sourdough Discard English Muffins
My favorite part? You can absolutely use your active starter or your tired, hungry discard! This recipe provides a beautiful, practical way to use up what you might otherwise throw away. It’s zero-waste baking at its finest, creating something truly spectacular from leftovers.
Essential Ingredients for Tangy Sourdough Muffins
When we talk about making something truly special, especially **artisan breakfast breads**, the ingredients are non-negotiable. For these **sourdough english muffins**, we aren’t relying on commercial yeast here; we are putting all our faith in our mature starter and a few simple pantry staples. You need to give your starter what it needs to shine, which means paying attention to the temperature of your milk. Too cold and your rise will be sluggish, too hot and you’ll steam the poor little yeasties! Quality flour really does matter here for that structure, so grab your best all-purpose flour for the fluffiest result.
Ingredient List for Sourdough English Muffins
- 1 cup active sourdough starter or discard (Make sure it’s ready to go!)
- 1 cup warm milk (Warm to the touch, not hot—think bathwater temperature.)
- 3 cups all-purpose flour (The backbone of these thick griddle muffins!)
- 1 teaspoon salt
- 1 teaspoon baking soda
- 2 tablespoons melted butter, plus more for the griddle (Don’t skimp on the griddle butter for browning!)
Equipment Needed for Your Craggy English Muffins Recipe
Okay, let’s talk tools! You don’t need every fancy gadget under the sun for these beauties, but there are a few items that really make the difference when you’re aiming for that classic, rustic texture in your **craggy English muffins recipe**. If you don’t have the precise things, don’t panic—I’ll offer you an easy swap, because that’s what we do here!
First off, the star of the show for cooking: you absolutely need a heavy pan. I love my cast iron griddle for this; it distributes the heat so evenly, which is key for that low-and-slow cook. If you don’t have one, don’t stress! A heavy, non-stick skillet will work in a pinch, provided you keep the heat really low.
You’ll also need a standard 3-inch round cutter. If you don’t own one, just grab the rim of a sturdy drinking glass that size. Make sure it’s clean, and dip it in flour before cutting! Lastly, you’ll definitely want some parchment paper to line your trays when resting the uncut rounds—this prevents sticking and makes cleanup way easier later on.
How to Prepare Sourdough English Muffins: Step-by-Step
This process is where the magic happens—and honestly, it’s so much easier than working with yeasted doughs. We’re aiming for that perfect internal structure, that web of holes that catches the butter. If you want to see how I handle other doughs, especially when I avoid commercial yeast, you should check out my no-knead Dutch oven bread tutorial for comparison!
Mixing and Kneading the Dough
First things first, get your starter and warm milk together in a big bowl. Just stir them up until they look friendly. Then, add your flour, salt, and baking soda right on top. Mix it gently until everything is just incorporated. You absolutely do not want to mix this much! It should look messy and shaggy—that’s exactly what we want at this stage. Next, turn that shaggy mess out onto your counter and start kneading. You’ll knead for a good solid 5 minutes until the dough smooths out and feels elastic. Wait until that last minute of kneading to drizzle in the melted butter. It feels weird adding fat last, but trust me on this one—it helps keep the final texture light!
Fermentation Options for Your Overnight English Muffin Recipe
Now you have a choice! You can let the dough hang out at room temperature for about 2 hours if you’re in a rush today. But if you want the best flavor, pop that oiled bowl into the fridge for a long, slow cold ferment. I usually let mine go for 12 to 18 hours. That long rest is what really lets the sourdough start working its flavor magic, giving you those wonderfully tangy sourdough muffins without any extra commercial yeast fuss. It’s the best way to prepare for an easy morning cook!
Cutting and Resting the Rounds
When you’re ready to cook, lightly flour your counter—don’t go too crazy! Roll the dough out until it’s about half an inch thick. Use a 3-inch cutter to punch out your rounds. If you’re using a glass rim, make sure you flour it well first! Gather up all those scraps, gently knead them back into a small ball, and cut out a few more rounds. Don’t overwork those scraps, though! Place your cut shapes on baking sheets lined with parchment paper, cover them loosely so they don’t dry out, and let them rest for just 30 minutes before hitting the heat.
Griddle Cooking for Soft Fluffy Stovetop Muffins
This is the secret sauce for those famous openings! Heat up your cast iron griddle or heavy skillet over **medium-low heat**. Seriously, medium-low. If it’s too hot, the outsides burn before the insides cook, leaving you with a dense rock. Cook them for a good 8 to 12 minutes on the first side until they are nicely golden brown. And here is the golden rule: **DO NOT PRESS THEM DOWN** with your spatula. Resist the urge! Pressing them seals up all those beautiful air pockets right when they’re trying to expand. Flip them carefully, cook the second side for another 8 to 12 minutes, and that’s it! For more tips on getting that perfect non-baked texture, check out what my friends are doing over at Ginger Home Making.

Tips for Perfect Sourdough English Muffins Texture
We’ve nailed the dough, and we’ve cooked them low and slow—that’s 90% of the battle won! But if you want to take these homemade nooks and crannies muffins from great to legendary, there are two final little bits of wisdom I picked up. These tips are all about preserving that airy, craggy internal structure we worked so hard to develop during fermentation and cooking. If you’re looking for other quick breakfast ideas, I have a lovely whipped ricotta dip that would be amazing smeared on the side!
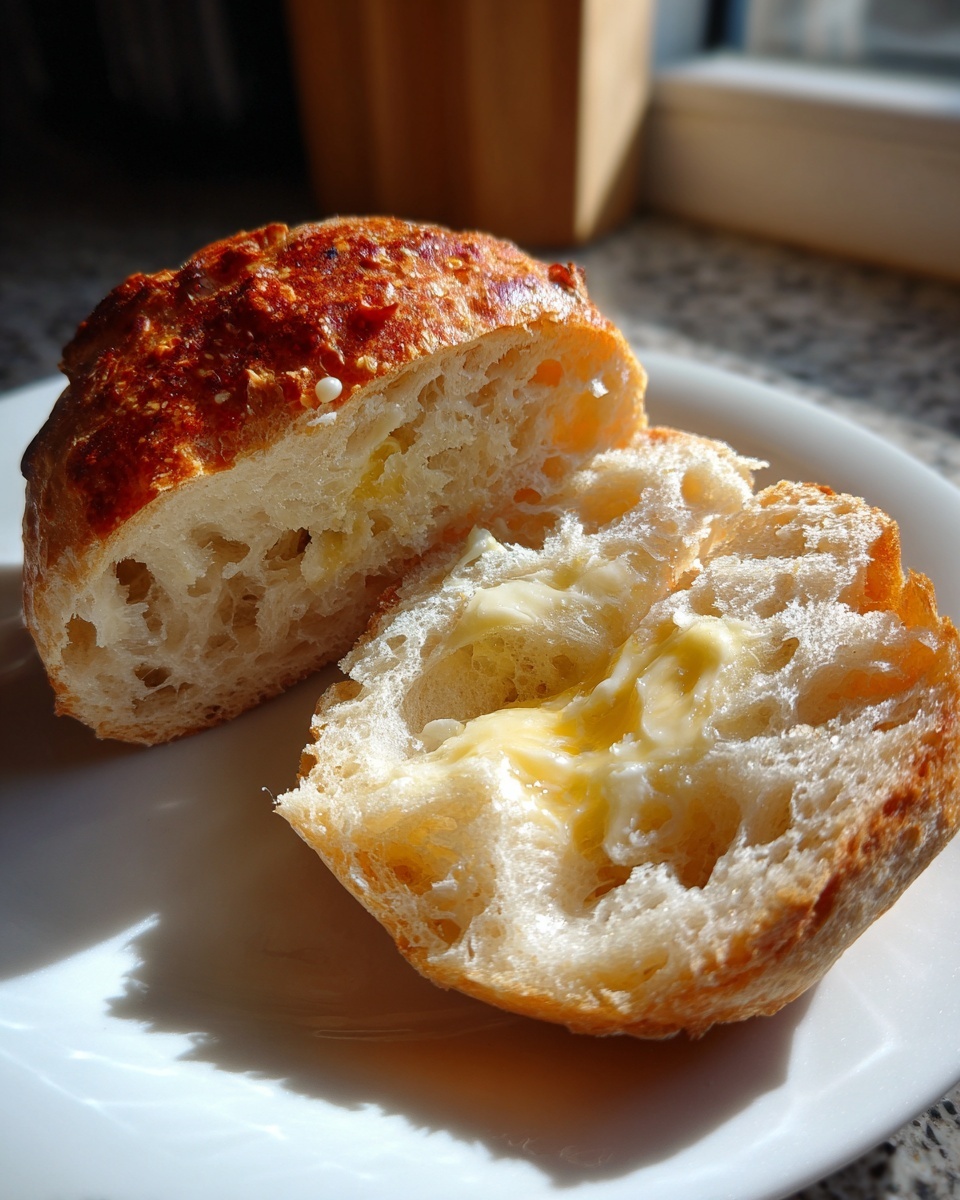
The Fork Trick for Homemade Nooks and Crannies Muffins
Okay, listen closely to the most important serving lesson I can teach you. Once these thick griddle muffins are totally cool, you must split them using a **fork**, not a knife. A knife hacks through those beautiful inner layers, crushing the delicate tunnels and leaving you with a smooth, flat surface. That’s the opposite of what we want!
When you use a fork to gently prick and pull the muffin apart, you separate the layers along their natural seams. This action creates that signature, ragged, open surface that looks like a sponge craving butter. Seriously, don’t skip this; it makes all the difference in how the muffin toasts and holds toppings. It might feel a little awkward the first time, but you’ll see the reward immediately.
Temperature Control: Griddle Muffins Success
I know I harp on this, but it bears repeating, especially for those of you who are new to sourdough baking for breakfast. If your griddle is too hot—even just slightly over the medium-low mark—the outside browns way too fast. You get a beautiful color, sure, but the center stays dense and doughy. You end up with a beautiful pancake, not a fluffy English muffin with the perfect interior structure.
If you find your muffins are browning in under 6 minutes on the first side, your heat is too high, period. Pull the pan off the burner for a minute, let it cool slightly, and try again. Remember, these are thick! They need time for the residual heat to cook through slowly and evenly. For a deeper dive on slow-cooking, my friends over at Lock Rem Homestead talk a lot about the importance of slow stovetop cooking for flavor development, which applies right here too—check out their overnight English muffin recipe notes!
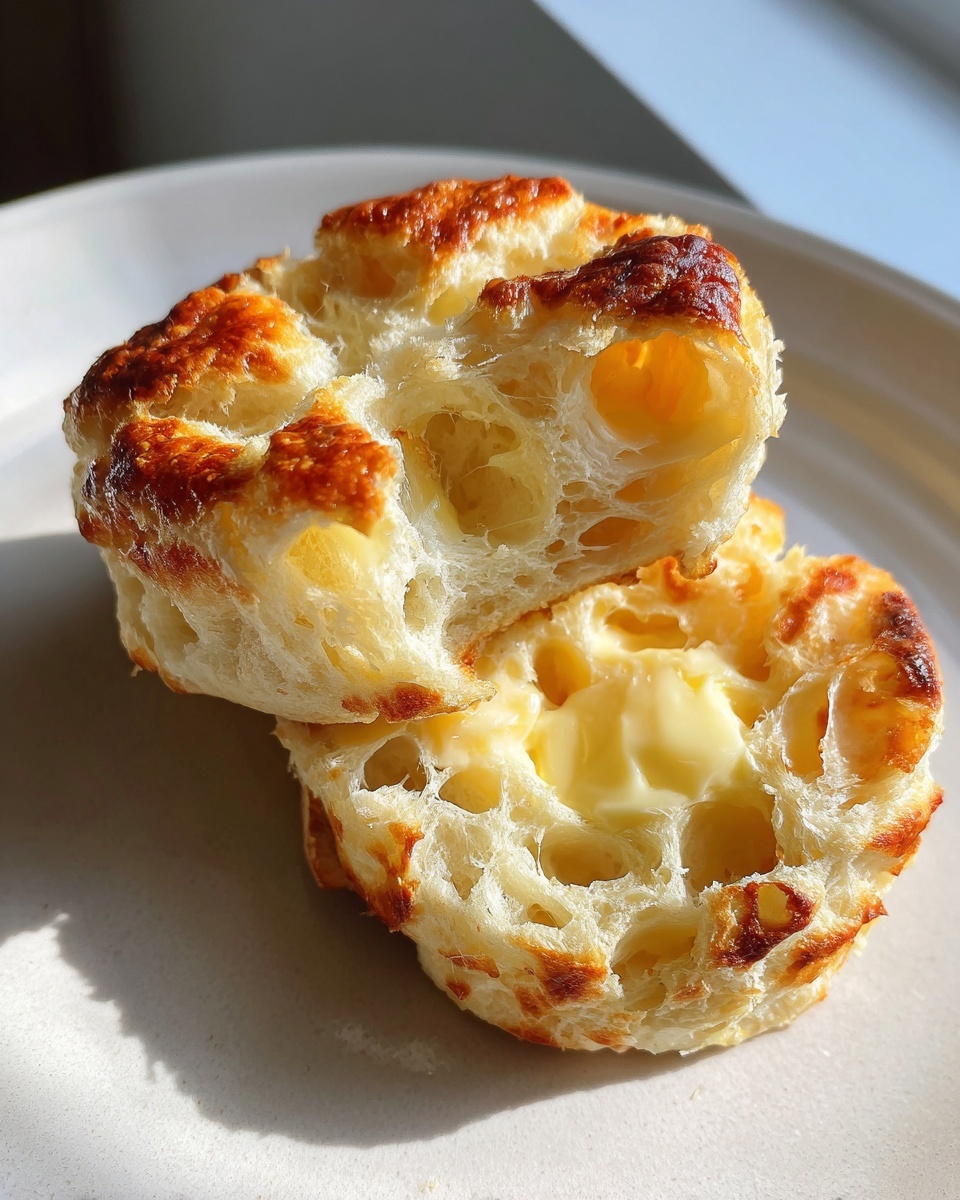
Serving Suggestions for Your Artisan Breakfast Breads
Toasting these is wonderful, of course, especially since the nooks are just begging for butter! But don’t stop there—these savory little rounds are surprisingly versatile. They make the absolute best base for a quick, comforting breakfast sandwich. Think sharp cheddar, a fried egg, maybe a slice of thick-cut bacon!
Because they have that lovely, mild sourdough tang, they hold up beautifully to strong flavors. I sometimes split them and top them with a little cream cheese and smoked salmon if I’m feeling fancy. Or, if you’re looking for a heavier brunch, you could smother one with my famous classic French toast batter and fry it up like a Monte Cristo! They are just so much better than a regular slice of bread.
Storage and Make-Ahead Tips for Sourdough Baking for Breakfast
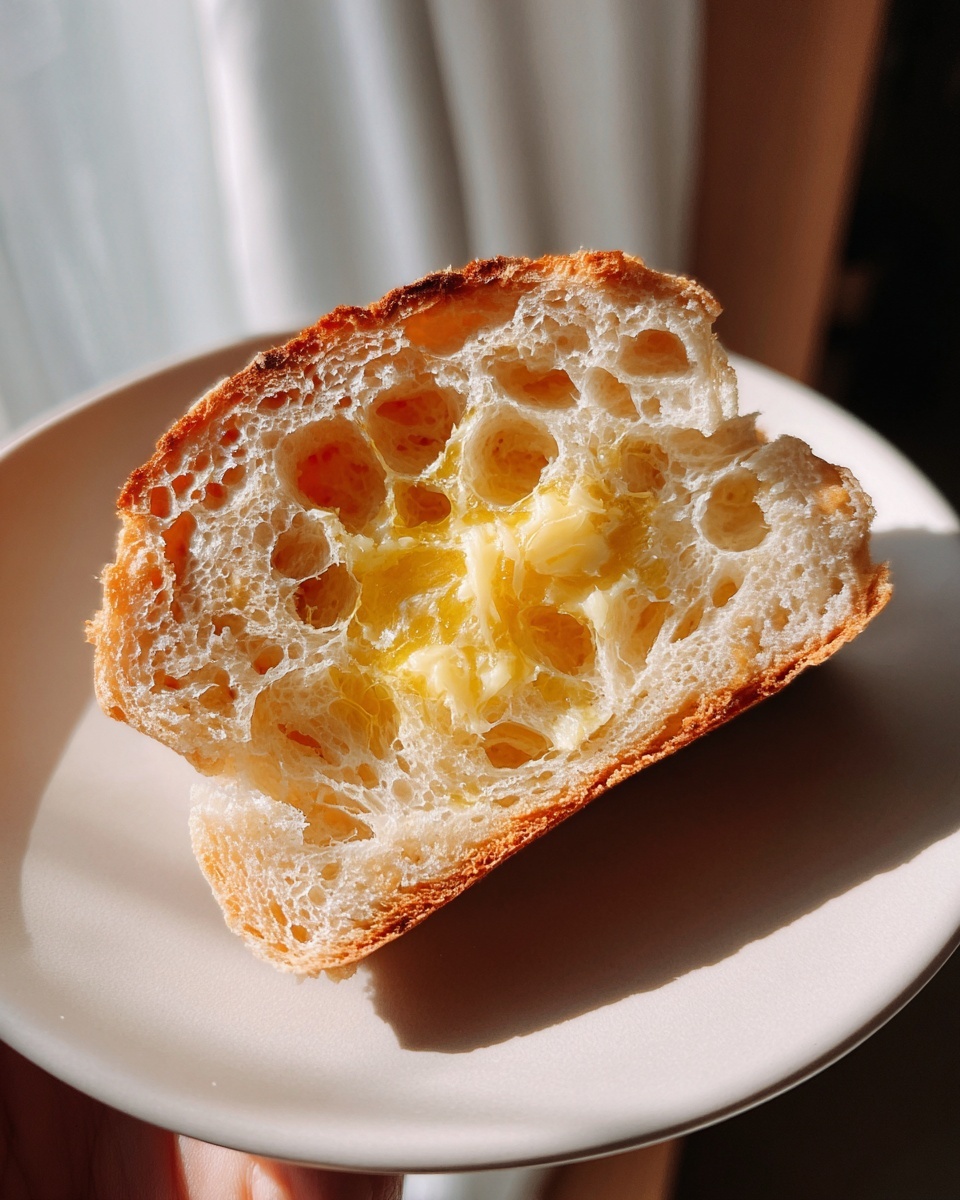
You know I love making things simple for your busy schedule! The best part about these sourdough english muffins is that they are fantastic make-ahead breakfast options. While they are heavenly right off the griddle, spreading butter on a lukewarm one is actually a sin—they need to be fully cooled first for the best texture, especially for that signature craggy surface.
Once they are completely cool—and I mean totally cool to the touch, not even a hint of warmth—you can store them in an airtight container at room temperature for about two days. They hold up surprisingly well! If you think they’ll last longer than that, though, we need to talk freezing. Trust me, freezing these beauties is key to having **easy homemade English muffins** ready whenever a craving hits.
Here’s my go-to method: Cool them completely on a wire rack. Then, try to avoid stacking them directly on top of each other if you can, but if you must, put down a small square of parchment paper between each one—it keeps them from sticking together! Pop the stack into your heavy-duty freezer bag. I usually toss in a few bags of my easy sugar cookie truffles in there for emergencies, too, just in case!
These freeze beautifully for up to three months. The absolute best way to reheat them is to toast them straight from frozen in a toaster or toaster oven until they are perfectly crisp on the outside. You get that crunch, and the inside steams just enough! You won’t believe they were frozen. If you want even more ideas for easy morning cooking, check out this fantastic homemade sourdough English muffins recipe for serving inspiration!
Frequently Asked Questions About Sourdough English Muffins
I know that when you’re diving into sourdough baking, you always end up with little questions popping up right when you need an answer fast. Don’t worry, that’s totally normal! I’ve gathered the questions I get asked most often about these sourdough discard English muffins so you can bake confidently. If you need something extra delicious to dunk into your muffin halves, try dipping them into a bowl of my whipped ricotta dip!
Can I use unfed sourdough discard in this recipe?
You absolutely can! As long as your discard is fresh—meaning it hasn’t sat in the fridge for three weeks turning into a brick—it works perfectly well. We are using the starter here mostly for flavor and a little lift, but the baking soda and the long rest do the heavy lifting. It’s a fantastic way to use up that starter!
Why are my sourdough english muffins flat and dense?
This almost always comes down to two things we talked about in the cooking section! Either your griddle heat was too high, which browned the outside quickly before the inside could puff up, or you pressed down on them with the spatula while they were cooking. If you press them, you are literally squishing out the air that creates those beautiful holes!
Do these sourdough english muffins require commercial yeast?
Not at all! That’s the beauty of using your starter for this no yeast English muffins recipe. The sourdough culture provides all of the necessary leavening, giving you that wonderful, classic, slow tang without ever reaching for that packet of commercial yeast. It’s all natural fermentation magic here!
Estimated Nutritional Data for These Fermented English Muffins
When we talk about making something truly delicious and wholesome, it’s only fair to know what goes into it, right? Especially when we’re making bread from scratch instead of grabbing something processed. I want to be super clear that these numbers are just my best estimate based on the recipe ingredients I’ve listed above. Think of it as a helpful guideline, not gospel, since flour brands and starter activity can change things slightly. But for these fermented English muffins, you’re getting satisfying fiber and protein, powered by that sourdough fermentation!
Here is the breakdown for one generous muffin slice:
- Serving Size: 1 muffin
- Calories: 180
- Fat: 4g
- Saturated Fat: 2g
- Carbohydrates: 32g
- Protein: 6g
- Fiber: 1g
- Sugar: 1g
- Sodium: 280mg
- Cholesterol: 10mg
Enjoying these Artisan Breakfast Breads knowing exactly what’s powering you up for the day feels so much better than just guessing! They are perfect fuel for a busy morning.
Share Your Homemade Nooks and Crannies Muffins
Now that you have baked, split, and toasted your own batches of these amazing sourdough english muffins, I really, really want to hear about them! Seeing my recipes come to life in your kitchens is truly why I do all of this. Remember my whole philosophy? It’s about making the complicated doable, and pulling off these perfect, craggy muffins is proof that you absolutely can create seriously good food any day of the week.
If you loved how straightforward this overnight English muffin recipe was, and how perfectly those nooks caught the butter, please leave a rating! Five stars helps other busy cooks like us find this reliable recipe easily. It means the world to me!
Snap a photo of your breakfast setup—are you making a killer breakfast sandwich or just slathering them with jam? Tag me on social media so I can cheer you on! If you have any final-minute questions that I might not have covered, please don’t hesitate to reach out through my contact page. Let’s keep sharing the joy of simple, delicious, homemade cooking together!
PrintThe Best Sourdough English Muffins with Perfect Nooks and Crannies

Make soft, fluffy sourdough English muffins using your active starter or discard. This overnight recipe produces classic craggy texture ideal for toasting and holding butter.
- Prep Time: 20 min
- Cook Time: 25 min
- Total Time: 14 hours 5 min
- Yield: 10 servings 1x
- Category: Breakfast
- Method: Griddle Cooking
- Cuisine: American
- Diet: Vegetarian
Ingredients
- 1 cup active sourdough starter or discard
- 1 cup warm milk
- 3 cups all-purpose flour
- 1 teaspoon salt
- 1 teaspoon baking soda
- 2 tablespoons melted butter, plus more for the griddle
Instructions
- In a large bowl, mix the sourdough starter and warm milk until combined.
- Add the flour, salt, and baking soda to the wet ingredients. Mix until a shaggy dough forms.
- Turn the dough out onto a lightly floured surface and knead for about 5 minutes until the dough is smooth and elastic. Add the melted butter during the last minute of kneading.
- Place the dough in a lightly oiled bowl, cover, and let it ferment at room temperature for 2 hours, or place it in the refrigerator for an overnight cold fermentation (up to 18 hours).
- Lightly flour your work surface. Roll the dough out to about 1/2 inch thickness.
- Use a 3-inch round cutter to cut out the English muffin shapes. Gather the scraps, gently re-knead them, and cut out more rounds.
- Place the rounds on parchment-lined baking sheets, leaving space between them. Cover loosely and let them rest for 30 minutes.
- Heat a dry cast iron griddle or heavy skillet over medium-low heat. You want the temperature low enough to cook the inside thoroughly without burning the outside.
- Cook the muffins on the griddle for 8 to 12 minutes per side, until golden brown. Do not press them down with a spatula; this prevents the nooks and crannies from forming.
- Remove the muffins from the griddle and let them cool completely on a wire rack.
- To serve, split the cooled muffins using a fork to preserve the internal texture, then toast them until crisp. Serve with butter or jam.
Notes
- For the best nooks and crannies, cook the muffins low and slow on the griddle. If the heat is too high, the outside will brown before the inside cooks, resulting in a dense texture.
- Split toasted muffins with a fork, not a knife. This action separates the internal layers, creating the signature craggy surface that holds toppings well.
- These homemade English muffins freeze well. Cool them completely, place them in a freezer-safe bag, and freeze for up to three months. Toast directly from frozen.
Nutrition
- Serving Size: 1 muffin
- Calories: 180
- Sugar: 1
- Sodium: 280
- Fat: 4
- Saturated Fat: 2
- Unsaturated Fat: 2
- Trans Fat: 0
- Carbohydrates: 32
- Fiber: 1
- Protein: 6
- Cholesterol: 10