
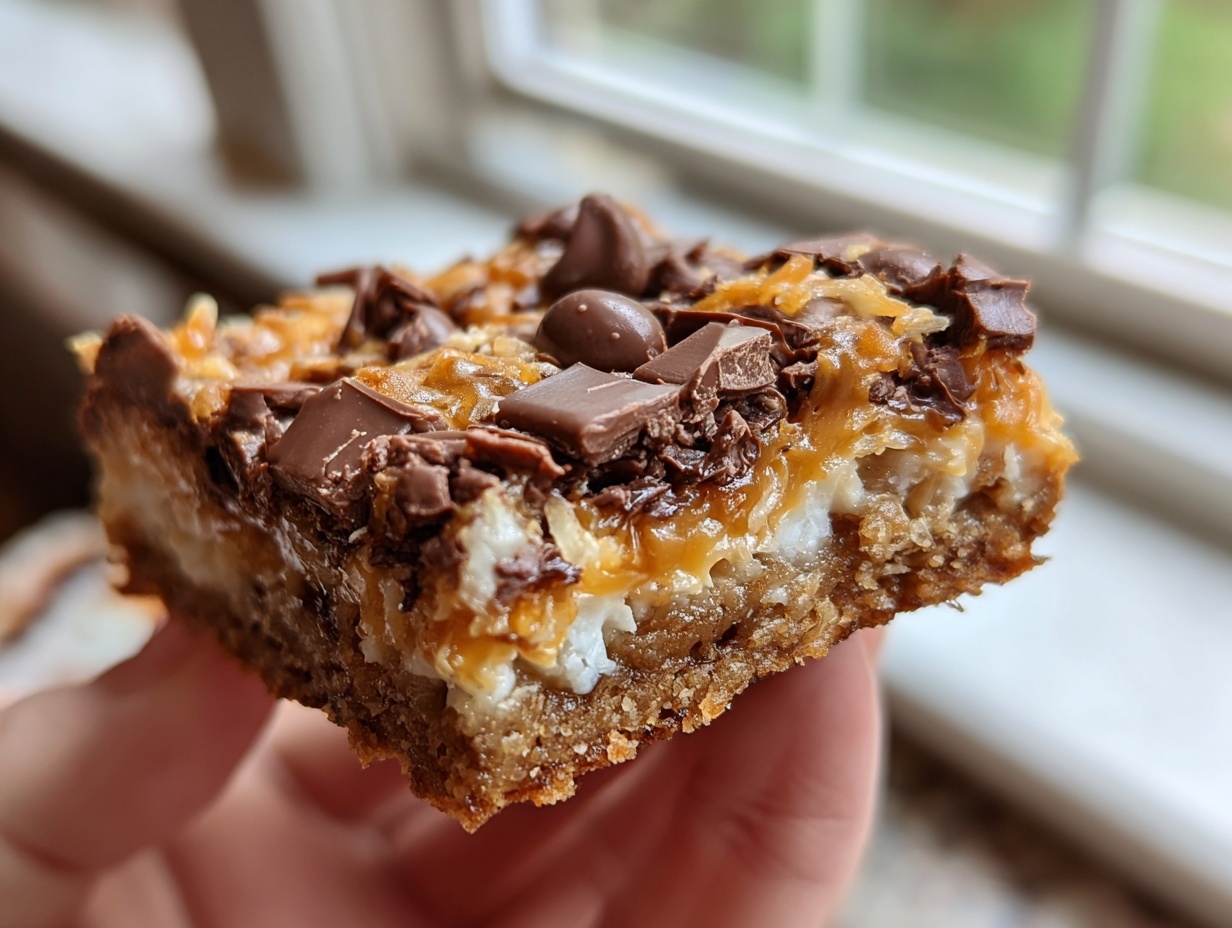
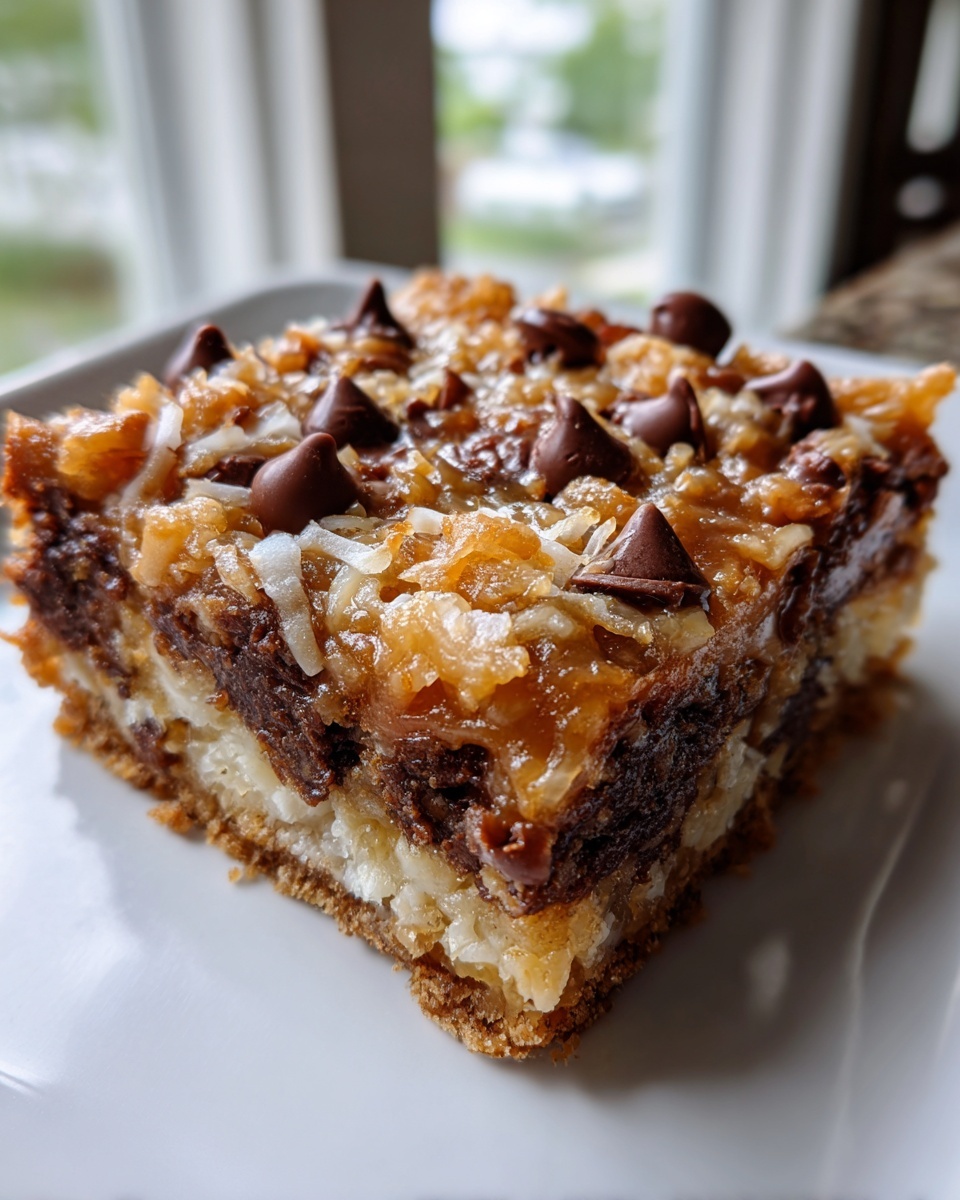
When life gets hectic—and oh, doesn’t it always?—we all need a sweet spot to land. For me, that spot is always found in the simplest, most comforting desserts. Forget fussy steps and exotic ingredients; if you need something truly special that comes together in minutes, you have to try this recipe for magic cookie bars. Seriously, these are the bars everyone asks for! You might know them by their other fantastic names, like the classic 7 Layer Bars or maybe even the fun, retro name, Hello Dolly Bars. Here at Completely Yummy, I developed this version because I needed a treat that was both incredibly delicious and genuinely doable, even after a long day of deadlines. This recipe is my promise to you: incredible flavor without the stress.
- Why This Magic Cookie Bars Recipe is a Keeper (E-E-A-T)
- Gathering Ingredients for Your Magic Cookie Bars Recipe
- Step-by-Step Instructions for Easy Cookie Bars Dessert
- Tips for Success When Making Homemade Magic Bars
- Variations on the Classic 7 Layer Bars Recipe
- Storage and Serving Suggestions for Your Magic Cookie Bars
- Frequently Asked Questions About Magic Cookie Bars
- Nutritional Estimates for This Easy Cookie Bars Dessert
- Share Your Best Magic Cookie Bars Creations
Why This Magic Cookie Bars Recipe is a Keeper (E-E-A-T)
I get it. You want flavor, but you don’t want your kitchen looking like a flour explosion happened. That’s why this recipe is my absolute go-to! These bars deliver that deeply comforting, chewy texture without any fuss. They’re brilliant because they rely on setting up layers, not complex mixing techniques. That means reliability—you get the best cookie bars dessert every single time you make them, which is exactly what we need around here.
This truly is the ultimate simple one pan dessert. You just assemble, bake, and forget about it until it’s time to slice!
Quick Bake Dessert Recipes
The assembly process takes maybe fifteen minutes, tops. I stir the crust ingredients together, then it’s just sprinkling things in layers, followed by that magic pour of condensed milk. Seriously, you are cooking with minimal dishes and maximum reward here. This speed makes it one of my favorite quick bake dessert recipes, perfect when unexpected guests pop over or when that sweet craving hits hard in the evening.
Gathering Ingredients for Your Magic Cookie Bars Recipe
Okay, so now we talk about the good stuff! This recipe is called a seven-layer bar for a reason, but don’t let that number scare you. It’s famous precisely because it uses pantry staples layered one on top of the other. The real star holding this whole sweet structure together is that can of sweetened condensed milk—it’s what makes these sweetened condensed milk bars so incredibly chewy and dense. You don’t need fancy equipment, just a good 9×13 pan and your favorite mix-ins. Let’s make sure you have everything ready to go before we start stacking!
Ingredient Notes and Substitutions for Chewy Layered Dessert Bars
When you gather your supplies, pay attention to how you measure things, because that’s where the texture magic happens. Make sure your butter is actually melted—no shortcuts here! For the coconut, you absolutely need the sweetened, flaked kind; the unsweetened just doesn’t give that necessary chewiness when baked. And the nuts? Those are totally optional. If you’re packing a nut allergy lunch or just don’t like pecans, toss in an extra half-cup of chocolate chips instead. Maybe try mixing in some white chocolate chips with your butterscotch for a totally different flavor profile next time!
- 1 1/2 cups graham cracker crumbs
- 1/2 cup unsalted butter, melted
- 1 (14 ounce) can sweetened condensed milk
- 1 cup semi-sweet chocolate chips
- 1 cup butterscotch chips
- 1 1/2 cups flaked coconut, sweetened
- 1 cup chopped pecans or walnuts (optional)
Step-by-Step Instructions for Easy Cookie Bars Dessert
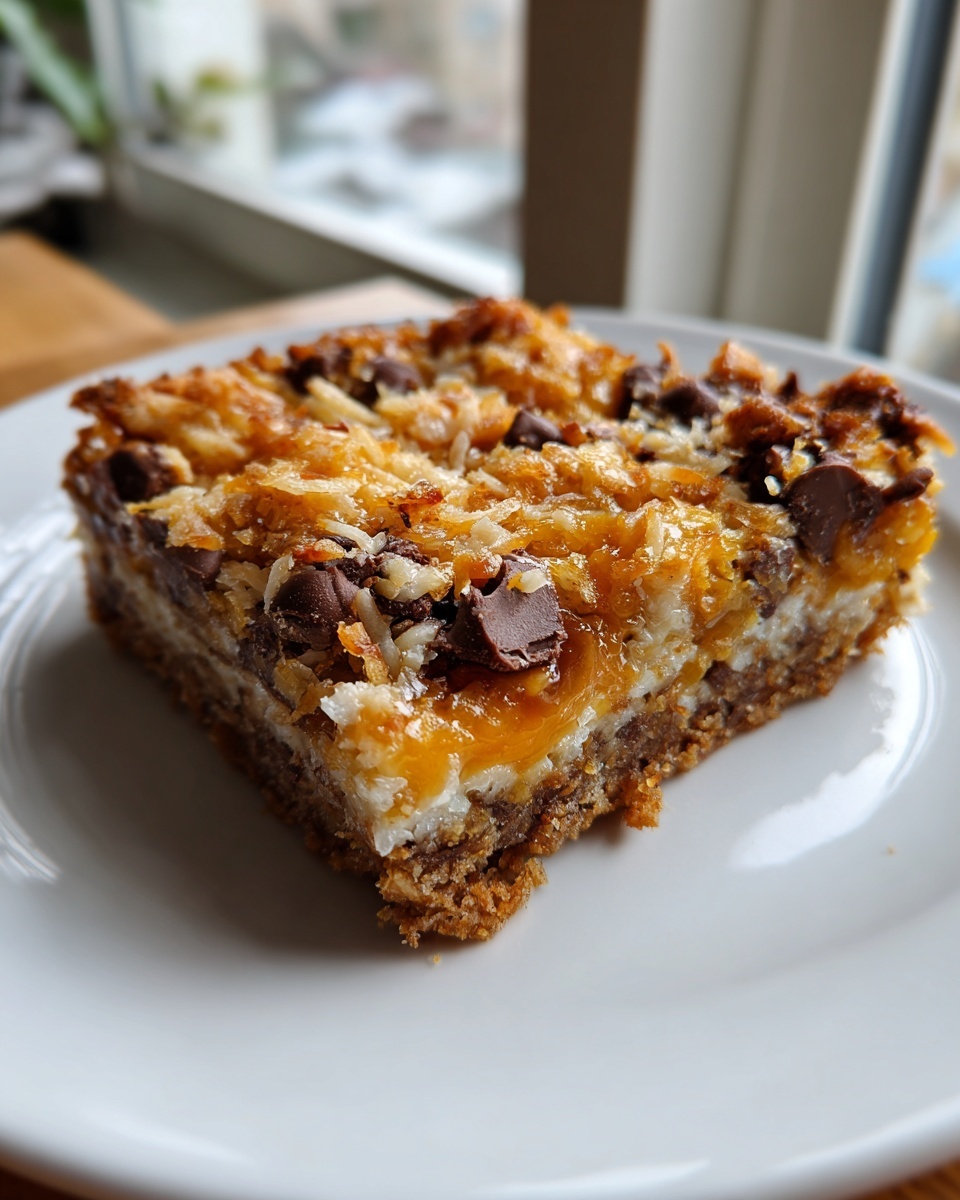
Now we reach the best part—the assembly! Honestly, if you can stack things evenly, you can make the absolute best magic cookie bars. We aren’t mixing anything complicated; we are building flavors layer by layer, right in the pan. Remember, the total baking time is short, only about 30 minutes at 350 degrees, but the cooling time is non-negotiable if you want those perfect squares. Keep that in mind as you lay everything out!
Building the Buttery Graham Cracker Crust Bars
First things first: you need to preheat your oven to 350 degrees Fahrenheit. I always line my 9×13 pan with parchment paper, making sure there’s a good overhang on two sides. This little bit of paper is a lifesaver later when we try to lift these sticky bars out! Next, mix your graham cracker crumbs and melted butter until it looks like wet sand. I press this mixture down firmly into the bottom of the prepared pan. If you want it perfectly level—and I always do—just use the flat bottom of a measuring cup to really pack it down tight. That solid, buttery foundation is crucial for avoiding crumbly bottoms!
Layering and Pouring Sweetened Condensed Milk Bars
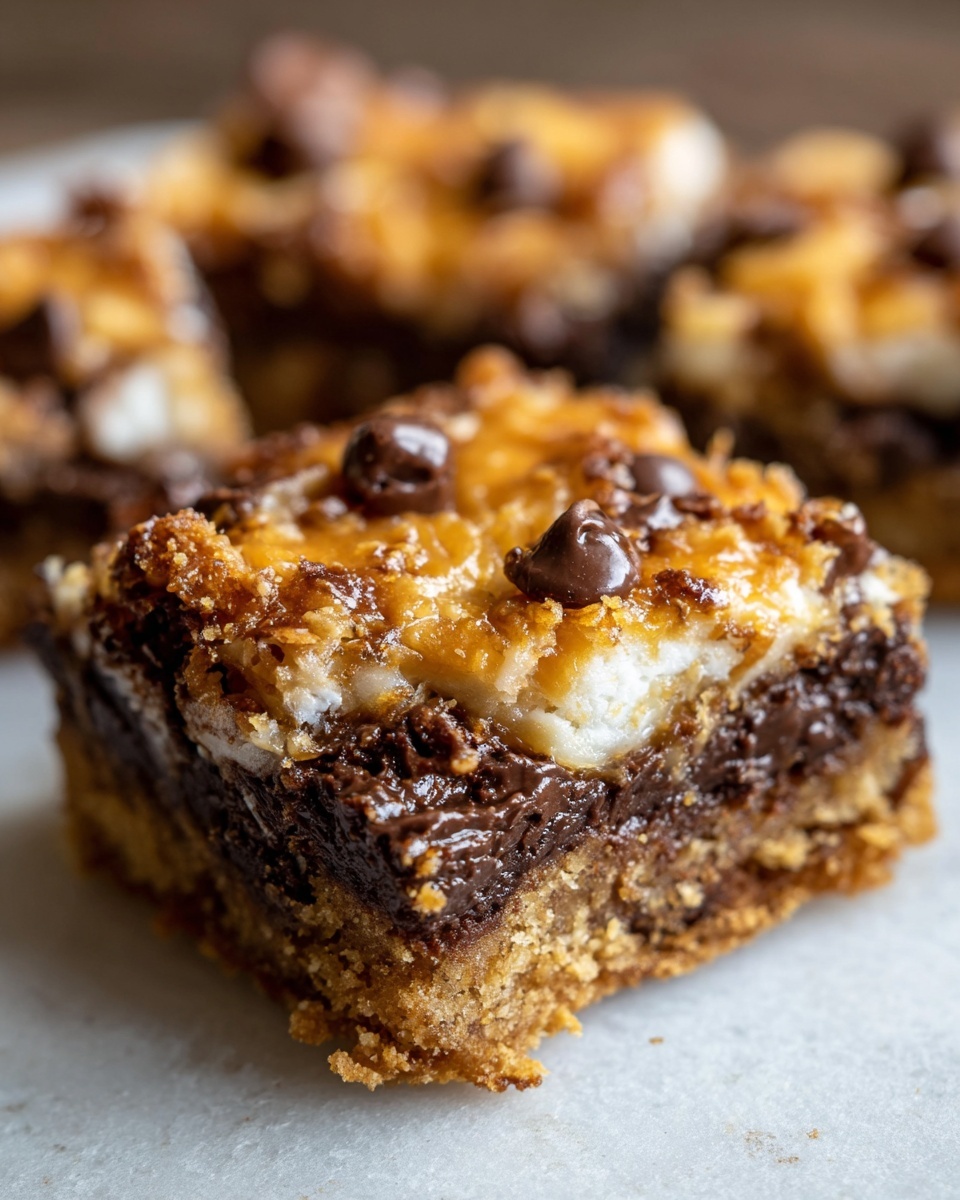
Once your crust is set, it’s time to layer! Sprinkle your chocolate chips evenly over the crust. Then, layer on the butterscotch chips, and follow that with all your sweetened coconut. If you’re using nuts, sprinkle those on top of the coconut layer. Now for the biggest rule of this entire dessert: slowly pour that entire can of sweetened condensed milk evenly over everything you just stacked. Do *not* stir it in! Just let it gently cascade over the chips and coconut. This slow pour helps the milk settle between all those layers, which is exactly what creates that perfect, gooey texture in our ultimate magic cookie bars.
Tips for Success When Making Homemade Magic Bars
You’ve baked them, they look golden and bubbly, and now you want to tear into them immediately—I know the feeling! But trust me on this one crucial step if you want the *best* results when making your homemade magic bars. You absolutely have to let them cool completely. I usually let mine sit on the counter for at least two full hours, sometimes more if my kitchen is warm.
If you try to cut them while they are warm, that glorious, gooey sweetened condensed milk layer will just ooze everywhere, and you’ll end up with a delicious mess instead of neat squares. Patience pays off here! Using that parchment paper overhang we set up earlier is the real hero when they finally firm up. Lift the entire cooled slab out gently—it should come out like one giant, beautiful homemade cookie—and then slice them cleanly. That cool-down time is what sets the texture perfectly.
Variations on the Classic 7 Layer Bars Recipe
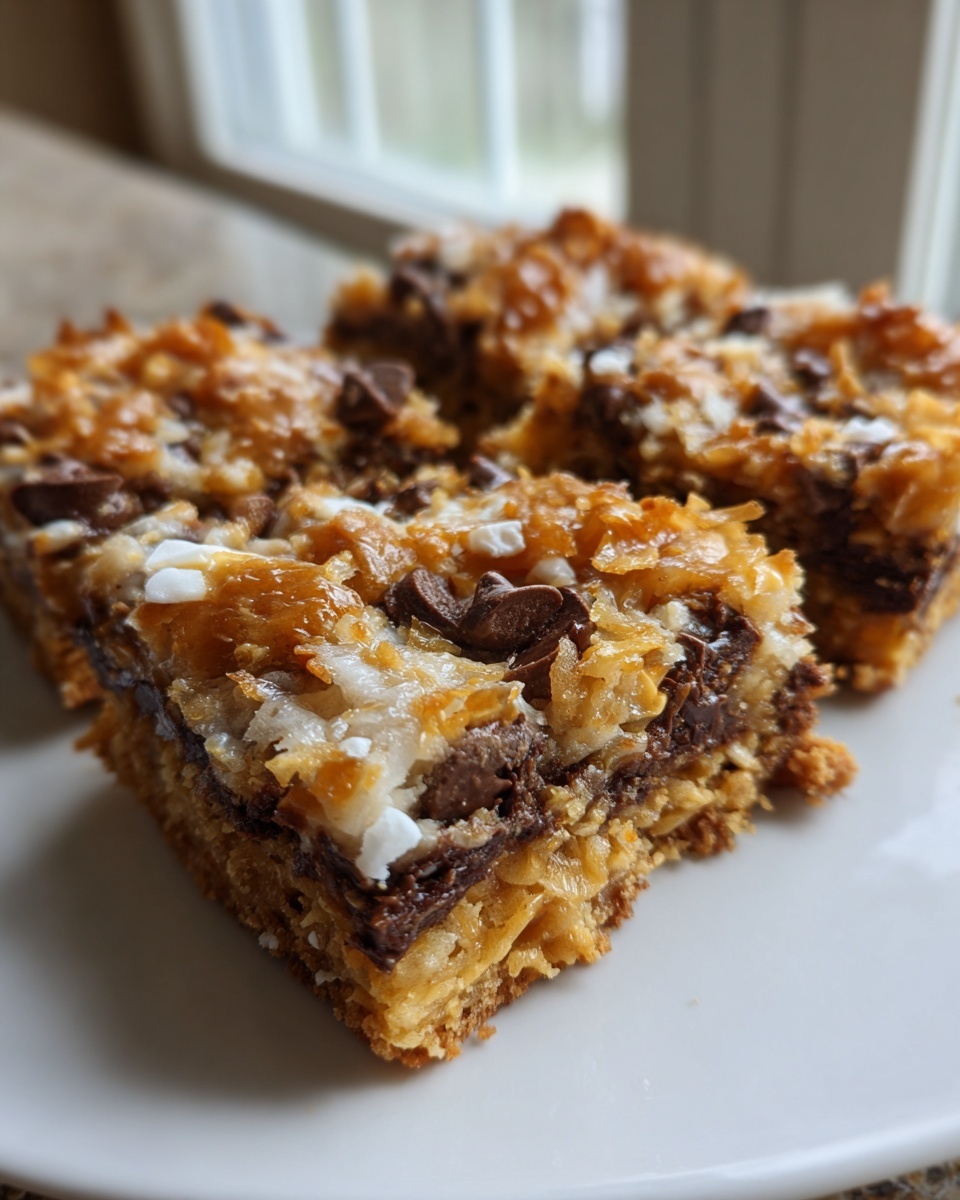
While this classic lineup is near perfect, this recipe begs you to play around with it! That’s the joy of making your own version of the 7 Layer Bars recipe. If you’re feeling adventurous, swap out some of those chocolate chips for peanut butter chips—wow, what a combo! Or maybe you want a brighter color for the holidays? Add a few handfuls of rainbow sprinkles right on top of the coconut layer before you pour the milk over. You can even double up on the good stuff by adding mini marshmallows in there if you want something extra gooey. It tastes amazing no matter what little tweak you make!
Storage and Serving Suggestions for Your Magic Cookie Bars
Once you have bravely waited for these bars to cool completely—and I promise, it’s worth every second—you might actually have some left over! If you do, don’t panic about making them last. Because of all that lovely sweetened condensed milk in there, these bars are surprisingly robust. You can absolutely leave them right on the counter, covered tightly, for a couple of days. I usually put mine into an airtight container.
If you happen to have a very warm kitchen or you just want them to last longer, popping them into the fridge works too. They firm up almost like fudge when cold, which some people actually prefer! Just give them about 15 minutes out on the counter before serving if they’ve been chilling in the cold. They are just fantastic for bringing to parties or those big holiday recipe cookie bars exchanges because they travel so well and don’t need any fussy refrigeration while they are out on the buffet table.
Frequently Asked Questions About Magic Cookie Bars
When you’re making a treasured classic like this, questions always pop up, and I’m here to help answer the ones I hear most often! My goal is always to ensure you go home with the genuinely best magic cookie bars possible. Getting the texture right on these layered treats is what separates a good bar from a great one, so let’s clear things up!
Can I make these Magic Cookie Bars without sweetened condensed milk?
Oh, I really wouldn’t try it, sweetie. That can of sweetened condensed milk is the absolute backbone of this recipe—it’s not just a binder; it’s what turns into that perfect, gooey, chewy layer when baked. Without it, you’d essentially just have a tray of semi-melted chips sitting on a crust. It’s what defines these as sweetened condensed milk bars!
What is the difference between Magic Cookie Bars and Hello Dolly Bars?
This is a fun bit of dessert history! Honestly, there’s hardly any difference at all; they are essentially the same recipe. Depending on where you grew up, people might call them Magic Cookie Bars, 7 Layer Bars, or sometimes they even go by the name Hello Dolly Bars. If you see a recipe labeled any of those names, you can be pretty sure you’re looking at the same simple, delicious layers in that pan. Don’t forget to check out some of the classic versions, like the great one linked here from Allrecipes if you like seeing the original inspiration!
How long do I really need to let them cool?
I know it’s painful, but the cooling step is non-negotiable for a clean slice. If you rush it, they will fall apart. You need at least two hours at room temperature, but leaning towards three hours is even safer. Once they are completely cool, that gooey center sets up just enough to hold its shape perfectly when you cut into squares.
Nutritional Estimates for This Easy Cookie Bars Dessert
Now, I know we bake these bars because they taste like pure happiness and comfort, not because we’re tracking macros! But since we’re striving for that honest, trustworthy approach here at Completely Yummy, I wanted to give you a general idea of what’s in one serving. Remember, these numbers are just estimates because how much butter you spread or how thickly you pour the milk changes things slightly. Plus, these are based on splitting the batch into 24 glorious squares, just like the recipe suggests.
So, for one of these incredibly satisfying, chewy layered dessert bars, here’s the quick breakdown:
- Calories: Around 220
- Total Fat: About 14 grams
- Carbohydrates: Roughly 22 grams
- Protein: We get a nice little boost of 3 grams!
- Sugar Content: Naturally, it’s about 18 grams, thanks to all that lovely condensed milk and the chips!
This information is just a guide, friends. The true value is in the joy they bring! Don’t let any number stop you from enjoying this quintessential comfort treat a little while this holiday season.
Share Your Best Magic Cookie Bars Creations
I truly hope you’ve enjoyed making this batch of magic cookie bars as much as I loved sharing this recipe with you. Seeing that pan of gooey, golden layers come out of the oven is one of the best feelings, isn’t it? Now the real fun begins: the tasting!
But I want to hear all about it once you’ve had a chance to bake them up. Did you stick to the classic seven layers, or did you sneak in a fun variation, like maybe some sprinkles or a different kind of chip? Did you manage to let them cool long enough for a clean slice, or did you dive right in while they were still warm and messy? (No judgment here if you did the latter!)
Please, don’t be shy! Let me know in the comments below how these turned out in your kitchen. You can leave a star rating for the recipe, or even just drop a little note to say hello. Hearing from you and knowing that my simple, reliable recipes are making your weeknights a little sweeter is exactly what keeps me excited to be here in my kitchen every day.
PrintEasy Magic Cookie Bars (Seven Layer Delight)
Make these simple, chewy Magic Cookie Bars, also known as Seven Layer Bars or Hello Dolly Bars. This one-pan dessert uses a buttery graham cracker crust and layers of chocolate chips, coconut, and sweetened condensed milk for a comforting treat.
- Prep Time: 15 min
- Cook Time: 30 min
- Total Time: 45 min
- Yield: 24 bars 1x
- Category: Dessert
- Method: Baking
- Cuisine: American
- Diet: Vegetarian
Ingredients
- 1 1/2 cups graham cracker crumbs
- 1/2 cup unsalted butter, melted
- 1 (14 ounce) can sweetened condensed milk
- 1 cup semi-sweet chocolate chips
- 1 cup butterscotch chips
- 1 1/2 cups flaked coconut, sweetened
- 1 cup chopped pecans or walnuts (optional)
Instructions
- Preheat your oven to 350 degrees Fahrenheit. Line a 9×13 inch baking pan with parchment paper, leaving an overhang for easy removal.
- Combine the graham cracker crumbs and melted butter in a medium bowl. Press this mixture firmly and evenly into the bottom of the prepared pan to form the crust.
- Sprinkle the chocolate chips evenly over the crust.
- Sprinkle the butterscotch chips over the chocolate chips.
- Distribute the sweetened coconut evenly over the chips.
- If using, sprinkle the chopped nuts over the coconut layer.
- Slowly pour the entire can of sweetened condensed milk evenly over all the layers. Do not stir.
- Bake for 25 to 30 minutes, or until the edges are golden brown and the condensed milk is bubbly.
- Remove the pan from the oven and let the bars cool completely in the pan on a wire rack. Cooling is necessary for clean cutting.
- Once cool, lift the bars out using the parchment paper overhang. Cut into squares.
Notes
- For a richer flavor, use a mix of milk and dark chocolate chips.
- If you omit the nuts, you can substitute with an extra 1/2 cup of chocolate chips or butterscotch chips.
- Allow the bars to cool for at least two hours before slicing for the best, chewiest texture.
Nutrition
- Serving Size: 1 bar
- Calories: 220
- Sugar: 18
- Sodium: 110
- Fat: 14
- Saturated Fat: 7
- Unsaturated Fat: 7
- Trans Fat: 0
- Carbohydrates: 22
- Fiber: 1
- Protein: 3
- Cholesterol: 25