
Oh, the chocolate chip cookie! Isn’t it the ultimate sweet treat? Seriously, is there anything that brings a smile faster than that warm, gooey center surrounded by just a hint of buttery crunch? I spent years chasing that elusive, thick, bakery-style look. You know the ones—they’re never flat, never dry, and they taste like they took all day to make. Well, I finally cracked the code. Forget those recipes that demand you chill the dough for twenty-four hours; I’m giving you my definitive recipe for the best homemade cookies that are soft and chewy right out of the oven. We’re getting that perfect texture today, I promise!
If you’re tired of thin, sad cookies, stick with me. This recipe is my answer for anyone who wants ultimate chocolate chip cookies without the wait. You’ll find the secret in the melted butter method, which lets us skip the waiting game completely. If you’re looking for more fantastic delicious dessert recipes, you know where to find me!
- Why This Is Your New Favorite chocolate chip cookie Recipe (Soft & Chewy)
- Ingredients for the Ultimate chocolate chip cookie
- Simple Steps to Bake a Perfect chocolate chip cookie
- chocolate chip cookie Tips for Consistent Success
- Storage and Reheating Your Best Homemade Cookies
- Frequently Asked Questions About This chocolate chip cookie Recipe
- Estimated Nutrition Data for One chocolate chip cookie
- Share Your Favorite cookie Baking Experience
Why This Is Your New Favorite chocolate chip cookie Recipe (Soft & Chewy)
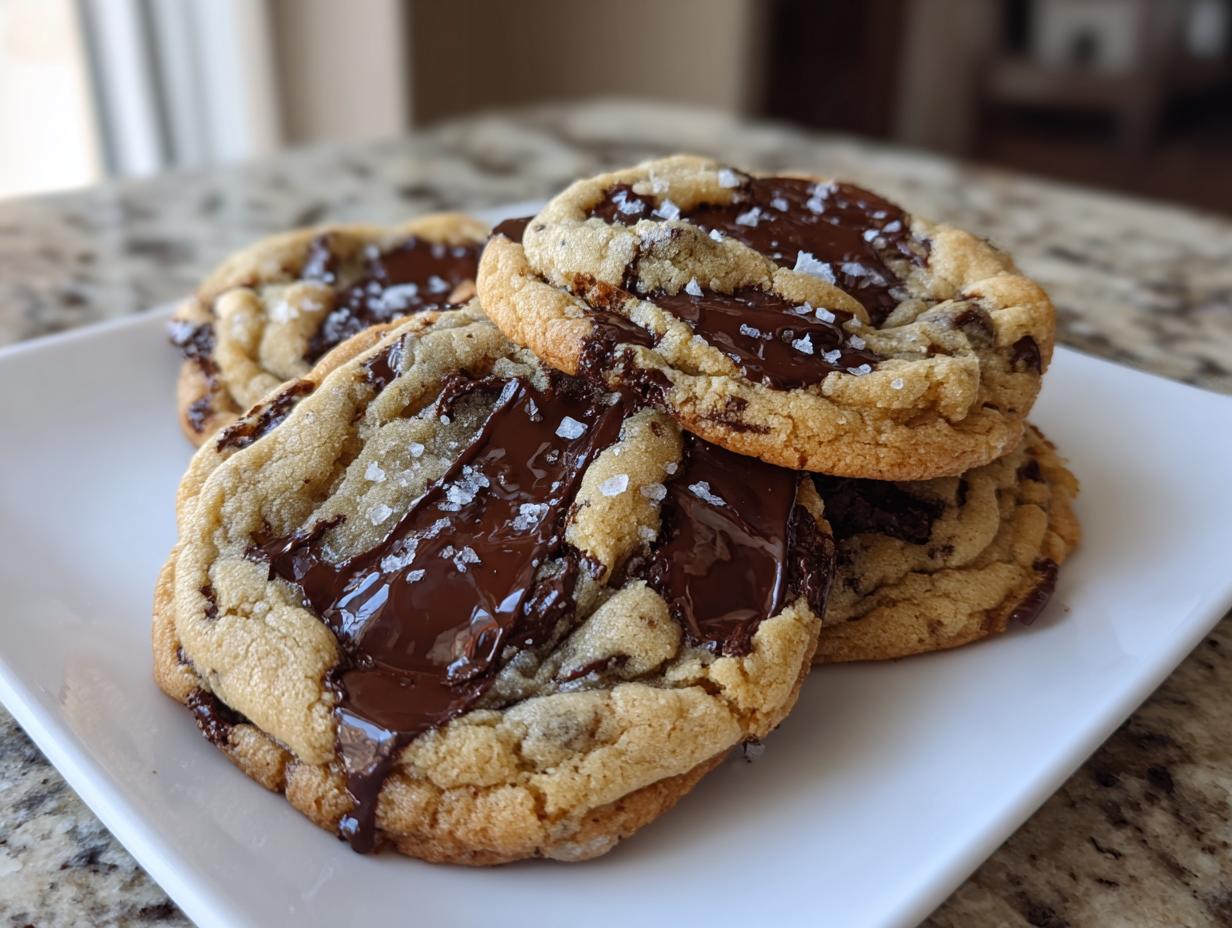
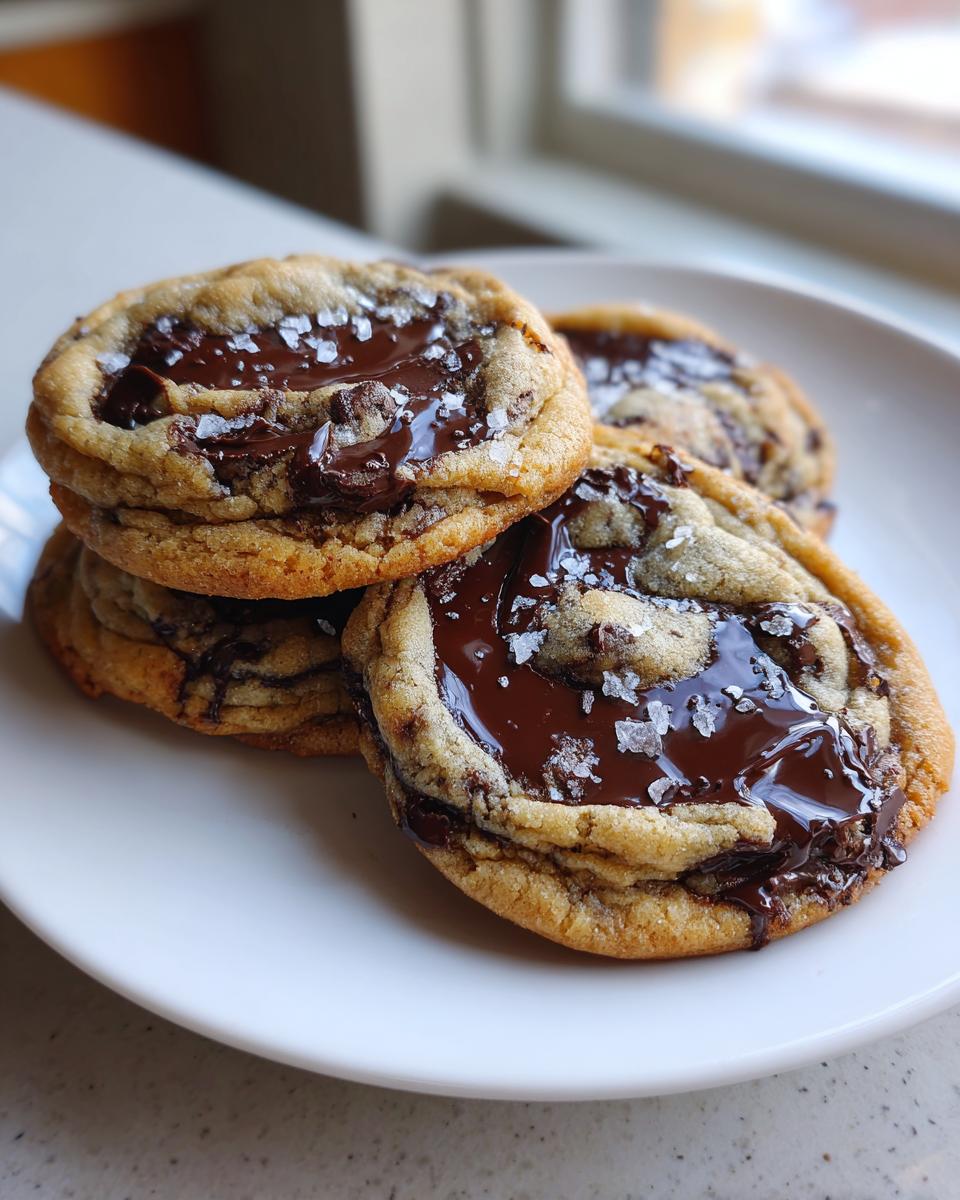
Listen, the reason this recipe is going to become your go-to is simple: texture perfection on demand. We aren’t waiting around! People want those thick, bakery style cookies right now, and this recipe delivers the magic combination every time. It hits all the marks for what I consider the best homemade cookies: towering centers, just a little bit of crisp on those edges, and a center that stays delightfully soft.
I’ve found that using melted butter instead of softened butter is the key driver behind how quickly we can get these done. It’s how we make the list of chocolate chip cookie tips short and sweet!
Achieving Bakery Style Cookies Without Waiting
The beauty here is the melted butter! If you chill butter, you need time for it to solidify again and create that structure. By using the melted butter, we get instant moisture saturation into the sugars before the eggs come in. This creates a dense, rich base that puffs up instead of spreading flat. It’s the ultimate quick cookie recipe miracle, giving you that thick profile without needing hours in the fridge.
The Secret to Crispy Edge Cookies and a Gooey Center
It all comes down to the sugar ratio and the oven time. We lean heavily on brown sugar here—that molasses content adds chewiness and helps lock in moisture, which is essential for those gooey center cookies. But here’s the real game-changer: you *must* pull them out when they look slightly *underdone*. They carry residual heat that finishes the baking process on the tray. That’s what guarantees that amazing contrast between the crisp edge cookies look and the soft interior center.
Ingredients for the Ultimate chocolate chip cookie
Okay, let’s talk about what goes into these incredible chocolate chip cookie wonders. Because we aren’t doing the long chill, the quality of the ingredients really shines through. Trust me, using a really good, pure vanilla extract makes a world of difference here; it’s the background music that makes the whole song sound better! Everything needs to be at the right state, or the melted butter technique won’t behave properly. For instance, room temperature eggs mix in so much smoother, which is important when you aren’t whipping air in for hours.
- 1 cup (226g) unsalted butter, melted
- 1 cup (200g) packed light brown sugar
- 1/2 cup (100g) granulated sugar
- 2 large eggs, room temperature
- 2 teaspoons pure vanilla extract
- 2 1/4 cups (270g) all-purpose flour
- 1 teaspoon baking soda
- 1 teaspoon kosher salt
- 1 1/2 cups (255g) semi-sweet chocolate chips or chunks
- Flaky sea salt, for sprinkling (optional)
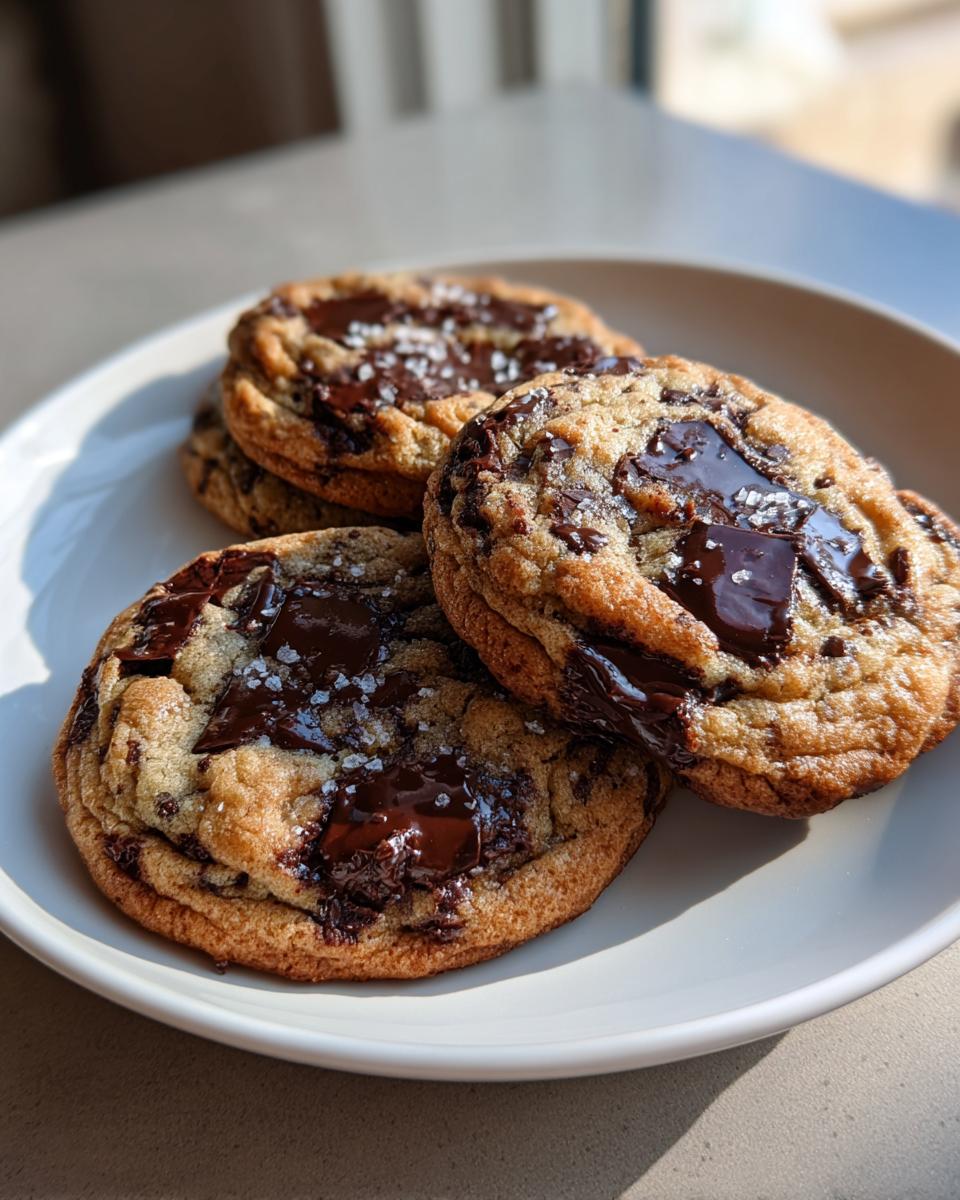
If you want to try a slightly different take, dipping into the world of chocolate chunk cookies is totally worth it. That mix of melt from chunks and the stability of chips is the dream team.
Ingredient Notes and Substitutions for Your chocolate chip cookie
I want you to feel confident swapping things around if you need to, but keep these few pointers in mind! First, those eggs have to be room temp. If they are cold, they shock that melted butter mixture and can make the dough feel kind of weird when you mix the dry stuff in. Just pop them in a bowl of warm water for ten minutes if you forgot.
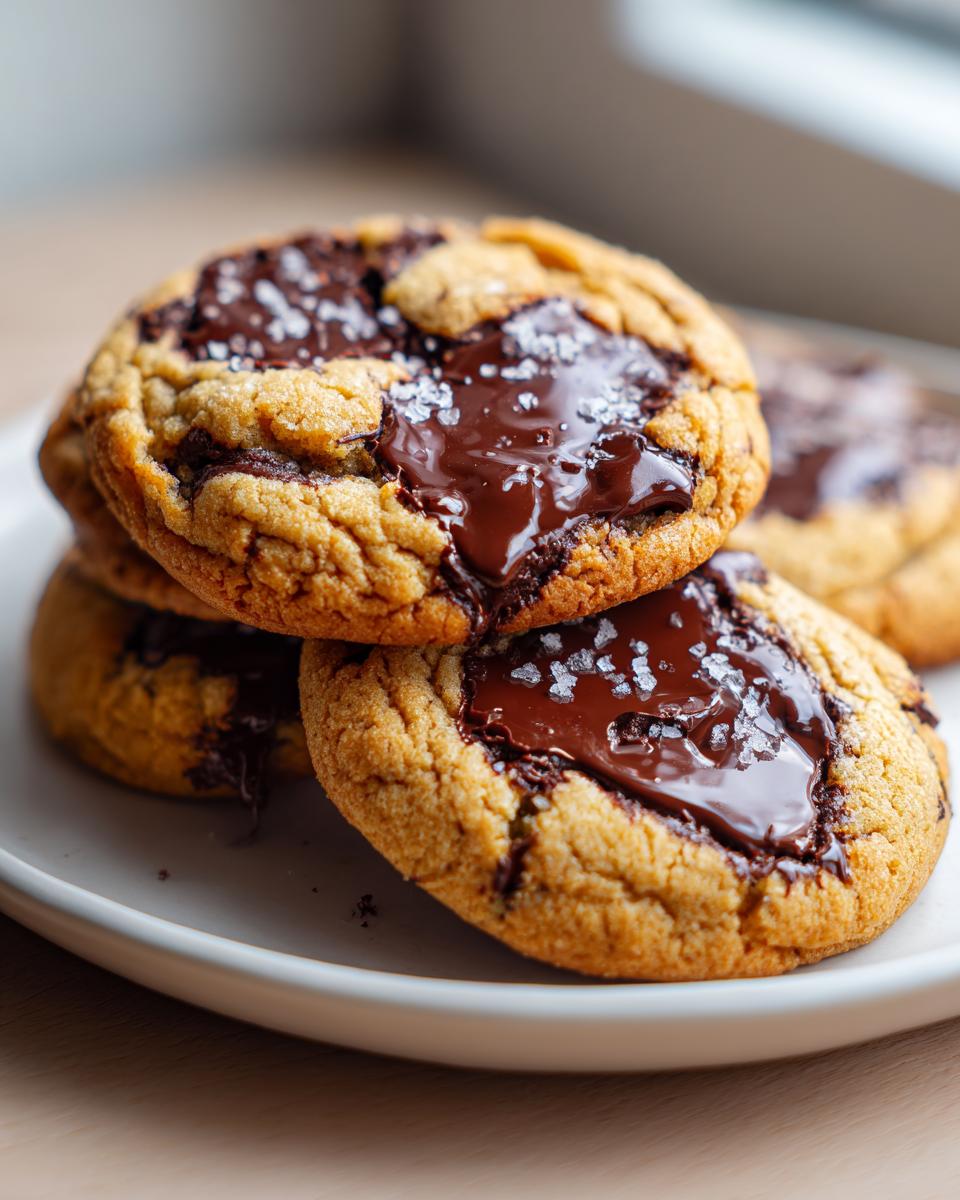
For the chocolate, I always suggest using at least half of it as roughly chopped chocolate bars instead of just chips. The chips hold their shape, but the chunks melt beautifully into rivers of gooey chocolate when they bake. That’s how you maximize that gooey center cookies promise we talked about earlier. You can absolutely stick to just chips if that’s what you have, but chopping up a bar gives you that extra layer of decadence.
Also, and this is from my notes: don’t skip that optional flaky sea salt on top! It cuts through the sweetness just enough and makes the chocolate flavor pop. It’s a small step that really elevates these from good to “I need to hide these from my family” good!
If you are ever looking for ways to use up things like leftover mashed bananas, check out my chocolate chip banana bread recipe. It’s another amazing way to use those chips!
Simple Steps to Bake a Perfect chocolate chip cookie
Making these cookies is actually super quick because we’re skipping the chill time. I love that these are ready in under 30 minutes start to finish—that’s practically instant gratification! Just make sure you stop what you’re doing and preheat that oven to 350°F (175°C) first, and line two sheets up with parchment paper. Parchment is your best friend; it stops sticking and helps the bottoms bake evenly, giving us that slight crispness we want on the exterior of our chocolate chip cookie.
If you’re looking for other incredibly straightforward recipes that turn out way better than you expect, check out my easy homemade cheese sauce recipe—it’s a total winner for movie night!
Mixing the Wet Ingredients for Thick chocolate chip cookies
First things first, grab that bowl with your melted butter. Now, whisk in both sugars—that light brown sugar and the white granulated sugar. Whisk until it looks smooth, almost creamy. You don’t need the electric mixer for this part, just get it combined really well. Next, add those room temperature eggs, one at a time. Make sure the first egg is fully incorporated before adding the second. Then, splash in your vanilla. Remember, we aren’t whipping air in here; we are just combining things smoothly to set up that fantastic base for thick chocolate chip cookies.
Combining Dry Ingredients and Folding in Chocolate for the chocolate chip cookie
While you were busy with the wet stuff, you should have whisked your flour, baking soda, and kosher salt together in a separate bowl. We do this to make sure the leavening agent is evenly distributed. Now, you add this dry mix to the wet mix slowly. If you’re using a hand mixer, keep it on the *lowest* setting. Honestly, I prefer mixing this part by hand with a sturdy spatula. Mix until you see just the last few streaks of flour—and stop! Overmixing develops gluten, and gluten makes tough cookies. Nobody wants a tough chocolate chip cookie, right?
Once it’s *just* combined, gently fold in all those chocolate chips and chunks. When you scoop them, try to keep the dough balls tall rather than flattening them out completely on the sheet. We want them to bake up, not out!
Baking and Cooling for Gooey Center Cookies
Time for the oven! They bake pretty fast, usually 10 to 12 minutes. Keep a close eye on them. We are looking for golden brown edges, but the center should look noticeably soft, maybe even a tiny bit underdone—don’t panic! As soon as you pull them out, this is the moment: immediately sprinkle that flaky sea salt over the tops if you’re using it. Then, the critical cooling phase! Leave those gorgeous things on the hot baking sheet for a solid 5 minutes. This is what keeps the centers gooey while the edges set firmly enough to hold their shape. After five minutes, transfer carefully to a wire rack to finish cooling. If you try to move them sooner, they might fall apart, and no one wants that heartbreak!
chocolate chip cookie Tips for Consistent Success
Even with the best ingredients, sometimes baking throws us a curveball! Since this recipe relies on melted butter for that speedy bake, we have to be smart about temperature control. I’ve gathered up all my best chocolate chip cookie tips over the years, and these little bits of knowledge keep my cookies consistently thick and chewy, bakery style, every single time. It’s about anticipating what the dough wants to do!
We want to make sure you end up with the best homemade cookies, not sad, flat disks. Read these points over before you even melt the butter next time. And hey, if you’re curious about how to whip up some wonderfully moist chocolate treats, my guide on easy moist chocolate muffins recipe is right over here!
Troubleshooting Common chocolate chip cookie Issues
If you’ve made a batch and they melted into one giant cookie puddle, don’t toss the rest of the dough! We can usually fix it or prevent it next time. Check out these common snags:
- Why Are My Cookies Spreading Too Much? This almost always means your melted butter was too hot when you added the sugars, or maybe you used only granulated sugar instead of the heavy boost of brown sugar this recipe calls for. If the dough seems too loose to scoop properly, pop the whole bowl into the fridge for just 15 minutes. That slight chill is just enough to firm up the fat without canceling out our “no chill” promise.
- Dough Looks Way Too Thin: Are you sure you measured the flour correctly? Flour settling in the canister can trick us! If your dough is truly liquidy, add one more tablespoon of flour, mixing gently by hand until it just comes together. Remember, thick dough balls = thick chocolate chip cookies.
- Not Enough Chocolate? Never! If you followed the recipe but feel like that’s not enough chocolate in every bite, you’re in the minority, but I respect it! Next batch, bump up that chocolate to 2 full cups. It won’t affect the rise much, and it guarantees you hit that peak indulgence level. For more incredible recipes built on the classics, take a peek at this amazing cookie recipe I found online.
- My Edges Burned Before the Center Cooked: This is about your oven rack position. Always bake cookies on the middle rack, which gives the most even heat circulation. If your oven runs hot (and many do!), knock the temperature down by 10 degrees next time—that extra heat can overbake the edges before that gooey center sets up just right.
Treating these chocolate chip cookie tips like gospel means you won’t have to guess anymore. Happy baking!
Storage and Reheating Your Best Homemade Cookies
One of the best things about this particular chocolate chip cookie recipe is how long they stay fantastic! Honestly, on the off chance that you have any left over (which I highly doubt once you smell them baking), handling storage is super simple.
The whole point of this recipe is keeping that soft, chewy texture intact, right? So, we can’t let them dry out. You need an airtight container—a good quality cookie tin or a sturdy Tupperware container works perfectly. Keep them on the counter at room temperature. Don’t even think about putting them in the fridge! The cold dries out cookies faster than anything, and we worked too hard for gooey center cookies to subject them to that fate. They should stay incredibly soft for a good three or four days if you store them right.
Now, if you’ve stored them for a couple of days, they might lose that ‘just out of the oven’ melt factor. No sweat. This is how you bring that magic back instantly. Just grab the cookie (or two, I won’t tell!) and microwave it for about 8 to 10 seconds. I mean, truly just enough time to warm the chocolate chips back up to that lovely molten state. Don’t go much longer or you risk making them tough!
If you’re prepping ahead for a party or want to keep dough ready, check out my cinnamon roll cookies recipe; making dough ahead of time is just so handy for busy weeks!
Enjoy those perfect, soft, and chewy treats all week long!
Frequently Asked Questions About This chocolate chip cookie Recipe
I know you’ve got questions! Anytime you bake something you truly want to be the best ever cookie, you want to make sure you nail the tiny details. Since this recipe is all about nailing that perfect texture—soft, chewy, and thick—I figured I’d tackle the most common things folks ask when they try this formula for the first time. We want you to have the best batch of classic chocolate chip cookies possible!
If you try this and it becomes your absolute favorite cookie recipe, let me know in the comments below, or check out my easy chicken and dumpling recipe for a savory break!
Can I use cold butter instead of melted butter in this chocolate chip cookie recipe?
Oh, you absolutely *can*, but it changes the whole game, and if you’re hunting for soft and chewy cookies, I’d advise against it for this specific formula. See, the secret handshake in this recipe is using melted butter. That liquid fat mixes instantly with the sugars and hydrates the dry ingredients right away, which leads to that dense, thick texture we love. If you use cold, cubed butter, you’d need to spend ages creaming it, and then you’d definitely have to chill the dough for at least an hour to stop it from spreading everywhere in the oven. Cold butter tends to produce a flatter, crispier cookie, and we are aiming for that delicious, soft center!
What is the best chocolate to use for gooey center cookies?
Like I mentioned when we talked ingredients, the trick to those glorious, molten pools of chocolate when you take a bite is variety! Don’t stick to just one thing. Semi-sweet chips are the workhorses; they keep their shape a bit more, which gives you that classic look. But for true, over-the-top melty goodness, mix in about half a cup of roughly chopped high-quality chocolate bars (like Ghirardelli or Lindt). The bars have a higher butterfat content, so they melt down beautifully, giving you those amazing streaks of chocolate throughout your gooey center cookies.
How do I make these chocolate chip cookies extra thick?
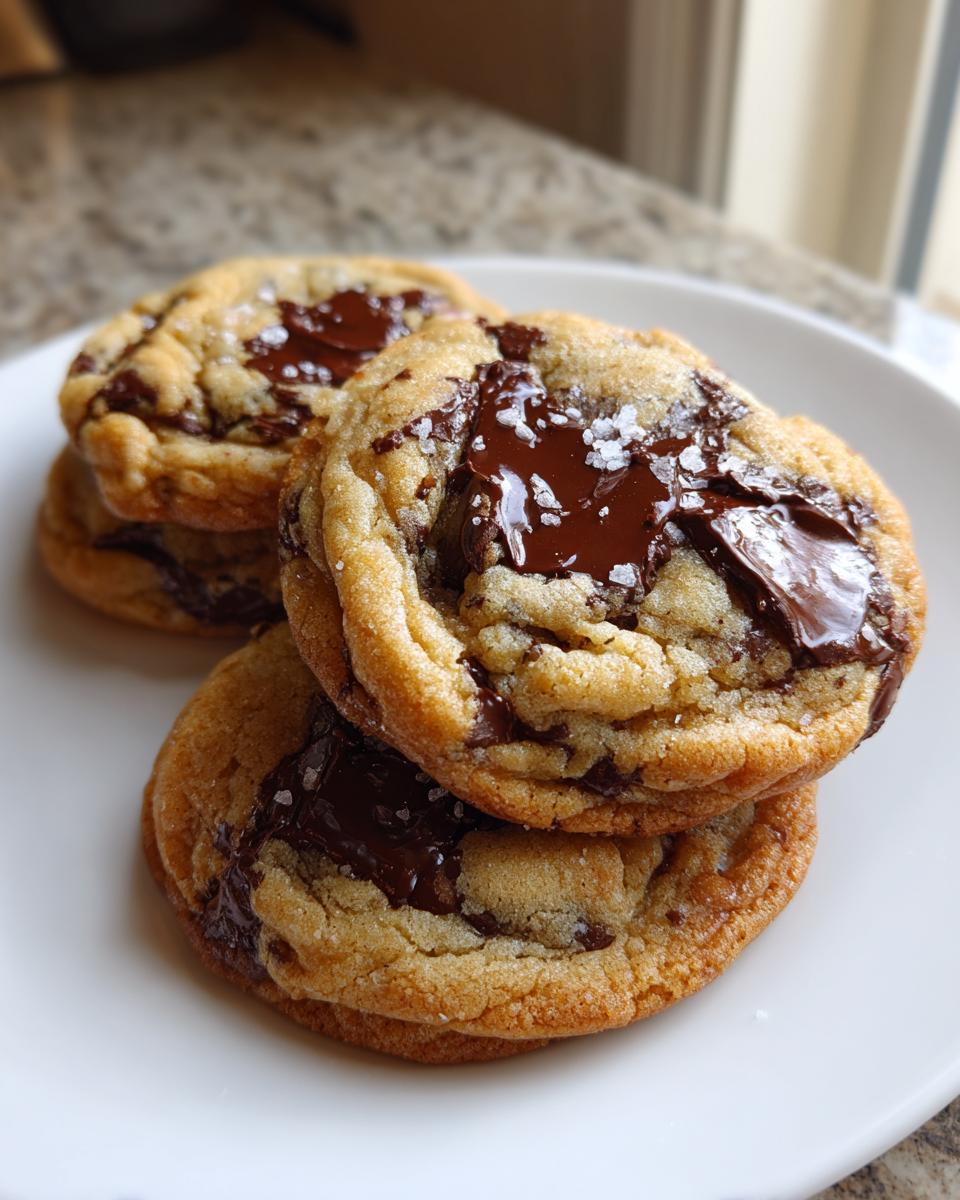
This is my favorite trick for when I want that truly impressive, almost underbaked look like you see in the bakeries. It’s all about the shape you put on the sheet before they go into the oven. Don’t flatten the dough balls out into perfect pucks! Scoop them nice and rounded, but then, take your thumb or the back of a spoon and gently press the *top* surface of the dough ball to flatten it just a smidge. But here’s the important part: make sure you leave the sides tall and somewhat rugged. When they bake, the edges will spread slightly, but those tall, slightly compressed centers won’t melt outwards as much, resulting in beautifully thick chocolate chip cookies!
If you want to dive deeper into why certain ratios work so well, check out this great overview on the best chocolate chip cookie recipe philosophy.
Estimated Nutrition Data for One chocolate chip cookie
Now, I know most of us aren’t baking these chocolate chip cookie beauties for their nutritional value—we’re baking for pure, unadulterated joy! But since you asked, here is the estimated data for one cookie based on the ingredients list above. I always tell people to take these numbers with a grain of salt, because you know how much the flour bag settles or if you use milk chocolate versus semi-sweet!
These values are just estimates, but they give you a good idea of what you’re enjoying when you grab one of these best ever cookies.
- Serving Size: 1 cookie
- Calories: 220
- Sugar: 18g
- Sodium: 150mg
- Fat: 12g
- Saturated Fat: 7g
- Unsaturated Fat: 5g
- Trans Fat: 0g
- Carbohydrates: 27g
- Fiber: 1g
- Protein: 3g
- Cholesterol: 40mg
If you’re looking for more simple things to get on the table quickly during the week—because who isn’t busy?—you should definitely check out my guide on easy weeknight dinners. Saves me every Tuesday!
Share Your Favorite cookie Baking Experience
Whew! We made it. At this point, your kitchen probably smells incredible, and you’ve got a batch of truly soft and chewy cookies cooling on the rack. I truly hope this recipe gives you that bakery-style joy without forcing you to plan ahead!
Now, here’s where you come in. I pour my heart and soul into developing these recipes to make sure they work perfectly for you, the modern home cook, and the best way I know that I’ve succeeded is when I hear back from you! Did you get that perfect gooey center? Are they the best homemade cookies you’ve ever made?
I absolutely live for seeing your creations! Please, take a picture of your perfect chocolate chip cookie spread and tag me on social media so I can celebrate with you. And if you have a second, leave a star rating right below this post. If you tried one of my tips—like sprinkling on the sea salt or mixing chocolate chips and chunks—tell me how it worked out in the comments below. Your feedback helps other bakers trust this method, too!
If you ever have questions or want to connect directly, you can always hop over to my contact page. Happy baking, my friend. I can’t wait to hear all about how delicious these turned out!
PrintThe Best Bakery-Style Soft and Chewy Chocolate Chip Cookies (No Chill)
This recipe delivers thick, bakery-style chocolate chip cookies with crispy edges and a soft, gooey center. You can bake these delicious cookies without any chilling time required.
- Prep Time: 10 min
- Cook Time: 12 min
- Total Time: 22 min
- Yield: 18 cookies 1x
- Category: Dessert
- Method: Baking
- Cuisine: American
- Diet: Vegetarian
Ingredients
- 1 cup (226g) unsalted butter, melted
- 1 cup (200g) packed light brown sugar
- 1/2 cup (100g) granulated sugar
- 2 large eggs, room temperature
- 2 teaspoons pure vanilla extract
- 2 1/4 cups (270g) all-purpose flour
- 1 teaspoon baking soda
- 1 teaspoon kosher salt
- 1 1/2 cups (255g) semi-sweet chocolate chips or chunks
- Flaky sea salt, for sprinkling (optional)
Instructions
- Preheat your oven to 350°F (175°C). Line two large baking sheets with parchment paper.
- In a large bowl, whisk together the melted butter, brown sugar, and granulated sugar until smooth.
- Beat in the eggs one at a time, mixing well after each addition. Stir in the vanilla extract.
- In a separate medium bowl, whisk together the flour, baking soda, and kosher salt.
- Gradually add the dry ingredients to the wet ingredients, mixing on low speed or by hand until just combined. Do not overmix.
- Fold in the chocolate chips or chunks.
- Scoop rounded tablespoons of dough onto the prepared baking sheets, leaving about 2 inches between each mound. For thicker cookies, press the dough balls slightly flatter on the top but leave the sides tall.
- Bake for 10 to 12 minutes, or until the edges are golden brown and the centers look slightly underbaked.
- Remove the sheets from the oven. Immediately sprinkle the tops of the cookies with flaky sea salt, if using.
- Let the cookies cool on the baking sheet for 5 minutes before transferring them to a wire rack to cool completely.
Notes
- For extra gooey centers, use a mix of chocolate chips and chopped chocolate bars.
- If your butter is too hot when you mix the sugars, the cookies may spread too much. Let it cool slightly before proceeding.
- These cookies stay soft for days when stored in an airtight container at room temperature.
Nutrition
- Serving Size: 1 cookie
- Calories: 220
- Sugar: 18g
- Sodium: 150mg
- Fat: 12g
- Saturated Fat: 7g
- Unsaturated Fat: 5g
- Trans Fat: 0g
- Carbohydrates: 27g
- Fiber: 1g
- Protein: 3g
- Cholesterol: 40mg