
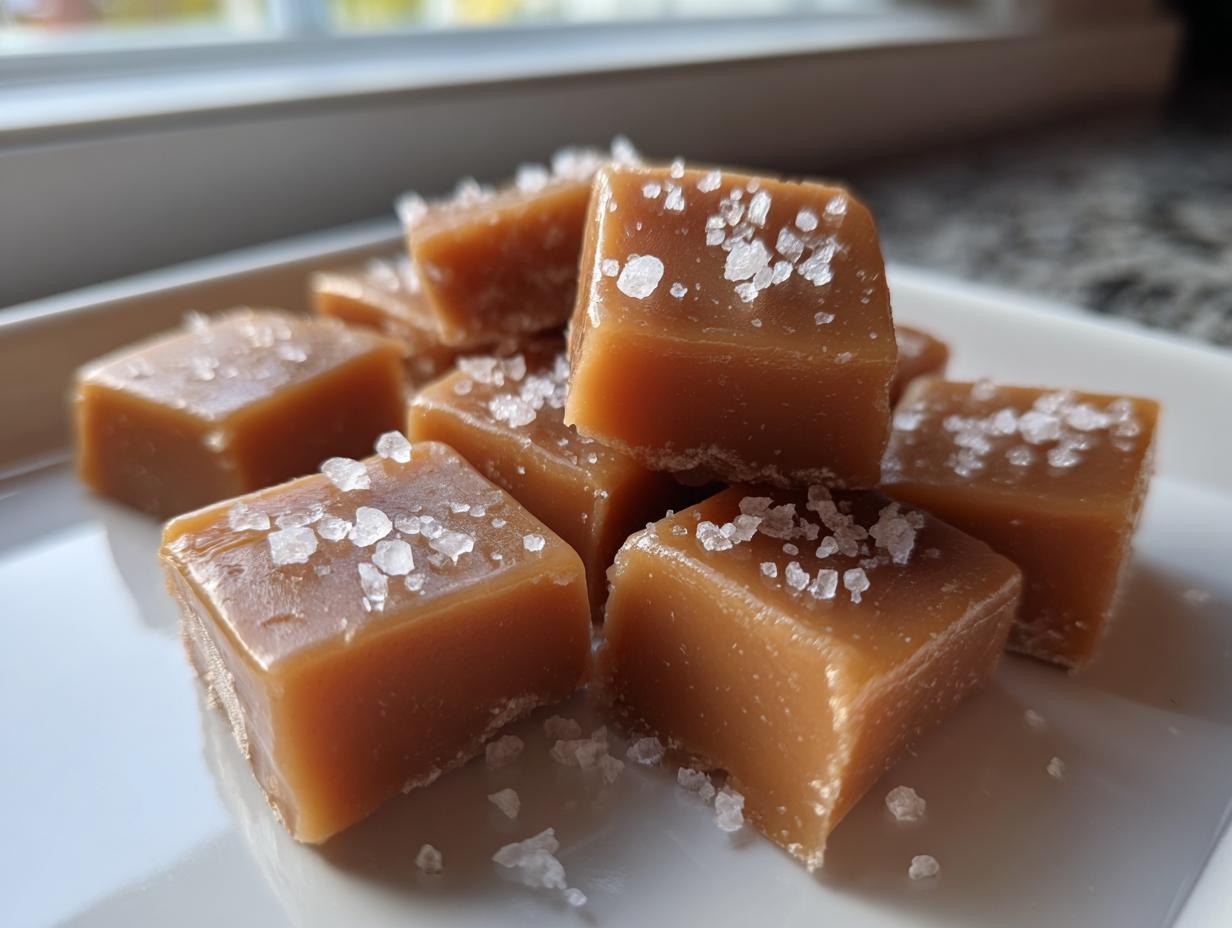
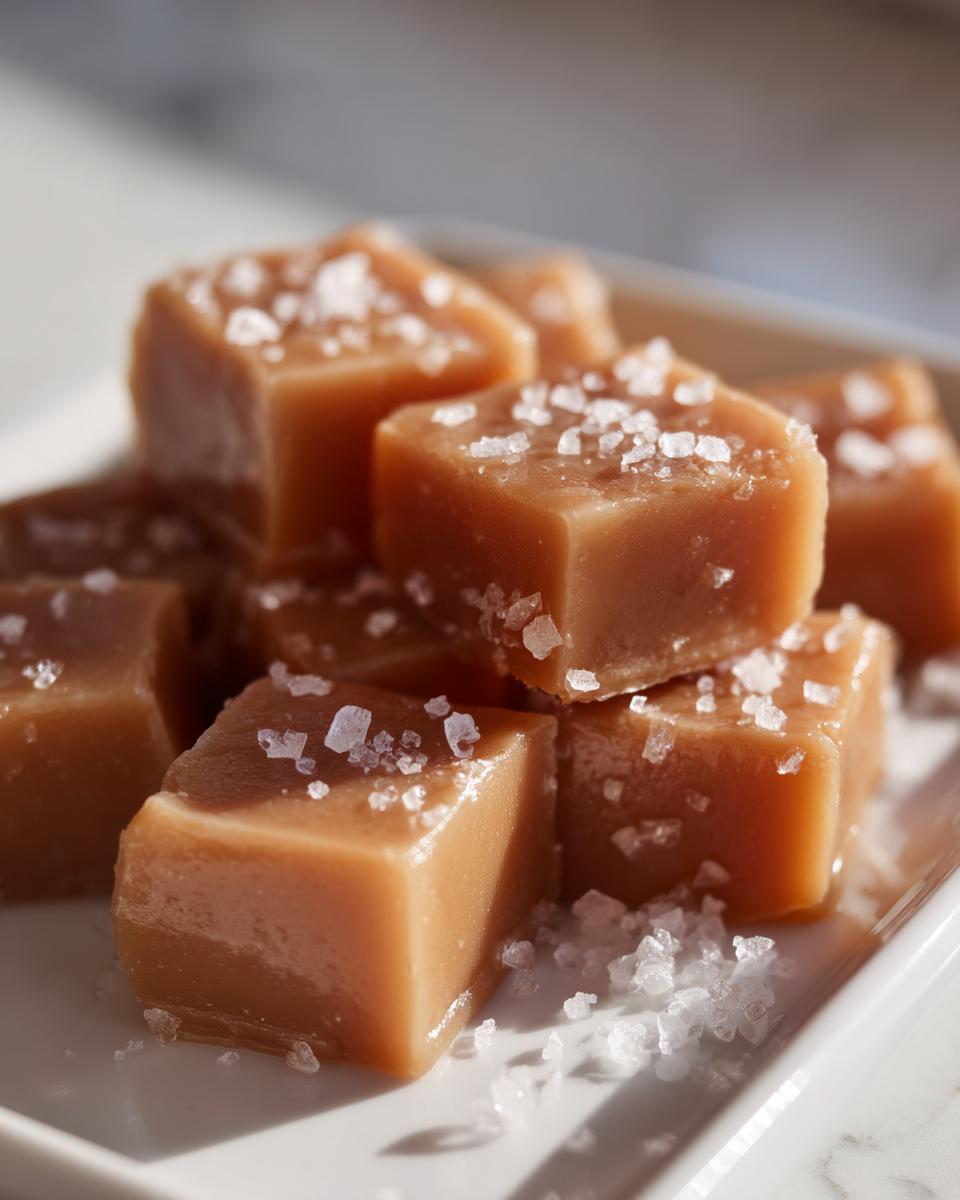
There is just something deeply comforting about a piece of classic candy, isn’t there? If you’re like me, the aroma of true, buttery goodness transports you right back to childhood kitchens. For years, I thought making real, soft and chewy homemade caramels was only for expert confectioners, which is why I completely held off. But after years of testing, I promise you, perfecting these Soft and Chewy Homemade Sea Salt Caramels is genuinely doable, even when your schedule is packed! This recipe is rich, buttery, and frankly, the easiest caramel recipe I’ve ever developed for you folks. No need for complicated techniques—just a little patience with the heat, and you’ll have melt-in-your-mouth candy. If you love this foundation, you should absolutely check out my main guide on the easy homemade caramel recipe for even more variations!
- Why You Will Love These Soft Chewy Homemade Caramels
- Essential Ingredients for Perfect Caramels
- Step-by-Step Instructions for Soft Chewy Caramels
- Tips for Making the Best Caramel Recipe
- Storage and Reheating Instructions for Caramels
- Making Caramels for Gifting
- FAQ About Making Homemade Caramels
- Estimated Nutritional Information for These Caramels
- Share Your Soft Chewy Caramels Experience
- Estimated Nutritional Information for These Caramels
- Share Your Soft Chewy Caramels Experience
Why You Will Love These Soft Chewy Homemade Caramels
Seriously, I developed this recipe because I wanted that nostalgic, old-fashioned chew without any fuss. Here are the reasons why these caramels are about to become your favorite thing to make:
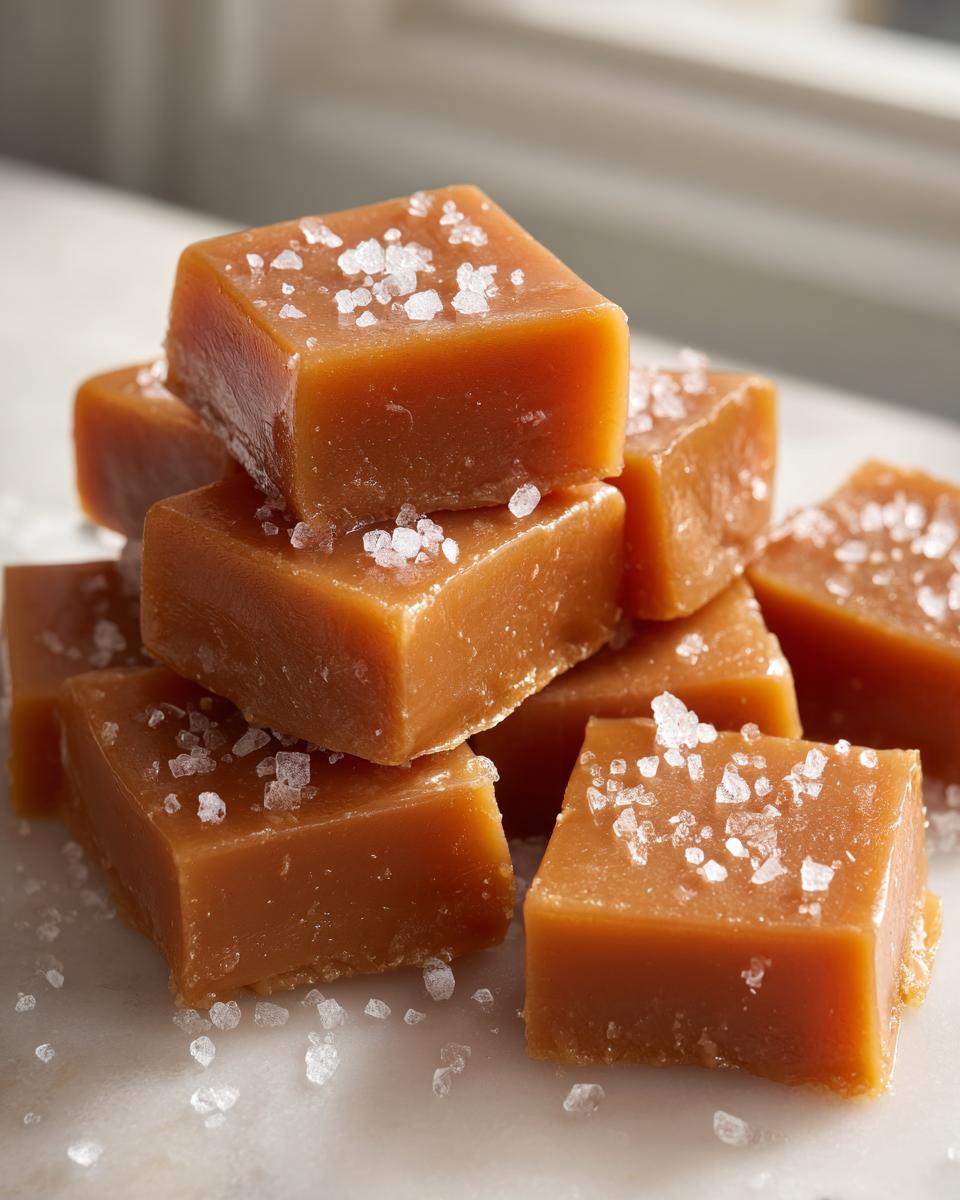
- They deliver that signature soft chewy caramels texture that just melts right away. No rock-hard candy here!
- The flavor is profoundly buttery caramel candy, thanks to using real, high-quality butter from the start.
- It’s surprisingly easy! Yes, we use a thermometer, but the overall process is straightforward, proving you don’t need a specialized candy kitchen to make this.
- That sprinkle of sea salt on top cuts through the sweetness for a surprisingly balanced, addictive bite. They become true gooey caramel treats.
- These from scratch caramels are amazing as is, or you can use these as the base for my favorite caramel fudge recipe later on.
- The yield is great, making them perfect for gifting caramels during the holidays or for special occasions.
Essential Ingredients for Perfect Caramels
For that perfect, chewy caramel, you can’t mess around with sub-par ingredients. That’s just fact! This recipe relies on a core group of items to hit that sweet spot between soft and hold-its-shape. Don’t worry, these are all standard pantry staples. Having everything measured out before you even turn on the stove is my number one rule for candy making, trust me.
- 1 cup granulated sugar
- 1 cup light corn syrup
- 1 cup heavy cream
- 1 cup unsalted butter, cut into pieces
- 1 teaspoon vanilla extract
- 1/2 teaspoon sea salt, plus extra for sprinkling
Ingredient Notes and Substitutions for Your Caramels
When making something as temperamental as caramels, the ingredients really matter. You absolutely need the heavy cream here; low-fat milk just won’t give you the richness and the proper fat content to set correctly. Light corn syrup is key too—it prevents the sugar from crystallizing on you, which would result in grainy buttery caramel candy!
If you’re totally out of corn syrup, you *could* try using glucose, but please don’t just substitute white sugar for it, or you’ll get hard candy instead of the soft chew we want. Also, make sure those butter pieces are measured precisely! If you skimp on the butter, they won’t have that lovely melt-in-your-mouth quality.
Step-by-Step Instructions for Soft Chewy Caramels
Okay, grab your heaviest saucepan—we need something sturdy for this cooking process! This is where our 25 minutes of active cooking time really happens, so stick close. First things first: get your 8×8 pan ready. Line it with parchment paper, making sure you leave a nice overhang on two sides. That overhang is your best friend when it’s time to pull the solid block of caramels out later. That prep step is part of the overall 15 minutes of prep time, so get it done before we even think about turning the heat up!
Next, toss in your sugar, corn syrup, heavy cream, and butter pieces. You have to stir this constantly over medium heat until everything melts and the sugar dissolves. Here’s my personal tip for candy making, learned the hard way: once it hits a boil, stop stirring! If the mixture is sloshing around, don’t poke it. Any extra stirring after the boil can encourage crystallization, and we want smooth, perfect gooey caramel treats, not gritty ones! If you want to see how I make a slightly different batch, check out my guide on the easy homemade caramel recipe.
- Lightly grease an 8×8 inch baking pan and line it with parchment paper, leaving an overhang on two sides for easy removal. Set aside.
- Combine the sugar, corn syrup, heavy cream, and butter in a heavy-bottomed saucepan.
- Stir the mixture constantly over medium heat until the butter melts and the sugar dissolves.
- Stop stirring once the mixture boils. Insert a candy thermometer.
- Cook the mixture, without stirring, until it reaches 245 degrees Fahrenheit (the firm-ball stage). This usually takes 15 to 25 minutes. Watch the temperature closely.
- Remove the pan from the heat immediately when it reaches 245 degrees Fahrenheit.
- Carefully stir in the vanilla extract and 1/2 teaspoon of sea salt. Stir gently until just combined.
- Pour the hot caramel mixture into the prepared baking pan. Do not scrape the sides of the pan.
- Let the caramel cool completely at room temperature for at least 3 hours, or until firm.
- Once firm, use the parchment paper overhang to lift the caramel block from the pan.
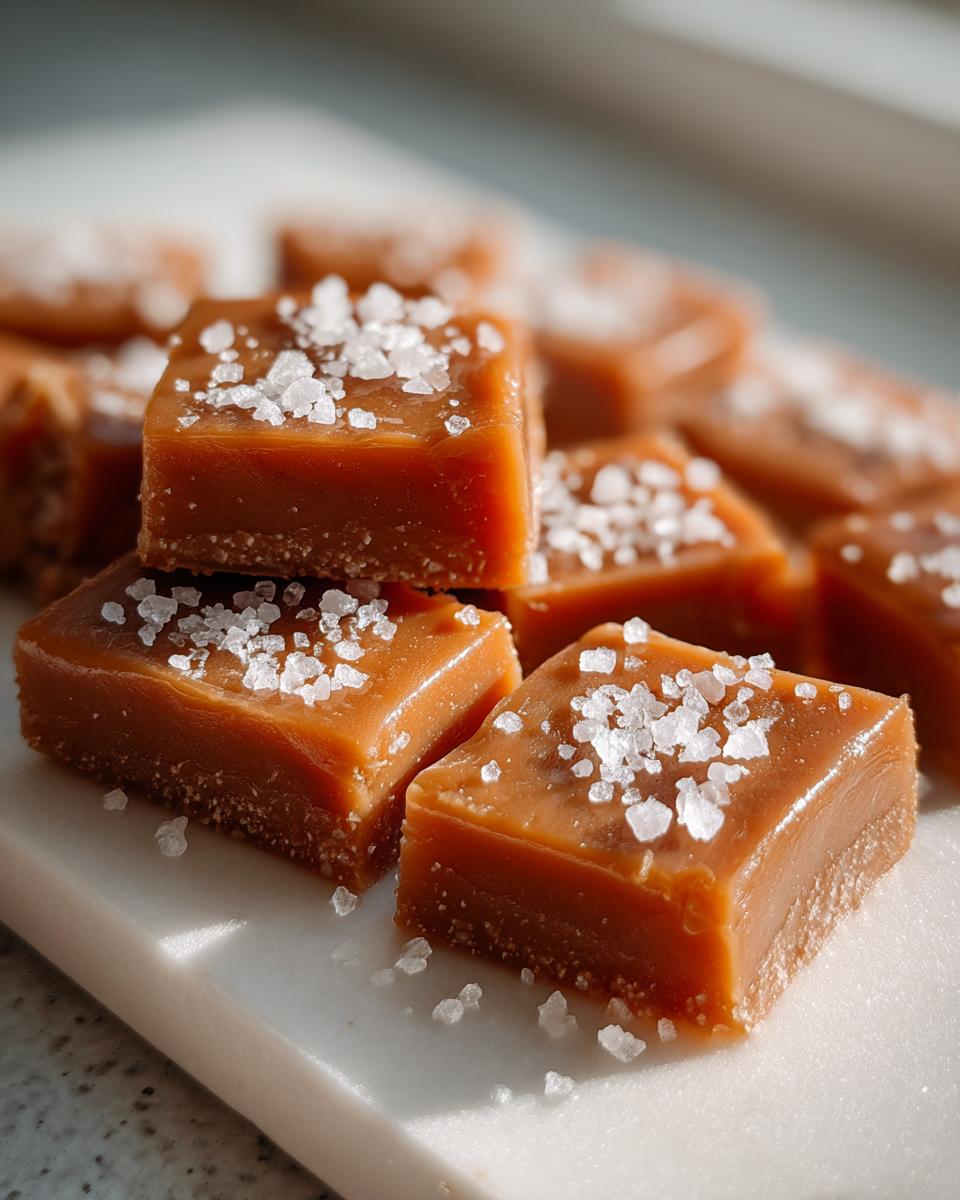
- Cut the block into 1-inch squares using a sharp, oiled knife.
- Sprinkle the tops of the cut caramels with extra sea salt immediately after cutting.
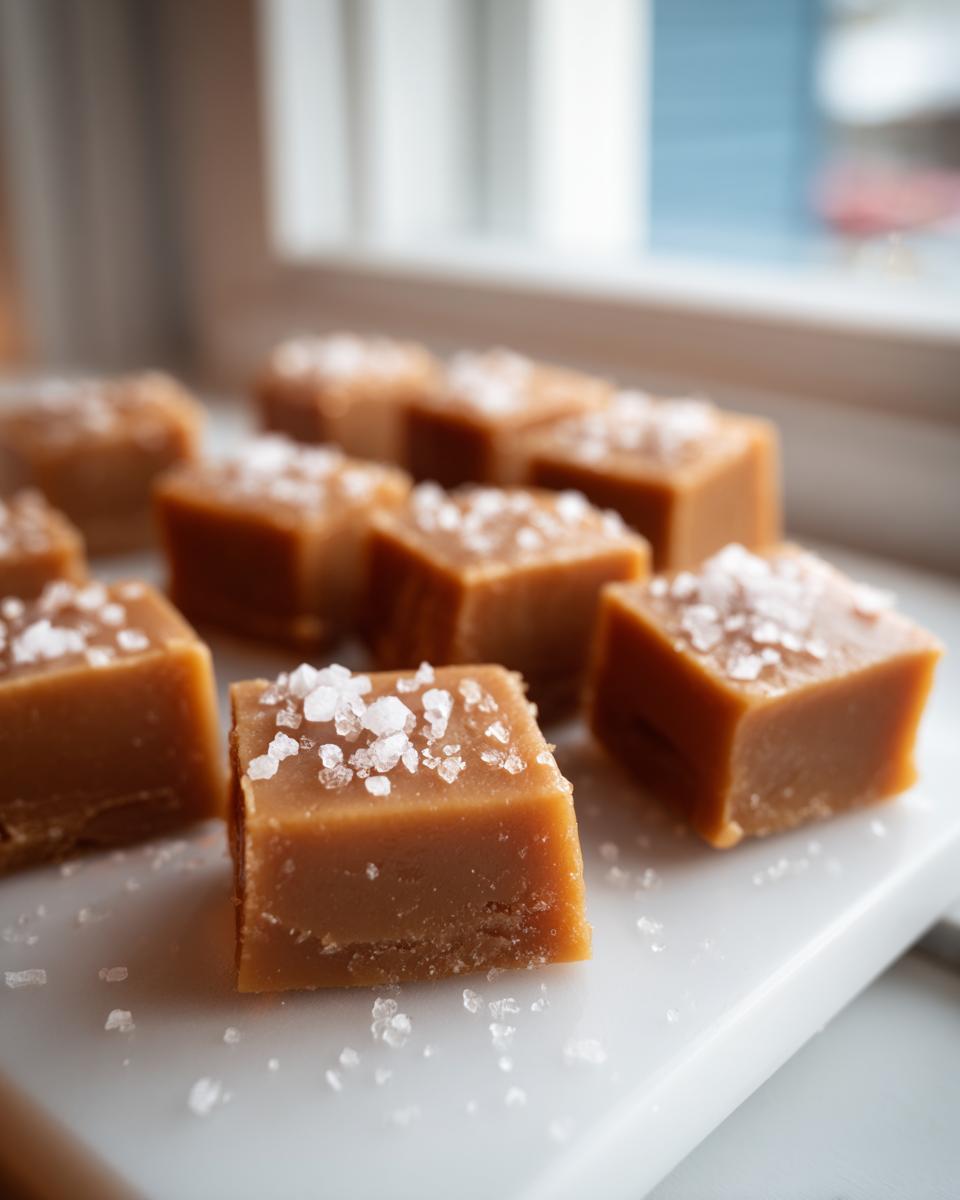
- Wrap each caramel individually in wax paper or cellophane for storage or gifting.
Achieving the Right Temperature for Your Caramels
Listen, 245 degrees Fahrenheit is the magic number for these soft chewy caramels. That temperature corresponds with the firm-ball stage. If you go under, they will be too squishy, and you’ll spend all day wrestling with gooey messes. If you go over, boom, you’ve got a hard candy that breaks your teeth! This is crucial for the best results!
If the thermometer decides to quit on you mid-cook (they do that!), grab a small bowl of ice water. Carefully drop a tiny bit of the mixture in. If you can scoop it out and roll it into a soft, pliable ball that still gives when you press it—that means you’re good to go! That soft ball is what guarantees that perfect, pull-apart texture we’re aiming for in our best caramel recipe. Sea salt caramels absolutely rely on this specific consistency!
Cutting and Wrapping Your Homemade Caramels
Once the caramel block is totally firm—and I mean *totally*—use those parchment paper handles to lift the whole thing out onto a cutting board. Trying to cut it while it’s still warm will just turn into a big, sticky disaster; trust me on that one!
I like to take a very sharp knife and lightly coat the blade with a tiny bit of neutral oil. Wipe off any excess oil first, so you don’t smear it onto the candy, but that little bit of oil helps the knife glide right through. Cut them into those perfect 1-inch squares. This is the moment you grab that extra sea salt and generously sprinkle it over the tops right away, while the surfaces are still slightly tacky. Then, wrap it up! Don’t leave them unwrapped—they just get sticky sitting out, which is terrible for gifting caramels!
Tips for Making the Best Caramel Recipe
Making caramels is a science, but the best part is learning how to cheat a little based on experience. You’ve got the thermometer reading down, but what if things still go sideways? Don’t stress! We have a few expert tricks up our sleeve to ensure you get that perfect, soft chew every single time, turning these into that glorious melt in your mouth candy everyone loves.
If your sugar mixture looks like it’s starting to form those nasty little crystals around the edges of the pan—that’s called crystallization, and it means your chewy candy making dream is about to go gritty! To fight this, grab a pastry brush, dip it in warm water, and gently wash down the sides of the pan above the liquid line. This washes the stray sugar crystals back into the main batch so they dissolve properly.
We mentioned chilling them for cleaner cuts, but that’s really important for professional-looking squares. If you want those perfect edges, let them cool completely on the counter (at least three hours), then move the whole block into the fridge for about 30 minutes before slicing. This firms them up just enough so your knife slides through cleanly instead of dragging the whole thing.
If you don’t have a thermometer, remember that ice water test! That’s Grandma’s old standby. If your mixture forms a soft ball in the ice water—one that you can easily flatten when you press it—it’s perfect. If it cracks immediately, it’s too hard, and if it just dissolves, it needs more time cooking. It takes practice, but getting that texture just right is the hallmark of a stunning batch of homemade caramels.
If you’re worried about them sticking to everything once they are cut, make sure you wrap them immediately after cutting! That’s why we always have the wax paper ready. For a fun twist on incorporating caramel into baked goods, you absolutely have to try my fudgy salted caramel swirl brownies!
Storage and Reheating Instructions for Caramels
Alright, you’ve successfully navigated the candy-making jungle, and now you have this beautiful block of soft chewy caramels! The next big question is: how do I keep them perfect so they are ready when the craving hits? The good news is these store wonderfully, provided you follow a couple of key rules. Remember, we are aiming for that melt-in-your-mouth quality, not something that’s fighting you when you try to chew it!
The absolute best way to keep these amazing buttery caramel candy pieces? Wrapped individually in wax paper or cellophane, tucked into an airtight container. Keep that container right on the counter at room temperature. If you store them correctly, they will stay that soft, pliable, perfect texture for easily two weeks. Honestly, ours rarely last that long because they are too tempting!
Now, what about the fridge? I know, sometimes we think cold means better preservation, right? Not always for caramels! If you stick them in the refrigerator, they will become quite firm. They won’t go bad, but they definitely lose that amazing, soft chew we worked so hard to achieve. If you *must* refrigerate them (maybe your kitchen is sweltering hot!), just pull them out about an hour before you plan to eat them. Let them come back up to room temperature so they soften right up again. That way, they’ll be those blissful, gooey caramel treats once more!
Making Caramels for Gifting
I swear, one of the absolute best parts about making a batch of these homemade caramels is having a reason to give them away. Who doesn’t love getting a little box of homemade candy? They look so much more impressive than cookies, but really, they are just as easy once you know the temperature trick! These definitely fall into my favorite category of simple Holiday Candy Recipes that look incredibly fancy.
Presentation is everything when you’re gifting something you made from scratch. Since we’re working with that beautiful final sprinkle of sea salt, we can really play up the visual appeal. Instead of just using boring white wax paper, try grabbing some colorful rolls—think festive reds and greens if it’s Christmas, or maybe soft pastel colors for a spring gift. Cut the paper squares a little larger than the caramels when cut, so you have plenty of paper to twist or tie them up.
My favorite way to present these, especially when giving them out to neighbors, is to wrap them tightly, twist the ends like little candies, and then toss them all together in a clear cellophane bag. Tie the top with a pretty piece of twine or ribbon. It’s so charming! If you want an extra special touch, you could even dip half of each wrapped caramel in melted dark chocolate first and let it set before you wrap it. That adds a layer of rich indulgence!
If you’re interested in other simple, small treats that are perfect for tucking into gift baskets alongside these sea salt caramels, you have to check out my quick recipe for easy cream cheese mints. They set up fast and everybody loves them. For more inspiration on traditional homemade candy, check out what my friends over at Two Sugar Bugs are doing with their homemade caramels for gifting ideas too!
FAQ About Making Homemade Caramels
Can I really make these soft chewy caramels without a candy thermometer?
Oh, I totally get it; not everyone has a candy thermometer staring at them from the drawer! Yes, you absolutely can, but you have to be super vigilant because the temperature is what guarantees the right texture. Remember the ice water test I mentioned? If your mixture drops into ice water and forms a soft, pliable ball that squishes easily when you press it, you’re set for soft chewy caramels. If it feels brittle, it’s too hot! If it just melts away, cook it a little longer. That soft ball is the key to avoiding rock-hard candy.
My caramels ended up too hard! Why did my homemade caramels get firm instead of chewy?
Ah, the dreaded hard caramel problem! Usually, this happens for one of two reasons. First, you cooked the mixture too long or too high, pushing the temperature past that 245-degree mark we need. This pushes the sugar into the hard-crack stage instead of the soft-ball stage needed for chewy candy making. Second, you might have scraped down crystallized sugar from the sides of the pan back into the mixture. That stray sugar speeds up cooking! Do your best to only stir when melting, and leave those sides alone once it boils. For the best results next time, make sure you stick precisely to the cook time associated with 245°F.
How do I stop my soft caramels from sticking EVERYTHING together?
Sticking is the arch-nemesis of anyone making from scratch caramels! The prevention starts before the cooking even begins. You must use parchment paper in your pan, not wax paper, because wax paper can sometimes melt a little when the caramel is hot. Make sure you generously grease the parchment paper itself with butter or cooking spray! After cutting, you need to wrap immediately. If you leave them sitting out unwrapped for even an hour, they start leaching moisture and sticking to each other. Wax paper squares are best for wrapping before storing them in an airtight container.
Is using light corn syrup essential for achieving the best caramel recipe?
Honestly, yes, for that foolproof, super-smooth texture, corn syrup is a lifesaver! It acts as an invert sugar, which messes with the sucrose molecules and keeps them from recrystallizing into grainy sugar shards. If you’re making buttery caramel candy and want zero grit, that corn syrup is your security blanket. If you want to see some other easy ways I handle sugary mixtures, you can look at my guide on easy homemade corn tortillas—it’s all about managing flour and moisture, kind of the same principle!
Estimated Nutritional Information for These Caramels
Just so you go into this with all the facts—and because I know some of you are tracking things closely!—here are the estimated nutritional facts for one of these gorgeous, gooey caramel treats. Please remember, this is a total estimate based on how I made them, your exact measurements and brands can tweak these numbers a little bit.
- Serving Size: 1 piece
- Calories: 100
- Sugar: 15g
- Sodium: 35mg
- Fat: 4g
- Saturated Fat: 2.5g
- Unsaturated Fat: 1.5g
- Trans Fat: 0g
- Carbohydrates: 16g
- Fiber: 0g
- Protein: 0.5g
- Cholesterol: 15mg
Share Your Soft Chewy Caramels Experience
I poured my heart into making this the most reliable recipe for homemade caramels out there, and I truly want to know how yours turned out! Did they achieve that perfect soft chew? Were the sea salt flecks just right? Don’t be shy!
Please leave a rating below—it helps me know if I need to adjust anything for future batches, and it lets other folks know that they, too, can conquer quick caramel candy making. If you snap a photo of your beautifully wrapped or plated sea salt caramels, tag me on social media! I absolutely love seeing your creations. If you enjoyed this, you should definitely try my famous ultimate chocolate chip cookie recipe next!
PrintSoft and Chewy Homemade Sea Salt Caramels
Make rich, buttery, soft, and chewy homemade caramels sprinkled with sea salt. This easy recipe delivers melt-in-your-mouth candy perfect for gifting or snacking.
- Prep Time: 15 min
- Cook Time: 25 min
- Total Time: 4 hours 10 min
- Yield: About 64 pieces 1x
- Category: Candy
- Method: Stovetop Cooking
- Cuisine: American
- Diet: Vegetarian
Ingredients
- 1 cup granulated sugar
- 1 cup light corn syrup
- 1 cup heavy cream
- 1 cup unsalted butter, cut into pieces
- 1 teaspoon vanilla extract
- 1/2 teaspoon sea salt, plus extra for sprinkling
Instructions
- Lightly grease an 8×8 inch baking pan and line it with parchment paper, leaving an overhang on two sides for easy removal. Set aside.
- Combine the sugar, corn syrup, heavy cream, and butter in a heavy-bottomed saucepan.
- Stir the mixture constantly over medium heat until the butter melts and the sugar dissolves.
- Stop stirring once the mixture boils. Insert a candy thermometer.
- Cook the mixture, without stirring, until it reaches 245 degrees Fahrenheit (the firm-ball stage). This usually takes 15 to 25 minutes. Watch the temperature closely.
- Remove the pan from the heat immediately when it reaches 245 degrees Fahrenheit.
- Carefully stir in the vanilla extract and 1/2 teaspoon of sea salt. Stir gently until just combined.
- Pour the hot caramel mixture into the prepared baking pan. Do not scrape the sides of the pan.
- Let the caramel cool completely at room temperature for at least 3 hours, or until firm.
- Once firm, use the parchment paper overhang to lift the caramel block from the pan.
- Cut the block into 1-inch squares using a sharp, oiled knife.
- Sprinkle the tops of the cut caramels with extra sea salt immediately after cutting.
- Wrap each caramel individually in wax paper or cellophane for storage or gifting.
Notes
- If you do not have a candy thermometer, test the caramel by dropping a small amount into ice water; it should form a soft, pliable ball.
- For cleaner cuts, chill the set caramel block in the refrigerator for 30 minutes before slicing.
- Store wrapped caramels in an airtight container at room temperature for up to two weeks.
Nutrition
- Serving Size: 1 piece
- Calories: 100
- Sugar: 15
- Sodium: 35
- Fat: 4
- Saturated Fat: 2.5
- Unsaturated Fat: 1.5
- Trans Fat: 0
- Carbohydrates: 16
- Fiber: 0
- Protein: 0.5
- Cholesterol: 15