
Oh, December! We all want that cozy holiday magic, right? But let’s be honest, between finding the perfect gifts and managing all those extra events, holiday baking can start feeling like a source of stress, not joy. If you are anything like me, you need treats that look spectacular but skip the time-consuming drama of rolling out dough and cutting shapes.
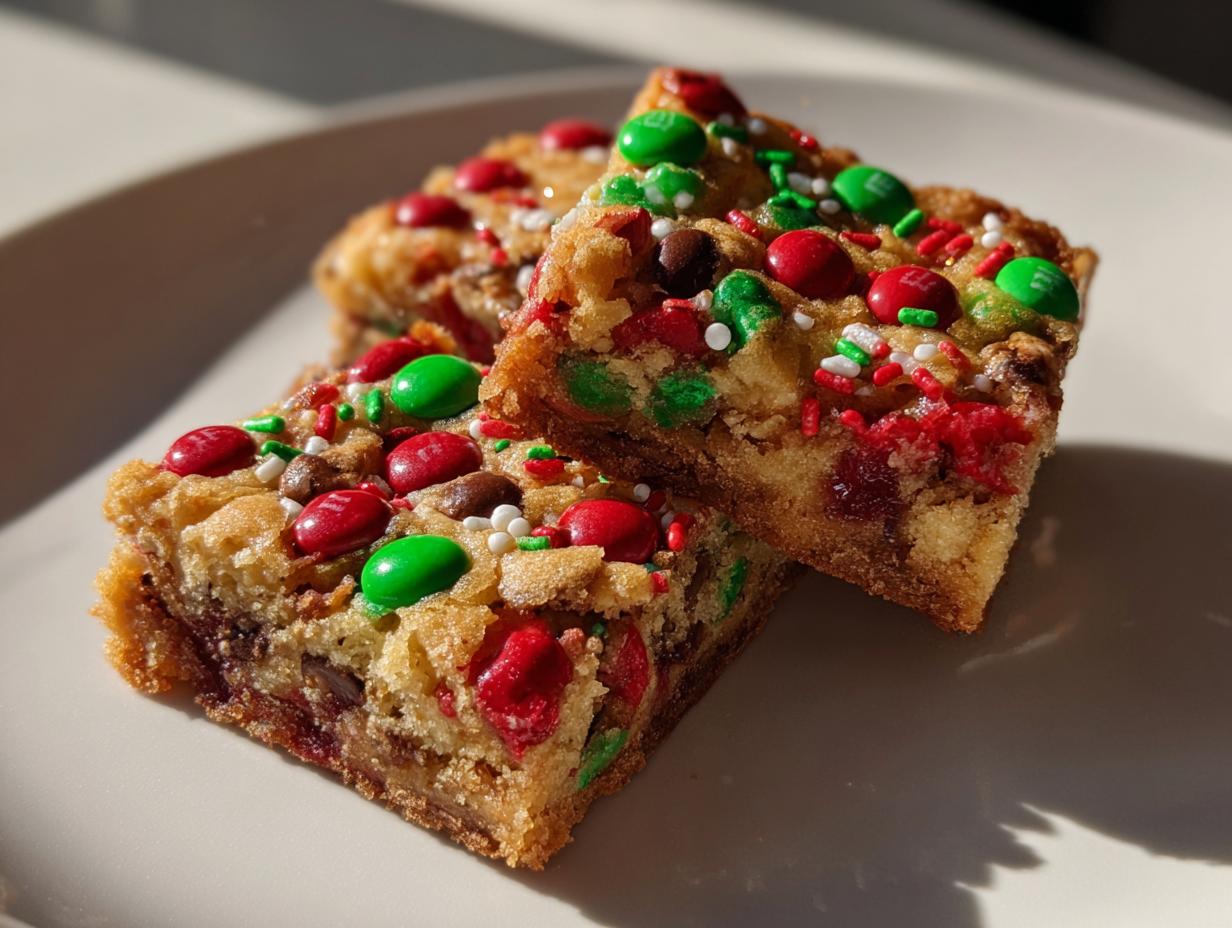
That is why I am practically dancing over this recipe—I call them the ultimate easy, chewy christmas cookie bars! These are thick, soft, and loaded with enough colorful cheer to steal the show at any party, all while keeping your sanity totally intact. We’re talking about one pan, minimal cleanup, and maximum festive flavor. Trust me, these buttery holiday bars are about to become your go-to sweet treat every year!
- Why These Are the Best Christmas Cookie Bars for Your Holiday Table
- Gathering Ingredients for Your Christmas Cookie Bars
- Simple Steps to Make Perfect Christmas Cookie Bars
- Tips for Perfect Christmas Cookie Bars Every Time
- Storing and Making Ahead Christmas Cookie Bars
- Serving Suggestions for Festive Cookie Bars
- Frequently Asked Questions About These Christmas Dessert Recipes
- Estimated Nutritional Data for These Festive Cookie Bars
- Share Your Christmas Cookie Bars Creations
Why These Are the Best Christmas Cookie Bars for Your Holiday Table
When the holiday calendar starts filling up, you need desserts that work *for* you, not against you. These aren’t just any cookies; they are the definition of easy holiday baking. I wanted something that delivered the joy of a perfectly baked cookie without requiring me to spend an entire afternoon scooping dough onto a sheet.
Here is exactly why I think these chewy Christmas treats are going straight into your permanent rotation:
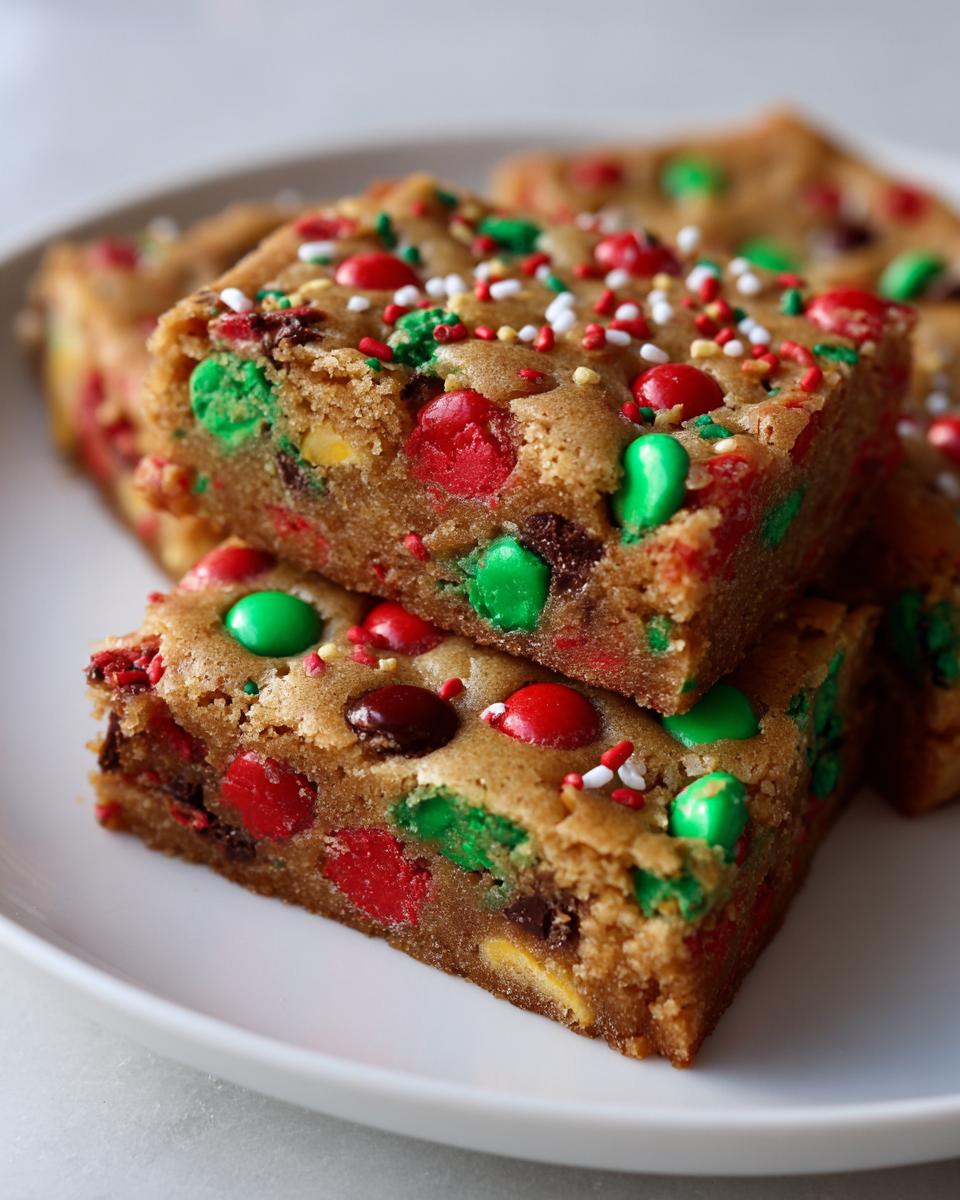
- Effortlessly Chewy Texture: We’re talking soft centers and just-set edges. They are deeply satisfying and absolutely addictive.
- One Pan Christmas Cookies: Seriously, everything goes into one 9×13 pan. Less mess means more time sipping cocoa!
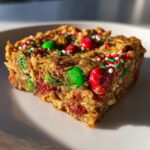
- Instant Festive Vibe: Loaded with bright red and green M&Ms and sprinkles, these bars already look like they belong on a beautiful holiday platter. No fussy decorating needed here!
- Make Ahead Christmas Treats: They bake up beautifully and are perfect for preparing a few days before your big gathering.
Gathering Ingredients for Your Christmas Cookie Bars
The best part about making these christmas cookie bars is that you probably already have 90% of what you need sitting right there in your pantry! This is not a recipe that requires a special trip to a boutique grocery store because nobody has time for that in the middle of December, right? We want reliability and flavor, and that comes from sticking to great basics.
I am laying out exactly what I use every single time to nail that perfect buttery holiday bars taste. Remember, precision matters when stirring everything together, so make sure you set your butter out a little early to get it perfectly softened!
Essential Ingredients for Thick and Soft Cookie Bars
- 1 cup unsalted butter, softened (make sure this isn’t melted!)
- 1 cup packed brown sugar (That molasses flavor is key!)
- 1/2 cup granulated sugar
- 2 large eggs
- 1 tablespoon vanilla extract
- 2 3/4 cups all-purpose flour
- 1 teaspoon baking soda
- 1/2 teaspoon salt
- 1 1/2 cups Christmas M&Ms (I always grab the red and green ones!)
- 1 cup holiday sprinkles (Use the festive mix, it makes such a difference!)
- 1/2 cup white chocolate chips
Simple Steps to Make Perfect Christmas Cookie Bars
Okay, now for the best part—making them! This is where we embrace easy holiday baking. Seriously, if you are like me when December hits, you spend half your day answering emails or wrapping gifts, and the other half wishing you had time for a real dessert. That’s why I love this no-scoop method for our Christmas cookie bars. I used to spend ages scooping cookie dough back when I was trying to keep up with my marketing schedule, and honestly, it drove me nuts! Pressing the batter evenly into the pan takes about thirty seconds flat, and you get those beautiful, thick, consistently baked christmas cookie bars every single time.
Now, pay attention to the mixing order, because that is the secret sauce to keeping these treats wonderfully chewy and not cakey. You can check out even more great bar recipes over at this spot too, but trust me, ours is the chewiest!
Preparing Your Pan and Oven
First thing first: Get your oven cranked up to 350 degrees F. Next, grab your 9×13 inch pan. You *must* line it with parchment paper. I mean it! Leave an overhang, those little ‘handles’ on the sides, because you’ll need them later to easily lift the entire slab of goodness out once it’s cooled. This step is non-negotiable for easy cleanup!
Mixing the Wet and Dry Components of Your Christmas Cookie Bars
In your big bowl, start by beating that softened butter along with both sugars until you get a nice, fluffy, creamy mixture. Then, eggs go in—one at a time—followed by the vanilla. In a separate bowl, quickly whisk your flour, baking soda, and salt together. When you combine them, add the dry stuff gradually to the wet mixture, mixing until *just* combined. Stop mixing as soon as the streaks of flour disappear. If you keep going, you activate the gluten, and guess what? No more chewy center!
Folding in the Festive Elements
This is the fun part where the magic happens! Take your Christmas M&Ms, those gorgeous holiday sprinkles, and the white chocolate chips, and gently fold them in. I say *gently* because we aren’t trying to crush them; we want them whole to give us those perfect pops of flavor in every bite of these M&M cookie bars holiday style!
Baking and Cooling for Chewy Christmas Treats
Spoon that beautiful colorful dough right into your parchment-lined pan and press it down evenly. It should bake for about 22 to 25 minutes at 350°F. How do you know they’re done? The edges should be just barely golden brown, but the center needs to look like it’s still a little soft or slightly underdone. That slight wobble is exactly what gives you those incredible chewy Christmas treats. Now, this is the hardest part: Let them cool completely in that pan on a wire rack. If you try to slice them warm, they’ll just crumble apart. Patience gives you perfect squares!
Tips for Perfect Christmas Cookie Bars Every Time
Even though these are simple to whip up, a couple of little tricks can take these from just ‘good’ to absolutely ‘Can I have the recipe?’ status. I’ve learned through my testing over the years that technique matters, even when you’re aiming for easy holiday baking. If you want that picture-perfect look for your holiday platter, pay attention to these details on achieving those vibrant, buttery holiday bars. Sometimes the best flavor surprises come from mixing in unexpected, rich additions, kind of like how I use extra cream cheese in my white chocolate fudge—it just adds density and smoothness!
Achieving Maximum Festive Color
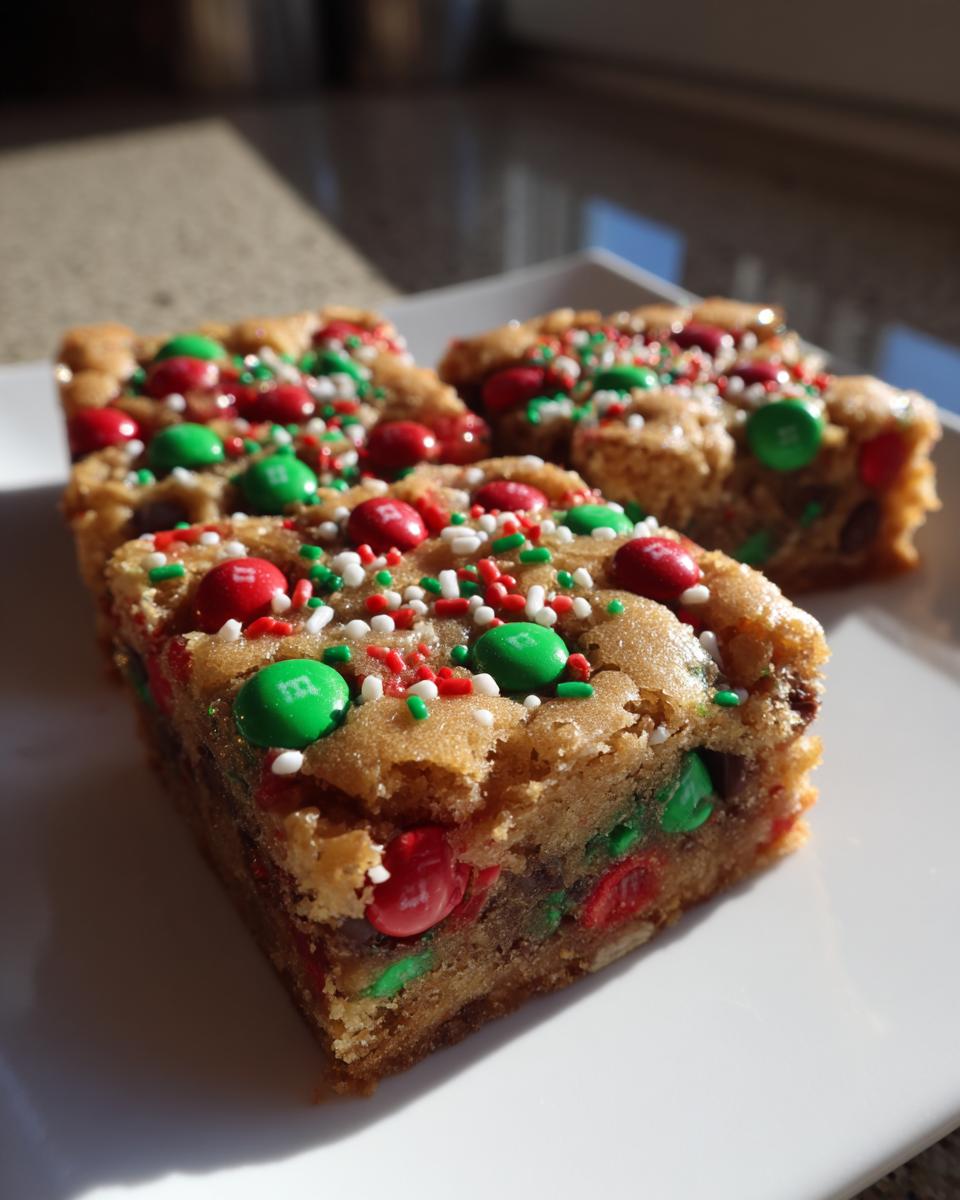
When I first made these, the M&Ms would sink right down into the batter, and while they tasted great, they didn’t have that immediate ‘Wow, look at the holiday explosion!’ factor I wanted. So, here’s my trick: Reserve about a third of your M&Ms and sprinkles. After you press the dough evenly into the pan (just before it goes into the oven), take that reserved colorful mix and gently press it right onto the top surface. It sticks beautifully, and it guarantees you get that bright, festive color visible right on top of every single square.
Adjusting Pan Size for Thicker Bars
What if you only have a smaller square pan? Maybe you want them extra thick for that supremely satisfying bite? You can absolutely swap out the 9×13 inch pan for a 9×9 inch pan. Since you are putting the same amount of dense dough into a smaller surface area, they are going to bake up significantly thicker—almost like a brownie or a thick blondie! The trade-off is oven time. You need to reduce the baking time slightly, maybe starting checks around the 20-minute mark. But seriously, watch them closely! Thicker means denser, and you risk the center not setting properly if you bake too long. You want that slight softness remaining so they stay chewy, not dry!
Storing and Making Ahead Christmas Cookie Bars
If you’re planning ahead—and you should be, because December is chaos incarnate—good news: these are some of the best make ahead Christmas treats you can find. Since these are bar cookies, they handle storage like champions! The key to keeping that perfect chewy texture is controlling the environment immediately after slicing.
Once your christmas cookie bars are completely, totally cool—and I mean stone cold—you can slice them up into those gorgeous squares. Don’t slice them until they are cool, or you’ll get gooey messes instead of clean edges!
For short-term storage, just pop them into an airtight container. If you layer them (which I usually do, because I make a giant batch!), put a small piece of parchment or wax paper between the layers. They stay perfectly soft and delicious at room temperature for three to four days. That means less worrying on Christmas Eve!
Now, if you need to hide them from hungry family members (or just want them ready for New Year’s too!), freezing them is the way to go. You can freeze the bars whole (uncut) or pre-sliced. I prefer slicing them first so I can grab just a few at a time later on. Wrap the stack tightly in plastic wrap—like you’re wrapping a precious gift—and then slide them into a freezer-safe bag or container. They keep wonderfully for up to three months. No flavor loss, no texture changes. It’s the best kind of holiday prep!
Serving Suggestions for Festive Cookie Bars
These colorful and rich christmas cookie bars truly shine when they hit the dessert table, especially if you are handling **holiday potluck desserts**. Since they are already so sweet and satisfying—thanks to the butter and chocolate—you don’t need to pair them with anything too heavy. I always think about what people are drinking!
If you’re serving them after a big meal, a simple espresso or black coffee is perfect. But if you’re leaning into the festive theme, try serving these alongside a tart fruit salad to cut through the sweetness, or perhaps pairing them with a pitcher of something bright, like my White Christmas Margarita if the adults need cheering up! They are fantastic on their own, but a little contrast makes them even better.

Frequently Asked Questions About These Christmas Dessert Recipes
It is totally normal to have questions when you’re mixing things up for the holidays! Even though these are incredibly straightforward, sometimes little tweaks pop up. I poured over my notes to answer the most common things I hear about these ultra-festive, simple Christmas sweets. As someone who really focuses on making easy holiday baking accessible, I want you to feel confident every step of the way!
Can I substitute the M&Ms in these christmas cookie bars?
Definitely! The M&Ms give you that amazing pop of color and crunch that screams ‘Christmas,’ but if you don’t have them, or just want a change, go for it. You can use Reese’s Pieces if you love peanut butter, or even mix in some different kinds of holiday chocolate chips—think dark chocolate or milk chocolate chunks instead of the white ones we used. Just know that if you skip the red and green M&Ms, you’ll lose some of that intense festive look, so maybe add a few extra colorful sprinkles to compensate!
How do I ensure my bars stay chewy and not cakey?
Ah, the million-dollar question when baking bars! There are two main culprits when bars turn out cakey instead of chewy, and we totally avoid both here. First, you cannot overmix the flour once you add it in. Stop stirring the second the flour streaks disappear. Second, and this is critical, underbake them just a tiny bit! Pull them out of the oven when the edges look set and golden but the center still looks a little soft or slightly gooey. They firm up to that perfect, satisfying chewiness as they cool completely on the counter.
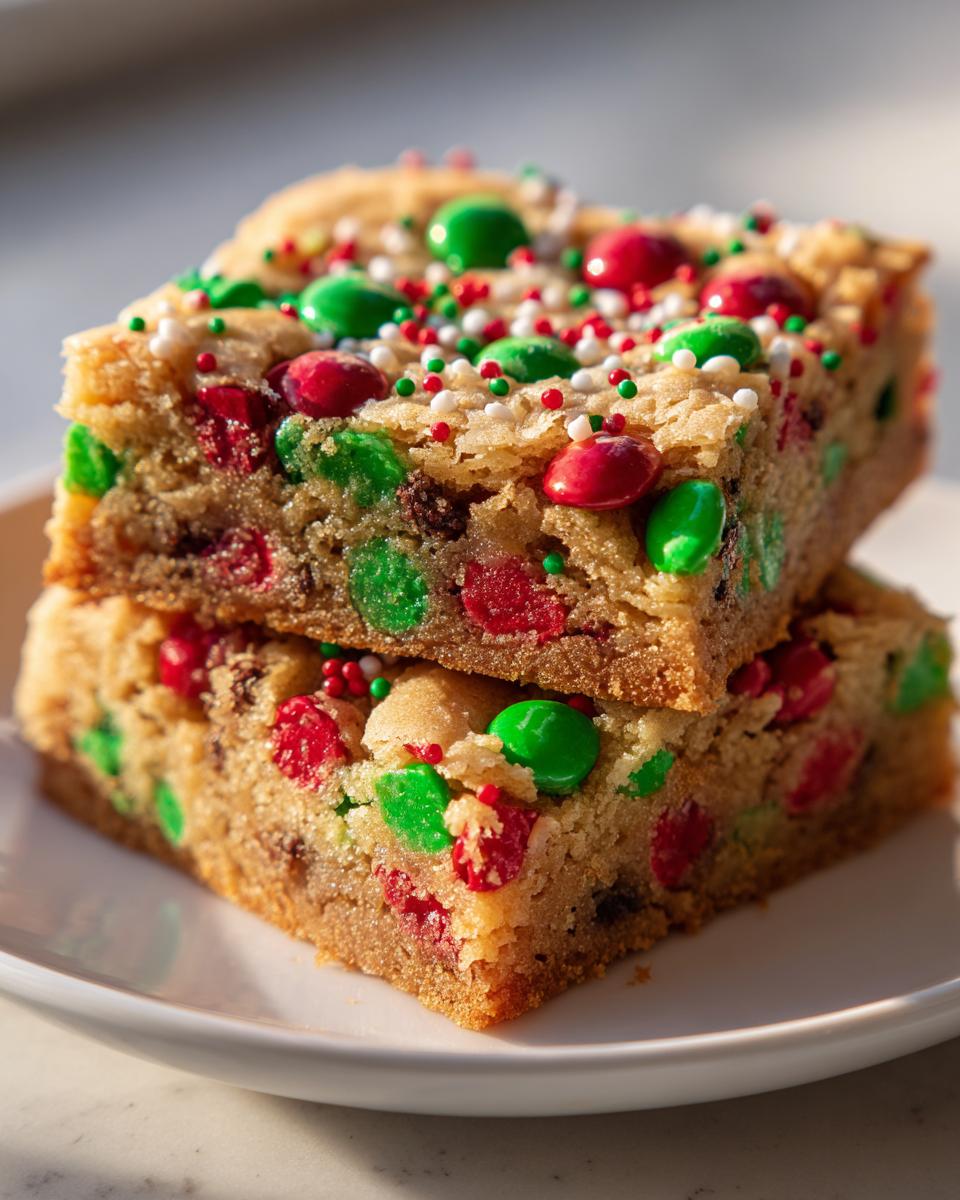
Are these considered Christmas blondies recipe alternatives?
Yes, absolutely! That’s a great way to think about them. A traditional brownie has chocolate baked into the base, right? Well, these bars have that same rich, buttery, vanilla-forward base—what we call a blondie base—but we’ve dressed it up specifically for the season with all those gorgeous additions. So if you love the texture of a blondie, you’ll adore these Christmas blondies recipe flavor profiles dressed up in their holiday best!
If you are trying out other quick holiday desserts, make sure you check out my recipe for creamy cornbread casserole—it’s another easy win for any potluck!
Estimated Nutritional Data for These Festive Cookie Bars
As a busy cook, I know that sometimes we need a quick snapshot of what we’re serving up, especially when we are feeding friends and family during the busy season. Now, please remember, since these are homemade **christmas cookie bars** straight from my kitchen to yours, these numbers are based strictly on the ingredient breakdowns I listed earlier. They are estimates, folks!
If you decide to swap out white chocolate for semi-sweet, or load up extra sprinkles like I sometimes secretly do, those numbers will shift a little bit. But this gives you a fantastic baseline for these rich, **buttery holiday bars**:
- Serving Size: 1 bar (Yields 24 squares)
- Calories: Approximately 210
- Total Fat: Around 11g (About 7g saturated fat)
- Carbohydrates: Roughly 28g
- Sugar: About 18g (Because ‘tis the season!)
- Protein: Close to 2g
- Sodium: Near 110mg
It’s helpful to keep this in mind when planning out a full holiday menu. These are certainly meant to be an indulgent, delicious part of your spread, perfect alongside those healthier snacks you might be balancing them with!
Share Your Christmas Cookie Bars Creations
Seriously, baking for the holidays is so much better when we share the joy! I honestly get such a thrill seeing pictures of your spreads and hearing how these recipes fit into your busy December schedules. If you made a batch of these colorful, chewy Christmas treats, I would absolutely love to see how festive yours turned out!
When you share your photos online, please tag me! If you’re on Instagram or Facebook—wherever you love to hang out—tagging me helps me see your amazing work. Don’t forget to give these christmas cookie bars a rating when you have a moment. Five stars lets me know that this recipe has earned its spot on your ‘must-make’ list this season!
But what I really want to know is the story behind your baking session! Did you whip these up for a neighborhood party? Did the kids help pour in the sprinkles? Or maybe you made them as make ahead Christmas treats and are getting them ready for a big family dinner next week? Drop a comment below and share your experience. Hearing about your delicious messes and triumphs is honestly the best part of building this community. Let’s celebrate the simple, yummy magic of holiday baking together!
If you loved how easy this one-pan approach was, feel free to check out more about how we cook here at the site. Happy baking, and Merry Christmas!
PrintChewy Christmas M&M Cookie Bars
Make these easy, one-pan Christmas cookie bars loaded with festive M&Ms and sprinkles. They deliver a soft, chewy texture perfect for holiday gatherings.
- Prep Time: 15 min
- Cook Time: 25 min
- Total Time: 40 min
- Yield: 24 bars 1x
- Category: Dessert
- Method: Baking
- Cuisine: American
- Diet: Vegetarian
Ingredients
- 1 cup unsalted butter, softened
- 1 cup packed brown sugar
- 1/2 cup granulated sugar
- 2 large eggs
- 1 tablespoon vanilla extract
- 2 3/4 cups all-purpose flour
- 1 teaspoon baking soda
- 1/2 teaspoon salt
- 1 1/2 cups Christmas M&Ms (red and green)
- 1 cup holiday sprinkles
- 1/2 cup white chocolate chips
Instructions
- Preheat your oven to 350 degrees F. Line a 9×13 inch baking pan with parchment paper, leaving an overhang on the sides for easy removal.
- In a large bowl, beat the softened butter, brown sugar, and granulated sugar together until the mixture is creamy.
- Beat in the eggs one at a time, then mix in the vanilla extract.
- In a separate bowl, whisk together the flour, baking soda, and salt. Gradually add the dry ingredients to the wet ingredients, mixing until just combined. Do not overmix.
- Gently fold in the Christmas M&Ms, holiday sprinkles, and white chocolate chips.
- Press the dough evenly into the prepared baking pan.
- Bake for 22 to 25 minutes, or until the edges are lightly golden brown and the center is set. The bars should still look slightly soft for a chewy texture.
- Let the bars cool completely in the pan on a wire rack before lifting them out using the parchment paper overhang.
- Once cool, slice into squares. These are great make ahead Christmas treats.
Notes
- For extra festive color, reserve a small handful of M&Ms and sprinkles to press onto the top of the dough before baking.
- If you prefer thicker bars, use a 9×9 inch pan instead, but reduce the baking time slightly and watch them closely.
- These bars freeze well; wrap cooled, uncut bars tightly before freezing for up to three months.
Nutrition
- Serving Size: 1 bar
- Calories: 210
- Sugar: 18g
- Sodium: 110mg
- Fat: 11g
- Saturated Fat: 7g
- Unsaturated Fat: 4g
- Trans Fat: 0g
- Carbohydrates: 28g
- Fiber: 1g
- Protein: 2g
- Cholesterol: 35mg