
Oh, I just love when two of my favorite things decide to get married in the dessert world for a truly decadent cheesecake! We’ve all seen the amazing dessert mashups out there, right? But trust me when I say that combining the elegance of Tiramisu with the satisfying density of cheesecake is pure genius. If you’re staring down a busy week but still craving something beautiful and seriously decadent, this No-Bake Tiramisu Cheesecake is it. Forget the oven; we’re keeping this delightfully simple so that you can easily pull off a showstopper dessert whenever that craving hits. It respects your time while delivering those rich coffee and creamy mascarpone hits we all adore. You can find more incredibly doable treats over on my page for delicious dessert recipes.
- Why This No Bake Tiramisu Cheesecake Is Your New Favorite Italian Inspired Desserts (E-E-A-T)
- Gathering Ingredients for Your Tiramisu Cheesecake Recipe
- Step-by-Step Instructions for No Bake Tiramisu Cheesecake Assembly
- Tips for a Showstopper Tiramisu Cheesecake Presentation
- Making Ahead and Storing Your Layered Cheesecake
- Variations: Baked Tiramisu Cheesecake and Cheesecake Bars Recipe Ideas
- Serving Suggestions for This Rich Creamy Dessert
- Frequently Asked Questions About Making Tiramisu Cheesecake
- Nutrition Information Estimate
Why This No Bake Tiramisu Cheesecake Is Your New Favorite Italian Inspired Desserts (E-E-A-T)
I promise you, this dessert hits all the right notes without demanding all day in the kitchen. That’s the whole mission here at Completely Yummy—Simple Recipes, Seriously Good Food! This No Bake Tiramisu Cheesecake is built to impress, which means it’s perfect for those big holiday gatherings or when you just need an easy mascarpone dessert that tastes incredibly grown-up. You can find loads of other recipes that fit this busy lifestyle over at delicious dessert recipes.
- It’s an amazing make ahead dessert; it tastes even better the next day!
- You get that luxurious, creamy texture without ever turning on your oven.
- It has all the classic Tiramisu flair with none of the fussy assembly.
The Perfect Balance of Coffee Cheesecake Recipe Flavors
What I love about this coffee cheesecake recipe is how beautifully the bold espresso cuts through the sweetness. The coffee soaks the ladyfingers just right, giving you that authentic Tiramisu layer, but the filling itself stays fluffy and light because we’re using whipped cream folded into the mascarpone and cream cheese. It’s rich, yes, but it never feels heavy. This is the kind of recipe I developed when my schedule got completely wild, and I still needed that comforting, delicious experience.
Gathering Ingredients for Your Tiramisu Cheesecake Recipe
Okay, Ava here again. For any layered cheesecake that relies on silky texture, the ingredients have to be right, and they all need to be prepped properly. This recipe is built around marrying that classic Italian touch with creamy cheesecake goodness, so quality really matters here. Make sure your cream cheese and mascarpone are fully softened—we need zero lumps!
You’ll want to use a good quality strong brewed espresso, and please, let it cool down completely before mixing it with those ladyfingers. That hot liquid will melt everything instantly! The coffee liqueur is totally optional, but it really amps up that sophisticated rich creamy dessert vibe. Don’t skimp on the mascarpone; it brings that signature, wonderful texture.
- 1 1/2 cups chocolate wafer crumbs or graham cracker crumbs
- 6 tablespoons unsalted butter, melted
- 1/4 cup granulated sugar (for crust)
- 1 teaspoon instant espresso powder (for crust)
- 1 (8 ounce) package cream cheese, softened
- 8 ounces mascarpone cheese, softened
- 1 cup powdered sugar, sifted
- 1 teaspoon vanilla extract
- 1 cup heavy whipping cream, cold
- 1/2 cup strong brewed espresso or coffee, cooled
- 2 tablespoons coffee liqueur (optional, for soaking)
- 24-30 ladyfingers (savoiardi)
- Unsweetened cocoa powder, for dusting
Ingredient Notes and Substitutions for Mascarpone Cream Cheese Dessert
This is where we build an easy mascarpone dessert that actually tastes complex, funnily enough! The most important tip? Your cheese HAS to be room temperature. If it’s cold, you’ll end up with ribbons in your filling, and nobody wants a lumpy cheesecake experience. Seriously, pull it out an hour before you start. If you are skipping the coffee liqueur because you don’t want alcohol, that’s fine! Just boost your cooled espresso measurement to 2/3 cup. Alternatively, use 1/2 cup espresso and add an extra 1/2 teaspoon of pure vanilla extract. Either way, you get that deeply flavorful coffee note we are looking for in this coffee cheesecake recipe.
Step-by-Step Instructions for No Bake Tiramisu Cheesecake Assembly
Now for the fun part! Since this is a no-bake recipe, assembly is key, and we are building layers that sing—just like a dream layered cheesecake should. Because we aren’t baking, we need everything to set up perfectly in the fridge, so pay attention to that chilling time at the end. Don’t rush; patience is truly the secret ingredient here, even in a rapid recipe like this one. If you need inspiration for other chilled treats, check out my guide on easy ice cream pie recipes.
Creating the Ladyfinger Crust Dessert Base
First up is our base—the foundation for this heavenly Ladyfinger Crust Dessert. Grab your chocolate wafer crumbs (or graham crackers if you prefer a less chocolatey base—your kitchen, your rules!). Mix those crumbs well with the melted butter, that quarter cup of sugar, and the instant espresso powder. You want it to look like damp sand. Press this mixture down *firmly* into the bottom of your 9-inch springform pan. I always use the bottom of a glass measuring cup to really pack it in there. Pop that into the fridge to firm up while you tackle that divine filling.
Mixing the Creamy Coffee Cheesecake Filling
Time for the heart of the dessert! In a big bowl, I start beating the softened cream cheese and mascarpone together until there are absolutely no lumps. You want silk! Then, slowly beat in the sifted powdered sugar and vanilla until everything is smooth and incorporated. Now, here’s the trick for that airy quality you expect from a Creamy Coffee Dessert: whip your cold heavy cream separately until you get stiff peaks—like fluffy clouds. Gently, so gently—use a spatula—fold the whipped cream into the cheese mixture. We are aiming for maximum airiness here, so don’t stir vigorously!
Layering the Tiramisu Cheesecake for Setting
Here’s where the tiramisu magic happens! Mix your cooled espresso with the liqueur if you’re using it. Quickly dip your ladyfingers into the coffee mixture—one side, then the other, maybe two seconds total per side. They should be moist, not soggy, or your whole Tiramisu Cheesecake Recipe will turn soupy! Arrange a tight layer of these coffee-kissed treats over your chilled crust. Spread half the filling over them. Then repeat one more time with the remaining soaked ladyfingers and the rest of the filling, smoothing the top nicely. Now comes the hard part: cover it loosely and stick it in the fridge for a minimum of 6 hours, but seriously, overnight is best for this rich creamy dessert to reach its full potential.
Tips for a Showstopper Tiramisu Cheesecake Presentation
You’ve done all the hard work mixing, layering, and chilling—now we make it look like it came from a fancy Italian bakery! Getting this Showstopper Dessert ready for the table is honestly half the fun. First, the pan removal: run a very thin, clean knife or offset spatula gently around the edge of the cheesecake before you release the springform side. Do this while it’s still slightly chilled. This prevents any sticking or dragging on those beautiful edges.
For the cocoa finish, forget just shaking it on! That looks messy. Use a fine-mesh sieve and dust the cocoa powder evenly, holding the sieve high above the cake so the powder floats down delicately. If you want that classic Tiramisu look, you can even stencil a design on top, though I usually keep it simple. For the best finishing touches on creamy desserts like this, sometimes simple touches make the biggest difference. If you need inspiration for frosting techniques, check out my tips for coconut cupcakes with moist, creamy frosting!
Making Ahead and Storing Your Layered Cheesecake
One of the very best things about this No Bake Tiramisu Cheesecake? It absolutely thrives on being made ahead! That chilling time isn’t just for setting; it’s for letting those espresso flavors really bloom and soak deep into the layers, which is why it’s the perfect make ahead dessert for any gathering. I usually whip this up the day before I plan to serve it. It keeps beautifully, covered loosely with plastic wrap, in the fridge for up to three solid days. That means less stress on party day!
Now, about freezing—since this is a softer, no-bake creation, I generally advise against freezing it long-term. The texture of the whipped cream filling tends to change a bit once thawed, which ruins that luxurious mouthfeel we worked so hard to achieve. If you absolutely must freeze it, make sure the crust is extra firm, wrap it tightly in a double layer of plastic wrap, and try to use it within two weeks for the best results.
Variations: Baked Tiramisu Cheesecake and Cheesecake Bars Recipe Ideas
So, maybe you saw my notes and you’re thinking, “Ava, I really prefer a baked Tiramisu Cheesecake,” or perhaps you need something easier to serve at a potluck. Good news! This Tiramisu Cheesecake Recipe is super adaptable! If you want that slightly firmer, more traditional cheesecake bite, you absolutely can bake a version. You just mix the filling slightly differently than the no-bake version above, pour it into your prepared pan, and bake it at about 325°F for 50 to 60 minutes. Just remember to cool it slowly—that’s key for baked ones! You might find details about that process by checking out their take on the layered cheesecake.
If you’re looking for something simpler to slice and serve for a crowd, turning this into a Cheesecake Bars Recipe is surprisingly easy. Just use a 9×13 inch baking dish instead of the springform pan, press the crust right along the bottom edge, and pour the filling right over top. Because the layer is thinner, the chilling time is usually shorter, making it a quick win for any party! For other bar inspiration that requires zero oven time, take a peek at my guide on snickerdoodle blondies where we focus on chewy bar perfection!
Serving Suggestions for This Rich Creamy Dessert
So, you’ve got this stunning, cold, rich creamy dessert sitting there, perfectly dusted with cocoa. How do you serve it up? Honestly, sometimes I think it needs nothing else at all! It’s already so complete.
But if you want to dress the plate a bit, keep the accompaniments simple so they don’t compete with that deep coffee flavor. A tiny drizzle of good quality chocolate sauce sometimes works, or maybe just three fresh raspberries placed neatly beside the slice for a touch of color contrast. If you’re serving this after dinner, you absolutely MUST serve it with a fresh, strong shot of espresso—it just ties the whole Italian theme together perfectly. For cocktail pairing, if you’re feeling bold, you could try pairing it with something that echoes the coffee notes, like a peppermint espresso martini on the side!
Frequently Asked Questions About Making Tiramisu Cheesecake
I get so many questions about this recipe when people start making it—it’s just so different from a regular cheesecake! It’s worth asking because getting these little details right makes the difference between good and absolutely unforgettable. This Tiramisu Cheesecake Recipe is straightforward, but a few pro-tips can really elevate your final product.
Can I use regular cream cheese instead of mascarpone?
Look, I know mascarpone can sometimes be pricier or harder to find, but trust me, if you are making a true Tiramisu, you need it. Mascarpone is richer and has a higher fat content, which gives that signature velvety texture we’re aiming for in this creamy coffee dessert. If you absolutely must substitute, use 4 ounces of cream cheese and 4 ounces of heavy cream whipped stiffly to try and mimic the fat structure, but know that the flavor profile will shift a little away from classic Tiramisu.
How strong should the coffee be for the soak?
For the best results in this layered cheesecake, you want the coffee to be strong, much stronger than your morning cup! Think of it like a concentrated espresso shot. If you are using store-bought brewed coffee, use a dark roast and brew it extra strong. If you don’t, the ladyfingers will just taste watery, and you won’t get that bold espresso hit against the sweet cream cheese.
Can I make this dessert without ladyfingers?
That’s a fair question, especially if you’re looking for a quick make ahead dessert without specialty items! If you skip the ladyfingers, you lose a key architectural element of the Tiramisu flavor. Your best bet, especially if you are making bars, is to crush up a package of plain vanilla wafers or even chocolate cookies and use that mix to replace the ladyfinger layer, doubling down on the crust ingredients slightly there. You’ll still have a delicious mascarpone cream cheese dessert!
What is the best coffee substitute for the espresso soak?
If you need to skip the caffeine for late-night baking or for serving to kids, you have great options! The goal is deep coffee flavor, so instead of actual espresso, try brewing a really strong, dark-roasted herbal tea, like chicory root coffee substitute. You can also use instant coffee powder (the same kind we use in the crust!) mixed with hot water, letting it cool before dipping. Just make sure that liquid is very dark and flavorful!
Nutrition Information Estimate
It’s always a good idea to have a general idea of what’s in our treats, right? But remember, since this is my home kitchen creation, these numbers are just estimates based on the standard ingredients I list above. If you use fancier chocolate wafers or a different brand of mascarpone, those values can shift a bit! This whole dessert is ridiculously rich, so be mindful of the portion size here.
Here’s the snapshot for one serving slice of this creamy, chilled delight:
- Serving Size: 1 slice
- Calories: 450
- Sugar: 35g
- Sodium: 250mg
- Fat: 30g
- Saturated Fat: 18g
- Unsaturated Fat: 12g
- Trans Fat: 0.5g
- Carbohydrates: 40g
- Fiber: 1g
- Protein: 8g
- Cholesterol: 95mg
See? It’s an indulgent weekend treat! Because we aren’t baking, we rely on those wonderful fats from the cheese and cream to set up, so the fat content is healthy for a dessert, but definitely something to be aware of when planning your day. Enjoy every single bite!
PrintNo-Bake Tiramisu Cheesecake: A Creamy Coffee Dessert

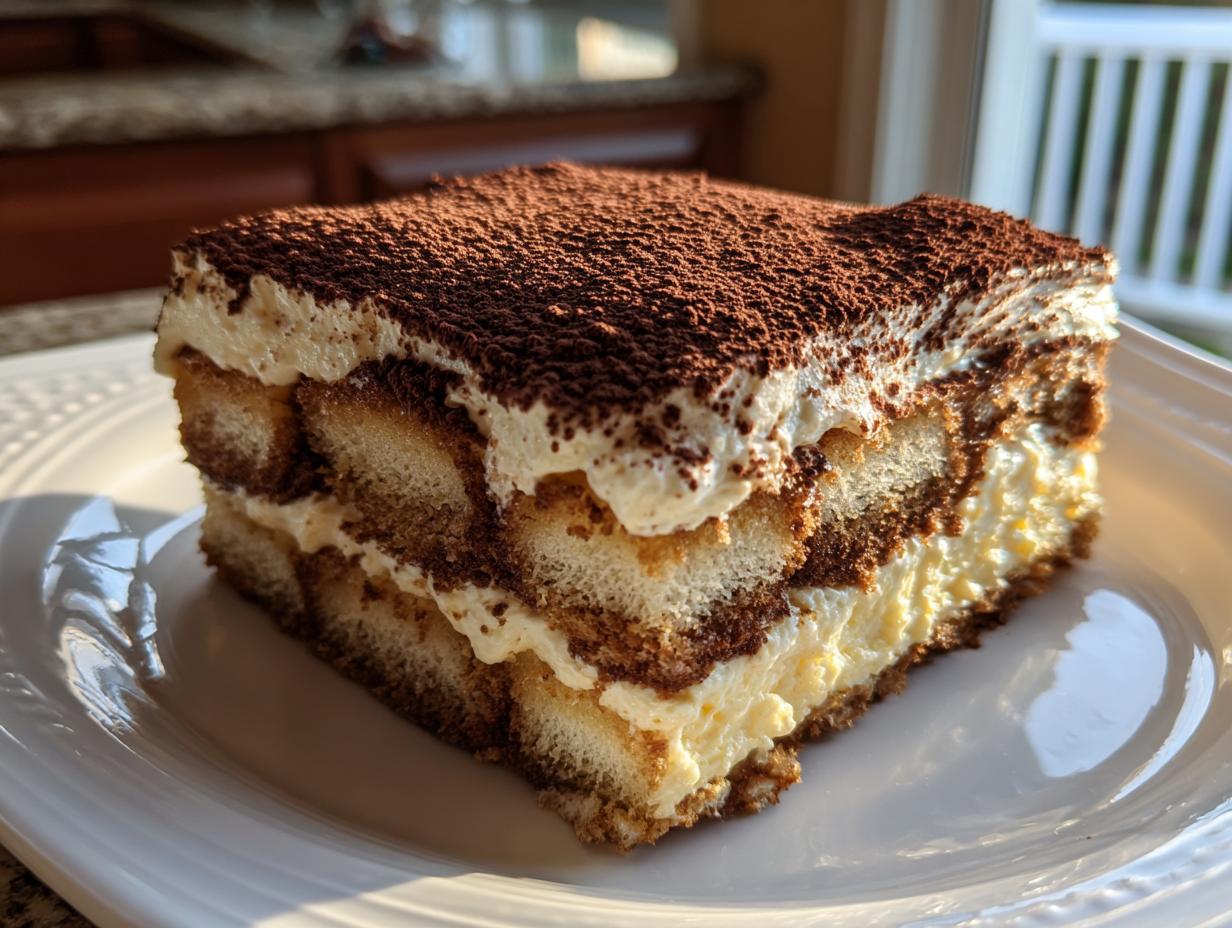
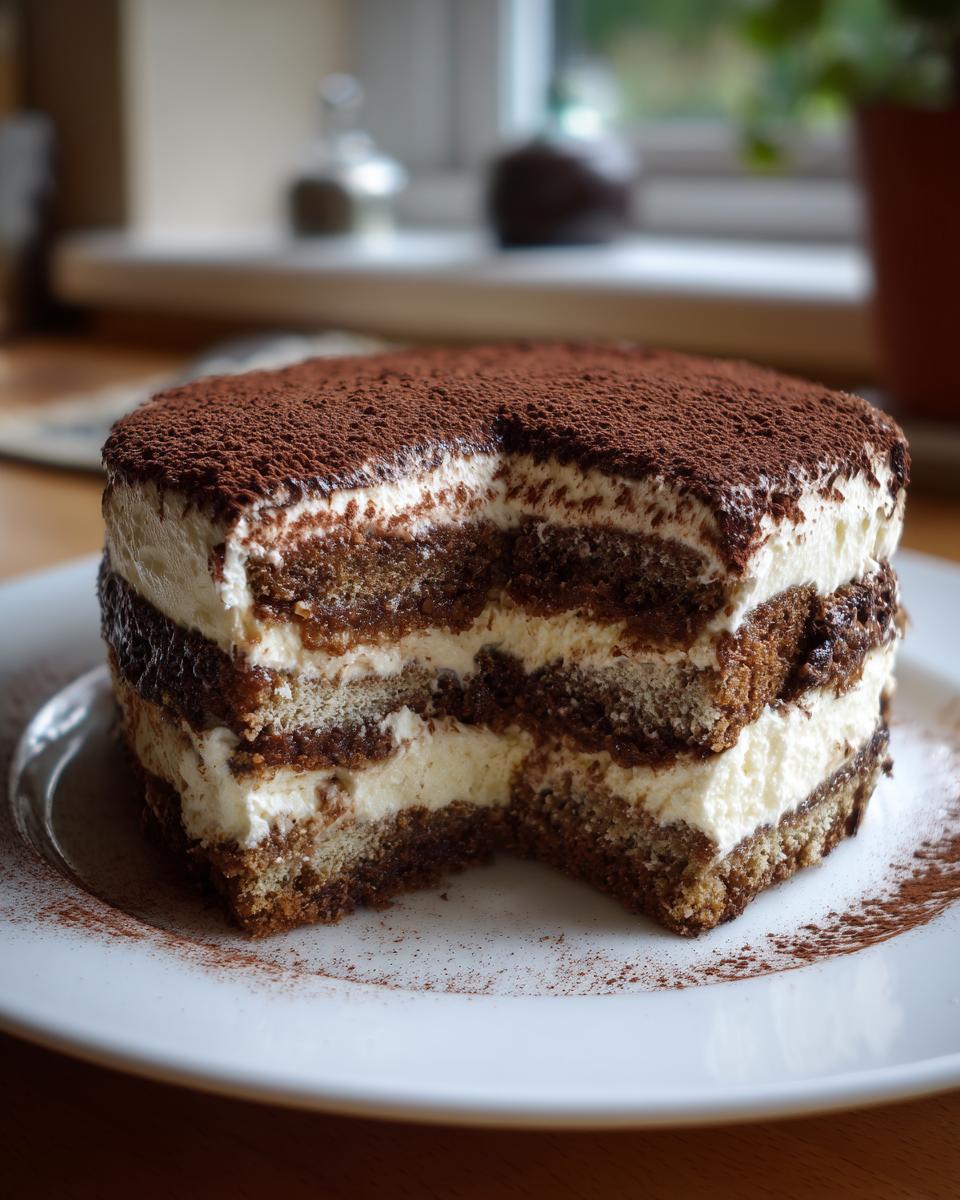
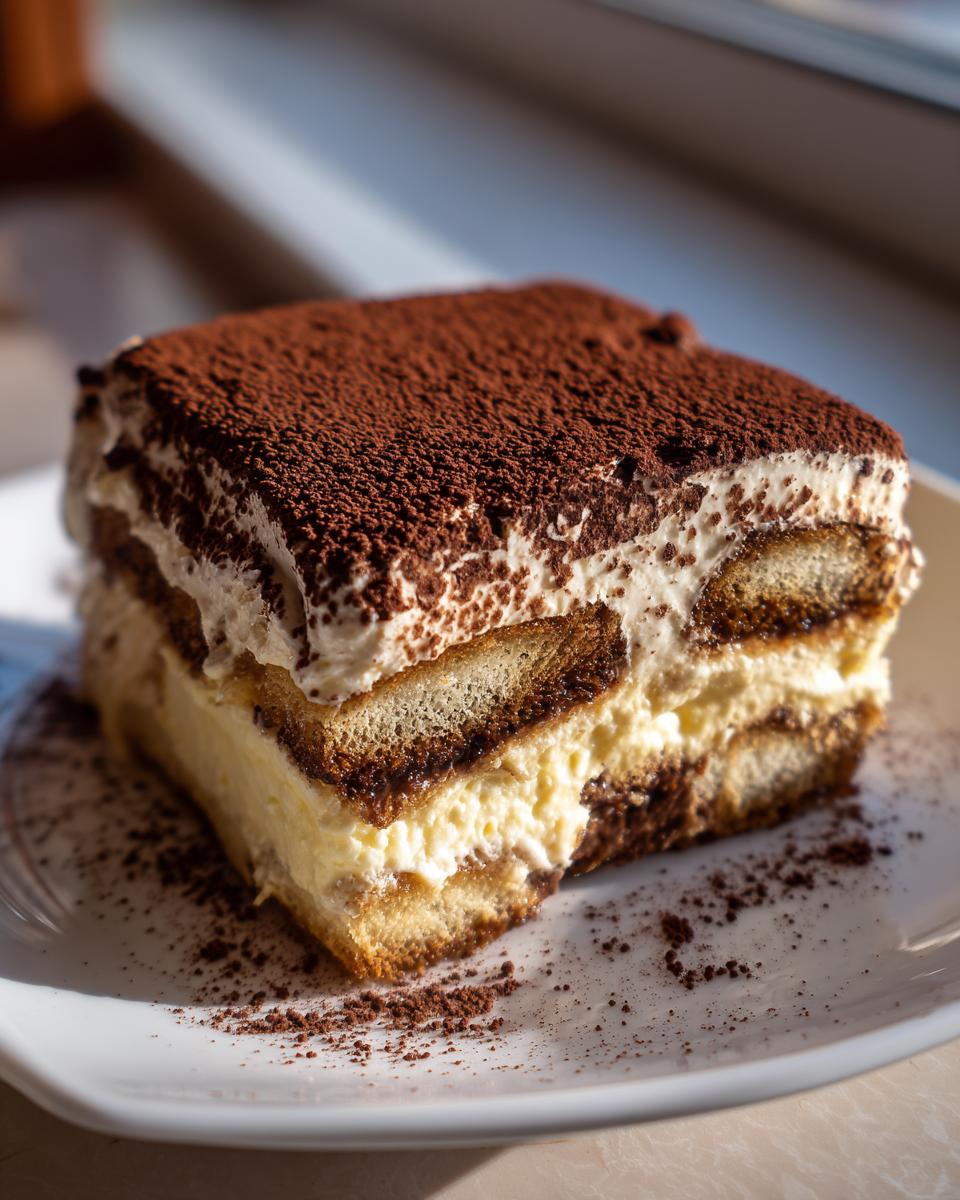
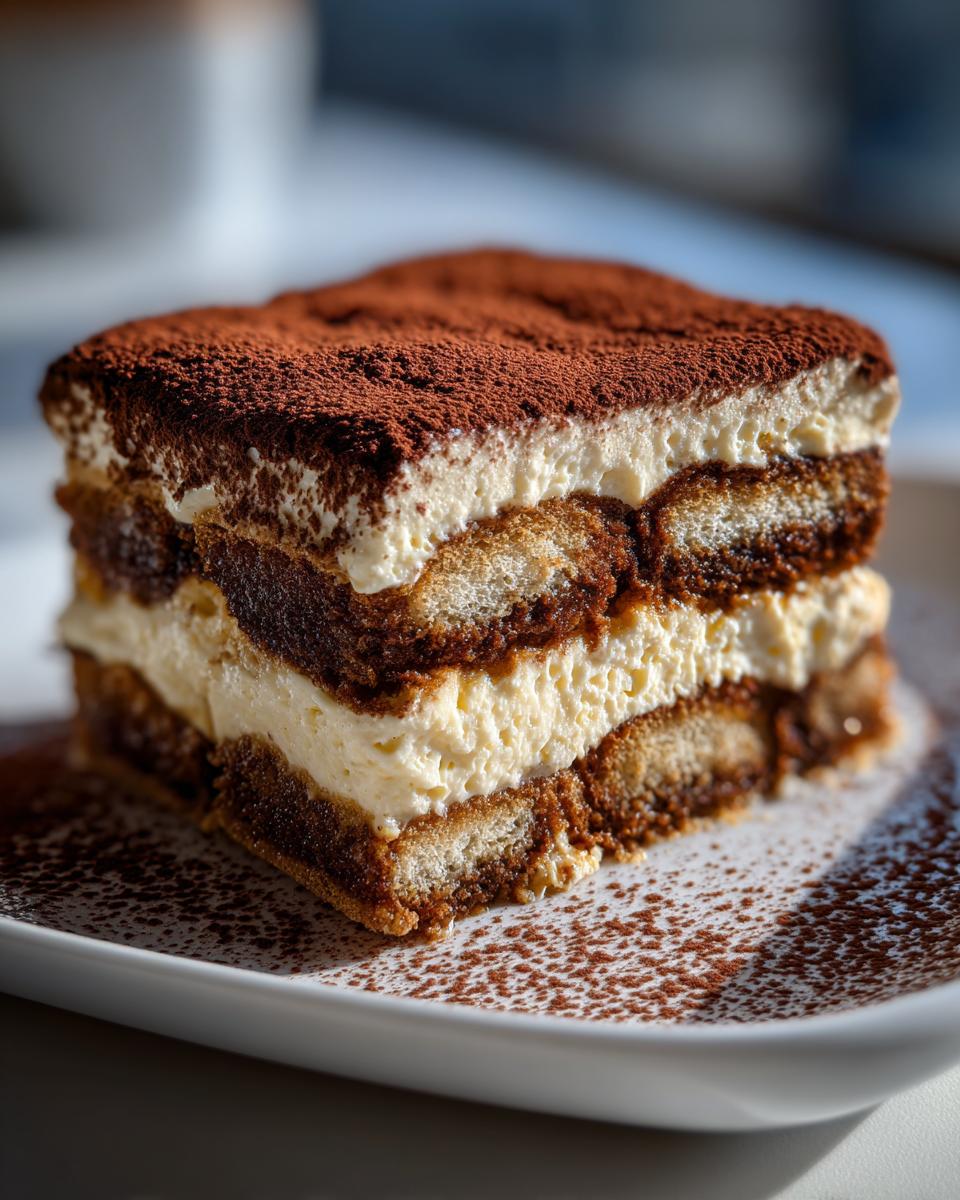
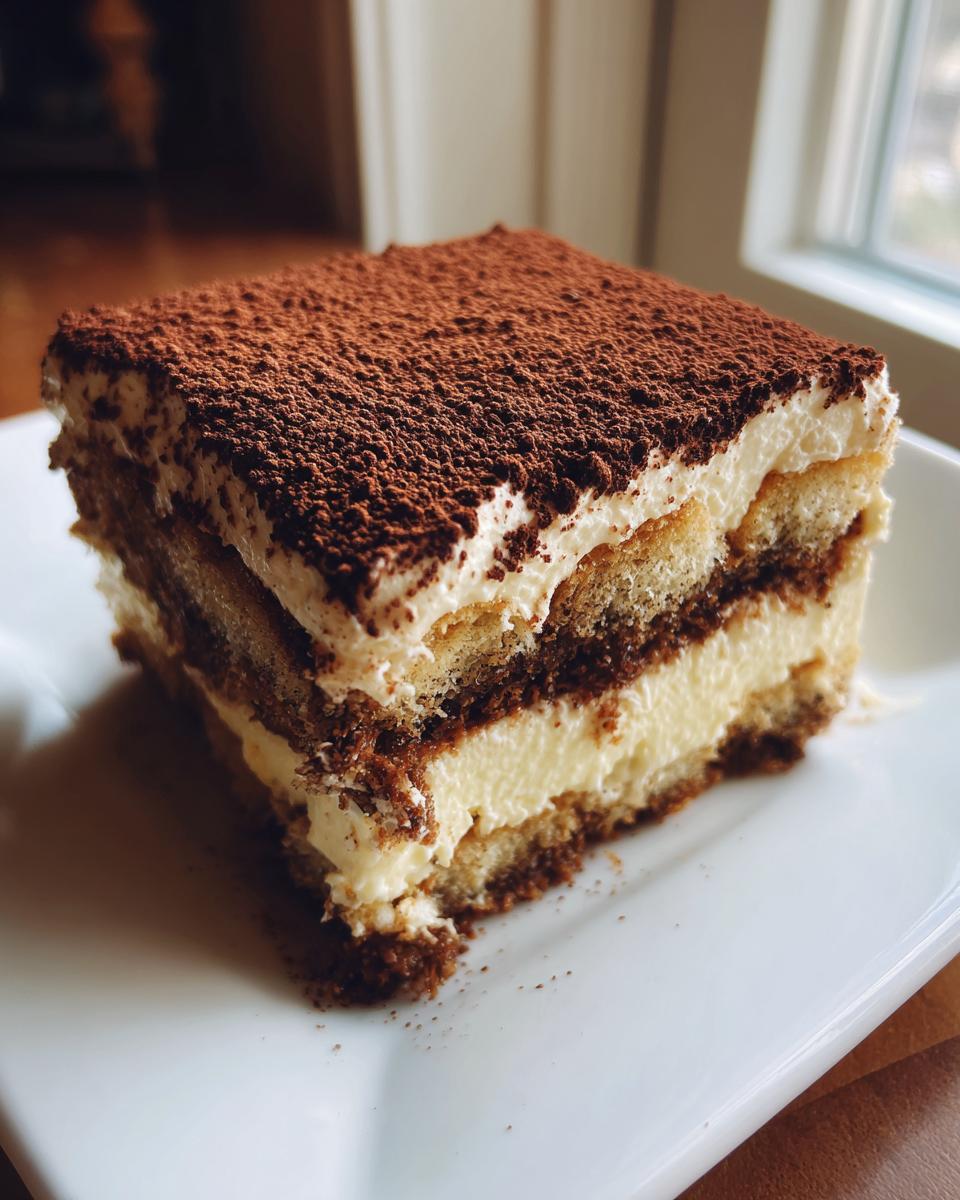
You create a decadent fusion of classic Italian tiramisu and rich cheesecake with this easy no-bake recipe. This dessert features espresso-soaked ladyfingers, a creamy mascarpone filling, and a dusting of cocoa powder for an impressive make-ahead treat.
- Prep Time: 30 min
- Cook Time: 0 min
- Total Time: 6 hours 30 min
- Yield: 10 servings 1x
- Category: Dessert
- Method: No-Bake
- Cuisine: Italian Inspired
- Diet: Vegetarian
Ingredients
- 1 1/2 cups chocolate wafer crumbs or graham cracker crumbs
- 6 tablespoons unsalted butter, melted
- 1/4 cup granulated sugar (for crust)
- 1 teaspoon instant espresso powder (for crust)
- 1 (8 ounce) package cream cheese, softened
- 8 ounces mascarpone cheese, softened
- 1 cup powdered sugar, sifted
- 1 teaspoon vanilla extract
- 1 cup heavy whipping cream, cold
- 1/2 cup strong brewed espresso or coffee, cooled
- 2 tablespoons coffee liqueur (optional, for soaking)
- 24–30 ladyfingers (savoiardi)
- Unsweetened cocoa powder, for dusting
Instructions
- Prepare the crust: Combine chocolate wafer crumbs, melted butter, 1/4 cup granulated sugar, and 1 teaspoon instant espresso powder in a bowl. Press the mixture firmly into the bottom of a 9-inch springform pan. Chill the crust while you prepare the filling.
- Make the mascarpone filling: In a large bowl, beat the softened cream cheese and mascarpone cheese until smooth. Gradually beat in the sifted powdered sugar and vanilla extract until fully combined.
- Whip the cream: In a separate, chilled bowl, beat the cold heavy whipping cream until stiff peaks form. Gently fold the whipped cream into the cream cheese mixture until just combined. Do not overmix.
- Prepare the coffee soak: Mix the cooled espresso with the coffee liqueur, if using. Place a single layer of ladyfingers in the coffee mixture, turning briefly to soak both sides. Do not let them become too soggy.
- Assemble the layers: Arrange the soaked ladyfingers tightly over the chilled crust, trimming them if necessary to fit the pan. Spread half of the mascarpone filling evenly over the ladyfingers.
- Create the second layer: Dip the remaining ladyfingers in the coffee mixture and arrange them over the first layer of filling. Top with the remaining mascarpone filling, smoothing the top with a spatula.
- Chill: Cover the cheesecake loosely with plastic wrap and refrigerate for at least 6 hours, or preferably overnight, to allow it to set completely.
- Serve: Before serving, carefully remove the sides of the springform pan. Dust the entire top generously with unsweetened cocoa powder. Slice and serve this rich creamy dessert.
Notes
- For a baked version, you would mix the filling ingredients slightly differently and bake at 325°F for about 50-60 minutes, then cool slowly.
- If you skip the coffee liqueur, increase the espresso slightly for a stronger coffee flavor.
- Use high-quality mascarpone cheese for the best texture in this easy mascarpone dessert.
Nutrition
- Serving Size: 1 slice
- Calories: 450
- Sugar: 35g
- Sodium: 250mg
- Fat: 30g
- Saturated Fat: 18g
- Unsaturated Fat: 12g
- Trans Fat: 0.5g
- Carbohydrates: 40g
- Fiber: 1g
- Protein: 8g
- Cholesterol: 95mg