
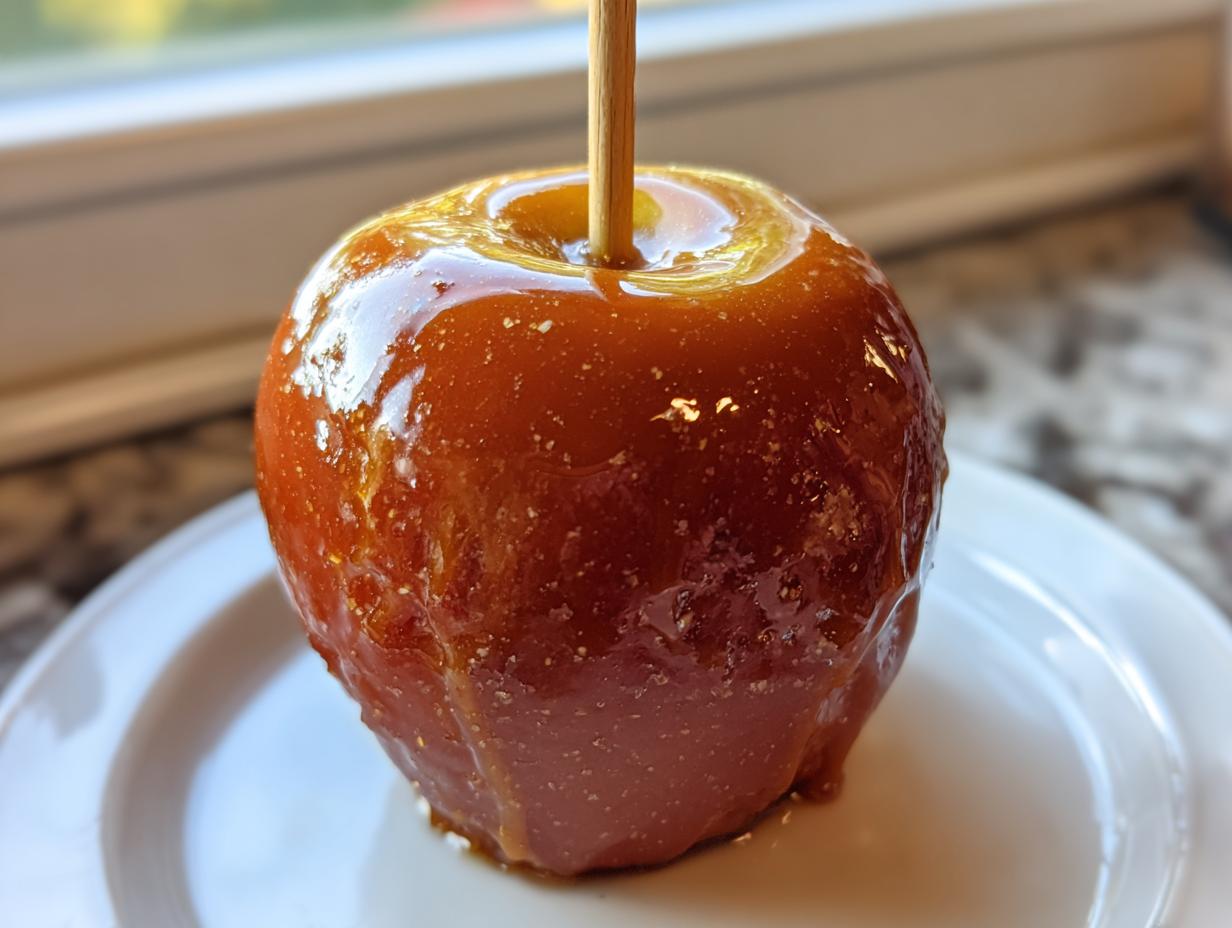
Oh, listen to me, friend! When the crisp air finally hits and the leaves start turning that perfect shade of burnt orange, what is the very first craving that hits your soul? For me, it’s always those glorious, sticky, perfectly chewy **caramel apples**. They signal the start of Halloween parties and cozy fall evenings.
I spent years struggling like you probably have, dealing with caramel that was either rock hard or slid right off the second I dipped the apple. It drove me absolutely nuts! That’s why, channeling my old marketing stress into something delicious, I developed this method. As someone who built a career on understanding what busy people *actually* need, I promise you this is the foolproof homemade caramel apples recipe. If you follow my simple temperature rule, you get that perfect, clingy, satisfyingly chewy coat every single time. No mess, no stress, just pure autumn magic!
- Why This Foolproof Recipe Makes the Best Homemade Caramel Apples
- Gathering Ingredients for Perfect Caramel Apples
- Step-by-Step Guide: How to Make Caramel Apples Stick Every Time
- Caramel Apple Topping Ideas for Gourmet Caramel Apples
- Tips for Perfect Caramel Apples: Troubleshooting and Storage
- Serving Suggestions for Your Fall Dessert Recipes
- Frequently Asked Questions About Caramel Apples
- Share Your Perfect Caramel Apples
Why This Foolproof Recipe Makes the Best Homemade Caramel Apples
Seriously, I’ve tried everything out there, and most store-bought sauces just don’t cut it for that perfect bite. This recipe stands out because it tackles the three biggest fails everyone runs into when making caramel apples at home. Stop worrying about wasted ingredients! Found in similar projects like the one detailed here, we focus on reliability.
- No More Sliding: We tackle the wax layer head-on! A quick dip ensures that beautiful, rich caramel coating adheres like glue.
- Perfect Set Time: We cool the caramel just enough before dipping, which gives you enough time to coat the apple without having a sticky puddle at the bottom of your pan. Say goodbye to runny messes!
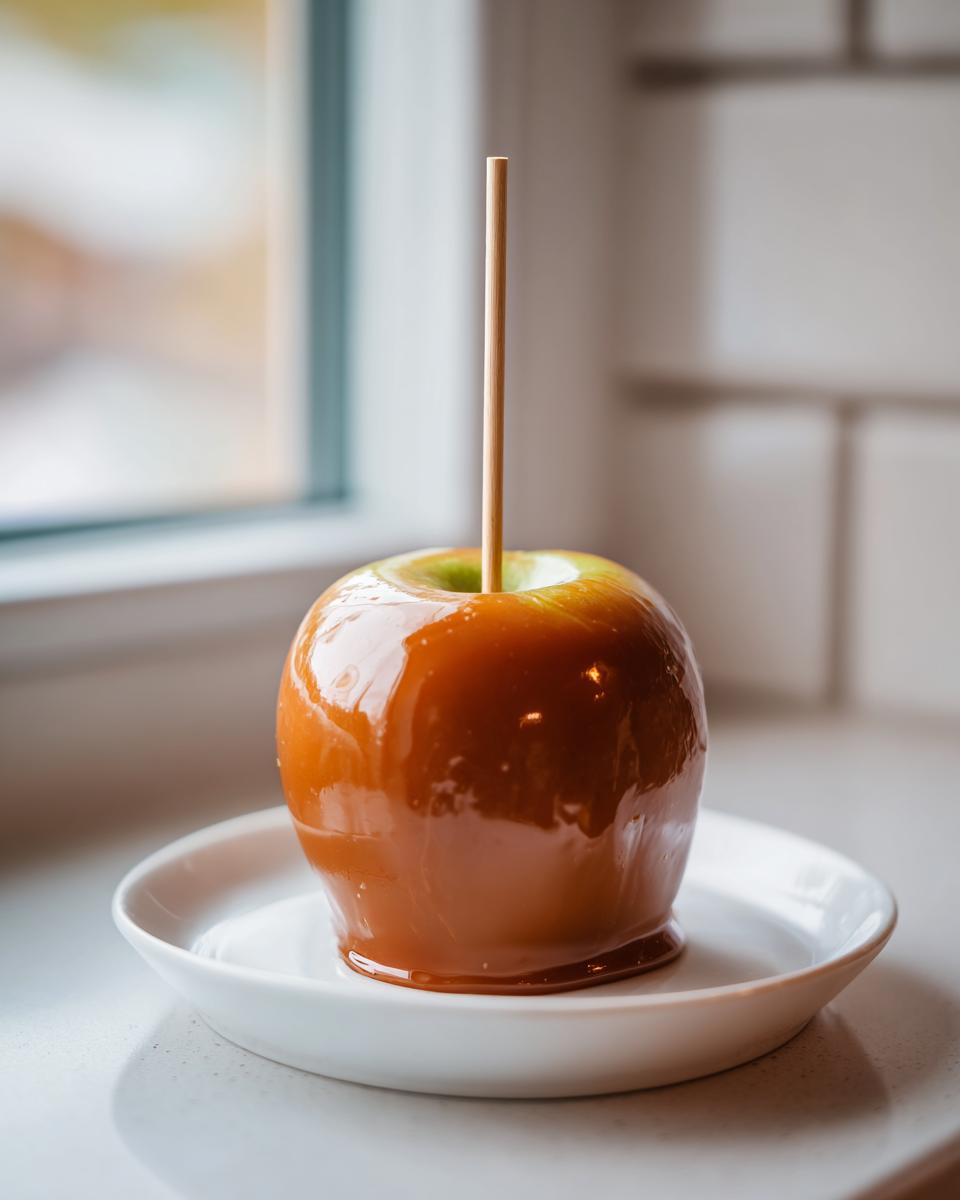
- The Ultimate Texture: This recipe delivers the best homemade caramel coating—it’s chewy and soft, not rock hard like taffy.
If you’ve been searching for a proper chewy caramel apples tutorial, you’ve found it. It’s all about getting that temperature just right.
Achieving the Perfect Chewy Texture for Your Caramel Apples
The secret weapon here isn’t a fancy ingredient; it’s your candy thermometer. Aiming for that 245°F firm-ball stage is what guarantees the caramel apples stay beautifully chewy. If you undercook it even a touch, you get caramel soup. If you cook it too long, you risk a hard candy shell. Getting to the right temperature ensures that perfect pull when you bite in—that’s the sign of a truly gourmet treat!
Gathering Ingredients for Perfect Caramel Apples
Okay, before we get to the messy fun, we need to set ourselves up for success with the right players on our team. Remember, since this is a classic caramel apples from scratch recipe, the quality of your ingredients really shows, especially in the caramel coating!
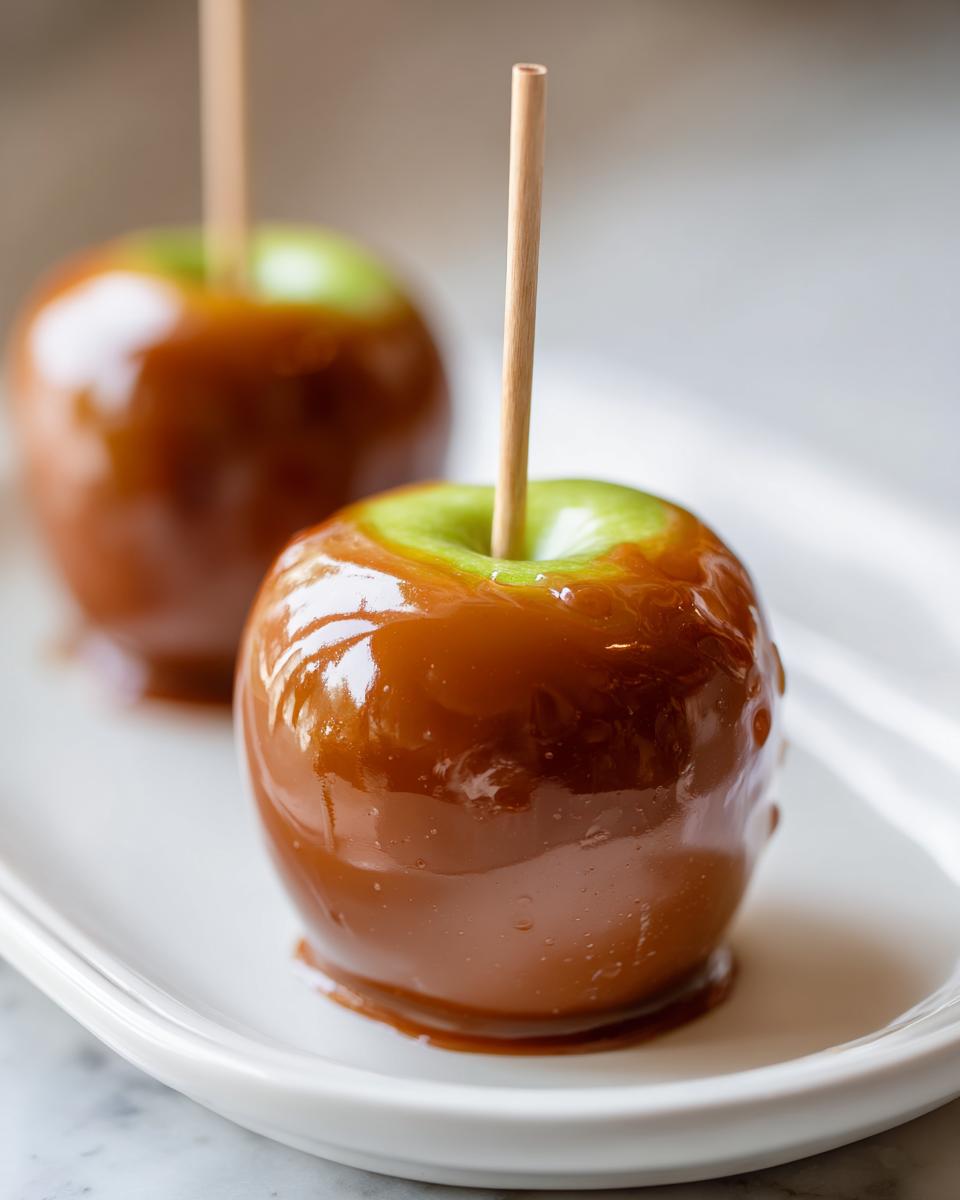
First, the apples! You want firm, crisp apples that can stand up to the hot caramel bath. I always reach for Granny Smith for that lovely tartness that cuts through the sweetness, or Honeycrisp! Make sure you have your sticks ready—I prefer wooden ones, but sometimes I use parchment-covered ones if I’m feeling fancy.

For the caramel itself, use real, unsalted butter—none of that substitute stuff! And please, pack your light brown sugar firmly into the measuring cup; that extra molasses is crucial for that deep flavor. We’ll need corn syrup too, which is key for that smooth, non-crystallizing coating. If you’re looking for more depth in your caramel, check out my thoughts over at this simple homemade caramel recipe for inspiration!
Step-by-Step Guide: How to Make Caramel Apples Stick Every Time
Alright, are you ready to turn these gorgeous apples into the star of your autumn spread? Making the actual dipping process smooth—pun intended—is where most people panic, but we’ve got the blueprint for flawless caramel apples. Read these steps carefully, because the rhythm here is what locks the caramel on tight!
First, we prep our station. Get a baking sheet lined with parchment paper—a silicone mat works even better for cleanup, trust me! Have all your toppings waiting nearby. Once that caramel is cooked, you need a game plan, or things move fast. We want shiny, perfect results, not sticky messes all over the counter. For more about the caramel mix itself, you can check out tips on making a deep caramel flavor, but let’s focus on getting this coating *on* the apple first!
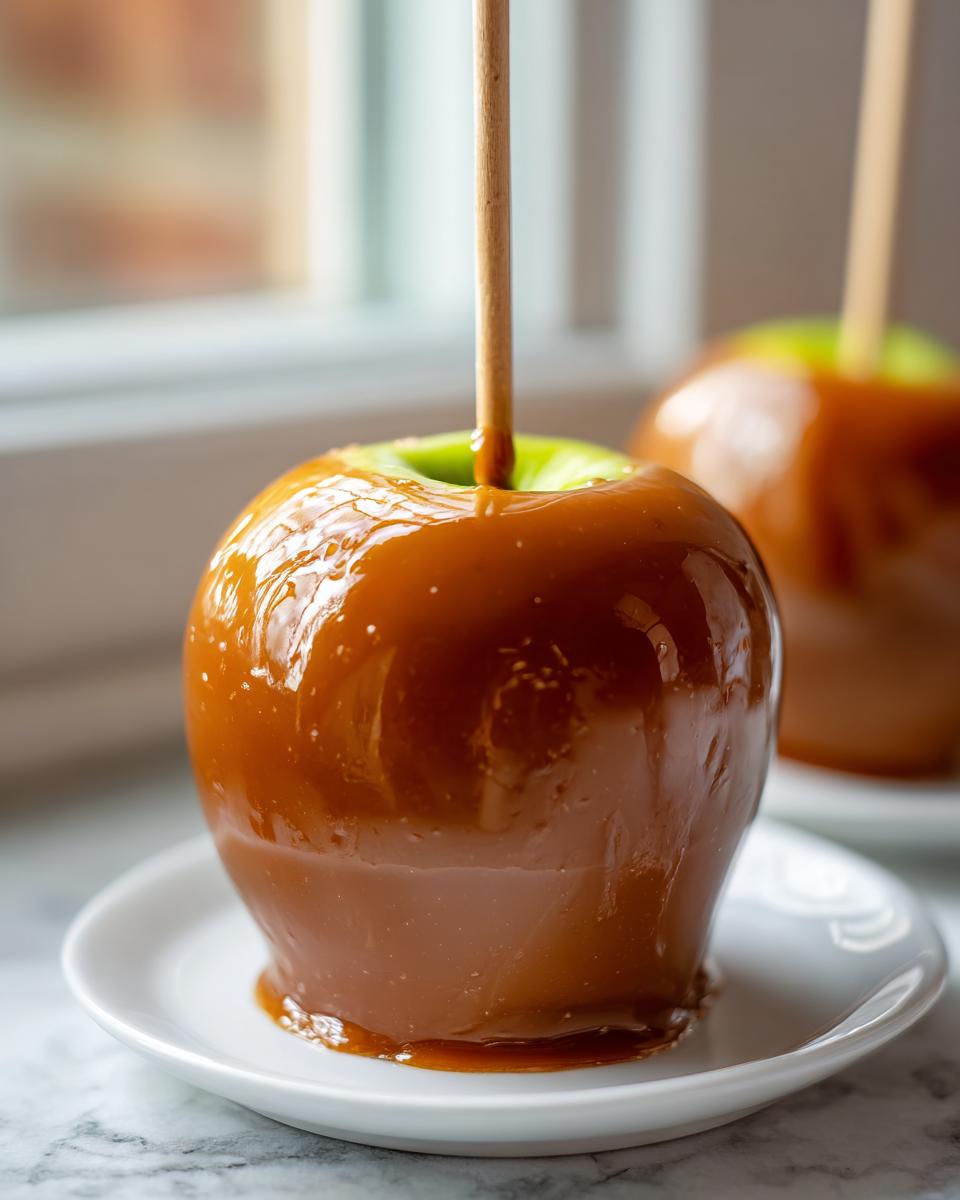
We cook our caramel mixture—that beautiful blend of butter, sugar, syrup, and milk—until it hits exactly 245°F. This temperature is non-negotiable for that chewy texture you’re craving. Then we pull it off the heat and let it breathe for about 5 to 10 minutes. Don’t skip that cooling step! It prevents the caramel from running right off the side of the apple the second you dip it in. After that short wait, it’s dip time! Swirl the apple gently, let the extra drips fall back into the pan, and place it on your lined sheet. You can see a whole visual process laid out in guides like this one, which confirms our best practices.
Essential Preparation: How to Make Caramel Apples Stick
This is the secret sauce for the no slide caramel apples! Before anything else, you must wash those apples properly. Dip them briefly (like 5 seconds!) into boiling water. This sounds wild, but it strips off that waxy coating grocery store apples get. Pat them bone dry after the dip. Any hint of water or wax means your caramel will refuse to grab hold. Then, stick your dowel in firmly. Second huge tip: After dipping, don’t panic if the caramel looks a little loose. Let it sit at room temperature for a full hour. That resting time is vital; it lets the caramel firm up naturally without condensation from the fridge.
Cooking the Caramel Coating for Caramel Apples
When we move to the stovetop, grab your candy thermometer, please! We need that mixture to hit 245 degrees Fahrenheit—that’s the firm-ball stage. Once those first bubbles start popping and you reach that temperature, take the pan off the heat immediately. Resist the urge to stir! Stirring after it boils can cause the sugar to crystallize, leading to a grainy coating instead of smooth caramel. We just want controlled heating here. The thermometer ensures the final coating on your caramel apples sets up chewy and perfect.
Caramel Apple Topping Ideas for Gourmet Caramel Apples
Making great caramel apples is one thing, but making them show-stoppers? That’s when we can really have some fun! Since we’ve mastered the sticking part, now we turn them into something truly special and gourmet. Forget just rolling them in peanuts; we’re getting creative here! Think about serving these at a party—they instantly feel more upscale.
I love using things people already have on hand. Crushed Oreos make a fantastic, dark chocolatey contrast to the sweet caramel. Or, here’s a professional chef trick: before you dip, toast tiny chopped pecans slightly! The nut flavor deepens beautifully. And please, don’t forget a sprinkle of flaky sea salt over the top of the caramel right after you dip. It elevates the flavor profile in a way you won’t believe. For tons of creative inspiration for toppings, I always look through guides like this one on gourmet topping ideas.
Chocolate Drizzled Caramel Apples Technique
If you want that classic, over-the-top look, drizzling melted chocolate is the ticket. Crucially, you must wait until your base caramel coat is completely firm—like, totally set—before you attempt this. If you drizzle too soon, you’ll just smear the whole thing together. Melt your chocolate chips (I prefer dark chocolate for contrast), put them in a small piping bag or even just a Ziploc bag with the corner snipped off, and drizzle back and forth quickly over the hardened caramel. It sets fast, creating beautiful layers on your caramel apples!
Tips for Perfect Caramel Apples: Troubleshooting and Storage
So, you’ve got your beautiful, non-sliding, perfectly chewy fruits in front of you! That’s the hard part done, but let’s talk about keeping them looking and tasting amazing. Even with the best homemade caramel coating, things can go a little sideways if you don’t store them right. If your caramel seems too soft after cooling overnight, it usually means your temperature didn’t quite hit that 245°F mark. Don’t worry! For next time, trust the thermometer, even if you try a different technique or reference a different basic recipe. If you’re dealing with grainy caramel, you probably stirred the sugar after it started boiling, so just be diligent next time!
A great batch of caramel apples deserves to last a few days, right? Let’s make sure they stay pristine.
Storage Instructions for Homemade Caramel Apples
Keep these beauties at cool room temperature for the first day or two. If your kitchen is super warm, though, pop them in the fridge. The key is keeping them wrapped! I wrap each cooled apple tightly in plastic wrap before placing them in an airtight container. This stops anything from sticking to the caramel or getting condensation condensation on them, which would make them weep!
Serving Suggestions for Your Fall Dessert Recipes
Now that you’ve successfully conquered the making of phenomenal caramel apples, the real fun begins: deciding how to serve these beauties! They are definitely rich enough to be the headliner dessert, but they also play so nicely with other autumnal flavors. Don’t just stick them on a plate!
For a grown-up gathering, these are knockout served alongside a big pot of really strong black coffee or maybe even a spiced hard cider. If you are building out a full dessert spread for a party—and honestly, you should be—nestle the apples among some fluffy cream puffs and maybe some decadent chocolate bark. It just looks amazing!
If you are trying to balance out all that rich sweetness, I love pairing the sharp tartness of a crisp apple with savory Thanksgiving flavors. We even created a glorious fall harvest salad just to balance out our sweet treats for the season. Think about serving them as part of a beautiful autumn centerpiece display!
Frequently Asked Questions About Caramel Apples
I know you probably have a few last-minute worries floating around, especially if this is your first time making homemade caramel apples from scratch. That’s totally normal! But don’t worry, I’ve gathered up the most common questions I see so we can clear everything up before you dive in.
What are the best apples for dipping?
For a truly fantastic experience, you need an apple that is firm and crisp so it doesn’t get mushy under that glorious caramel shell. I swear by tart apples! Granny Smith is my long-time favorite because that tartness perfectly contrasts the buttery sweetness of the caramel. Honeycrisp or Fuji apples are also phenomenal choices if you prefer something a little less sharp. Just remember the prep step: wash them and dip them in boiling water to remove that waxy layer so the caramel has something to grab onto!
Can I use store-bought soft caramel candies instead of making it from scratch?
You absolutely *can* use soft, store-bought caramels if you’re really short on time, but I always caution against it. Those candies are often formulated to stay soft for months on the shelf, which means they might not reach that firm-ball stage we need to guarantee a chewy, non-runny coat. You usually have to add extra heavy cream or butter to get them to a dipping consistency, and honestly, you might end up with a messy situation. For the best homemade caramel coating, trust the stovetop recipe; it’s worth the extra fifteen minutes of stirring!
My caramel is too hard after cooling! What happened?
Ugh, that’s the worst! This almost always means one thing: your caramel mixture got too hot. If you let it cook past 245°F—say, hitting 255°F—you’re baking candy, not soft caramel! For next time, watch that thermometer like a hawk. On the bright side, hard coating means you have a fantastic, ready-to-drizzle shell for your next batch of caramel apple slices recipe experiments!
Can I make Caramel Apple Slices instead of whole apples?
Yes! This is a great way to serve up that flavor without the major commitment of a full apple, especially if you’re serving these at a party and want things a little less sticky. You’ll still make the caramel exactly as directed, but you need to work super fast. Slice the apples thickly, then immediately dip them into the slightly cooled caramel. Since the surface area is smaller and more exposed, the caramel sets much faster on the slices than on a whole apple. You might even want to skip the resting step before dipping if you go the slice route, as they firm up almost immediately anyway. If you want to dip those slices in chocolate next, check out this great tutorial on chocolate-covered caramel apple slices!
Share Your Perfect Caramel Apples
Now that you’ve made the absolute best, most reliable, perfectly chewy caramel apples this side of the pumpkin patch, I just have to know how they turned out! Honestly, seeing your creations is the best part of my day. It proves that anyone, even when life is hectic, can conquer candy making.
Did you go for the salty caramel vibe, or did you load them up with sprinkles and chocolate? Please don’t be shy! Snap a picture and tag me on social media. I love seeing how you customize this simple recipe for your family gatherings.
And if you ran into a snag, or if you found a little kitchen hack that made the process even smoother, drop a comment down below. That’s how we all learn together here at Completely Yummy! Your feedback helps me refine these recipes even further for the busy home cook. Go enjoy the spoils of your labor!
PrintFoolproof Homemade Caramel Apples: The Chewy Recipe That Actually Sticks
Make classic caramel apples that stick perfectly every time. This easy tutorial delivers a rich, chewy caramel coating ideal for fall parties and holiday treats.
- Prep Time: 20 min
- Cook Time: 15 min
- Total Time: 95 min
- Yield: 6 servings 1x
- Category: Dessert
- Method: Stovetop Cooking
- Cuisine: American
- Diet: Vegetarian
Ingredients
- 6 large, firm apples (Granny Smith or Honeycrisp recommended)
- 6 wooden or parchment-covered sticks
- 1 cup (2 sticks) unsalted butter
- 2 cups light brown sugar, packed
- 1 cup light corn syrup
- 1 (14-ounce) can sweetened condensed milk
- 1 teaspoon pure vanilla extract
- 1/2 teaspoon salt
- Optional toppings: chopped nuts, mini chocolate chips, sprinkles
Instructions
- Prepare the apples: Wash the apples thoroughly. Remove the wax coating by dipping them briefly in boiling water (about 5 seconds), then dry them completely with paper towels. Insert the sticks firmly into the stem end of each apple.
- Prepare your dipping station: Line a baking sheet with parchment paper or a silicone mat. Set out your bowls of desired toppings.
- Make the caramel: In a heavy-bottomed saucepan, combine the butter, brown sugar, and corn syrup over medium heat. Stir constantly until the butter melts and the sugar dissolves.
- Bring the mixture to a boil without stirring once boiling. Cook until the mixture reaches 245 degrees Fahrenheit on a candy thermometer (firm-ball stage). This usually takes about 8 to 10 minutes.
- Remove the pan from the heat. Carefully whisk in the sweetened condensed milk, salt, and vanilla extract until smooth. The mixture will bubble vigorously.
- Cool the caramel slightly: Let the caramel cool for 5 to 10 minutes. This cooling step is key to preventing the caramel from running off the apples.
- Dip the apples: Holding the apple by the stick, tilt the pan and dip the apple into the caramel, rotating to coat evenly. Lift the apple out, allowing excess caramel to drip back into the pan.
- Apply toppings immediately: If using toppings, dip the caramel-coated apple into your topping bowl or sprinkle toppings over the caramel before it sets.
- Set the apples: Place the coated apples on the prepared baking sheet. Let them cool completely at room temperature for at least 1 hour until the caramel is firm.
Notes
- For the best results and to ensure the caramel sticks, make sure your apples are completely dry after washing. The boiling water dip removes the natural wax layer.
- Do not skip using a candy thermometer; accurate temperature ensures the caramel sets correctly and is chewy, not runny.
- If you want chocolate drizzled caramel apples, wait until the caramel is fully set, then drizzle melted chocolate over the top.
- For easy cleanup, lightly spray the parchment paper with non-stick cooking spray before setting the apples down.
Nutrition
- Serving Size: 1 apple
- Calories: 550
- Sugar: 75g
- Sodium: 150mg
- Fat: 28g
- Saturated Fat: 17g
- Unsaturated Fat: 11g
- Trans Fat: 0g
- Carbohydrates: 78g
- Fiber: 2g
- Protein: 4g
- Cholesterol: 75mg