
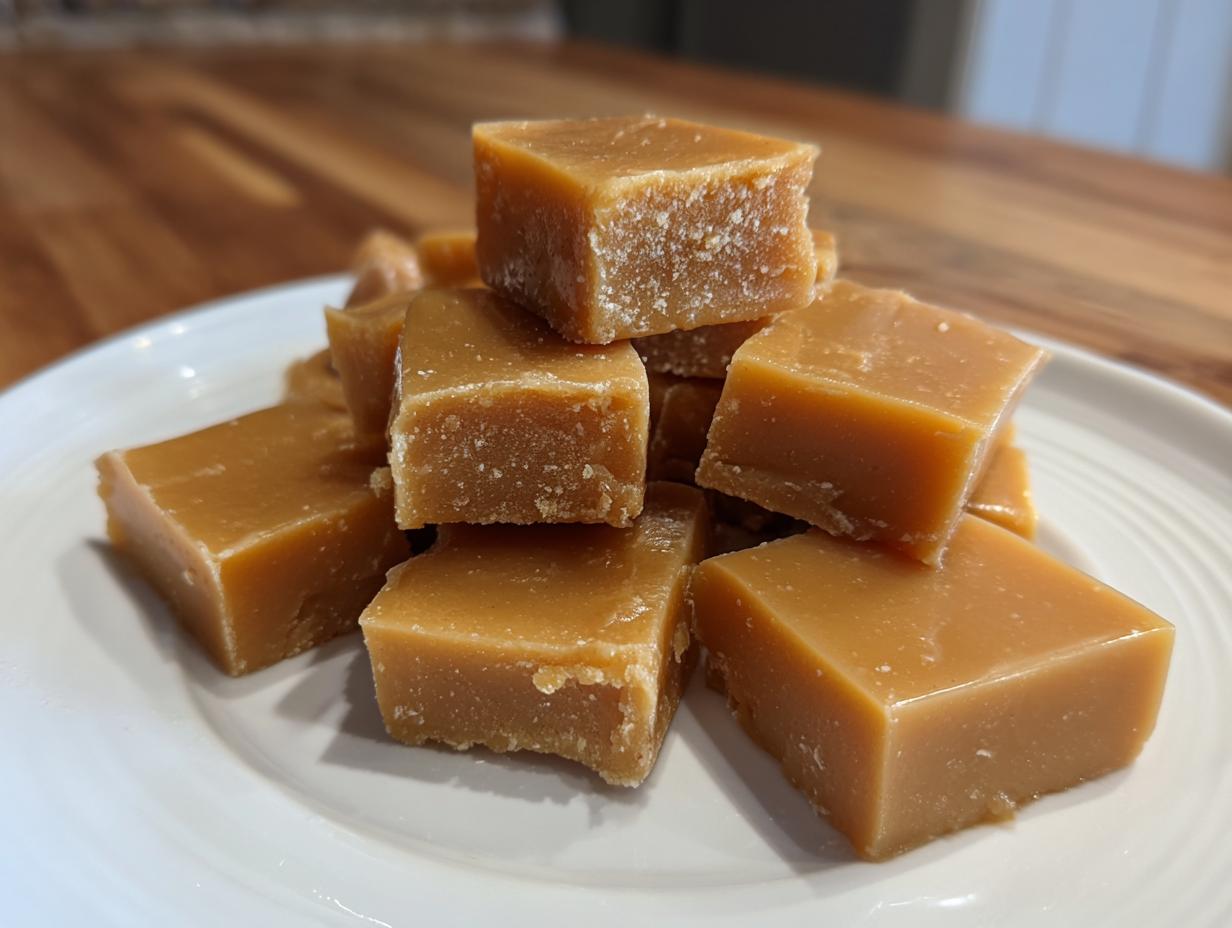
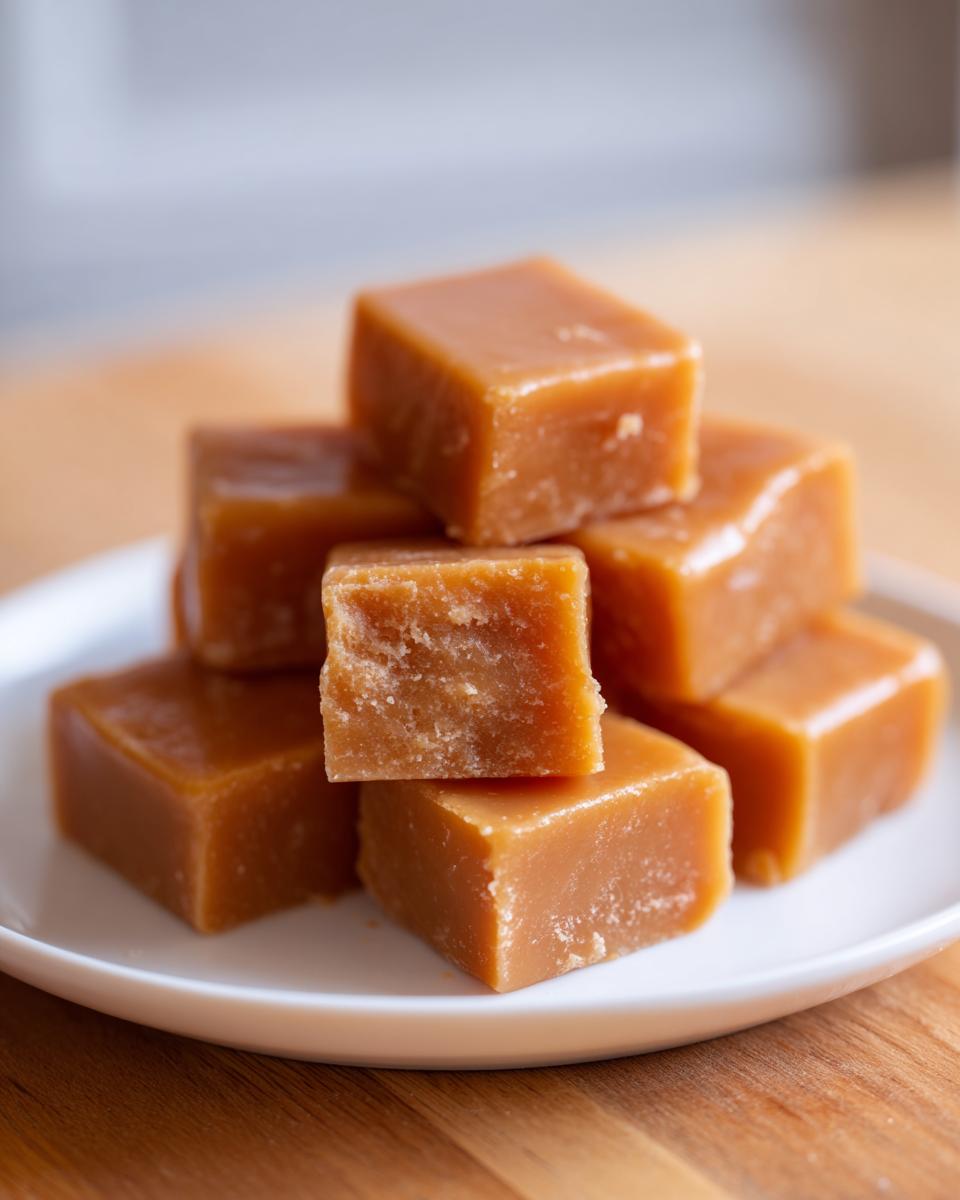
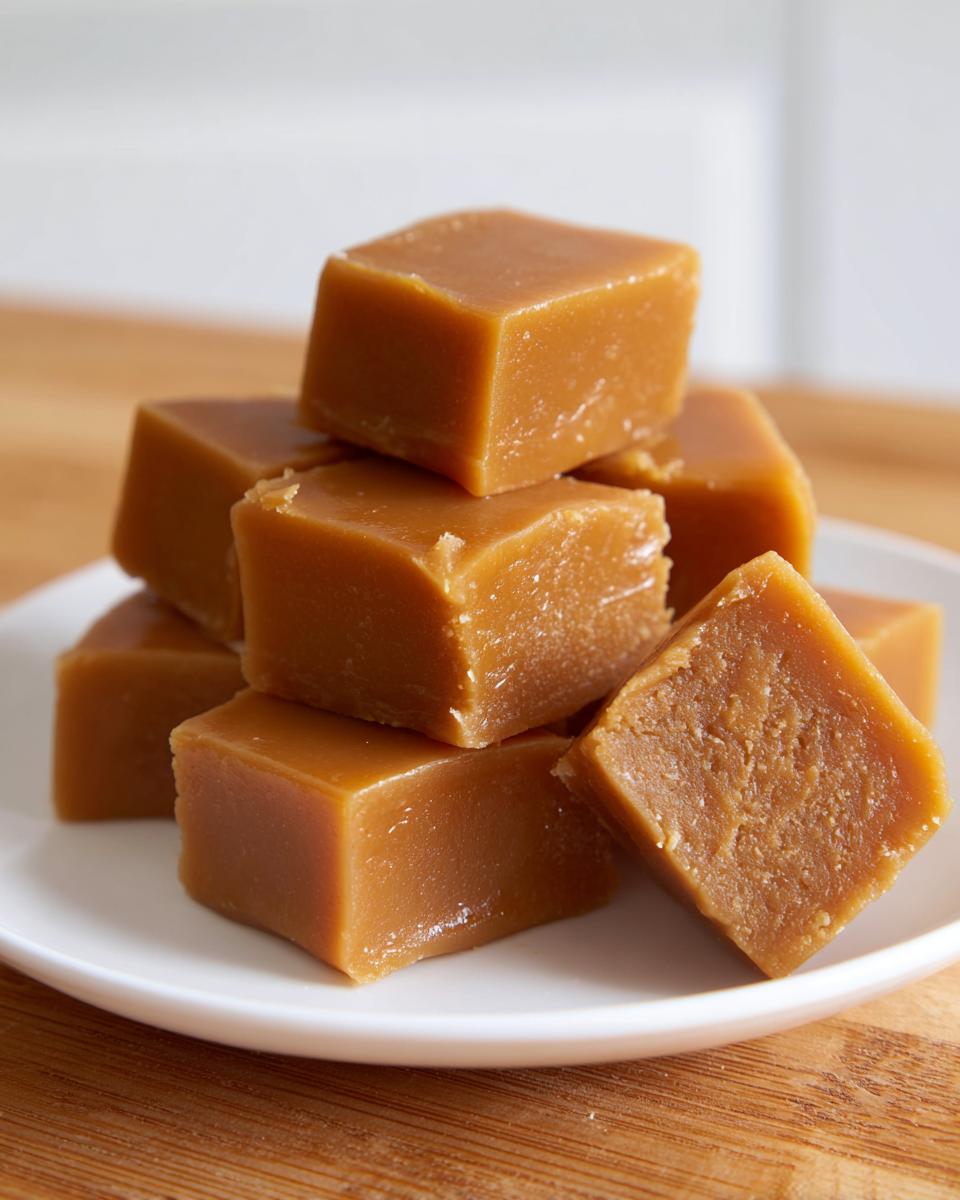
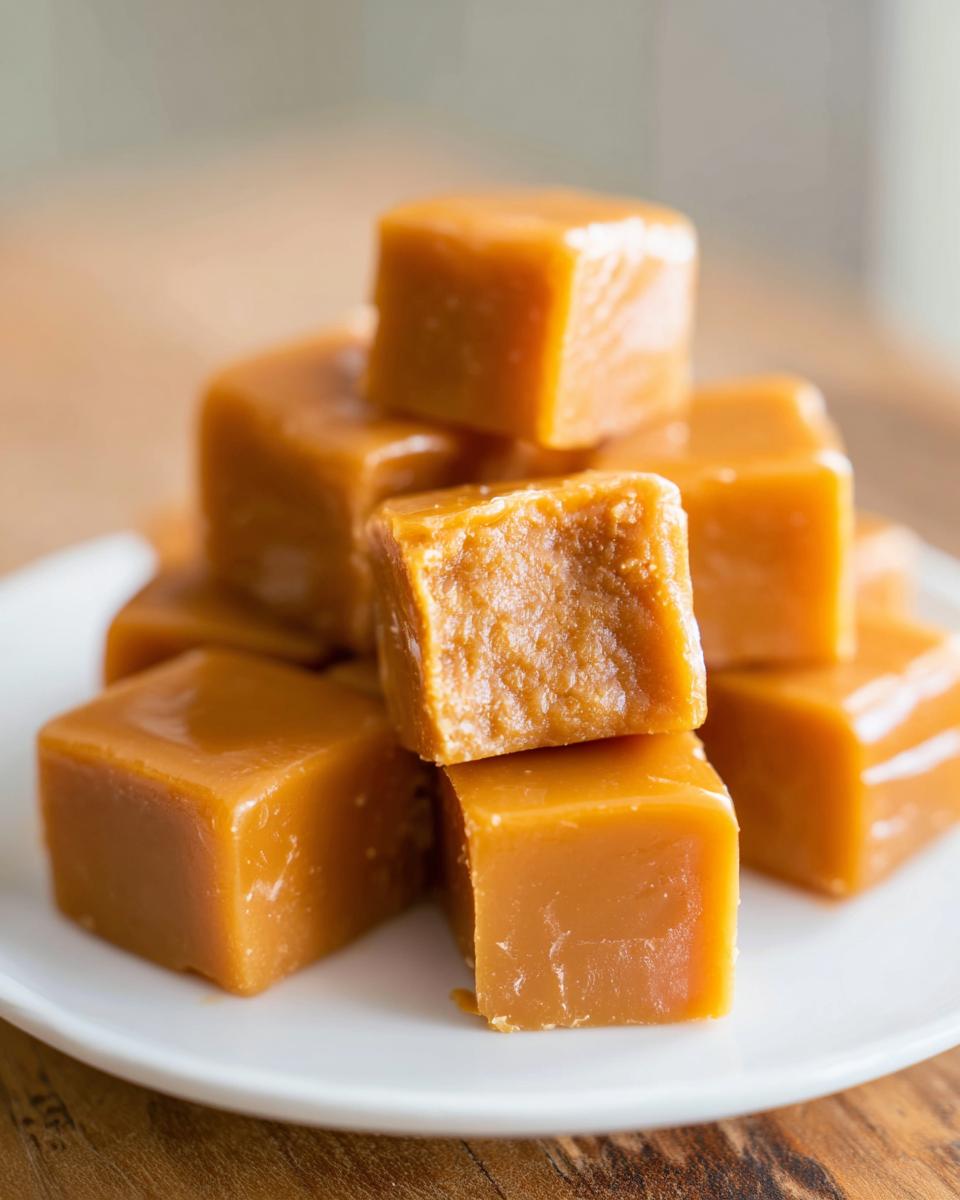
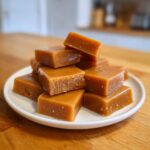
There is just something magical about pulling a sweet, buttery square of actual candy from a box you made yourself. Forget those stiff, waxy things you grab at the checkout counter—we’re making the real deal here! At Completely Yummy, my mission as Ava Sinclair is to prove that phenomenal food doesn’t require complicated acrobatics; it just needs a good, solid method. And when it comes to homemade caramel, this is it. This is the **best soft chewy caramels** recipe you’ll ever need. It’s super reliable, even if you’re nervous about cooking sugar. Trust me, learning how to make your own is satisfying in a way store-bought never will be. Check out all my simple recipes right here to see how easy it is to use these treats in other desserts!
- Why You Will Love This Easy Homemade Caramel Recipe
- Essential Ingredients for Perfect Homemade Caramel
- Equipment Needed for Simple Caramel Candy Making
- Step-by-Step Instructions for Soft and Chewy Homemade Caramels
- Tips for Success with Your Homemade Caramel Recipe
- Variations: Turning Homemade Caramel into Sauce or Fudge
- Storage and Keeping Your Chewy Candy Making Fresh
- Frequently Asked Questions About Making Homemade Caramel
- Estimated Nutritional Data for Homemade Caramel
Why You Will Love This Easy Homemade Caramel Recipe
When I developed this formula, I wasn’t messing around. I wanted caramels that were actually soft and tasted like childhood. You need this recipe because:
- They truly are the best soft chewy caramels—perfectly pliable without being sticky.
- This is an easy homemade caramel recipe that relies on a sturdy thermometer, taking the guesswork out of candy making.
- The flavor is intensely rich; you get that deep, buttery homemade candy satisfaction every single time.
- They are incredibly versatile! Use them as treats or melt them down for toppings—I can’t think of a better dessert addition.
Essential Ingredients for Perfect Homemade Caramel
Let’s talk ingredients for a minute, because candy making, even simple candy making, requires precision. You only need a handful of things, but they need to be the right things. We are aiming for that old fashioned caramel recipe vibe here, which means quality matters!
- 1 cup granulated sugar
- 1 cup light corn syrup (this is critical!)
- 1 cup heavy cream (don’t skimp here!)
- 1 cup packed light brown sugar
- 1 teaspoon vanilla extract
- 1/2 teaspoon salt
- 1/4 cup unsalted butter, cut into small pieces
Ingredient Notes and Substitutions for Your Homemade Caramel
I get asked all the time if you can substitute water for corn syrup, and the answer is a big, flashing NO. The corn syrup is absolutely necessary to prevent crystallization. If you skip it, you’re just making brittle, not soft candy. Also, please use heavy cream, not standard milk.
Milk has too much water content and won’t hold the temperature correctly; the cream gives us the fat and body needed for that luxurious, chewy texture we want. If you’re out of vanilla, you can use a few drops of almond extract, but the vanilla is what gives these that classic buttery flavor.
Equipment Needed for Simple Caramel Candy Making
Look, I try to keep things simple, but candy making has a few non-negotiables when it comes to tools. If you try to eyeball these steps, you’re going to end up with a sticky, crystallized mess, and we absolutely don’t want that for our first batch of classic vanilla caramels! These few pieces of gear are the difference between failure and absolute success.
First up, you MUST have a good candy thermometer. Don’t even think about trying this without one. Sugar gets incredibly hot, and knowing exactly when you hit that 245-degree mark is the entire secret sauce for texture. Get a reliable one and make sure it’s calibrated!
Next, grab your heaviest saucepan. I’m talking the one with the thickest bottom you own. This is fundamental for ensuring even heat distribution so your sugar doesn’t scorch on the edges while the middle is still raw. You don’t want any burned sugar flavor in your buttery homemade candy!
Finally, you’ll need your 8×8 inch baking pan, ready to be lined with parchment paper. Remember, we want that overhang so we can lift the whole slab out easily later. That little bit of parchment makes all the difference when it comes time to cut those beautiful squares.
Step-by-Step Instructions for Soft and Chewy Homemade Caramels
Okay, deep breath! This is where the magic happens, and yes, it involves heating things up quite a bit. For the absolute best results in your homemade caramel batch, follow these steps exactly. Remember how I said candy making takes precision? It’s all about managing that sugar bath.
First, get that 8×8 pan ready. Grease it well and line it with parchment, making sure you have those nice paper ‘slings’ sticking up over two sides for lifting. You’ll thank me later! Next, combine your granulated sugar, corn syrup, and heavy cream in that big, heavy pot. Heat it over medium, and here’s a non-negotiable: stir constantly until all that sugar dissolves. As soon as it starts bubbling, you MUST stop stirring.
Clip your thermometer on securely, making sure it’s sitting nicely in the mix but not touching the bottom of the pan—that would give you a false high reading. Now, just let it cook, undisturbed, until that thermometer hits exactly 245 degrees Fahrenheit. Once you hit that F, pull the pan off the heat immediately. Stir in the brown sugar, butter, salt, and vanilla until it’s all smooth. Be ready, because it will bubble up like crazy when you add those final ingredients! Gently pour the whole glorious mixture into your waiting pan. We’ll look at that temperature again in a moment, because it’s everything!
When setting these up, make sure you don’t scrape the sides of the pan when pouring into the mold, or you might introduce those scratchy sugar crystals into your smooth batch. For more dependable techniques like this, check out my collection of essential dessert recipes. If you’re looking for similar reliable instructions, this guide also shows great beginner methods!
Mastering the Temperature for the Best Soft Chewy Caramels
The temperature goal here is 245°F, which is the firm-ball stage. This is your golden ticket to soft and chewy heaven. If you are under 240°F, the candy simply won’t set up enough, and you’ll end up with gooey, sticky caramel that you can’t wrap.
I learned this the hard way years ago when I was trying to rush a batch for a bake sale. I pulled it off the heat too early because I thought it *looked* done. Nope! It cooled into a delicious, but totally useless, runny goo that coated my entire countertop. It tasted wonderful, but it absolutely wasn’t a candy. Getting to that firm-ball stage ensures those sugar chains link up just right to give you that satisfying resistance when you chew. It’s the most important part of this whole process!
Tips for Success with Your Homemade Caramel Recipe
We’ve reached the part where patience pays off! Making the perfect batch of homemade caramel isn’t just about the cooking; it’s about the waiting and the finesse in handling it afterward. I have three final pieces of advice—my personal guarantees for getting those beautiful, gift-worthy squares.
First, never, ever try to speed up the cooling process by sticking the pan in the fridge! That temperature shock messes with the internal structure, and you might end up with weeping caramels later on. Let it cool slowly on the counter for at least three solid hours until it’s completely firm. This slow set is crucial for that signature chewiness.
Second, when it’s time to cut, don’t hesitate! Wipe your sharp knife with a little oil beforehand—a tiny coat keeps the caramel from sticking to the blade. This ensures you get those clean edges for wrapping.
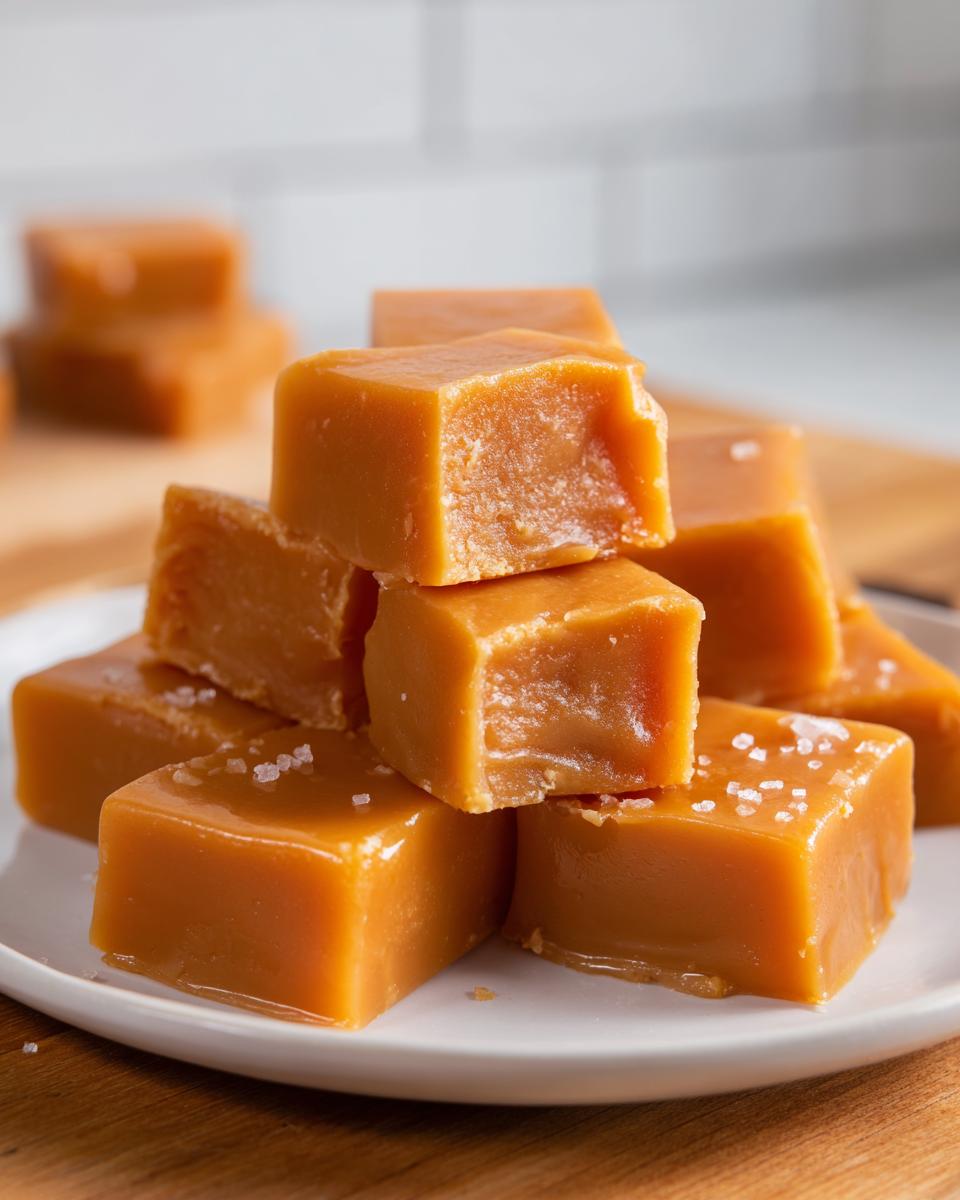
And finally, if you want to take these over the top, sprinkle some flaky sea salt on top right after you pour the hot mixture into the pan. It dissolves slightly as it cools but leaves these amazing little sparkling crystals. It’s a simple addition that makes your candy look like it came from a gourmet shop. If you’re looking for other easy ways to dress up your treats, check out my collection of dessert recipes!
Variations: Turning Homemade Caramel into Sauce or Fudge
You’ve mastered the chewy candy, but what if you need something that drizzles perfectly over your famous apple pie? Good news! That base for your homemade caramel is easily modified into a gorgeous, thick sauce. The key difference is temperature control. Remember when we cooked to 245°F for chewing? For a pourable sauce that’s perfect for topping ice cream, you only want to cook the mixture to 235°F—that’s the soft-ball stage.
When you pull it off the heat at 235°F and stir in the butter and cream, the sauce will be looser and won’t solidify when it cools. It makes a fantastic from scratch caramel sauce! I love using that sauce later to drizzle over my skillet cookies. For those times when you crave something richer, you can also pivot towards fudge.
If you want a deep, decadent fudge, that requires a slightly different path, usually involving sweetened condensed milk to give it that ultra-creamy set. It’s a different recipe entirely, but it starts with that same pure sugar foundation. Keep your original candy recipe safe, but know you have these other delicious options open to you now! Don’t forget to check out even more ways to use these flavors in my dessert recipe collection.
Storage and Keeping Your Chewy Candy Making Fresh
So you’ve successfully navigated the hot sugar bath and you have a gorgeous slab of chewy candy waiting to be cut. Hooray! Now for the critical step that keeps your hard work tasting fresh and chewy for weeks: wrapping. This is where many beginners mess up, so pay close attention!
You absolutely cannot store these unwrapped, even if you just put them in a fancy dish on the counter. Sugar is hygroscopic, which means it just loves to suck moisture out of the air, and that moisture turns your perfect, firm chew into a sticky, sweaty mess overnight. Trust me, I’ve thrown out an entire batch because I thought they’d be fine for one night uncovered.
Here is the rule for keeping your classic vanilla caramels perfect: You must wrap them individually. The best material is wax paper cut into small squares, or even clear cellophane wrappers if you’re going for that old-fashioned look. Take a little square, place the caramel slightly off-center, and twist the paper ends tightly like a taffy pull. This keeps air away from the surface.
Once they are all individually wrapped, they are ready for their airtight home. Pop them into a sturdy container with a tight-fitting lid. You can store these chewy treats at cool room temperature for up to three weeks! If you are worried about heat or humidity (like in the middle of summer), you can place the sealed container in the fridge, but make sure you let them come back to room temperature for about 30 minutes before eating. That ensures they get that perfect, softer chew back.
Frequently Asked Questions About Making Homemade Caramel
I know candy making can seem intimidating, but I promise, once you nail this easy homemade caramel recipe, you’ll never look back. Here are a few things people ask me most often, especially when they are tackling their first batch of chewy candy making guide adventures!
Why did my homemade caramel crystallize and get grainy?
Oh, the dreaded graininess! This almost always happens because of contamination or stirring after the boil starts. If you stirred the pot after it hit the boil, you might have knocked sugar crystals off the side of the pan back into the syrup. Another culprit is using a dirty spoon or having any undissolved sugar clinging to the side of your pot. For truly simple caramel candy making, trust the thermometer and leave the stirring alone once it gets going!
Can I really skip the corn syrup in this recipe?
Seriously, don’t try it! That corn syrup is what stops the sugar from grouping up into one giant, hard rock—it’s the key marriage partner to the sugar granules. Skipping it results in grainy, hard candy, not soft, chewy squares. For this no fail caramel recipe to work its magic, you need that syrup to keep everything beautifully smooth and yielding.
How do I get those perfectly clean, non-sticky cuts?
This is an easy fix! After the caramel has cooled completely (and I mean completely—no warmth left!) lift that whole slab using the parchment sling. Place it on a sturdy cutting board. The trick for that beautiful cut is to use a large, sharp chef’s knife that you have **lightly oiled**. Wipe the blade with a tiny bit of neutral oil between every two cuts. This prevents the warm, sticky sugar from tearing the edges. You want those perfect edges for wrapping!
Once you’ve cut them, remember to use those squares to top your favorite ice cream, or just enjoy them plain! Check out more ways to use these squares in my dessert hub!
Estimated Nutritional Data for Homemade Caramel
You know me—I’m focused on flavor and joy, not counting every single bite! But since we are making something so rich and wonderful, I know many of you want the rundown on what’s in these beautiful squares. This information is super helpful if you’re budgeting for your holiday baking or just curious about what makes these such a special treat.
The data below is based on splitting the entire batch into 64 individual squares. Remember, since we’re making everything from scratch, the exact figures can shift slightly depending on the brand of cream or butter you grab. Think of this as a fantastic baseline!
- Serving Size: 1 square
- Calories: 95
- Sugar: 16g
- Sodium: 35mg
- Fat: 3g
- Saturated Fat: 2g
- Carbohydrates: 17g
I always advise people to just enjoy these treasures mindfully. They are meant to be a treat, especially around the holidays! If you are making them for gifting, it’s nice to print out a little tag with these basic numbers so everyone knows what they are savoring. Happy snacking!
PrintSoft and Chewy Homemade Caramels: The Simple, No-Fail Recipe
Make classic, buttery, soft and chewy homemade caramels from scratch. This simple recipe is perfect for beginners and ideal for holiday gifting or topping ice cream.
- Prep Time: 10 min
- Cook Time: 25 min
- Total Time: 3 hours 35 min
- Yield: About 64 pieces 1x
- Category: Candy
- Method: Stovetop Cooking
- Cuisine: American
- Diet: Vegetarian
Ingredients
- 1 cup granulated sugar
- 1 cup light corn syrup
- 1 cup heavy cream
- 1 cup packed light brown sugar
- 1 teaspoon vanilla extract
- 1/2 teaspoon salt
- 1/4 cup unsalted butter, cut into pieces
Instructions
- Lightly grease an 8×8 inch baking pan and line it with parchment paper, leaving an overhang on two sides for easy removal. Set aside.
- In a heavy-bottomed saucepan, combine the granulated sugar, corn syrup, and heavy cream. Place over medium heat.
- Stir the mixture constantly until the sugar dissolves completely. Stop stirring once it boils.
- Attach a candy thermometer to the side of the pan, making sure the tip is submerged but not touching the bottom.
- Cook the mixture without stirring until it reaches 245 degrees Fahrenheit (firm-ball stage). This usually takes 15 to 20 minutes. Watch the temperature closely.
- Remove the pan from the heat. Carefully stir in the brown sugar, butter, salt, and vanilla extract until smooth. The mixture will bubble vigorously.
- Pour the hot caramel mixture into the prepared baking pan. Do not scrape the sides of the pan.
- Let the caramel cool completely at room temperature for at least 3 hours, or until firm. Do not refrigerate.
- Once firm, use the parchment paper overhang to lift the block of caramel out of the pan.
- Peel off the parchment paper. Place the block on a cutting board and use a sharp, oiled knife to cut the caramel into 1-inch squares.
- Wrap each piece individually in wax paper or cellophane for storage. Store in an airtight container.
Notes
- For a pourable caramel sauce, stop cooking when the mixture reaches 235 degrees Fahrenheit (soft-ball stage). After adding the butter and cream, whisk until smooth, then cool slightly before using as a topping.
- If you want salted caramels, sprinkle flaky sea salt over the top of the caramel immediately after pouring it into the prepared pan.
- Use a light-colored pan to help you judge the color of the caramel as it cooks.
- Always use a heavy-bottomed pan to prevent scorching the sugar.
Nutrition
- Serving Size: 1 square
- Calories: 95
- Sugar: 16g
- Sodium: 35mg
- Fat: 3g
- Saturated Fat: 2g
- Unsaturated Fat: 1g
- Trans Fat: 0g
- Carbohydrates: 17g
- Fiber: 0g
- Protein: 0g
- Cholesterol: 10mg