
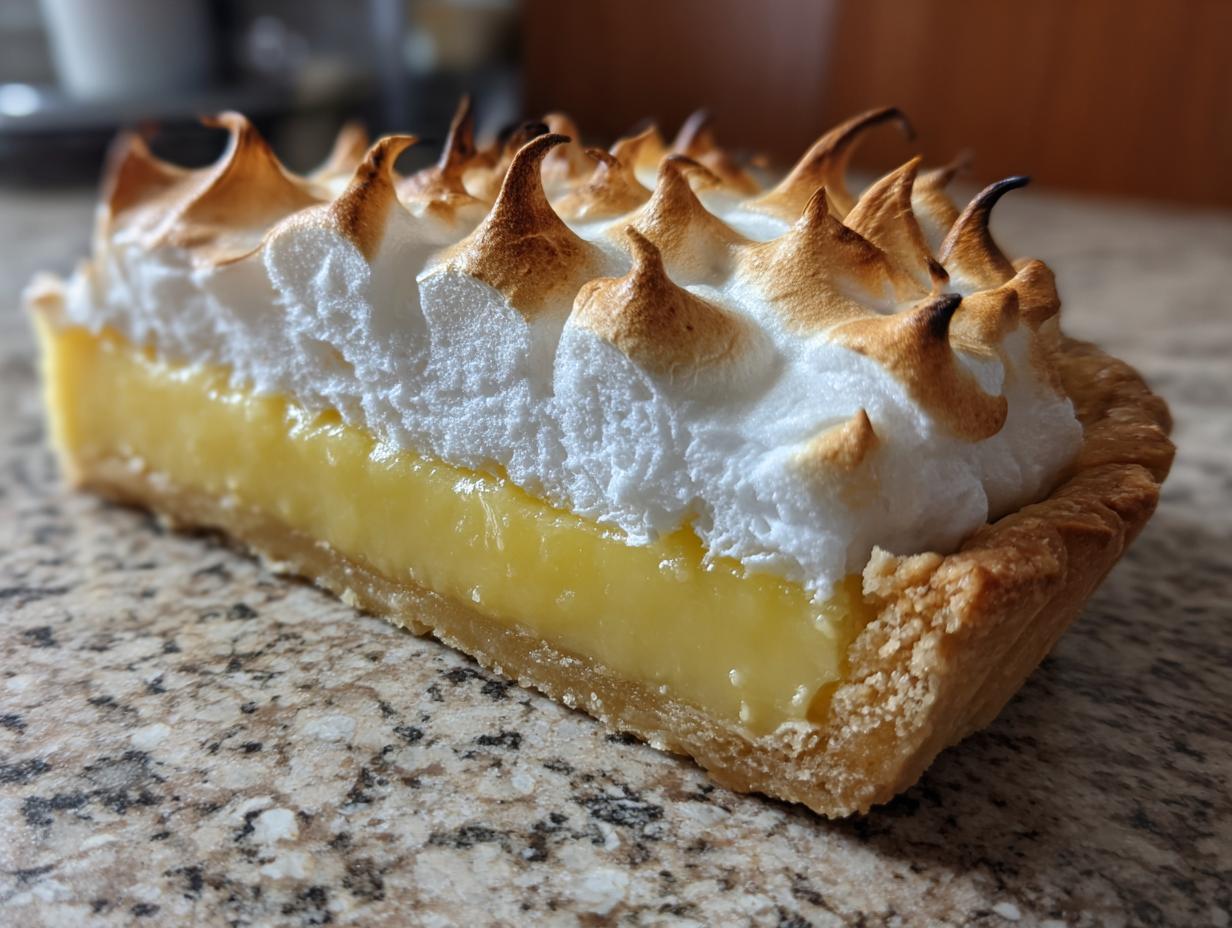
There is truly nothing that says ‘I made this with love’ quite like a perfect slice of homemade pie. Remember those days when I was deep in the marketing grind? I missed the slow, mindful pleasure of creating something truly special. That’s why this recipe for the Ultimate Homemade Lemon Meringue Pie is so vital to me. It took serious testing to get it right—a filling that zings with tartness, a buttery crust that crumbles just so, and, the absolute key, a meringue topping that stands up tall and proud. Forget those flat, weeping messes you see sometimes. This is my secret weapon for bringing back the joy to my kitchen, and I’m thrilled to finally share my complete lemon meringue blueprint with you.
- Why This Is the Best Lemon Meringue Pie Recipe
- Ingredients for Your Homemade Lemon Meringue Pie
- How to Make Lemon Meringue Pie From Scratch
- Tips for a No Weeping Meringue on Your Lemon Meringue
- Serving Suggestions for Your Showstopping Lemon Meringue
- Storage and Reheating Instructions for Classic Lemon Meringue Pie
- Frequently Asked Questions About Lemon Meringue
- Storage and Reheating Instructions for Classic Lemon Meringue Pie
- Serving Suggestions for Your Showstopping Lemon Meringue
- Share Your Family Favorite Pie Experience
- Nutritional Estimates for Lemon Meringue Pie
- Nutritional Estimates for Lemon Meringue Pie
- Share Your Family Favorite Pie Experience
Why This Is the Best Lemon Meringue Pie Recipe
So, you’ve probably tried a few lemon meringue recipes that promised the world but ended up flat or watery, right? Been there! That’s why I call this the Best Lemon Meringue Pie because it skips all the shortcuts. We’re going completely from scratch, and that makes all the difference in flavor and texture. This recipe is built on two main promises:
- A bright, tangy filling that sings thanks to fresh citrus.
- A gorgeous, cloud-like meringue that actually stays put.
If you are ready for a proper homemade experience, this From Scratch Lemon Custard is exactly what you need. When you see how bright and beautiful this pie is, you’ll understand why it’s worth the effort compared to easier recipes out there! See how others are enjoying their sunny slices!
Achieving the Perfect Zesty Lemon Custard
The secret to getting that huge pop of flavor? It’s just fresh citrus, no bottled stuff allowed! We use both the juice of about three real lemons *and* the zest. That zest holds all the essential oils that make a Zesty Lemon Pie truly zing. Also, don’t skip tempering those egg yolks. It sounds fancy, but it’s just slowly warming up the yolks with a bit of the hot sugar mixture. This step prevents you from ending up with bits of cooked egg floating sadly in your smooth, creamy center. Trust me, it’s worth the two extra minutes of whisking!
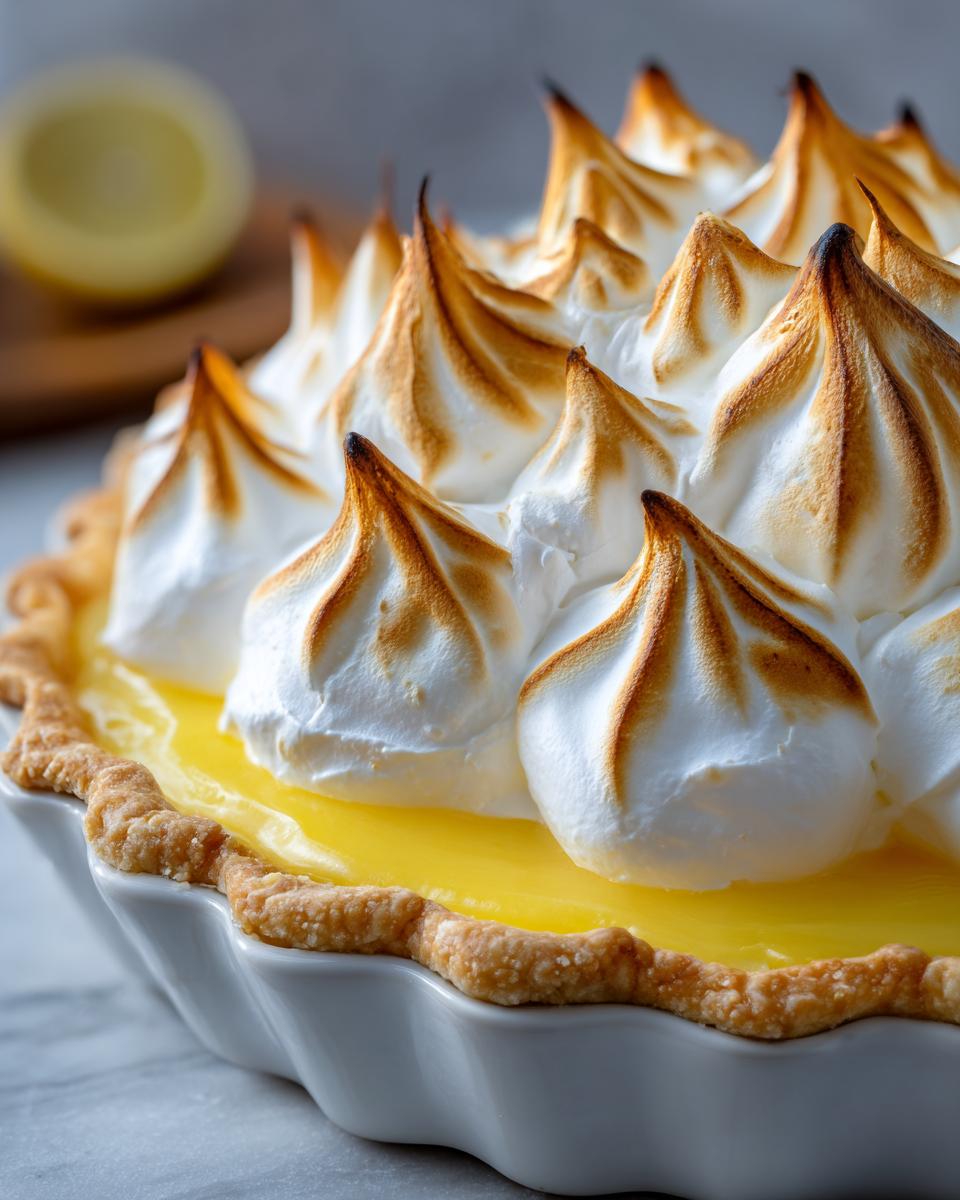
Tips for a Fluffy Meringue Topping That Stays Tall
This is where most people lose the battle, but we are winning! First, your egg whites must be at true room temperature—cold whites just won’t whip up properly. Second, cream of tartar is your best friend here; it stabilizes the protein bonds so your Fluffy Meringue Topping gets those stiff, glossy peaks that look incredible. We are beating these whites until they form marshmallow peaks that can hold their shape when you lift the beaters. Then, spread it right onto that hot filling, making sure it touches the crust edge all the way around. That seals it in for baking!
Ingredients for Your Homemade Lemon Meringue Pie
Okay, now that we’ve talked about the magic tricks, let’s get down to what you actually need to pull this showstopper together. Remember, because we are going from scratch, the quality of these ingredients really counts! My preference is always for a homemade crust—it just tastes better with the bright filling—but if you’re in a pinch, a good store-bought shell works fine, as long as you pre-bake it. Below, I’ve broken everything down by what part of the pie you are building. You can check out some of my other amazing sweet treats over here: more dessert inspiration!
For the Buttery Pie Crust
You need your crust fully prepared and cooled before we even think about the filling. For this 9-inch pie, I really suggest you make your crust using real butter so it’s flaky and rich. If you must buy one, just grab one 9-inch pre-baked pie shell. That’s my only real shortcut, okay? Don’t sweat it if you have to use store-bought, but promise me you’ll try my buttery recipe next time!
For the From Scratch Lemon Custard Filling
This is where the powerful flavor comes from! Notice we’re using the full amount of sugar needed to balance the tartness. Don’t skimp here, the balance is everything. We need those four egg yolks for richness, and please, make sure you juice and zest those lemons fresh—that 1/2 cup of fresh lemon juice is non-negotiable for that perfect zing!
- 1 1/2 cups granulated sugar
- 1/3 cup cornstarch
- 1/4 teaspoon salt
- 1 1/2 cups cold water
- 4 large egg yolks, lightly beaten
- 2 tablespoons unsalted butter
- 1/2 cup fresh lemon juice (about 3 lemons)
- 1 tablespoon lemon zest
For the Stable Lemon Meringue Topping
Here are the elements we use to build those gorgeous, tall peaks. The most important thing to remember right here, even before you start, is that the 6 egg whites MUST be at room temperature. Keeping the bowl absolutely grease-free is also critical for getting the volume we want in this beautiful Fluffy Meringue Topping!
- 6 large egg whites, at room temperature
- 1/2 teaspoon cream of tartar
- 1/2 cup granulated sugar (for meringue)
How to Make Lemon Meringue Pie From Scratch
Alright, buckle up, because this is where the magic happens! Learning exactly How to Make Lemon Meringue Pie From Scratch is all about timing and temperature control. We need everything aligned perfectly: a cooled shell, a hot filling, and perfectly whipped whites. Don’t stress too much about the official steps, though; I have simple ways of explaining how my hands *actually* do this in my kitchen. When you get this timing down, you’ll never go back to anything else for a perfect Classic Lemon Meringue Pie. Be sure to check out this alternative recipe guide too: a quick look at another great pie method!
Preparing the Crust and Lemon Custard Filling
First things first: your crust needs to be fully baked and already cooling down. A warm crust will melt our delicate filling! Now, into a saucepan go the 1 1/2 cups of sugar, cornstarch, and salt—whisk those dry things together really well. Now, slowly pour in the cold water, whisking until it looks like pale, creamy milk. Place this over medium heat, and this is critical: you must stir *constantly*. I mean it! Keep going until it bubbles and thickens up nicely. Once it boils for just one minute, pull it off the heat right away.
For external reading on making a great pie, check out this guide: Rock Recipes’ take on homemade pie.
Tempering Yolks and Finishing the Lemon Meringue Custard
Next up is tempering those four lovely egg yolks. In a separate bowl, lightly beat them. Now, you take about one cup of that hot sugar mixture from the pan and drizzle it *slowly* into the yolks while whisking like crazy! This warms them gently so they don’t scramble. Once they’ve adjusted, pour that tempered yolk mixture right back into the saucepan with the rest of the filling. Put it back on the heat and stir until it thickens again. This takes just a few minutes. Finally, stir in the butter, the fresh lemon juice, and that bright zest until everything melts together. You should taste it here—is it tart enough for you? If yes, pour this steaming hot marvel right into your cooled shell!
Whipping the Meringue and Baking the Classic Lemon Meringue Pie
While the filling is still hot (this is important!), start your meringue. Grab those room-temperature egg whites and whip them until they get foamy. Add the cream of tartar, then beat until soft peaks form. Now, stream in that final 1/2 cup of sugar, one tablespoon at a time. Keep beating until those peaks are stiff, glossy, and stand up when you lift the whisk. Spread this glorious cloud over the hot filling, making sure you seal it completely right to the crust edge—this stops shrinkage! Bake at 350°F for about 10 to 15 minutes until the peaks are beautifully toasted. Remember my biggest rule for this pie: always cool it slowly on the counter for at least four hours to avoid that awful weeping!
Tips for a No Weeping Meringue on Your Lemon Meringue
I know, I know, the weeping meringue is the absolute nemesis of the perfect Lemon Meringue Pie. It’s so frustrating when you’ve made this incredible, vibrant tart only to have it look like it’s crying all over the counter! Don’t panic; we have the solutions right here. Getting those gorgeous peaks to stay dry and firm relies less on baking time and more on preparation and cooling. These No Weeping Meringue Tips are taken straight from my successful testing days, and they genuinely work.
For extra reading on keeping your Classic Lemon Meringue Pie looking sharp, this article has some great pointers: Check out this guide for maintaining stability.
Grease-Free Success for Your Lemon Meringue
This is the first checkpoint, and it has to be perfect. If even a microscopic drop of fat gets into your egg whites—whether it’s residual cooking spatters in the bowl, traces of yolk, or oil on your whisk—the meringue just won’t climb! I always give my bowl and whisk a good wipe-down with a paper towel dipped in a little white vinegar right before I start whipping. This cuts through any invisible grease remnants. You are whipping air into protein, and fat is the enemy of that structure. Make sure those egg whites are pure!
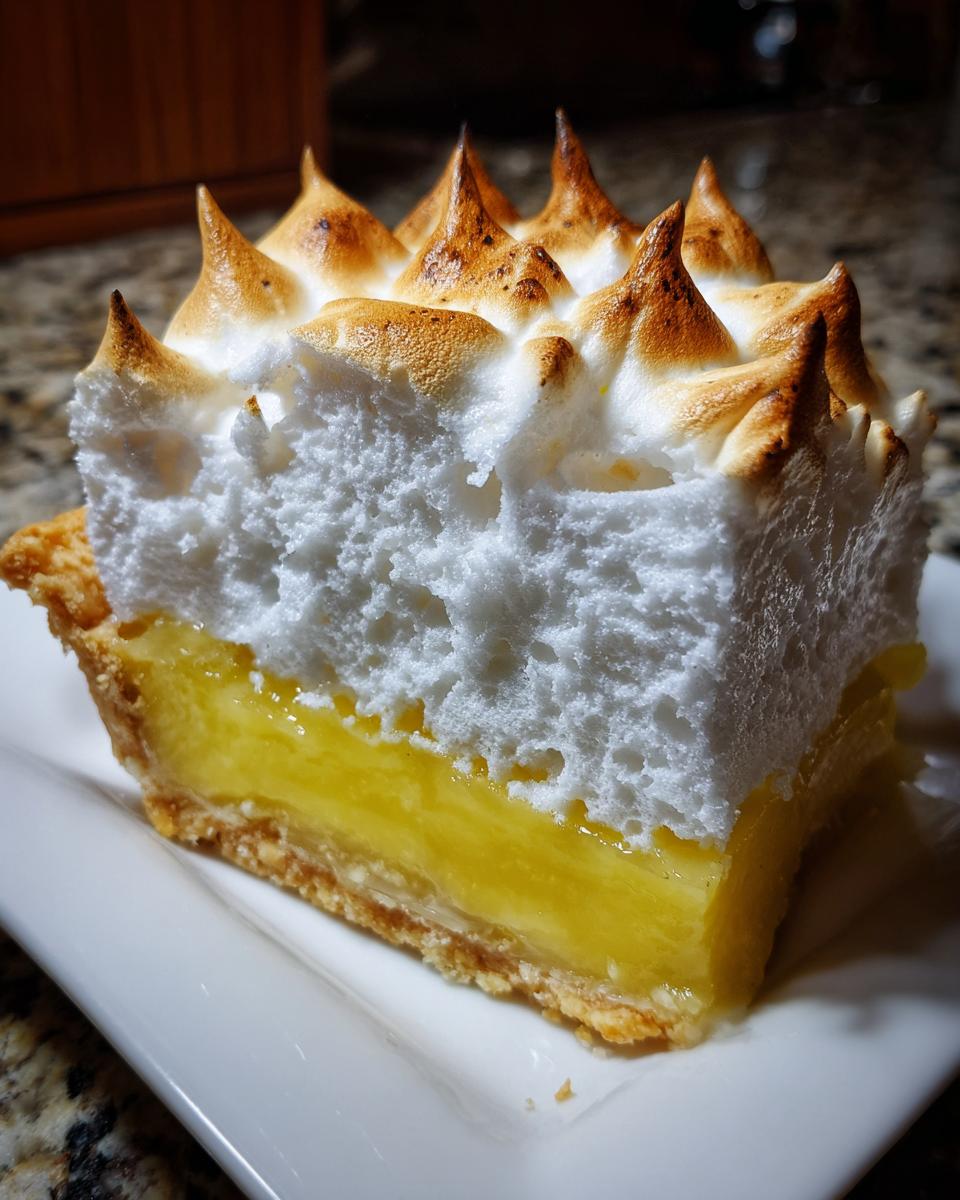
The Importance of Slow Cooling for This Lemon Meringue Pie Recipe
This is the step everyone rushes, and it causes that dreaded separation between the filling and the topping. When you pull that hot pie out of the oven, that meringue setting around the edges cools down much faster than the hot lemon custard center. That temperature difference causes contraction, and the sugar water pools—that’s the weep! You must let the entire Lemon Meringue Pie Recipe cool slowly on the counter, away from any drafts, for at least four hours. Seriously, resist the urge to rush it into the fridge! That slow transition helps the custard set perfectly and keeps the meringue firmly bonded and dry.
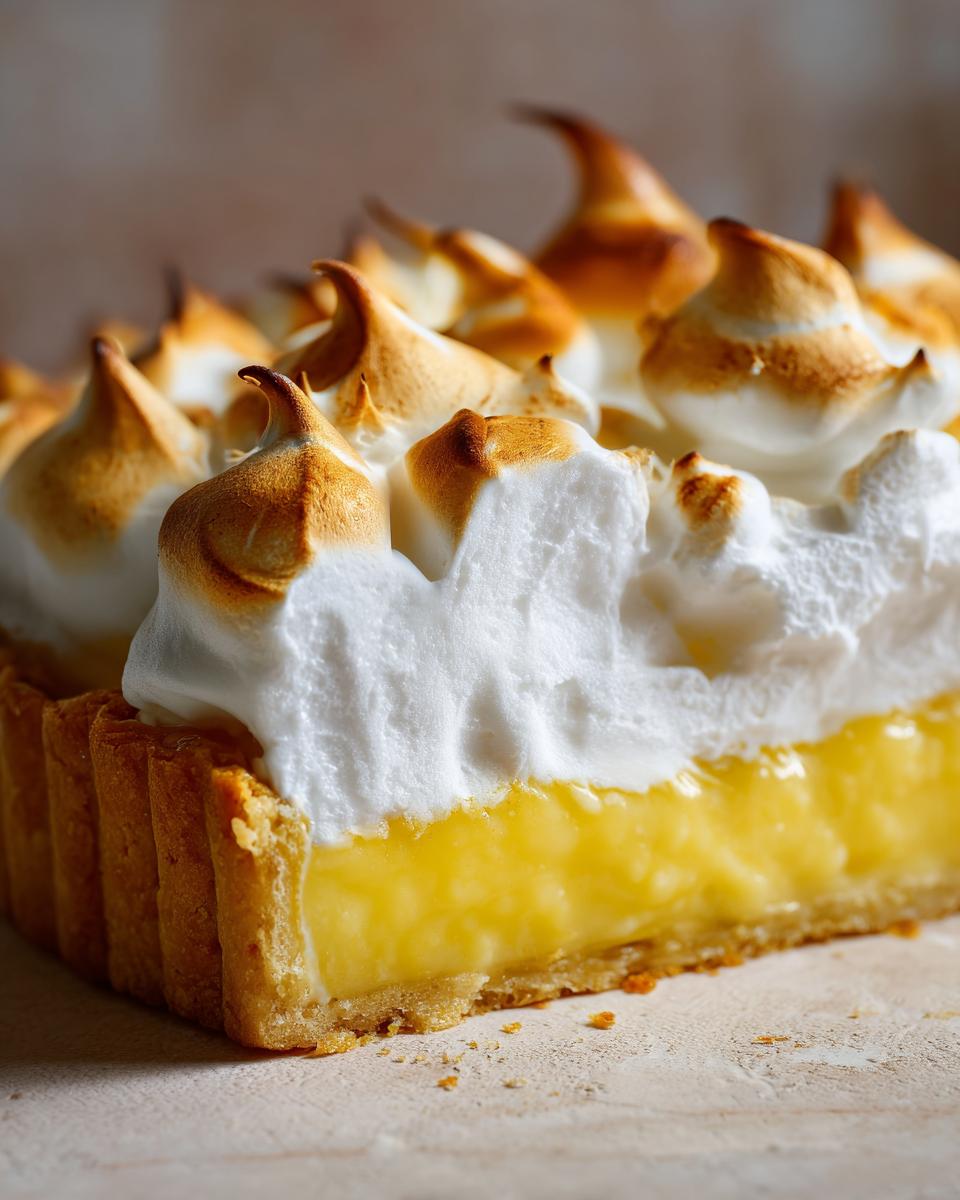
Serving Suggestions for Your Showstopping Lemon Meringue
When you’ve achieved a beautiful, high peak on this Showstopping Dessert, you want to present it like the masterpiece it is! Because the filling is so wonderfully tangy and bright, you don’t need much else. I always serve it slightly warm—not fridge-cold, just barely cooled down from a room temp—on a pretty white cake stand so the golden meringue really pops. If you’re looking for a beverage pairing, skip the coffee. Instead, try a crisp, slightly sweet iced tea or even a mock Sangria, like the one I make in the fall, which offers a lovely, light counterpoint to the citrus. For more beautiful pie ideas, have a look here: Check out these gorgeous pies!
Storage and Reheating Instructions for Classic Lemon Meringue Pie
This is the part where we need to be a little careful with our gorgeous Classic Lemon Meringue Pie. Because of that beautiful, airy meringue topping, refrigeration can be tricky. The best news is that the filling sets up really well when stored properly. You want to set the pie on the counter, partially covered loosely with plastic wrap, for up to 6 hours. If it needs to go longer, cover it well and move it to the fridge, but know that the environment in the fridge can sometimes encourage that meringue weep!
Above all, never, ever try to reheat this pie. The heat will melt your beautiful, tall meringue structure right into a sugary puddle. If you are only eating one slice, that first day is when it’s absolute perfection!
Frequently Asked Questions About Lemon Meringue
I always get so many questions whenever I post about a complex bake like this, which is totally one hundred percent fine! It shows you’re serious about making the absolute best Lemon Meringue dessert possible. My goal here is always to empower you, not to show off with fancy tricks. So, let’s tackle some of the most common things folks ask me about when they are setting out to conquer this pie.
Can I use boxed lemon pie filling for this Lemon Meringue recipe?
Oh, honey, you totally could, but please don’t if you want the Best Lemon Meringue Pie! That’s the whole point of this recipe—achieving that deep, bright, zesty flavor that only comes from scratch. Those box mixes are full of stabilizing gums and artificial flavors, and they just can’t stand up to the homemade, fluffy meringue. It’s a completely different experience, and honestly, making the From Scratch Lemon Custard is so much easier than you think!
Can I make the lemon custard filling ahead of time?
Yes, that’s a smart way to break up the work! You can absolutely make the lemon custard filling completely and let it cool until it’s just warm. You can even chill it once it’s cooled a bit. The rule here is that the filling needs to be warm when you add the meringue—not cold, and definitely not piping hot. If you chill it too much, the meringue won’t stick properly and you’ll end up with separation. So, cool it down to just above room temperature, whip up your whites, and pile that meringue on!
What is the difference between Lemon Meringue Pie and Lemon Meringue Bars?
That’s a great question, especially since I love Lemon Meringue Bars Recipe ideas for parties! The big difference is the structure. The classic pie relies on that delicate, flaky crust that holds a deep, soft custard and a dome of meringue. Bars, though? They usually use a shortbread or graham cracker crust that bakes up sturdier, almost like a cookie base. They are great because they slice neatly and you don’t have to worry about keeping the slices chilled as much. If you’re serving a crowd that won’t eat a whole pie slice, bars are an excellent alternative!
If you’re looking for some simple dinners to make before tackling a big dessert like this, check out some of my easy weeknight dinner ideas!
Storage and Reheating Instructions for Classic Lemon Meringue Pie
You did it! You nailed the Classic Lemon Meringue Pie, and now you have leftovers (lucky you!). Since the meringue is basically toasted sugar and egg white foam, it doesn’t love the deep freeze or even the harsh cold of a refrigerator right away. Store your slices loosely covered on the counter at cool room temperature for up to 6 hours—that’s when it’s truly at its best.
If you do need to refrigerate it overnight, cover it carefully with plastic wrap that barely skims the top of the meringue. And here’s the tough love part: never reheat this pie! The oven heat will cause the moisture trapped in the meringue to release instantly, resulting in a sugary puddle. Enjoy those slices while they are cool and fresh!
Serving Suggestions for Your Showstopping Lemon Meringue
When you pull out this gorgeous, golden-peaked Showstopping Dessert, everyone is going to grab a fork! The key to serving is making sure the slice holds together. Don’t cut it until it has cooled completely, which takes patience, I know. For serving, I usually dust the tops lightly with a tiny bit of powdered sugar right before bringing it to the table just to enhance the peaks.
Since the filling is so intensely tangy and sweet, I love pairing it with something that cuts through that richness. Think a cold glass of water with a splash of sparkling lime or maybe even a light, unsweetened iced black tea. You don’t want anything that competes with that citrus zing! For more great ideas on what to present alongside your baked goods, take a peek at these serving suggestions, and don’t forget to see how others are enjoying their wonderful creations over here!
Share Your Family Favorite Pie Experience
Making this recipe from scratch truly makes it your own, turning it into a brand new Family Favorite Pie story! I just love hearing when one of my recipes becomes part of your tradition. If you conquered that meringue and it stood tall and proud, please leave me a rating right here on the card. If you have any lingering questions, drop me a line through my contact page—I’m always here to help you troubleshoot!
Nutritional Estimates for Lemon Meringue Pie
Just a quick note here, chefs! Since we all use different brands of butter, sugar density, and crust choices, the nutrition facts provided below are only estimates based on standard measurements for one slice of this Lemon Meringue Pie Recipe. They are here to give you a general idea, but your real count might vary based on your exact ingredients!
Share Your Family Favorite Pie Experience
Making this recipe from scratch truly makes it your own, turning it into a brand new Family Favorite Pie story! I just love hearing when one of my recipes becomes part of your tradition. If you conquered that meringue and it stood tall and proud, please leave me a rating right here on the card. If you have any lingering questions, drop me a line through my contact page—I’m always here to help you troubleshoot!
I always love seeing your beautiful bakes referenced over at Tasty Delight Recipes, so go ahead and show off your sunny success!
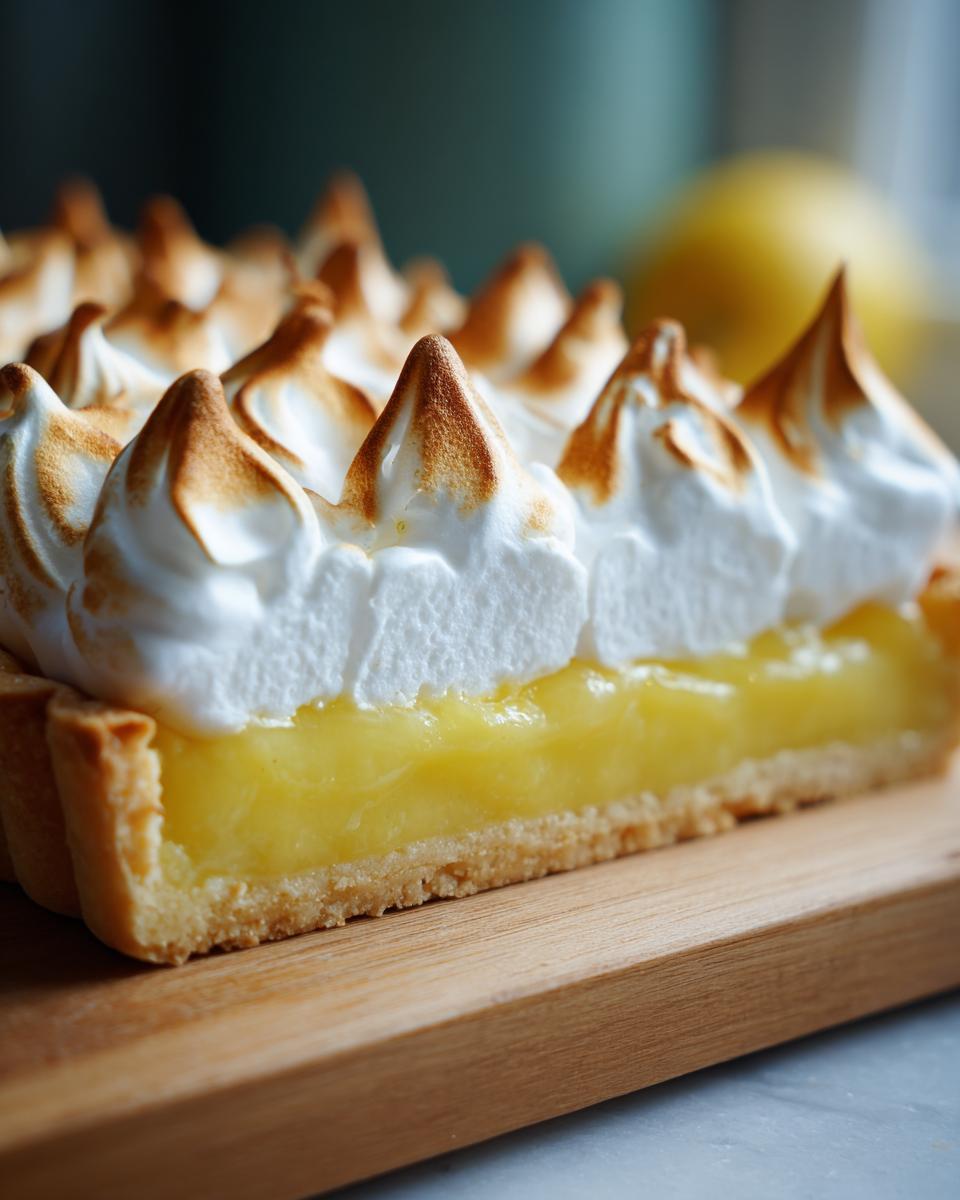
PrintThe Ultimate Homemade Lemon Meringue Pie Recipe (From Scratch with Tall, Stable Meringue)

Make the best Lemon Meringue Pie from scratch. This recipe delivers a buttery crust, a zesty, tart lemon custard filling, and a high, fluffy, toasted meringue topping that resists weeping.
- Prep Time: 30 min
- Cook Time: 25 min
- Total Time: 4 hours 55 min
- Yield: 8 servings 1x
- Category: Dessert
- Method: Baking
- Cuisine: American
- Diet: Vegetarian
Ingredients
- 1 (9-inch) unbaked pie crust (buttery homemade recommended)
- 1 1/2 cups granulated sugar
- 1/3 cup cornstarch
- 1/4 teaspoon salt
- 1 1/2 cups cold water
- 4 large egg yolks, lightly beaten
- 2 tablespoons unsalted butter
- 1/2 cup fresh lemon juice (about 3 lemons)
- 1 tablespoon lemon zest
- 6 large egg whites, at room temperature
- 1/2 teaspoon cream of tartar
- 1/2 cup granulated sugar (for meringue)
Instructions
- Prepare the pie crust: Bake the unbaked pie crust according to standard pie shell instructions until lightly golden. Set aside to cool completely.
- Make the lemon custard filling: In a medium saucepan, whisk together 1 1/2 cups sugar, cornstarch, and salt. Gradually whisk in the cold water until smooth.
- Cook the base: Place the saucepan over medium heat. Stir constantly until the mixture thickens and comes to a boil. Boil for 1 minute, stirring constantly. Remove from heat.
- Temper the yolks: In a separate bowl, lightly beat the 4 egg yolks. Slowly pour about 1 cup of the hot cornstarch mixture into the yolks while whisking constantly to temper them.
- Combine and thicken: Pour the tempered yolk mixture back into the saucepan with the remaining hot mixture. Return to medium heat. Cook, stirring constantly, until the mixture thickens again and bubbles slowly. Do not boil vigorously. Remove from heat.
- Add flavor: Stir in the butter, lemon juice, and lemon zest until the butter is melted and fully incorporated.
- Fill the shell: Pour the hot lemon custard immediately into the cooled, pre-baked pie shell.
- Make the meringue: In a large, clean, grease-free bowl, beat the 6 egg whites with an electric mixer on medium speed until foamy. Add the cream of tartar and continue beating until soft peaks form. Gradually add the remaining 1/2 cup sugar, 1 tablespoon at a time, beating well after each addition. Continue beating until stiff, glossy peaks form.
- Top the pie: Spread the meringue over the hot lemon filling, making sure the meringue touches the edge of the crust all around to prevent shrinking. Create decorative swirls with the back of a spoon.
- Bake the meringue: Bake at 350°F (175°C) for 10 to 15 minutes, or until the meringue peaks are golden brown.
- Cool slowly: Cool the pie completely on a wire rack at room temperature for at least 4 hours before slicing. Avoid placing it in the refrigerator immediately to prevent meringue weeping.
Notes
- To prevent meringue weeping, make sure your mixing bowl for the egg whites is completely free of grease or yolk residue.
- For a stable meringue, ensure your egg whites are at room temperature before beating.
- Cool the pie slowly at room temperature for several hours before chilling. Rapid temperature change causes the meringue to contract and weep.
- If you prefer a more toasted look, you can use a kitchen torch on the meringue peaks after baking.
Nutrition
- Serving Size: 1 slice
- Calories: 380
- Sugar: 45g
- Sodium: 150mg
- Fat: 18g
- Saturated Fat: 7g
- Unsaturated Fat: 11g
- Trans Fat: 0g
- Carbohydrates: 52g
- Fiber: 1g
- Protein: 6g
- Cholesterol: 110mg