
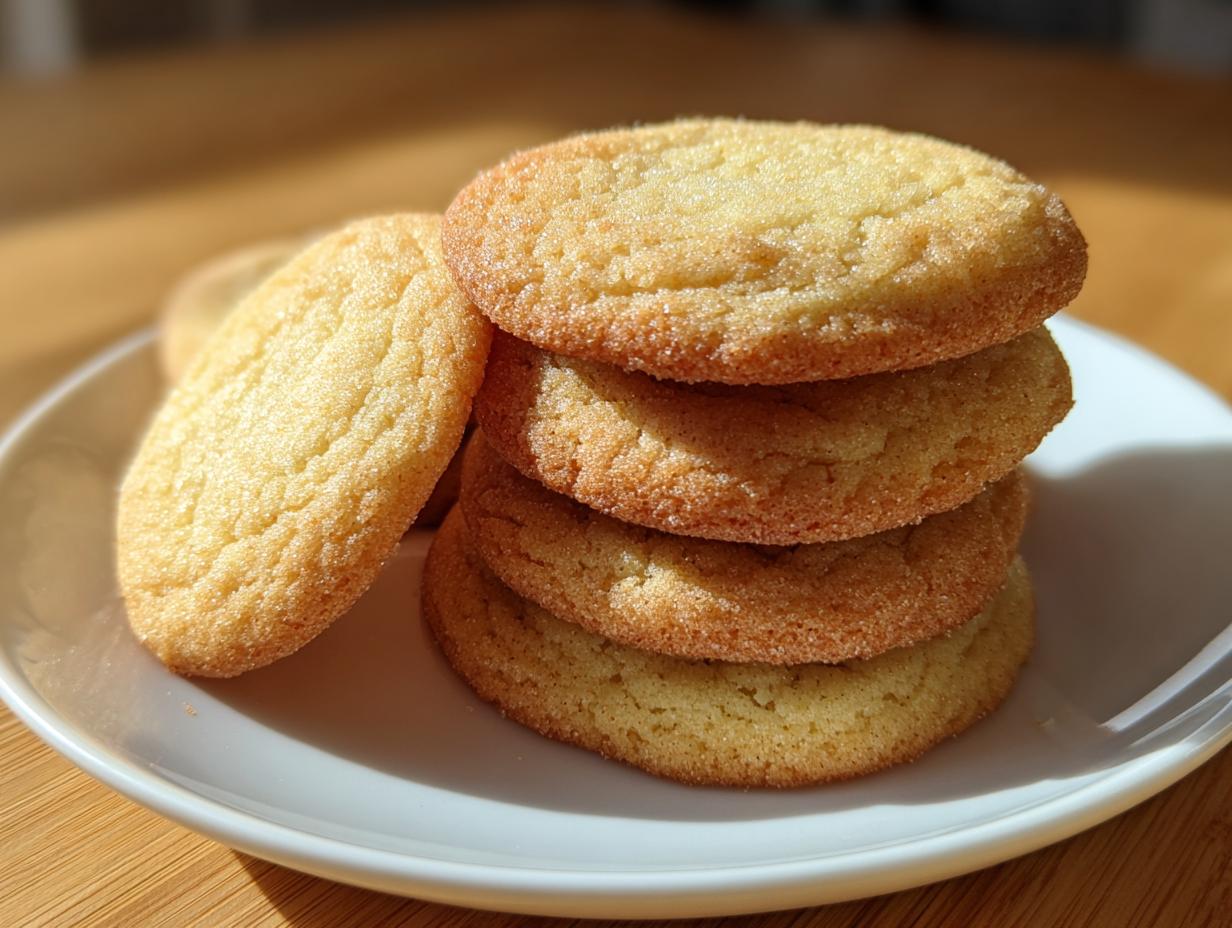
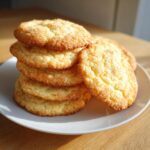
Oh, the quest for the perfect **sugar cookie**! I swear, every year around the holidays, I watch bakers panic because their beautiful cutout shapes turn into sad, puffy puddles almost instantly. That used to frustrate me so much! When I started my journey with Completely Yummy, my mission was crystal clear: develop recipes that actually work, every single time, even when life is hectic. I needed that classic, buttery taste we all crave, but I absolutely needed those cookies to hold their shape perfectly for decorating. Well, friend, stop searching! This is genuinely the best soft and chewy sugar cookie recipe that stays put when you cut it out. It’s reliable, it’s doable, and it will become your go-to. I promise you that.
- Why This is the Best Sugar Cookie Recipe for Cutouts
- Ingredients for Your Perfect Sugar Cookie
- How to Prepare Your Easy Sugar Cookie Recipe
- Tips for Success with Your Sugar Cookies for Decorating
- Frosting Pairings for Your Classic Sugar Cookie Recipe
- Storage and Reheating Instructions for Chewy Sugar Cookies
- Frequently Asked Questions About This Sugar Cookie Recipe
- Estimated Nutritional Data for One Sugar Cookie
- Share Your Homemade Sugar Cookies Creations
Why This is the Best Sugar Cookie Recipe for Cutouts
When I finally nailed this recipe, I felt like I cracked the code for all American bakers. We want that perfect *buttery sugar cookie recipe* that melts in your mouth but doesn’t run away from the cookie cutter. This recipe delivers both texture and structure, which is huge!
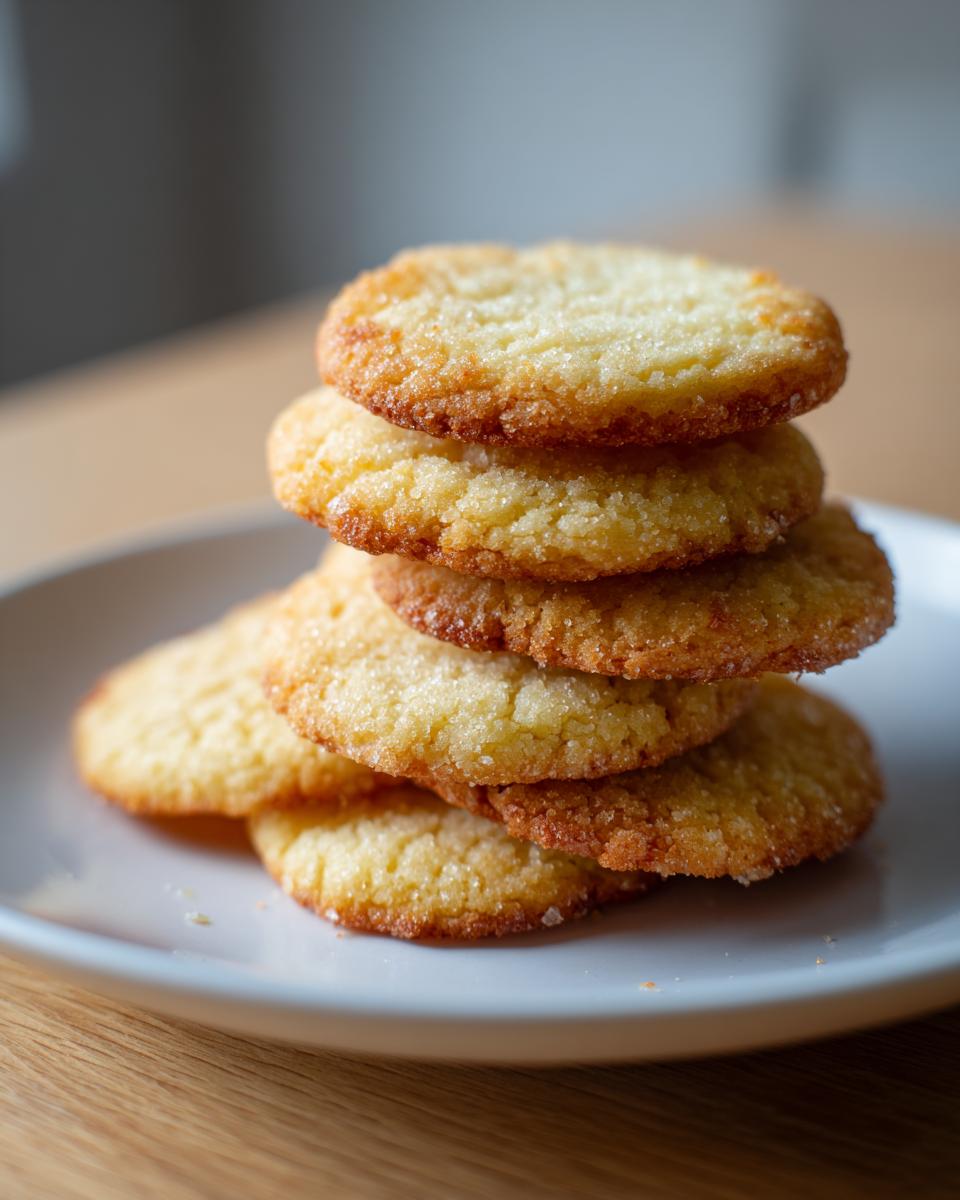
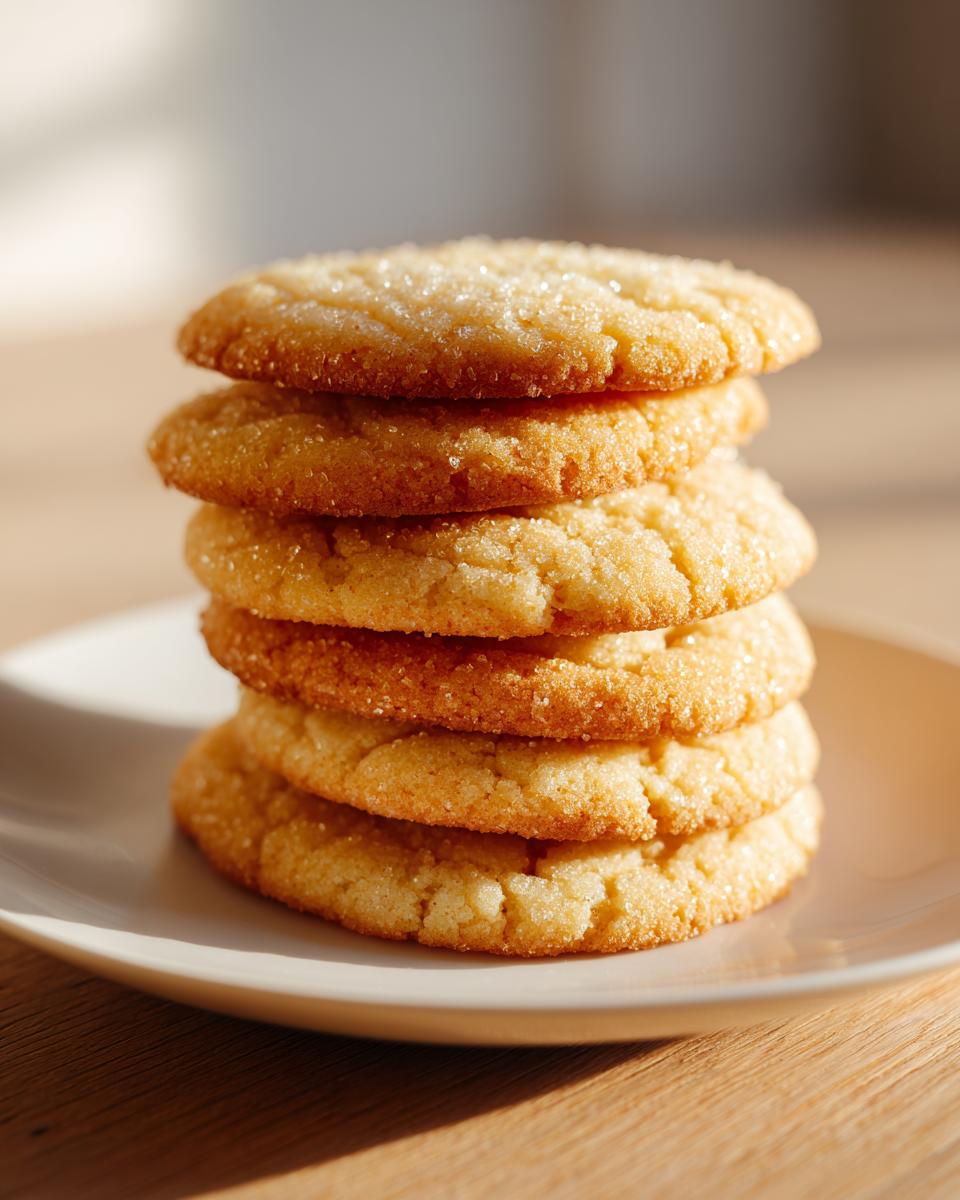
- It’s truly soft and chewy, not cracker-like, even after cooling.
- It creates the most stunning, crisp edges on your shapes.
- It’s the ultimate solution for those tricky cut out sugar cookies that don’t spread!
Achieving Soft Sugar Cookies Texture
The softness comes down to technique, honestly. We use slightly more sugar than some recipes, which naturally keeps things tender. But the real trick? We pull these out just when the edges look golden but the center still seems a tiny bit pale. That residual heat does the rest of the work, locking in moisture.
Secrets to No Spread Sugar Cookies
If you skip the chill time, you are inviting disaster! That dough has to be firm before it even sees the flour surface. Seriously, chilling is the main secret to achieving those clean, sharp edges on your homemade sugar cookies. Rock-hard dough equals no spread.
Ingredients for Your Perfect Sugar Cookie
Okay, let’s talk components! A great **sugar cookie** only needs simple stuff, but the quality matters. Since this is a buttery base, make sure your butter is good! You’ll need softened butter, obviously, and make sure you’re using regular granulated sugar, not powdered, for the structure we want.
- 1 cup unsalted butter, softened
- 1 1/2 cups granulated sugar
- 2 large eggs
- 1 teaspoon vanilla extract
- 3 1/2 cups all-purpose flour
- 1 teaspoon baking powder
- 1/2 teaspoon salt
Remember, the softened butter needs to be soft like, but not greasy and melting all over the bowl. That subtle difference makes all the difference in that final chewy texture!
How to Prepare Your Easy Sugar Cookie Recipe
Now we get to the fun part—turning flour and butter into beautiful results! Follow these steps exactly, especially around mixing and chilling, and you’ll have the best **sugar cookie** dough you’ve ever worked with. This process respects the dough so the dough respects your cookie cutter shape later on. If you need some inspiration for other quick bakes while waiting for the dough to chill, check out my easy weeknight dinners for when the oven is full!
Mixing Wet and Dry Components for the Sugar Cookie Dough
First up, you need to cream that softened butter and sugar until it looks beautifully pale and fluffy—this traps air. Then, beat in your eggs one at a time, followed by that lovely vanilla extract. While that’s happening, whisk your flour, baking powder, and salt in a separate bowl to make sure everything is evenly distributed. Now, slowly add the dry stuff to the wet stuff, mixing on low speed. Remember my golden rule: stop mixing as soon as you see the last bit of flour disappear. Overmixing means tough cookies, and we want chewy!
The Essential Chilling Step for Rolled Sugar Cookie Dough
This is where we earn our crisp edges! Divide that beautiful dough into two disks, wrap them up tightly—and I mean *tightly*—and put them in the fridge. You absolutely must chill for a minimum of two hours. I often leave mine overnight if I’m planning ahead for holiday baking. That cold sets the fat, which is the secret behind those no spread sugar cookies you dream about.
Baking and Cooling Your Homemade Sugar Cookies
Preheat your oven to 375°F. Roll out one chilled disk to about a quarter of an inch thick on a lightly floured surface, cut your shapes, and get them onto parchment-lined sheets. Bake for about 8 to 10 minutes. You’re looking for the edges to just barely start turning golden brown. If you want truly soft sugar cookies, pull them out when they look *almost* done. Let them sit on the hot baking sheet for about five minutes—this prevents them from breaking when you move them to the wire rack to cool completely before you even think about frosting!

Tips for Success with Your Sugar Cookies for Decorating
If you’ve got your dough perfectly chilled, you’re already winning the game! But just to make sure you get bakery-style results for decorating, I always rely on one extra little step that my neighbor Martha taught me years ago. It makes such a difference when you’re trying to keep those clean lines on your holiday cutouts.
After you cut out your shapes but *before* they go near the oven, pop the whole baking sheet into the fridge or freezer for about 10 minutes. This extra chill time on the sheet firms up the edges right before baking, which is the ultimate insurance policy against spreading. Trust me, this is essential for beautiful sugar cookies for decorating.
Also, when it comes to icing, make sure these **homemade sugar cookies** are stone-cold. If you try to pipe buttercream or royal icing onto a cookie that’s even slightly warm, you’ll end up with a melted, runny mess. Patience pays off, especially when you want cookie art!
Frosting Pairings for Your Classic Sugar Cookie Recipe
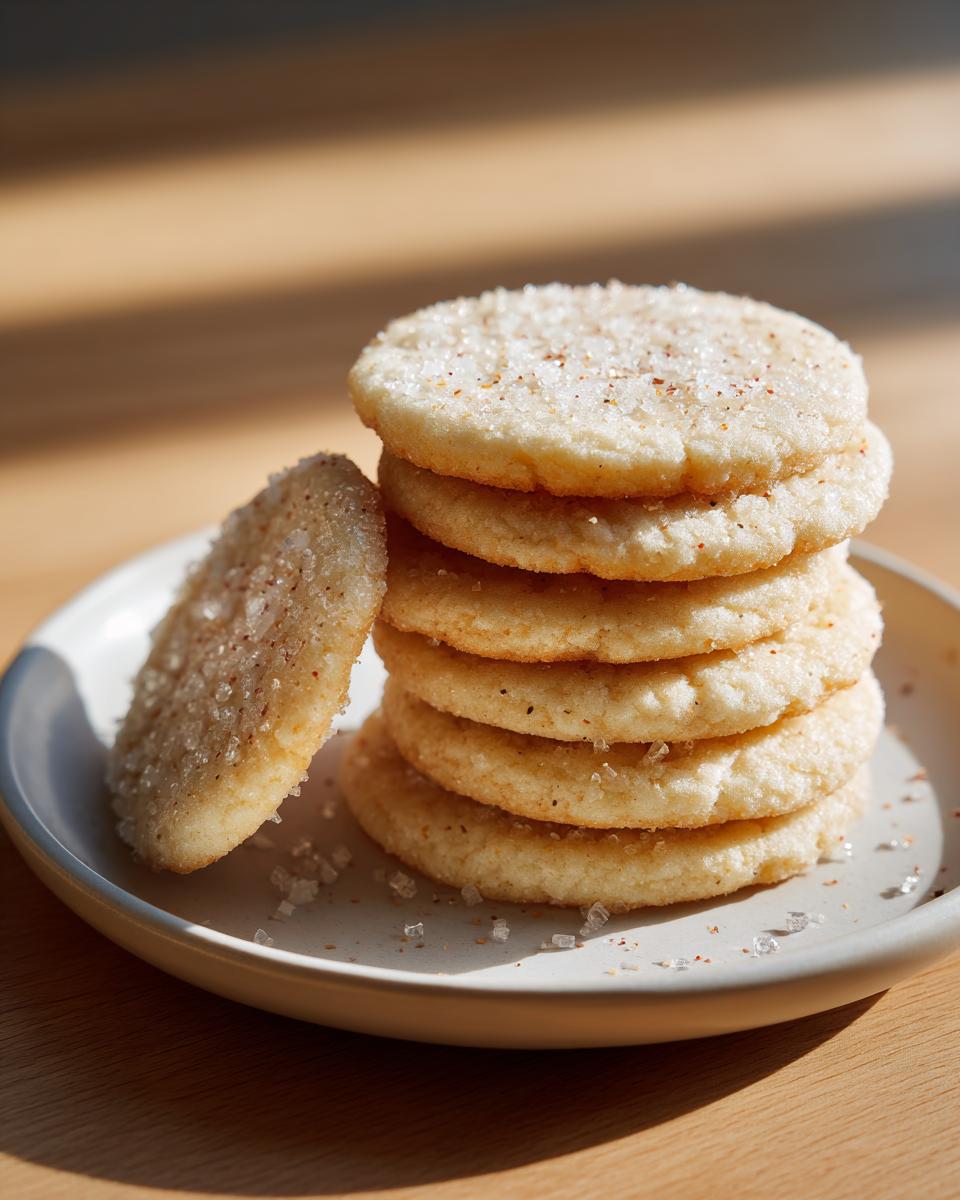
Now that you have the absolute best, non-spreading, soft sugar cookie base, we have to talk about what goes on top! You can certainly enjoy these buttery delights plain—they are that good—but if you’re making **sugar cookie** cutouts, you probably want some decorations.
For my family, a simple, pale pink buttercream is the standard. It’s fluffy, sweet, and spreads like a dream. If you want intense colors or those incredibly crisp, smooth tops for detailed work, then you need to look into royal icing. That icing recipe really sets hard for stability. I’ve got some fun delicious dessert recipes on the site you can adapt that work beautifully here!
Storage and Reheating Instructions for Chewy Sugar Cookies
Since these are designed to be soft sugar cookies, storage is super important to keep that chewiness! You absolutely must let them cool completely before you even think about putting them away. If you didn’t frost them, just stack them up in an airtight container. I find they stay wonderfully soft for about four or five days at room temperature.
Now, if you’ve already frosted them—especially if you used buttercream—I recommend putting a single layer of parchment paper between any stacked cookies. If it’s a hot or humid week, keep them in a cooler spot. Honestly, these are so good they rarely last long enough for reheating, but if you need a quick boost, 10 seconds in the microwave brings back that fresh-baked softness perfectly!
Frequently Asked Questions About This Sugar Cookie Recipe
I get so many questions when people first make this recipe, which tells me you all are serious about getting that perfect result! It’s normal to wonder if you can hustle through steps when you’re trying to get these **chewy sugar cookies** done fast, especially during busy holiday cookie baking sessions.
Can I make this an easy sugar cookie recipe by skipping the chill time?
Oh, honey, I know you want to skip it! Who doesn’t want quick sugar cookies? But if you skip chilling the dough, you are actively opting in for cookies that spread sideways. That cold dough is what gives you those beautiful, sharp edges for your holiday cutouts. If you want the best results, you just can’t rush this step. It’s the foundation of a great classic sugar cookie recipe!
What is the best way to store soft sugar cookies?
To keep these **soft sugar cookies** that way, storage is key. Once they are completely cool—and I mean cold, especially if they have icing—place them in an airtight container. If you’re stacking them, just slip a small piece of wax paper between layers to stop anything from sticking. They are happiest sitting on the counter, not in the fridge, for up to five days!
Do you have questions about making a double batch for your next party? Drop them in the comments below!
Estimated Nutritional Data for One Sugar Cookie
Since we’re making these from scratch with high-quality ingredients, I pulled together some estimated nutritional specifics for you. This isn’t supposed to be a health food, of course, this is a celebratory cookie! But knowing what’s in your favorite homemade sugar cookie is just responsible baking, right?
Please remember, this is just an estimate! The final numbers can swing a bit depending on which brand of flour you grab or exactly how much frosting ends up on the final product. I calculated this based on one standard cookie size using the recipe provided, without any added icing on top.
- Serving Size: 1 cookie
- Calories: 160
- Sugar: 12g
- Sodium: 95mg
- Fat: 8g
- Saturated Fat: 5g
- Carbohydrates: 20g
We keep the ingredients simple, so the numbers aren’t too scary, especially when you consider these are way better than anything store-bought! Enjoy them, knowing exactly what sweet goodness you’re indulging in.
Share Your Homemade Sugar Cookies Creations
I put my heart into developing this recipe so you could have the best **sugar cookie** experience possible, and now it’s your turn! Once you’ve pulled these beauties out of the oven and they’re perfectly cooled before frosting, I absolutely want to hear about it. Did you use classic shapes, or did you get super creative for holiday cookie baking?
Please leave a rating right here below the recipe. A star rating tells me exactly how this turned out for you, and if you had any small tweaks that worked wonders in your own kitchen—we all learn from each other!
Seriously, if you made these, snap a picture of your decorated cookies and tag me on social media! Seeing your gorgeous, non-spreading, wonderfully soft cookies truly makes my day. Happy baking, and thank you for trusting my little recipe for your kitchen traditions!
PrintThe Best Soft and Chewy Sugar Cookie Recipe That Holds Its Shape
Follow this straightforward recipe for classic sugar cookies that stay soft and chewy while holding their shape perfectly for cutouts and decorating. This is the reliable, buttery recipe you need for homemade sugar cookies.
- Prep Time: 25 min
- Cook Time: 10 min
- Total Time: 155 min
- Yield: 3 dozen 1x
- Category: Dessert
- Method: Baking
- Cuisine: American
- Diet: Vegetarian
Ingredients
- 1 cup unsalted butter, softened
- 1 1/2 cups granulated sugar
- 2 large eggs
- 1 teaspoon vanilla extract
- 3 1/2 cups all-purpose flour
- 1 teaspoon baking powder
- 1/2 teaspoon salt
Instructions
- In a large bowl, cream together the softened butter and granulated sugar until light and fluffy. This step helps create a soft texture.
- Beat in the eggs one at a time, mixing well after each addition. Stir in the vanilla extract.
- In a separate bowl, whisk together the flour, baking powder, and salt.
- Gradually add the dry ingredients to the wet ingredients, mixing on low speed until just combined. Do not overmix the dough.
- Divide the dough in half, flatten each half into a disk, wrap tightly in plastic wrap, and chill in the refrigerator for at least 2 hours, or until firm. Chilling is key for cut out sugar cookies that don’t spread.
- Preheat your oven to 375°F (190°C). Line baking sheets with parchment paper.
- On a lightly floured surface, roll out one chilled dough disk to about 1/4 inch thickness. Use your favorite cookie cutters to cut out shapes.
- Place the cutouts onto the prepared baking sheets, leaving about 1 inch between them.
- Bake for 8 to 10 minutes, or until the edges are lightly golden. For softer cookies, err on the side of underbaking slightly.
- Let the cookies cool on the baking sheet for 5 minutes before transferring them to a wire rack to cool completely before frosting.
Notes
- For the best results when cutting shapes, chill the rolled-out dough on the baking sheet for 10 minutes before baking.
- If you plan to use royal icing for detailed decorating, allow the cookies to cool completely before applying the icing.
- This recipe makes a buttery sugar cookie recipe base that works well with any type of frosting, including simple buttercream for sugar cookies.
Nutrition
- Serving Size: 1 cookie
- Calories: 160
- Sugar: 12
- Sodium: 95
- Fat: 8
- Saturated Fat: 5
- Unsaturated Fat: 3
- Trans Fat: 0
- Carbohydrates: 20
- Fiber: 0
- Protein: 2
- Cholesterol: 30