
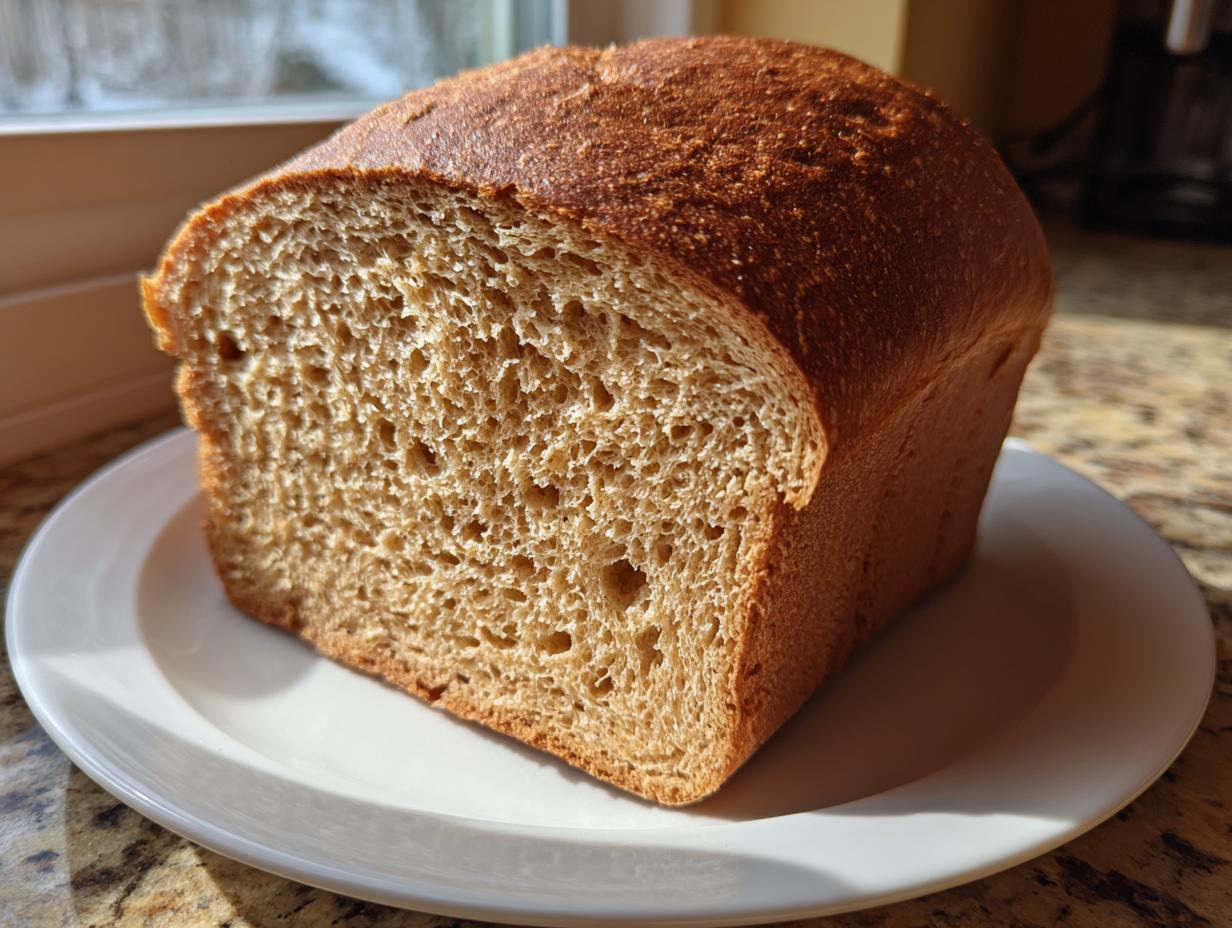
Oh, that smell! You know the one I mean, right? That deep, warm, unbelievably comforting aroma of something truly fresh from the oven. It’s the smell of home, and honestly, it’s the best part of baking. When I was drowning in marketing deadlines, I thought that smell was reserved for weekends only. I used to try making a proper whole wheat bread loaf, but it always ended up dense and sad. But trust me, I figured out the shortcut! This recipe is my answer to making that soft, fluffy, 100% whole wheat loaf doable on a busy Tuesday. We’re stripping away the complexity, keeping the flavor, and giving you that homemade goodness, every single time. It’s Seriously Good Food made Simple!
- Why This Is the Best Easy Whole Wheat Bread Recipe for Home Bakers
- Gathering Ingredients for Your Soft Whole Wheat Sandwich Bread
- Step-by-Step Instructions for Homemade Whole Wheat Bread
- Tips for Achieving the Perfect 100 Percent Whole Wheat Bread Crumb
- Ingredient Notes and Substitutions for Whole Wheat Bread
- Making Honey Whole Wheat Bread Recipe Variations
- Storage and Reheating Instructions for Fresh Baked Bread at Home
- Frequently Asked Questions About Baking Whole Wheat Bread
- Nutritional Estimates for This Whole Wheat Bread
Why This Is the Best Easy Whole Wheat Bread Recipe for Home Bakers
When I first started baking bread again after years of takeout dinners—you know, back when I was deep in the marketing world—I really struggled with whole wheat. Every recipe seemed to call for hours of kneading or resulted in something you could use as a doorstop! It was discouraging. I wanted that hearty, healthy flavor of homemade whole wheat bread, but I needed the texture to be soft—like, genuinely usable for a proper sandwich, not just something you break a tooth on.
I finally cracked the code by realizing whole wheat flour acts differently than white flour. You don’t need to beat it into submission! This easy whole wheat bread recipe keeps the kneading time short, which is fantastic for beginners. We’re using honey to naturally sweeten things up, which also helps keep the structure tender. Trust me when I say this yields the fluffiest soft whole wheat sandwich bread you’ll ever pull out of your own oven. It’s the perfect balance of wholesome and incredibly comforting. If you need quick meal ideas to go with it, check out my list of easy weeknight dinners!
Gathering Ingredients for Your Soft Whole Wheat Sandwich Bread
Okay, the real beauty of this recipe is how simple the ingredient list is. Seriously, it’s almost sneaky how good this whole wheat bread turns out with so few things going into the bowl. We are keeping this pure and simple, using only the highest quality basics.
First things first: you absolutely must use 100% whole wheat flour here. Don’t be tempted by white flour blends if you’re trying to get that truly rustic, wholesome flavor. You’ll need 3 cups, but remember my golden rule later about how you scoop it!
For the moisture and activation, grab 1 cup of warm water—that’s 105–115°F, nice and cozy for the yeast. We sweeten things naturally with 1/4 cup of honey, which gives the dough great texture too. Don’t forget the 2 tablespoons of melted unsalted butter and 1 1/2 teaspoons of salt. Oh, and the yeast? That’s 2 1/4 teaspoons of active dry yeast. That’s it! Nothing fancy, just pure bread magic waiting to happen.
Step-by-Step Instructions for Homemade Whole Wheat Bread
This is where the magic happens, but don’t let the list of steps scare you! This recipe is designed to be incredibly forgiving. It’s truly the way I started learning how to make whole wheat bread without ending up with a brick loaf. We move slow through the proving stages, because that’s what gives us that soft, fluffy result we’re craving. So grab your biggest bowl and let’s get this done!
Activating the Yeast and Mixing the Dough for Whole Wheat Bread
First, you need to wake up that yeast! In your big bowl, pour in 1 cup of warm water and stir in your honey until it dissolves. Sprinkle the yeast right over the top. Now, wait about 5 to 10 minutes. If it gets foamy, it means your yeast is happy and ready to work for us! Next, stir in that melted butter and the salt.
Now we introduce the flour. Add the 100% whole wheat flour one cup at a time, mixing with a wooden spoon or spatula until everything looks shaggy. Because whole wheat absorbs liquid differently, it can sometimes look too dry. If things look like dry crumbs, don’t panic! Slowly drizzle in that extra half cup of warm water until the mixture just starts pulling together into one big, messy ball. It’s okay if it’s a little sticky; that’s totally normal for this dough.
Kneading and the First Rise for Your Fluffy Whole Wheat Loaf
Turn that shaggy mess out onto a surface lightly dusted with flour. You need to knead this for about 5 to 7 minutes. Remember, you aren’t trying to beat it into submission like I used to! Just smooth it out until it feels elastic. Whole wheat dough will remain a bit heavier than white dough, so don’t expect it to feel super airy yet.
Once kneaded, tuck the dough into a lightly oiled bowl, turning it over so the top is coated too. Cover it up tightly—plastic wrap works great—and tuck it away somewhere warm. Let it sit untouched for about an hour to an hour and a half. You’re looking for it to double in size. It’s worth the wait!
Shaping and Baking Your Simple Wheat Bread Recipe
When it’s doubled, gently punch it down—deflate that air—and turn it onto your counter again. Shape it into a tight log, making sure the seam is on the bottom, and place it snugly into your greased 9×5 inch loaf pan. Cover it loosely and let it go for its second nap. This final rest usually takes 30 to 45 minutes. You know it’s ready when the top rises about an inch above the pan rim.
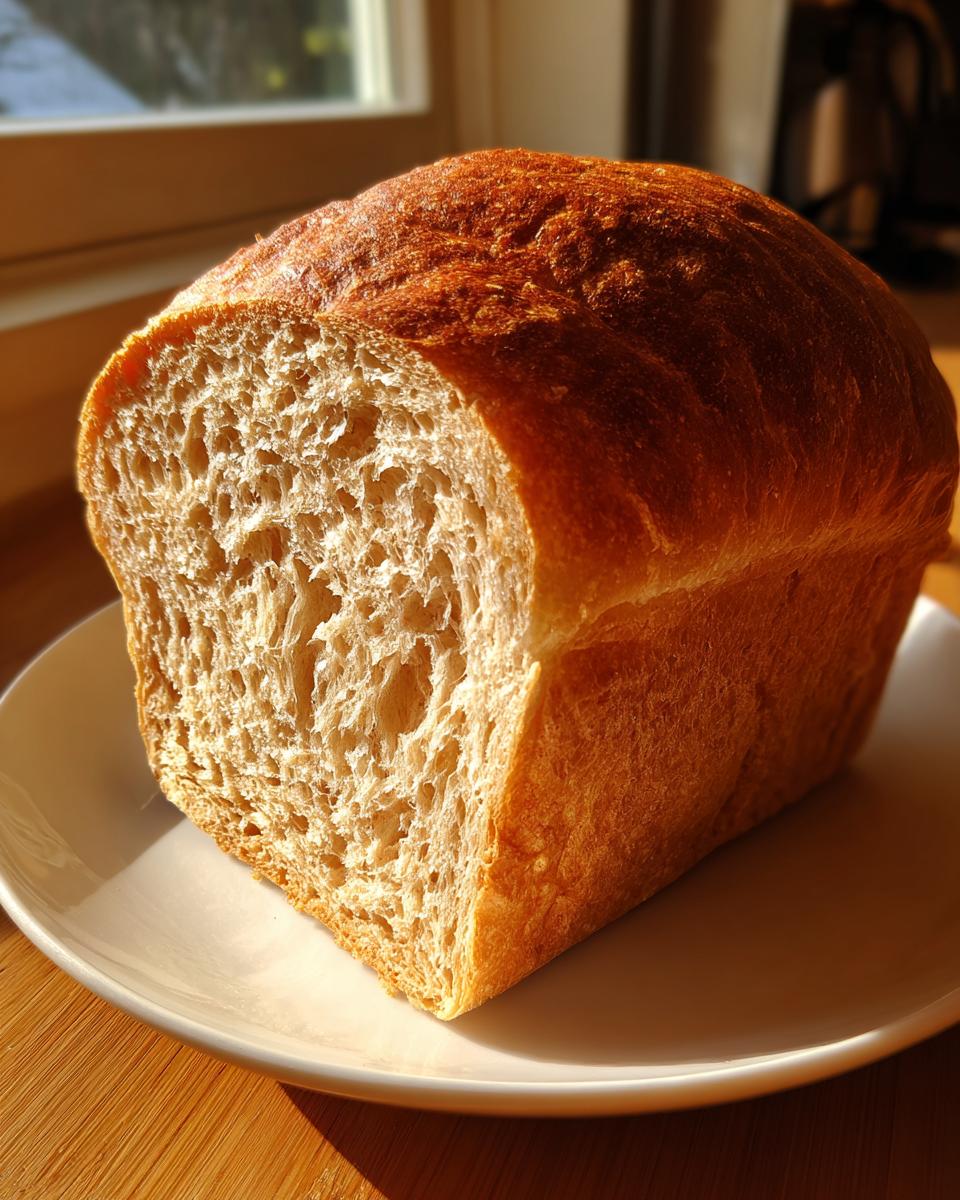
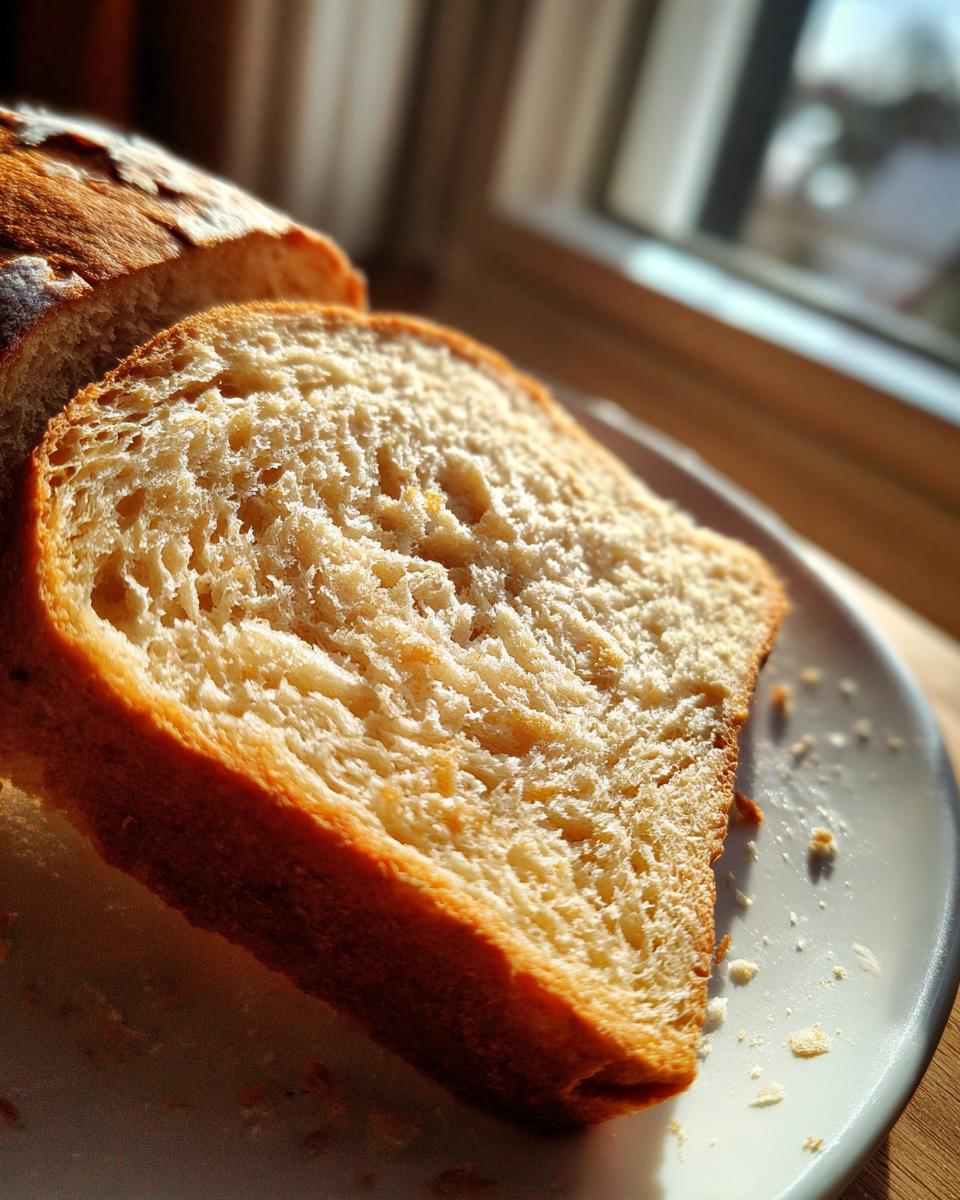
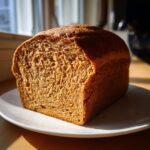
Preheat your oven to 375°F (190°C) while it rests! Bake the loaf for 30 to 35 minutes. You’re looking for a deep golden brown color. If you have an instant-read thermometer, pull it out when the center hits 190°F. Once it’s done, get that gorgeous fluffy whole wheat loaf out of the pan right away and let it cool completely on a rack. Slicing it too early will crush that beautiful soft interior we worked so hard to achieve. If you need a quick breakfast idea to eat with your fresh loaf, check out my quick, healthy breakfast tips!
Tips for Achieving the Perfect 100 Percent Whole Wheat Bread Crumb
If you’ve ever felt betrayed by a recipe that promised soft bread but delivered something hard, I feel you! The number one mistake people make with 100 percent whole wheat bread is measuring the flour incorrectly. Whole wheat flour compacts so easily! You can’t just scoop your measuring cup straight into the bag; that packs in way too much flour, guaranteeing a brick. Instead, lightly spoon the flour into your measuring cup and then level off the top with a knife.
Secondly, pay attention to the hydration. As you add that flour, watch how the dough behaves. Since whole wheat is thirsty, sometimes you’ll need that extra splash of water just to get it to come together into a cohesive, sticky shaggy ball. If you reach the recommended 3 cups and it still looks like dry sand, add the remaining liquid a tablespoon at a time. A slightly wetter dough rises better and creates a seriously soft interior. For more inspiration on simple loaves, you can see how other bakers are tackling the whole grain challenge!
Ingredient Notes and Substitutions for Whole Wheat Bread
I want to stress how important those notes I keep on my recipe card are! Even though this is an easy whole wheat bread recipe, the finishing touches make all the difference between good bread and *your family’s favorite* bread. You’ll see in the recipe that I call for 1/4 cup of honey. This amount is perfect for giving the loaf a lovely, subtle sweetness that balances the earthiness of the wheat.
But if you have a super savory eater in the house, or maybe you want to use this loaf strictly for lunchmeat sandwiches, you can totally cut back. Try reducing the honey to just 2 tablespoons. It will still have *some* sweetness because the yeast needs it to get going, but it’s definitely less sweet overall. This recipe fits perfectly into any standard set of yeast bread recipes whole wheat you might collect because it relies on that simple yeast activation process.
Also, about that butter—it adds richness, but if you are out or prefer a different fat, you can swap it for the same amount of neutral oil, like canola or vegetable oil. It won’t give you quite the same rich mouthfeel, but it works just fine! And remember, wrapping it up tightly once it’s cool means this healthy homemade bread freezes incredibly well, just like those tips mentioned in the notes about secure wrapping.
Making Honey Whole Wheat Bread Recipe Variations
Just because this whole wheat bread recipe is the easiest one out there doesn’t mean we can’t have a little fun with it! When you’re trying to make baking wholesome feel less like a chore and more like a treat, variations are key. Since the base structure here is so reliable, it handles add-ins beautifully.
If you want extra texture and fiber, simply stir in about 1/2 cup of rolled oats or your favorite seeds (sunflower or flax are great!) right along with the last bit of flour during mixing. I love doing this when I’m planning on making toast for breakfast.
Another fun swap is changing that sweetener slightly. If you’re looking for a deeper, more robust flavor reminiscent of darker rye, try replacing 1 tablespoon of the honey with 1 tablespoon of molasses. It gives the loaf a deeper color and tastes amazing with butter. I found a great article showing off other amazing textures over here, but stick to simple additions to keep your baking stress-free. If you’re making a big batch, maybe you can use the extra time to whip up some homemade granola for the mornings!
Storage and Reheating Instructions for Fresh Baked Bread at Home
The hardest part about having fresh baked bread at home is waiting for it to cool, but you absolutely must let it cool completely on a wire rack before you wrap it up! If you try to seal that warmth in, you’ll end up with a soggy, unhappy crust. At room temperature, this simple loaf keeps really well for about three days if stored in a bread bag or simply wrapped tightly in plastic wrap.
If you manage to have leftovers (which I doubt!), freezing is your best friend. Slice the entire loaf first, wrap the slices tightly in plastic wrap, and then slide them into a freezer bag. Want one slice tomorrow? Just pop it right from the freezer into the toaster. Instant, warm, delicious!
Frequently Asked Questions About Baking Whole Wheat Bread
When you’re dipping your toes into beginner whole wheat baking, it’s easy to get tripped up by a few things that just never happen with plain white flour. Don’t worry! These are the little hurdles I tripped over so you don’t have to. If you try everything and still have questions, feel free to reach out anytime on my contact page!
Why is my 100 percent whole wheat bread loaf so dense?
Oh, I know this pain intimately! Usually, density happens for one of two reasons. First, you might have over-measured your flour—remember, spoon and level, don’t scoop! The second big reason is a weak yeast activation or not enough rising time. Whole wheat flour has more bran, and that bran can actually cut the gluten strands, making it harder to trap gas. Make sure your rising spots are warm and give the dough every minute it asks for. Patience results in that light, fluffy whole wheat loaf you want!
Can I skip kneading completely for this simple wheat bread recipe?
You *can* technically skip the full 5-7 minute knead, but I really advise against it for this recipe. Remember how I said this easy homemade whole wheat bread recipe is lower on the kneading scale? That’s because we need those few minutes of work to develop just enough structure to support the weight of the bran and honey. If you skip it entirely, the dough will just spread out in the pan instead of rising up properly. A quick knead is your bridge to a soft whole wheat sandwich bread!
Can I substitute bread flour for some of the whole wheat flour?
You certainly can, and this is a great intermediate step if you’re nervous about going 100%! If you want to improve the rise while keeping most of the health benefits, try substituting half a cup of the whole wheat flour for bread flour. This gives the gluten-forming proteins (which are fewer in whole wheat) a little boost. This is a great way to practice using whole grain bread tutorial techniques while building confidence. For more excellent tips on mastering the basics, this article on simple whole wheat recipes is fantastic.
What is the best way to slice this bread for toast?
This is an interesting one! Because this loaf is so soft and fresh, it can sometimes tear if you slice it right out of the oven. For the best whole wheat bread for toast, you must wait until it is completely cool, which means waiting at least 2 hours. Then, use a very sharp, long serrated knife and use smooth, decisive sawing motions rather than pressing down hard. If you want to make the process easier, freezing the loaf first for about 30 minutes makes slicing bread like this a total breeze—it cuts like butter!
Nutritional Estimates for This Whole Wheat Bread
I always get asked about the nutrition in our homemade loaves, and I’m happy to share what I calculated! Now, you have to remember, since this is whole wheat bread baked right in my kitchen with real ingredients, these numbers are always just estimates. They can swing a little bit depending on exactly how much honey sneaks into your measuring cup!
These calculations are based on dividing the entire loaf into 16 slices. If you cut bigger slices for your kids (or yourself—no judgment here!), the numbers will naturally change. But this gives you a good benchmark for how wholesome and satisfying this healthy homemade bread truly is compared to store-bought versions!
- Serving Size: 1 slice
- Calories: 140
- Fat: 2g
- Saturated Fat: 1g
- Trans Fat: 0g
- Cholesterol: 5mg
- Sodium: 250mg
- Carbohydrates: 27g
- Fiber: 4g (That’s the good stuff!)
- Sugar: 4g (Mostly from that lovely honey!)
- Protein: 6g
See? Hearty, satisfying, and packed with the fiber that makes whole grain bread baking worthwhile. It’s a fantastic base for any meal or snack, keeping you full and happy!
PrintThe Easiest Soft & Fluffy 100% Whole Wheat Sandwich Bread (Honey Sweetened)
Bake a soft, fluffy loaf of 100% whole wheat bread at home. This straightforward recipe is perfect for beginners and yields a hearty loaf ideal for sandwiches and toast.
- Prep Time: 20 min
- Cook Time: 35 min
- Total Time: 2 hours 5 minutes
- Yield: 1 loaf 1x
- Category: Baking
- Method: Yeast Baking
- Cuisine: American
- Diet: Vegetarian
Ingredients
- 1 cup warm water (105-115°F)
- 2 1/4 teaspoons active dry yeast
- 1/4 cup honey
- 2 tablespoons unsalted butter, melted
- 1 1/2 teaspoons salt
- 3 cups 100% whole wheat flour, plus more for dusting
- 1/2 cup warm water (additional, if needed)
Instructions
- Activate the yeast: In a large bowl, combine the warm water (1 cup) and honey. Sprinkle the yeast over the top and let it sit for 5 to 10 minutes until foamy.
- Mix wet ingredients: Stir the melted butter and salt into the yeast mixture.
- Combine flour: Gradually add the whole wheat flour, one cup at a time, mixing until a shaggy dough forms. If the dough seems too dry, add the additional 1/2 cup of water slowly until the dough comes together.
- Knead the dough: Turn the dough out onto a lightly floured surface. Knead for 5 to 7 minutes until the dough is smooth and elastic. This dough will be slightly stickier than white bread dough.
- First rise: Place the dough in a lightly oiled bowl, turning to coat. Cover the bowl with plastic wrap or a clean towel. Let it rise in a warm place for 1 to 1.5 hours, or until doubled in size.
- Shape the loaf: Gently punch down the risen dough. Shape it into a uniform log and place it into a greased 9×5 inch loaf pan.
- Second rise: Cover the pan loosely and let the dough rise again in a warm spot for 30 to 45 minutes, or until it has crested about 1 inch above the rim of the pan.
- Bake: Preheat your oven to 375°F (190°C). Bake for 30 to 35 minutes, or until the top is golden brown and the internal temperature reaches 190°F.
- Cool: Remove the bread from the pan immediately and let it cool completely on a wire rack before slicing for the best texture.
Notes
- For a softer crumb, measure your whole wheat flour by spooning it lightly into the measuring cup rather than scooping directly from the bag.
- If you prefer a less sweet loaf, reduce the honey to 2 tablespoons.
- This bread freezes well once completely cooled. Wrap tightly in plastic wrap and then foil.
Nutrition
- Serving Size: 1 slice
- Calories: 140
- Sugar: 4g
- Sodium: 250mg
- Fat: 2g
- Saturated Fat: 1g
- Unsaturated Fat: 1g
- Trans Fat: 0g
- Carbohydrates: 27g
- Fiber: 4g
- Protein: 6g
- Cholesterol: 5mg